"Ghostly pipes
30" X 22"
mix media on Stonehenge
Your Custom Text Here

"Ghostly pipes
30" X 22"
mix media on Stonehenge
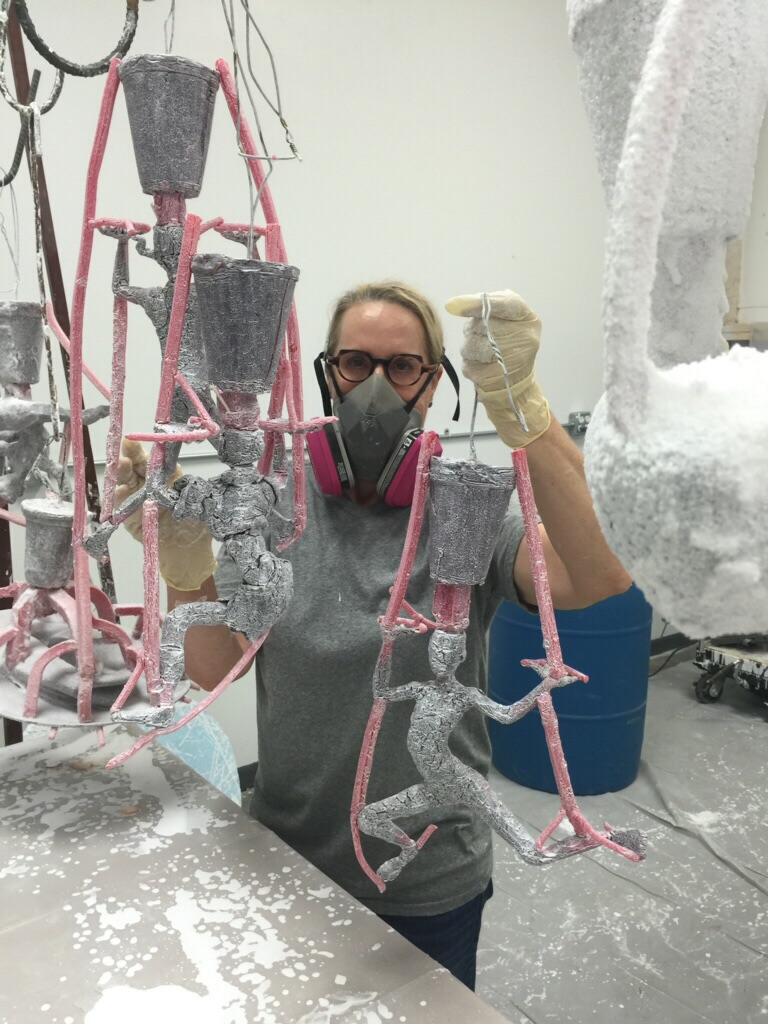
Julie Soldano and Barbara Gamiz took these photos.

Here I am with Carlos Garcia and Will Isabell waiting for the bronze to melt.
David Medina (not pictured) takes the shells out of the furnace and sets them in buckets of sand. I cover the cups of the shells with tiles or insulation and hold the shells upright while Will and Carlos shovel sand around the shells to hold them up. The tiles/insulation keep the sand from getting in the shells and help keep the heat in the body of the shells.

I am in all leather protective clothing. I wear two sets of welding gloves to keep from burning my hands when I hold the shells upright.

Roland who runs TXRX and I think David Medina.
These TxRxlab guys are very innovative, the bronze was melted by a furnace fueled by recycled oil. It is going to be interesting to see what comes out of the mix between Glassell artist and TXRX members

Carlos and Will lift the hot crucible of hot bronze out of the furnace and pour it into the shells. The one holding the pour end is called the dead men.
The pour went great there was not a single leak in the shells.

Squirrel sage carved out of soap when she was about 8 years old.

Here is the wax cup and main sprue that will be the main channel the bronze will flow through to get into the sculpture cavity.

Attaching the sculpture to the cup.

The vents are added to allow the gasses created during the pour to escape.
The headstands after dip #1- slurry only
The first dip is slurry only because it is wet and thin and creeps in to the tiniest crevice capturing the tiniest detail of the sculpture. It is what makes the magic happen. The other coats just protect the first coat.

I have 6 pieces under way right now.

The three headstands molds are finished and dry. ✅✅✅
Now I will cut off the top of the cups in order to melt the wax out of the molds.

The three headstands with the top of the cup cut off and slits cut to allow the gasses escape and the fluids to expand and not crack the shell.

Here she is right before I start dipping her.
I am ready to make the mold of the serendipity piece. (I am still pondering the name but for now I am referring to her as serendipity). I will dip the sprued up wax sculpture into slurry a total of 10 times and into dry silica 8 of the 10 times. The piece has to completely dry after each dip. The video clip below shows this process starting at about a third of the way through the dipping process.
Dipping serendipity

"serindipity" Her mold is finished .
Many more steps to come.....

"the perfect storm"
24" X 19"
Mixed media
I did this piece a week ago and it was one of those drawings that just happened. I didn't struggle, I didn't question if it needed more. It was the perfect storm.

10/2015
I added the Sprues- (wax that create the channels the bronze flows through in order to fill the sculpture cavity.) it is sitting in my colander so the lower sprues will not break.

Ceramic shell- after 10 dips.

I have cut off the top of the cup and cut slits in the shell to allow the expanded fluids and gases escape in the firing. II used an angle grinder to cut the shell. Mine is sitting in the top right of the picture. Yes- I have my own angle grinder.

The burnout/firing - I am sad to say it is my piece making all the smoke. Who knew wool created so much black smoke. Under the kiln is a big pot that catches the lost wax.
I am now working out of TXRX lab in eado (east of downtown houston) the temporary glassell foundry. I have to say it is a bit of a hassell but I predict it will be a great 2+ years at TxRX.
Tomorrow I will use a compressor and blow out all the debris and charred material in the shell and then fire again and ..... repeat.
In the temporary Glassell school the administration is allowing the teachers to select work every week and exhibit it in the halls of the school. Every time I go into the building I walk every hall to see all the new work. I think everyone does. These pieces of mine are in the very furthest hall from the entrance in case you are looking. #glassell

Temporarily on exhibit at the Glassell studio school.


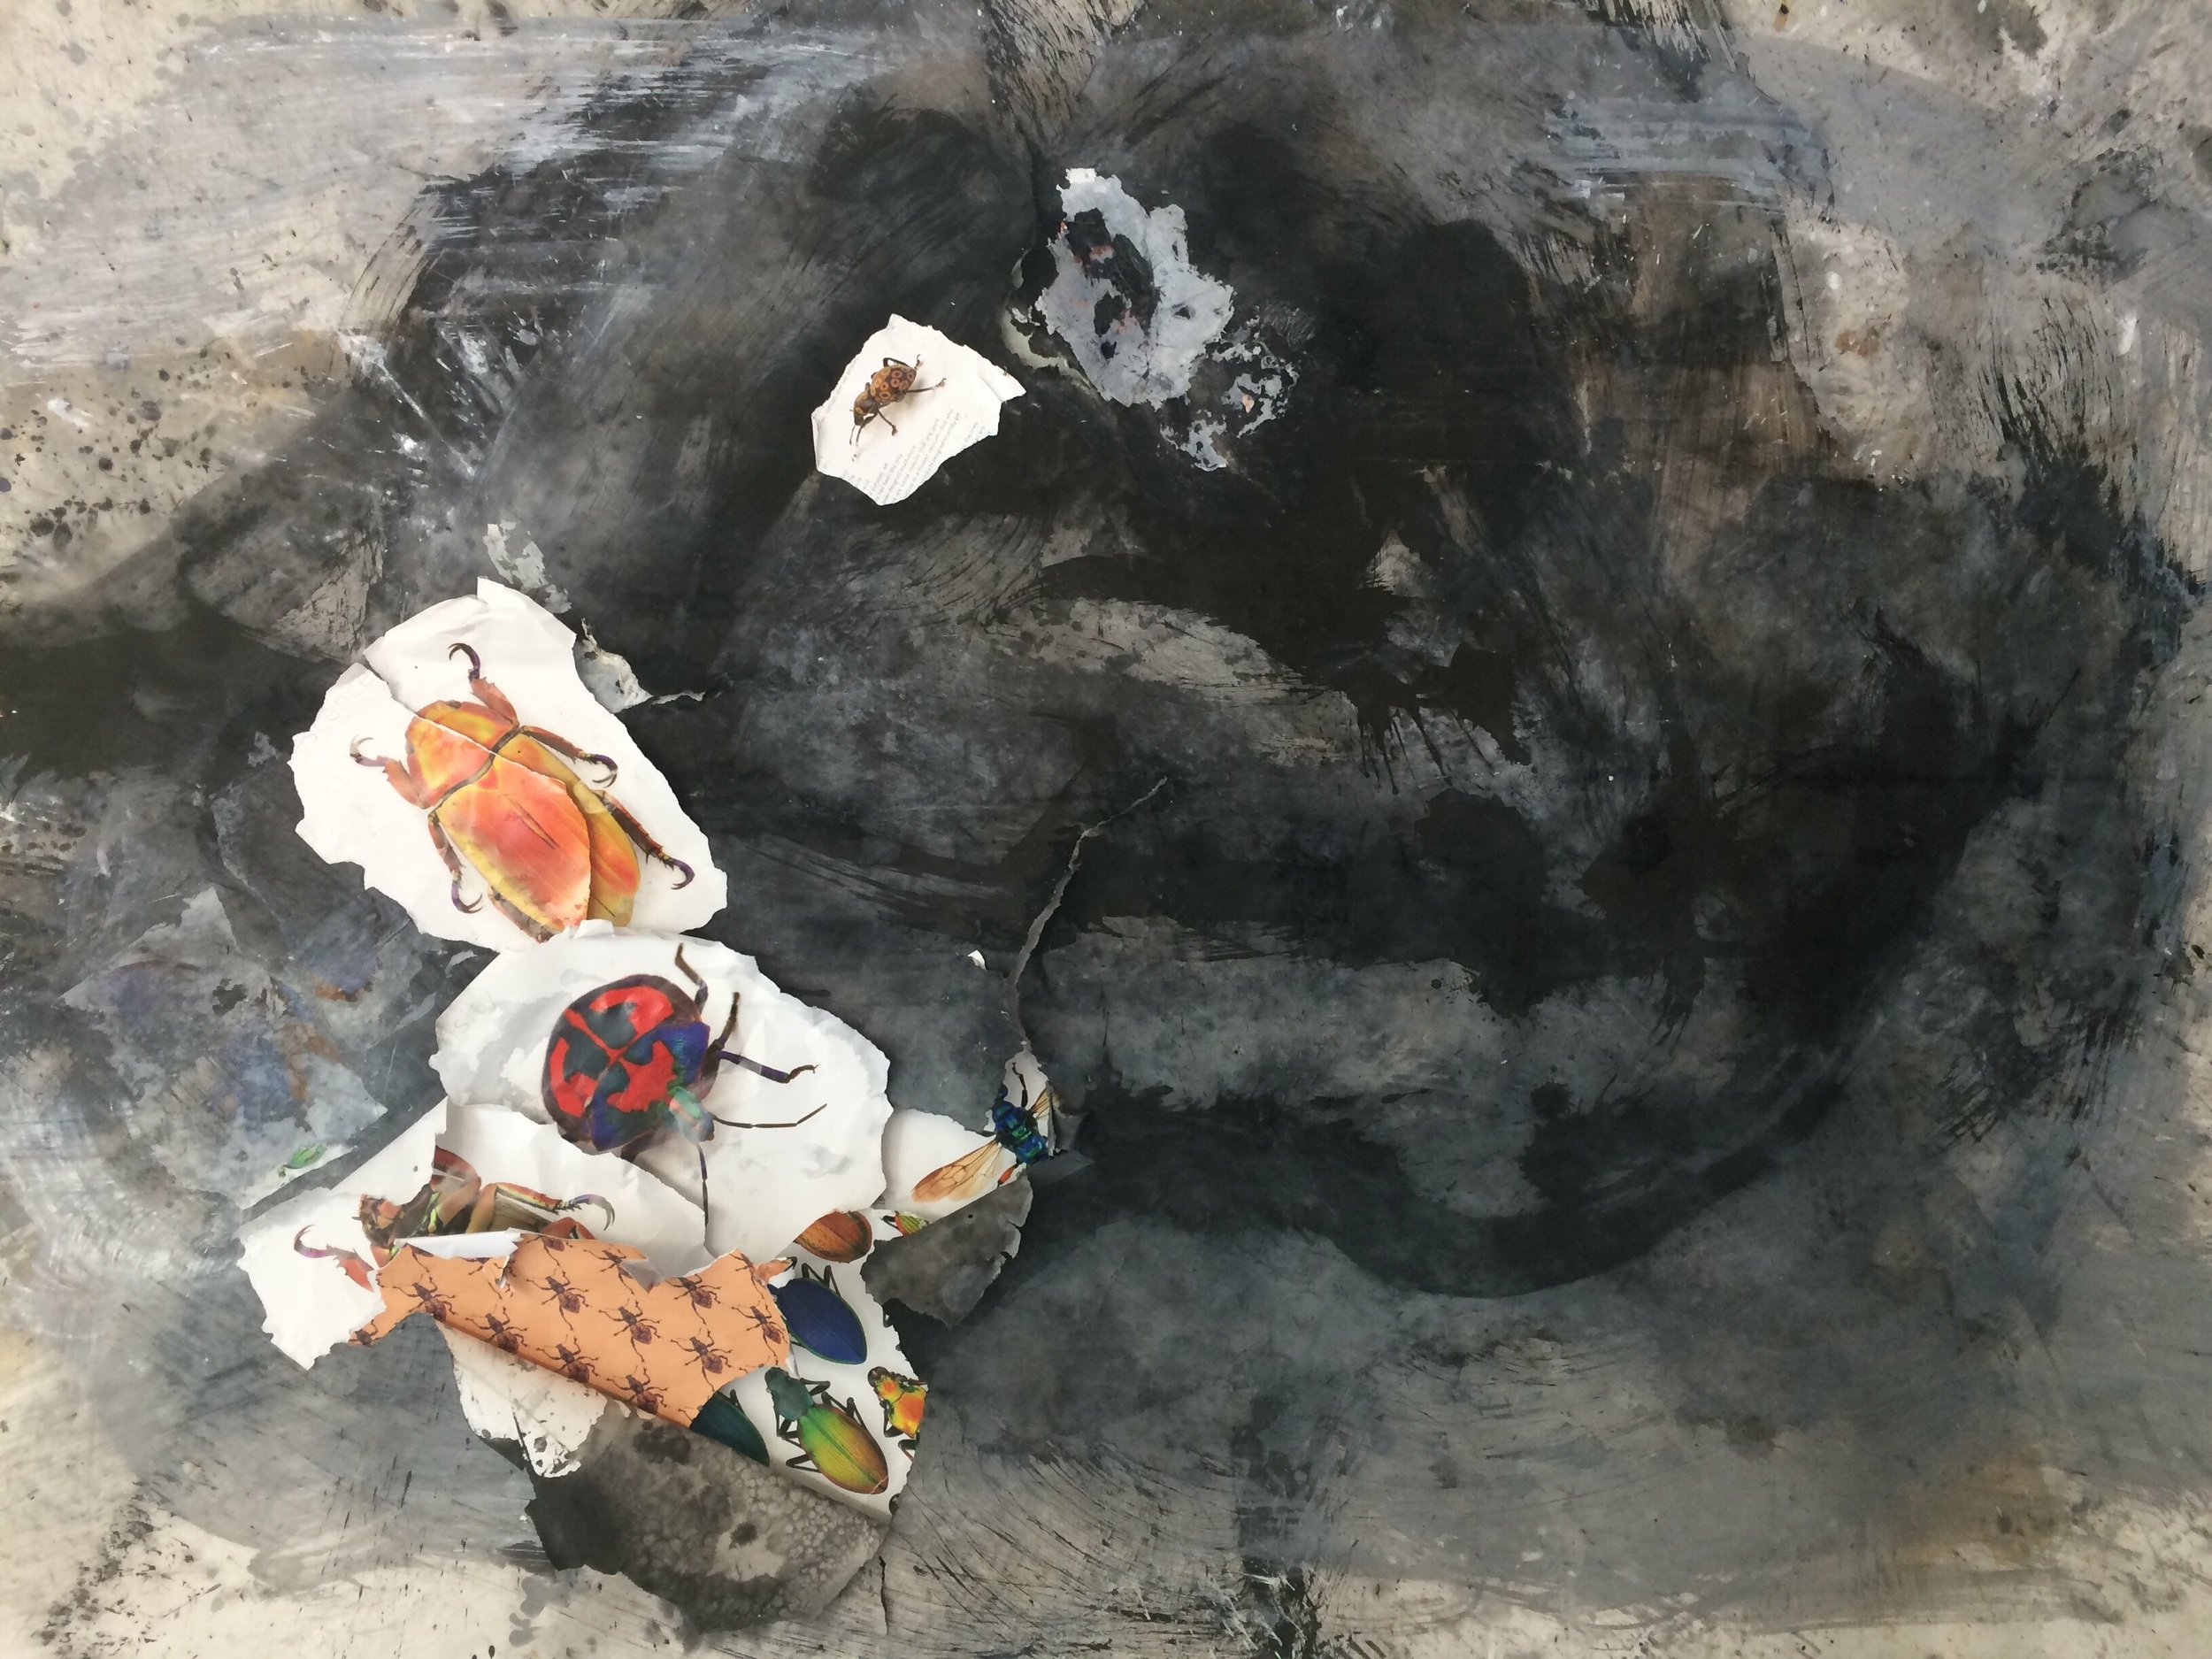
Insectum IV
24" X 19"
oil stick and graphite

insectum III
24" X 19"
oil stick and graphite

Insectum II
24" X 19"
oil stick and graphite

Insectum I
24" X 19"
oil stick and graphite
I knew it needed something - more bugs and a dash more color and tears on the upper right .

stratis de insectum
40" X 50" X 4"
collage, ink and charcoal

Detail
See the process below

stratis de insectum
50" X 60" X 4"
collage and ink
Early October my daughter, Sage baby sat our two labradors while we celebrated our 30th wedding anniversary out of town. While out of town we received a text from Sage with a picture of the beautiful coffee table book we gave her last Christmas. The book has amazing pictures of the most beautiful insects you have ever seen. It was a very nice gift and Sage loved the book. Tobi, our 2 year old Labrador had chewed on it. The book was ruined. I decided to offered Sage my book ( I have the same coffee table book) in exchange for her chewed up book. I thought I might use some of the pictures for a image transfer on a drawing or something. When I saw the chewed up page edges in layers I thought they were beautiful. Below is the book.

Coffee table book with chewed up pages.
That morning I went into my studio (garage) to start a drawing. Laying on the floor was a monumental abstract drawing of a hat from last week. I had abandoned the drawing in frustration. The piece just did not work and had several large tears in the paper. Today the tears reminded me of the chewed up layers of the book.

Last weeks monumental drawing of abstract a hat "gust" with tears
I decided to see if I could work the book pages into the abstract drawing tears. As I tore off the crumpled pages they reminded me of leaves with beautiful insects on them. I decided to not glue them flat against the paper but to only attach them like fallen leaves with bugs/insects/beetles on them.
Adding layers of pages from the book into the tears of last weeks drawing disaster.


More more more

The pages/leaves stood out too much so I added color to blend them in or camouflage the insects.

Detail
I am not sure if this is a finished piece or if it still needs something. It is very sculpture ish and maybe I should build on that take it further or maybe not. I will live with it for awhile. Any thoughts?
......and for some reason I am challenged to find a way to interpret the stereotypical western hat in a modern artistic way. I just don't think you turn your back on your heritage, you reinvent it, you see it and use it in a fresh and modern way. If I was from Europe and came to Texas I would be disappointed if I did not see western hats. And if I saw them in a new light I would think. Wow! These people have an interesting history and are very contemporary.

"Gust I abstract"
24"X 19 "
kwink and ink
How was that?
true to my heritage ✅.
????
I am guilty of adding too many fresh ingredients and I would do it again.

Rattenkonig
Found object 31" X 44"
ink, and charcoal
The drawing assignment - create a drawing with the subject matter of a Rat King. If you do not know what rat king is I will just tell you it does not make for good dinner conversation. Please do not look it up until after you see my drawing and story. I am not joking do not look it up. For me the challenge was how to make a drawing of a rat king palatable to look at. I was not sure why in the 1600s they called this freakish event rat king but to me it looked somewhat like a mythical crown for a mythical king. As a result my "Rattenkonig” requires a narrative and aa lot of abstract imagery.
Below is a brief summary of a narrative to explain the rat king phenomena and my drawing-
The story of Rattenkonig is the story of a boy king. In fact his father the King mysteriously died when the evil queen noticed his mother Alina, the king's mistress was with child. When the King died the queen ordered Alina's head to be cut off. Alina was barely able to escaped into the black forest. She knew the queen would never stop looking for her so she had to hide in holes and caves places no one would ever dream of looking for a woman and a child. Alina gave birth in a hollowed out tree trunk inhabited by all kinds of gnarly creatures. She and the baby boy king spent their days in the under world of the forest only to walk freely in the forest at night. The living conditions were safe from the queen but horrendous at first. The boy king was gentle and smart he was able to train the animals of the Black Forest to be to loving and kind. They would protect the boy king and his mother. Even the grimmest of creatures became sweet and loving and played with the boy. When the evil queen finally died the forest celebrated. The forest animals wanted all to know the boy was the rightful king of the land and wanted him to have a crown. The rats of the forest wove their tales into a rat knot to form a crown for the boy. And that is why they call this phenomena the rat King. The young boy and his mother were able to return to the castle and lived happily ever after and the boy loved his crown and often went into the forest to be with nature.
I felt it was particularly suitable to make this piece on a found object.
Normally I like to exercise first thing in the morning outside but hurricane Patricia is still hanging out in my neighborhood so I decided to be creative in the kitchen.

B.L.T.
2" X 4" X 4"
Fresh local tomatoes, cilantro, local free range egg, pepper bacon, revival market mustard
on
Ezekiel flax seed bread toasted
We were out of avocados. A little avocados would have been nice. Those of you who know me are probably shocked I am eating bacon. Sometimes you have to break the rules.

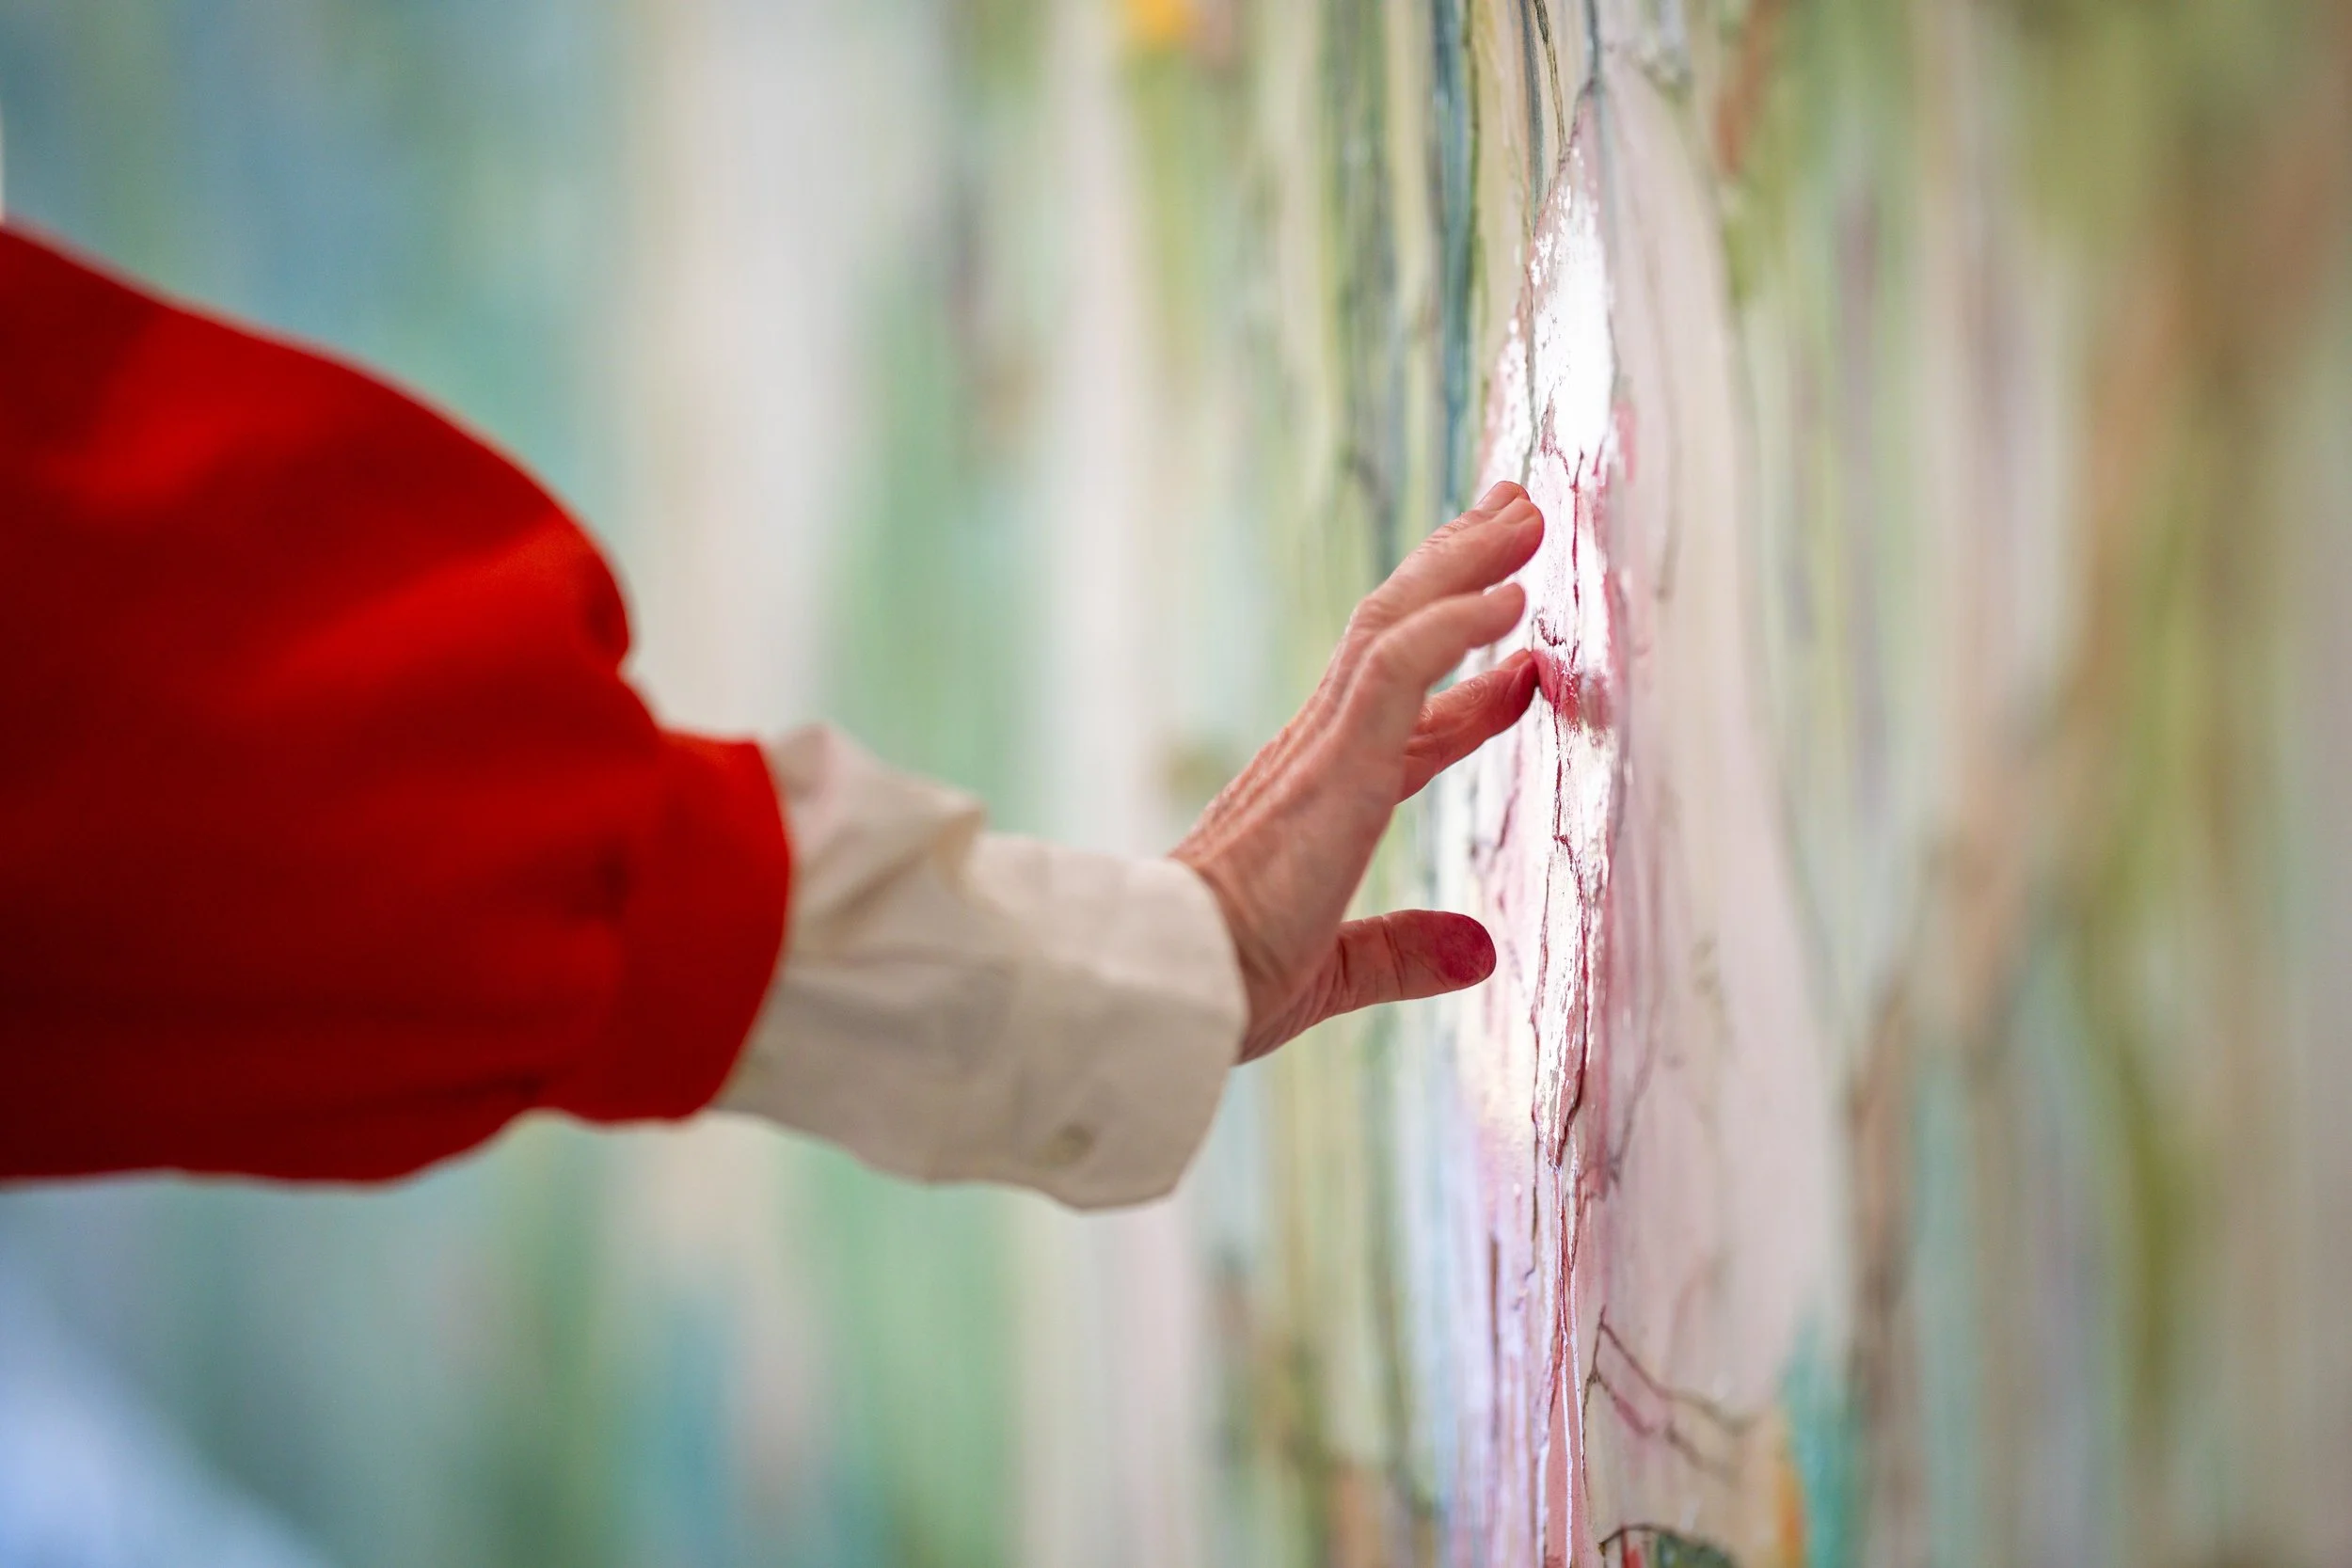
murmur of water
79" X 50"
ink, pastel and paint on Stonehenge.
Step 1- rough in stripes w pencil.

Step 2- apply black house paint in large horizontal stripes. Texture black stripes vertically with broom. I think it is this step that makes the piece.
Step 3- apply ink. Let the ink work itself into the texture from the broom.

Step 4- apply pastels in rows of individual stripes until satisfied.

Detail if pastel
See "murmur of water" post I to see what inspired this piece.
Sign up at the end of the blog to receive email.