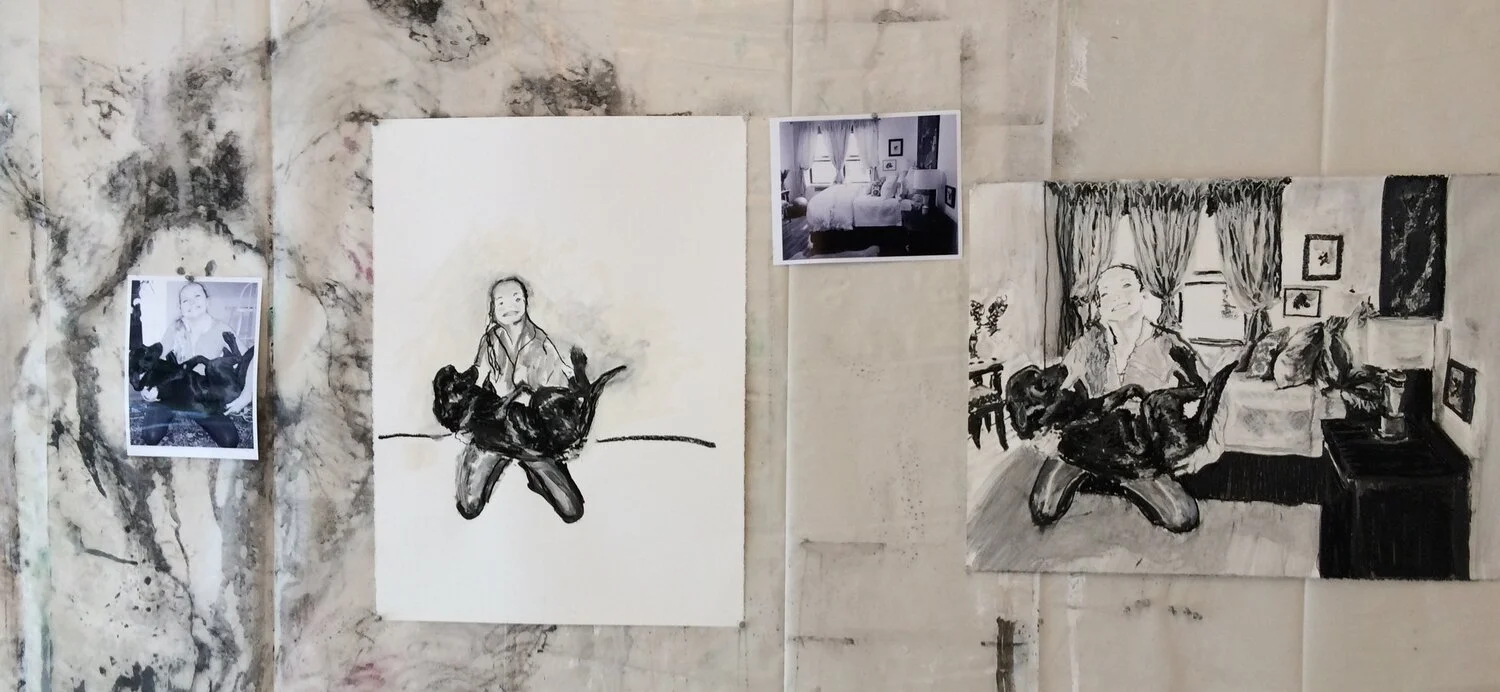

Still struggling with the title of work as I shoot the piece.
Serendipity- patina
I used a wire brush attached to my pneumatic tool and shined her up.

Almost finished

I purchased some 3m polishing disc that fit my pneumatic and continue polishing.


High gloss
The final stage is to seal the patina, photograph her and document her deminsions and lastly determine the title of piece. I need suggestions-
i am considering "holla holla", "raise the roof", "katinka katinka na na na"
Headstands - ready for patina

The first headstand

Headstand #2 - piggy tails
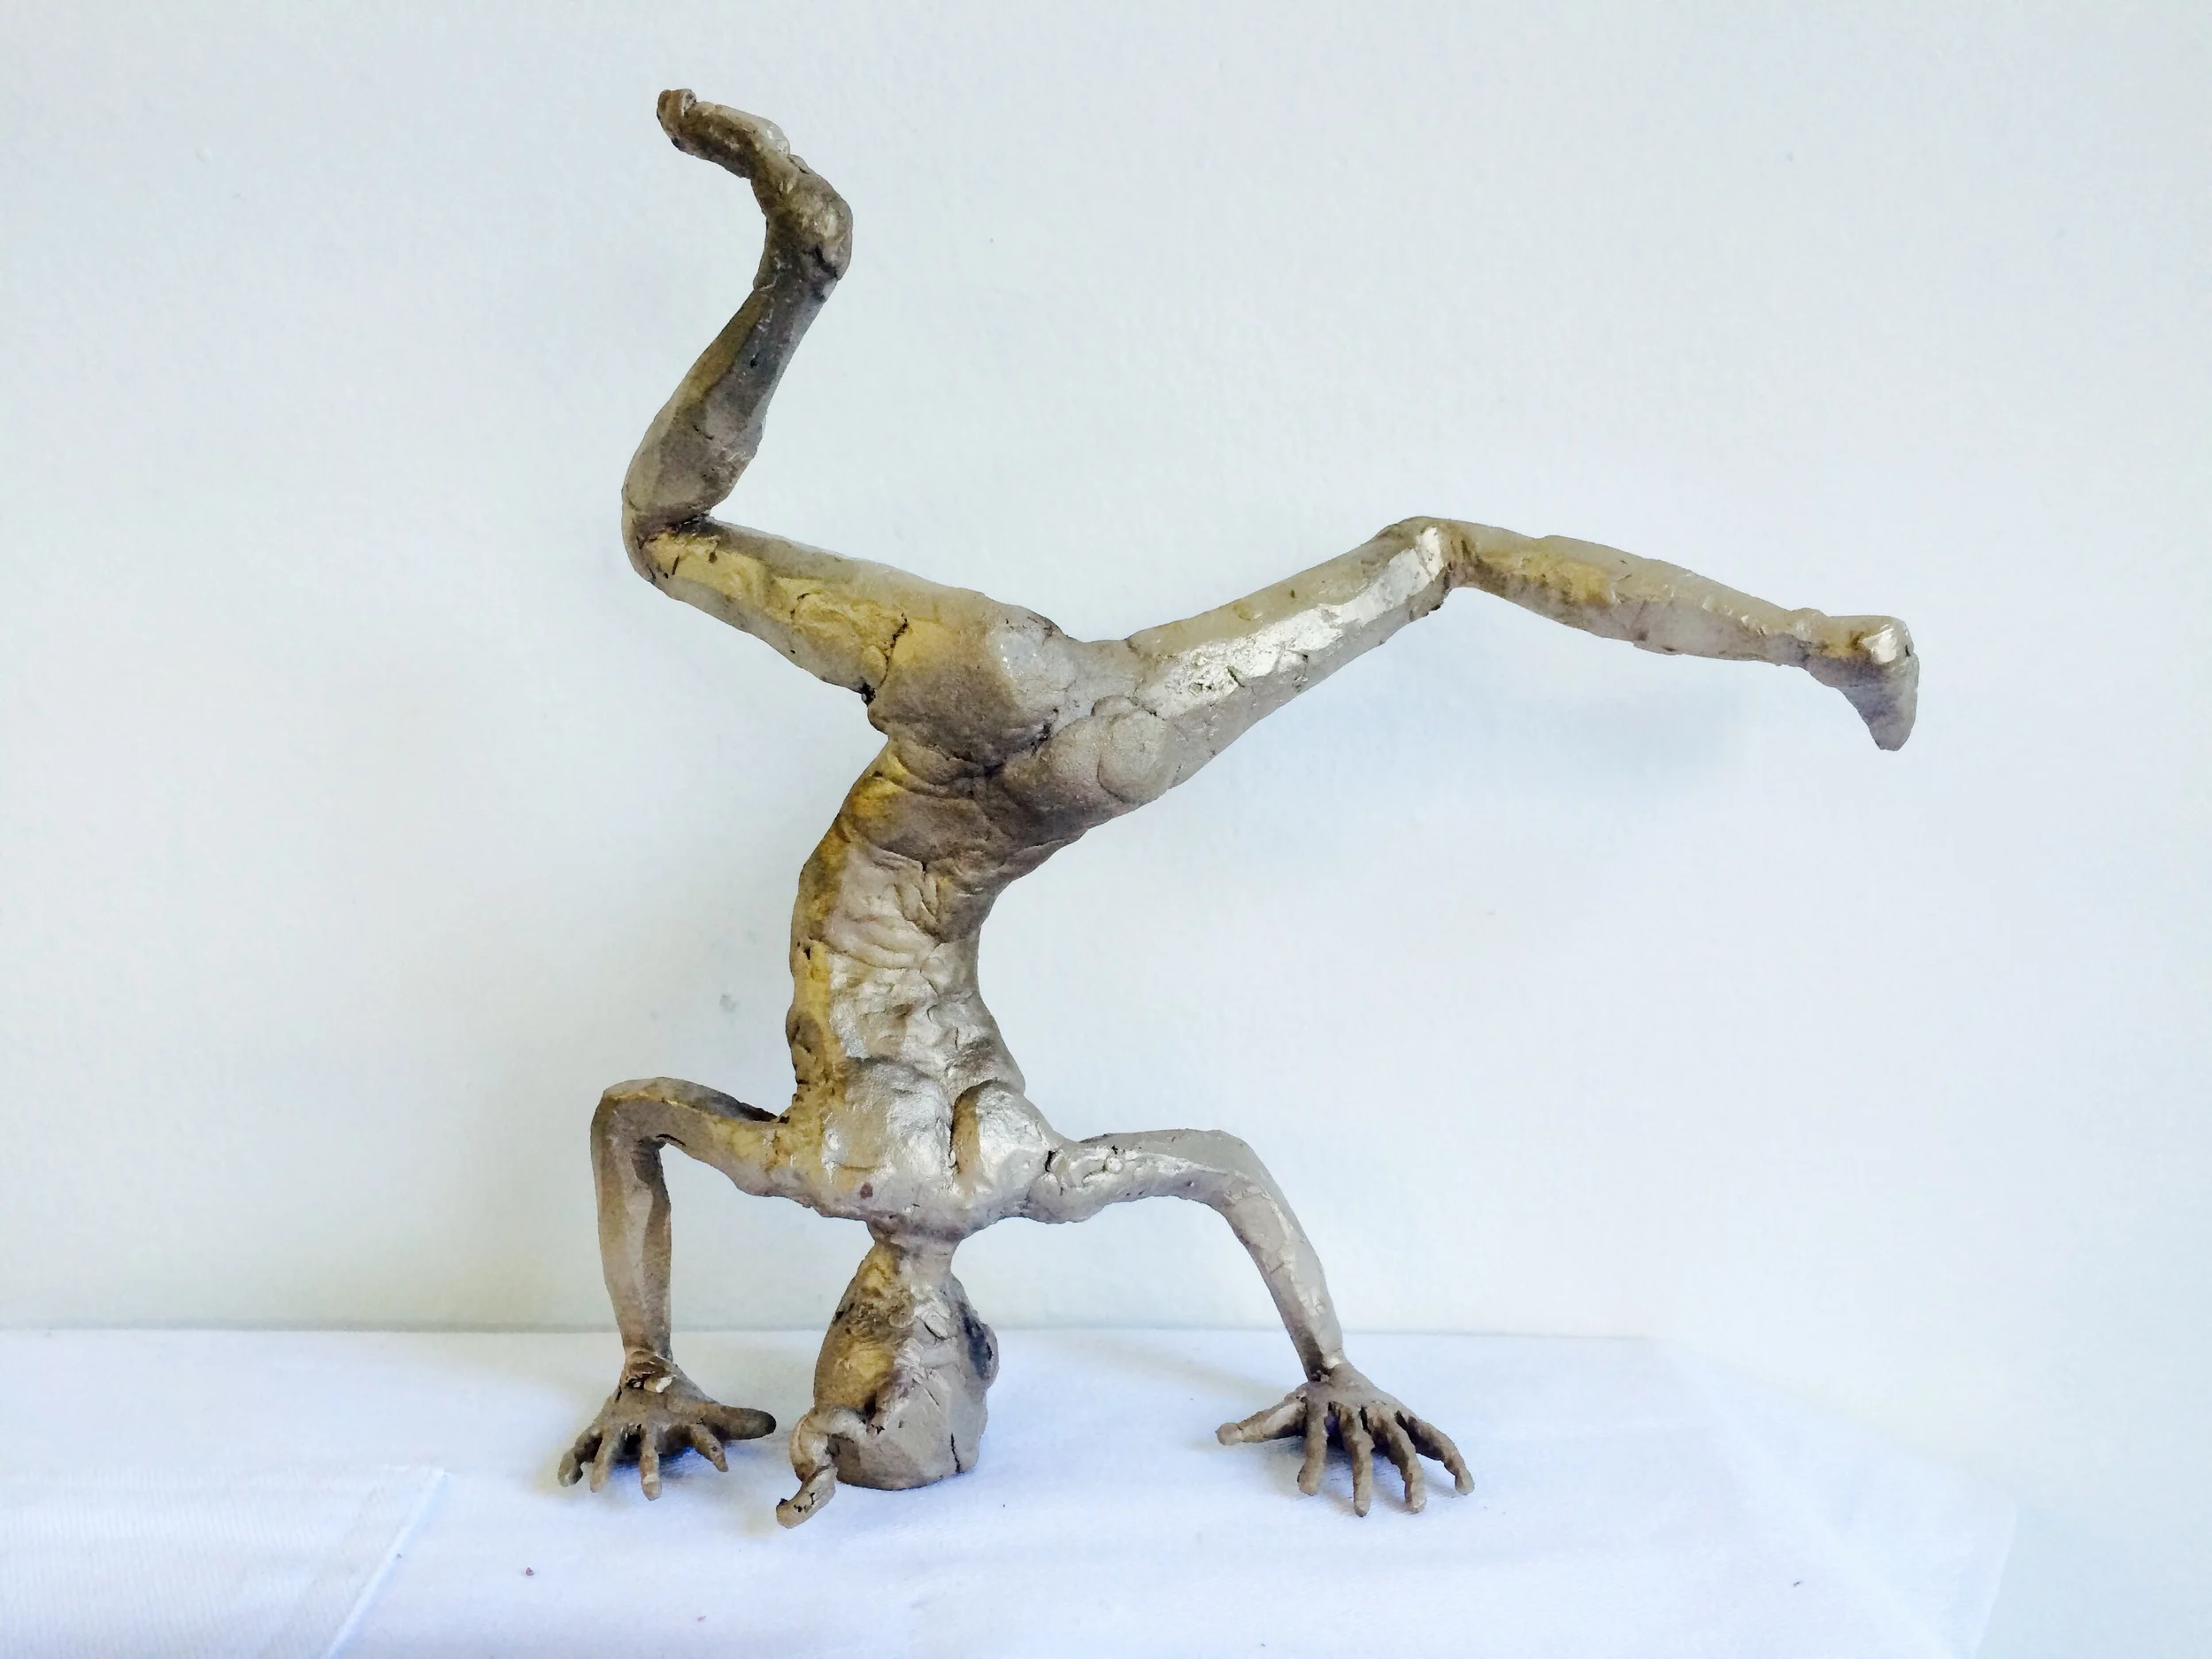
Headstand #3 - pony tail
I am considering a high gloss finish or my standard white. And I am debating whether I should put them on a concrete blanket similar to the happy dog bed but much thinner. Decisions decisions ............
headstands and serendipity - molds
Once the sculptures are cast in bronze and chased I take mine to Legacy fine art foundry and have them make me molds of the pieces. I could do this my self but it is very time and space consuming. First they make a silicone mold then they reinforce the silicone with a mother mold which is plaster.

The 3 headstands and serendipity molds held together with giant rubberbands.

The first headstand mold opened. The dimples are registers to make sure the two sides are properly lined up. This mold includes the sprue system that would be used to get the bronze into the piece.

Head stand #3

Head stand #3

Serendipity
I will keep these in a safe cool place in order to make reproductions of my originals.
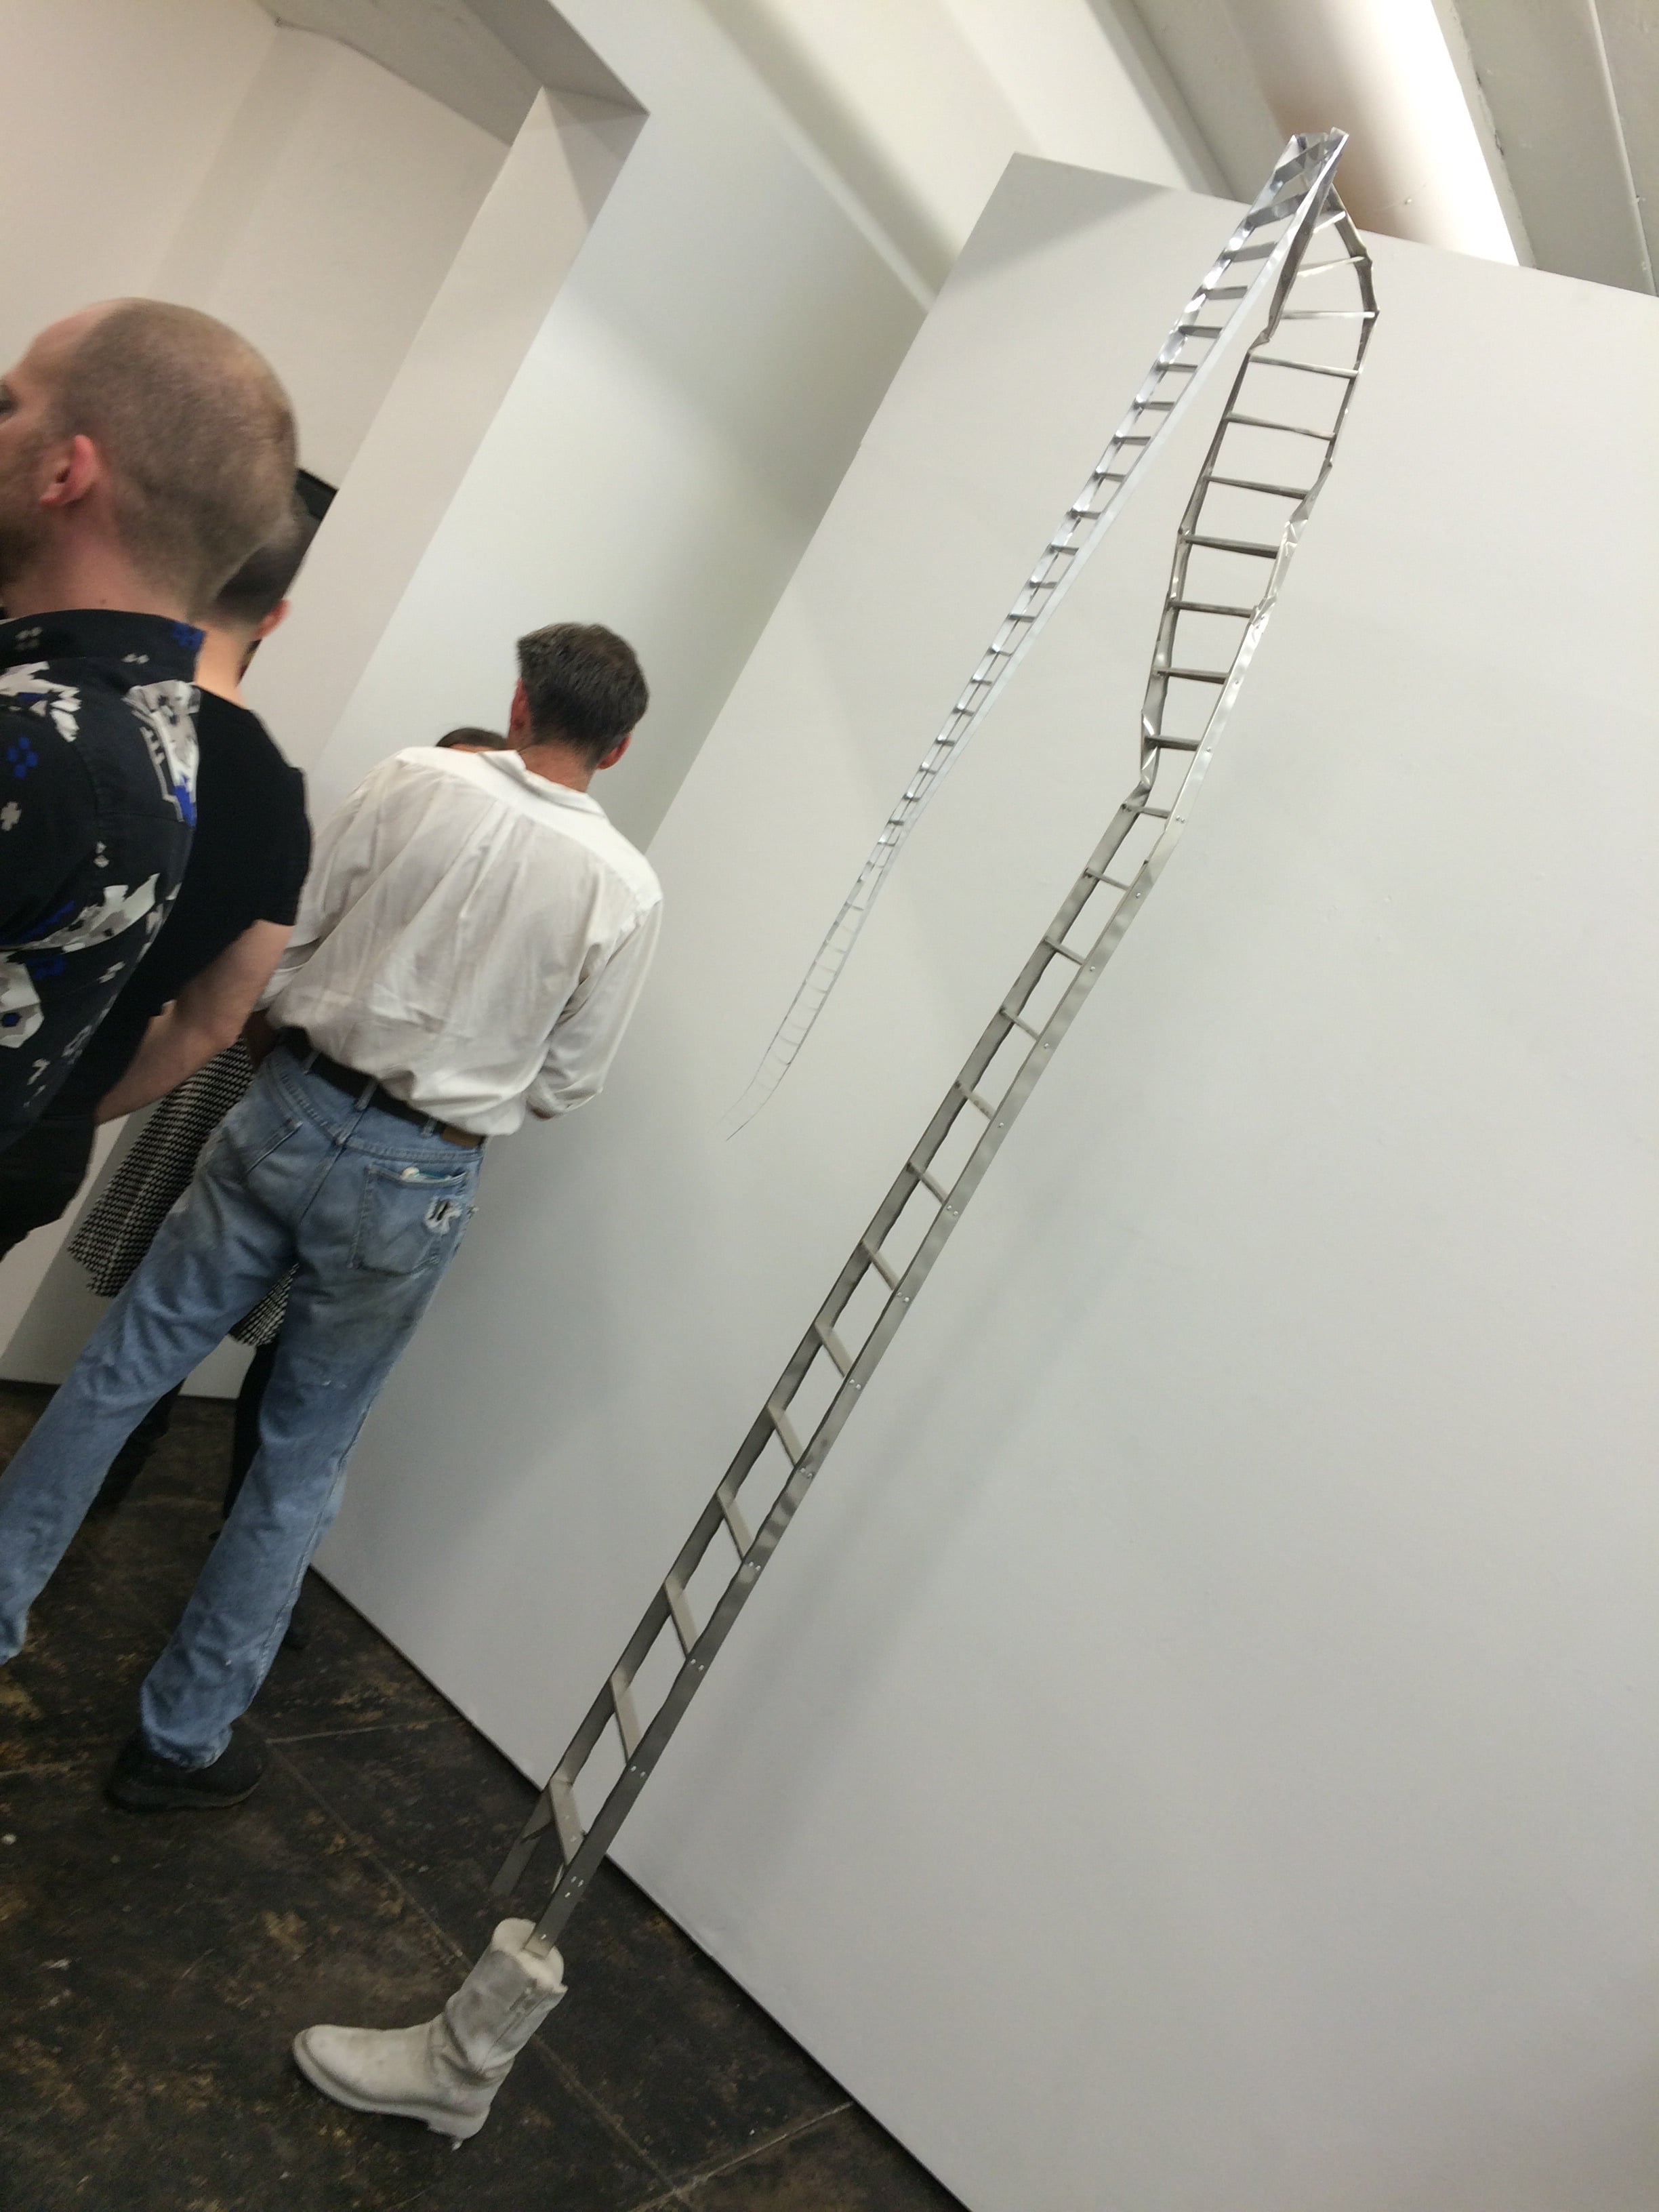
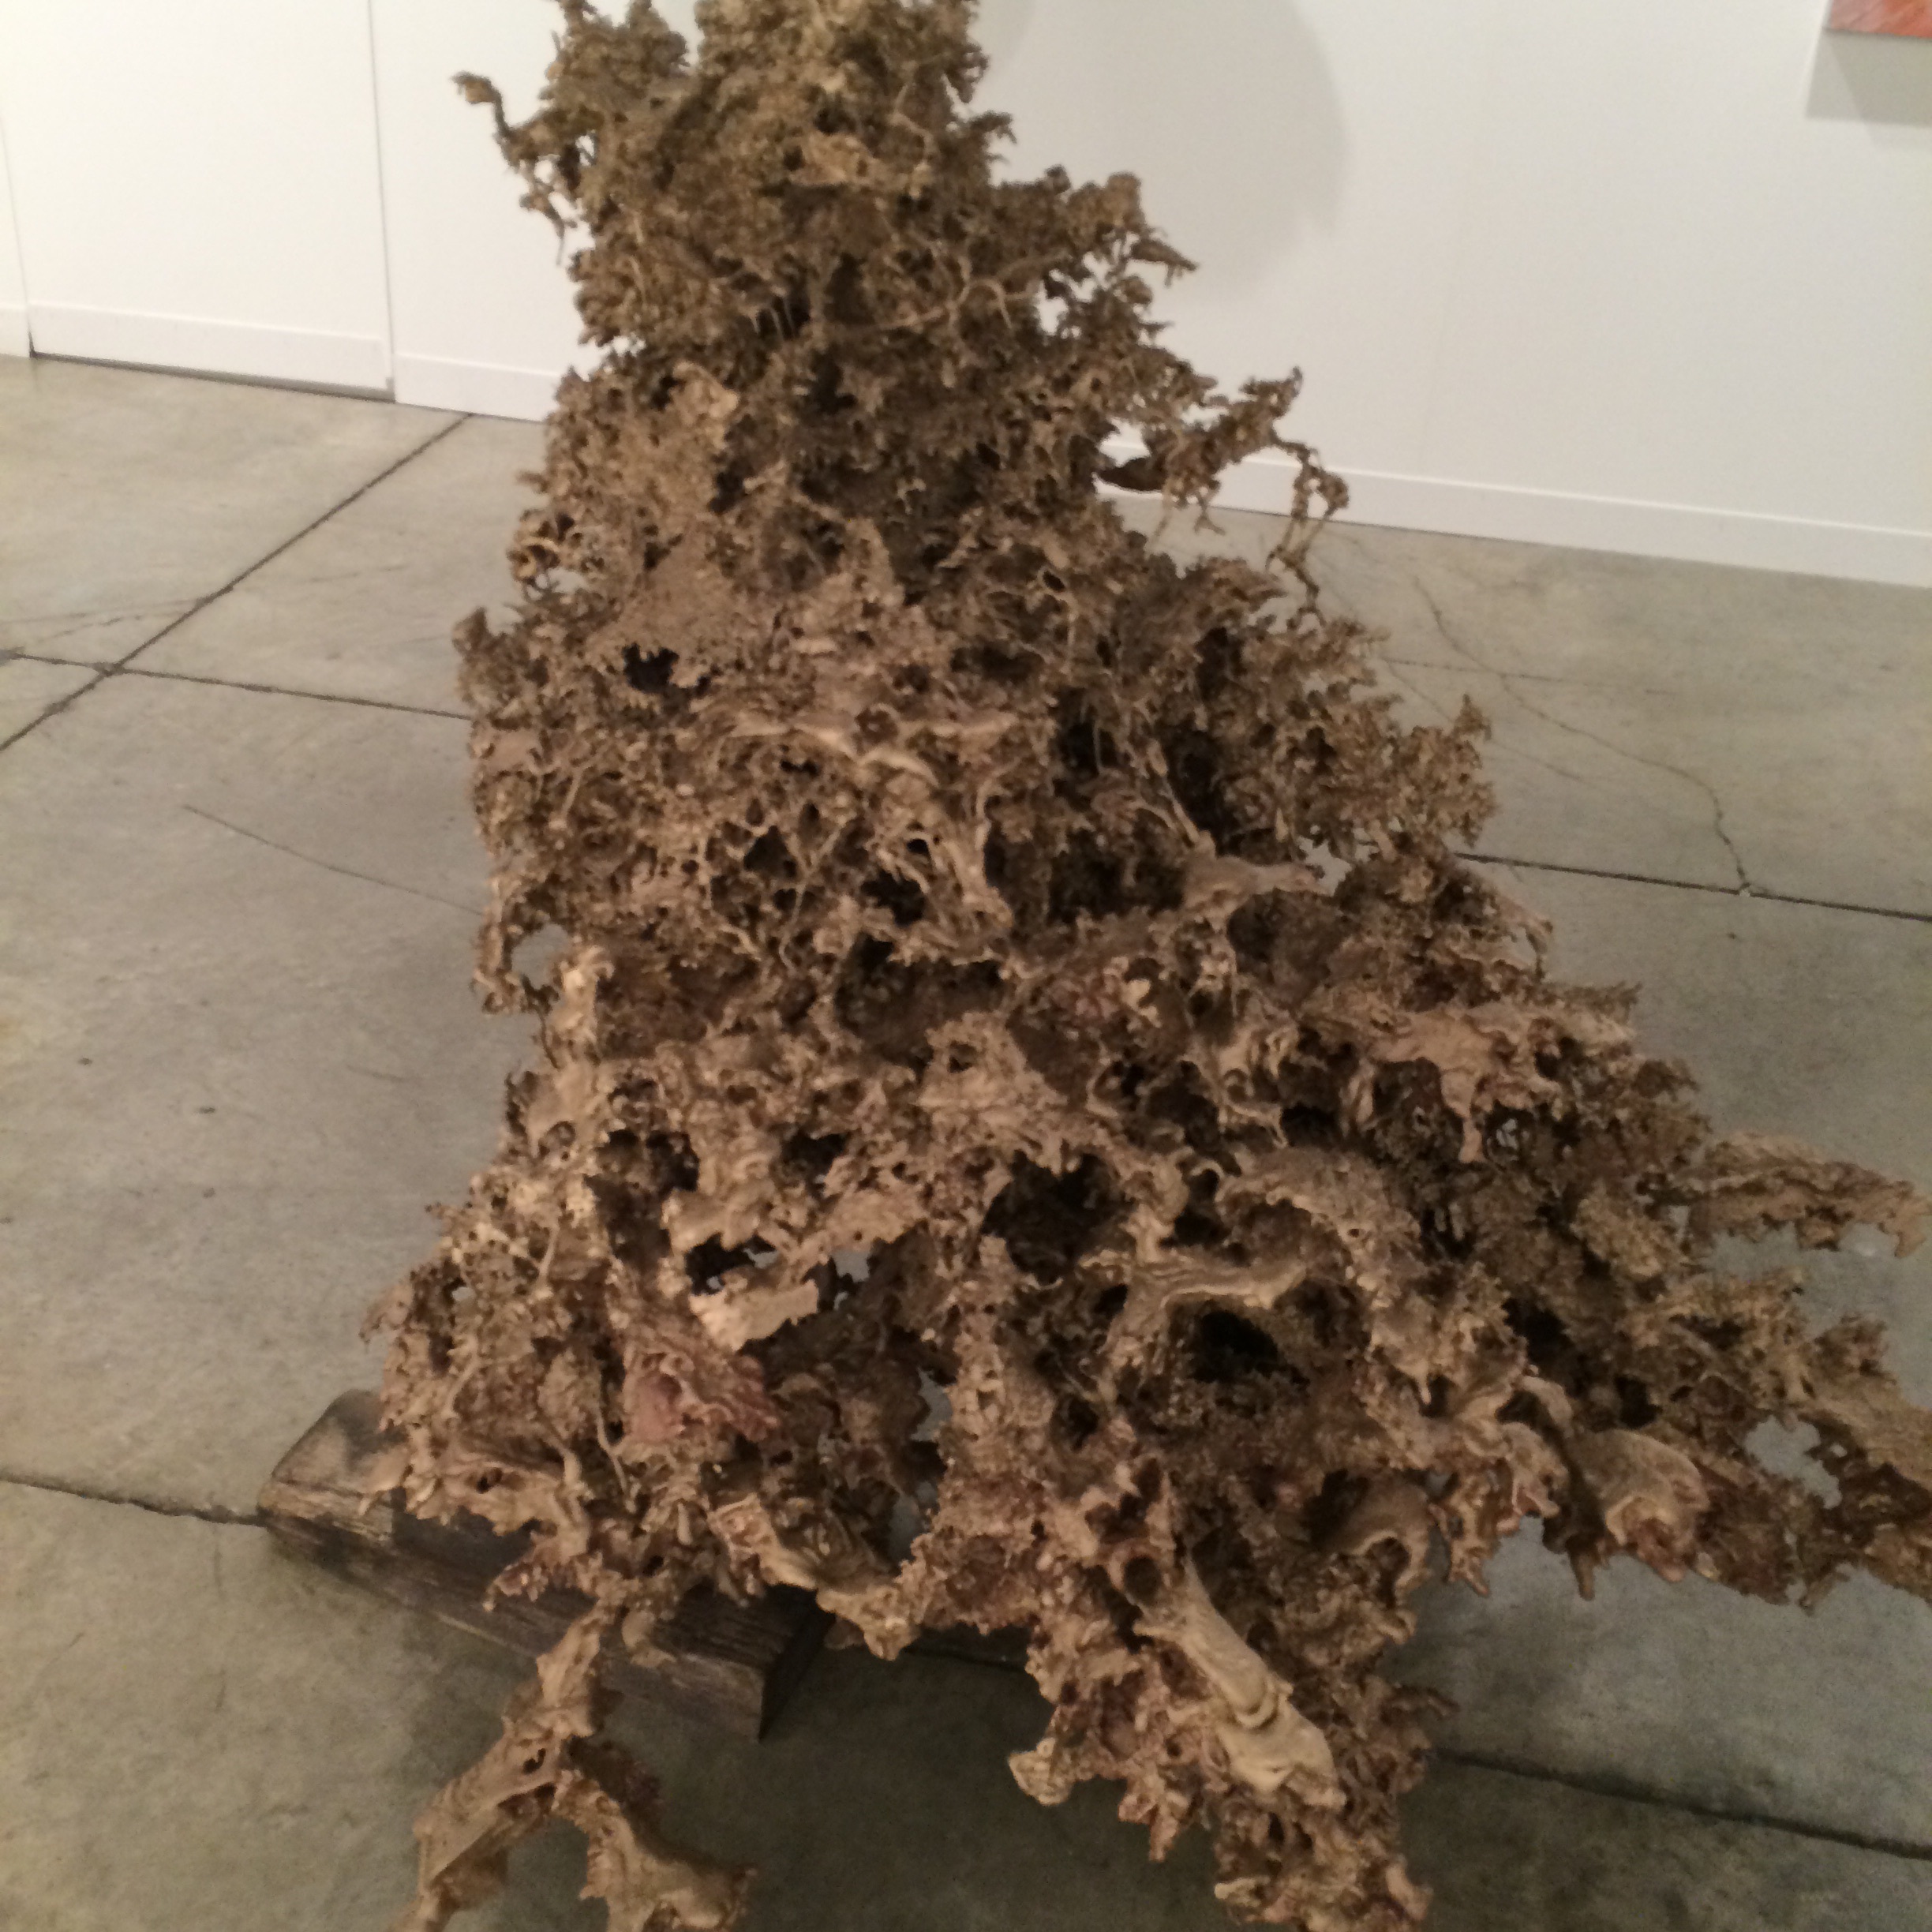
Devin Borden Gallery- Paul kittelson show
I try not to miss Paul's shows because they always make me feel good. His ability to find beauty in simple everyday objects and materials is beyond clever. Below are a few of my favorites.
For better pictures of Paul's work here is a link to his website www.paulkittelson.com
This is aluminum siding and concrete
Fellow artist Daniel Calderon and a student of Paul's commented that the above piece references aging or life. With this comment in mind I re- looked at the piece. Now when I see this beautiful work I am reminded how important it is to stay grounded. With a stable footing the twist and turns, and the ups and down life offers will not throw you off balance but will be what distinguishes ones life as exceptional. There really is a beauty to a life well lived. This will be a delightful sculpture for someone's contemporary collection.

Of course I loved this piece: wood grain with a hint of disco ball some of my favorite ingredients.

I do have a weakness for works on paper and the natural curve of this piece makes it a work on paper and sculpture.
The opening was very crowded and it was hard to get good photos. Please post any photos you have on our sculpturehouston Facebook page.
My Art/Sculptor bucket list
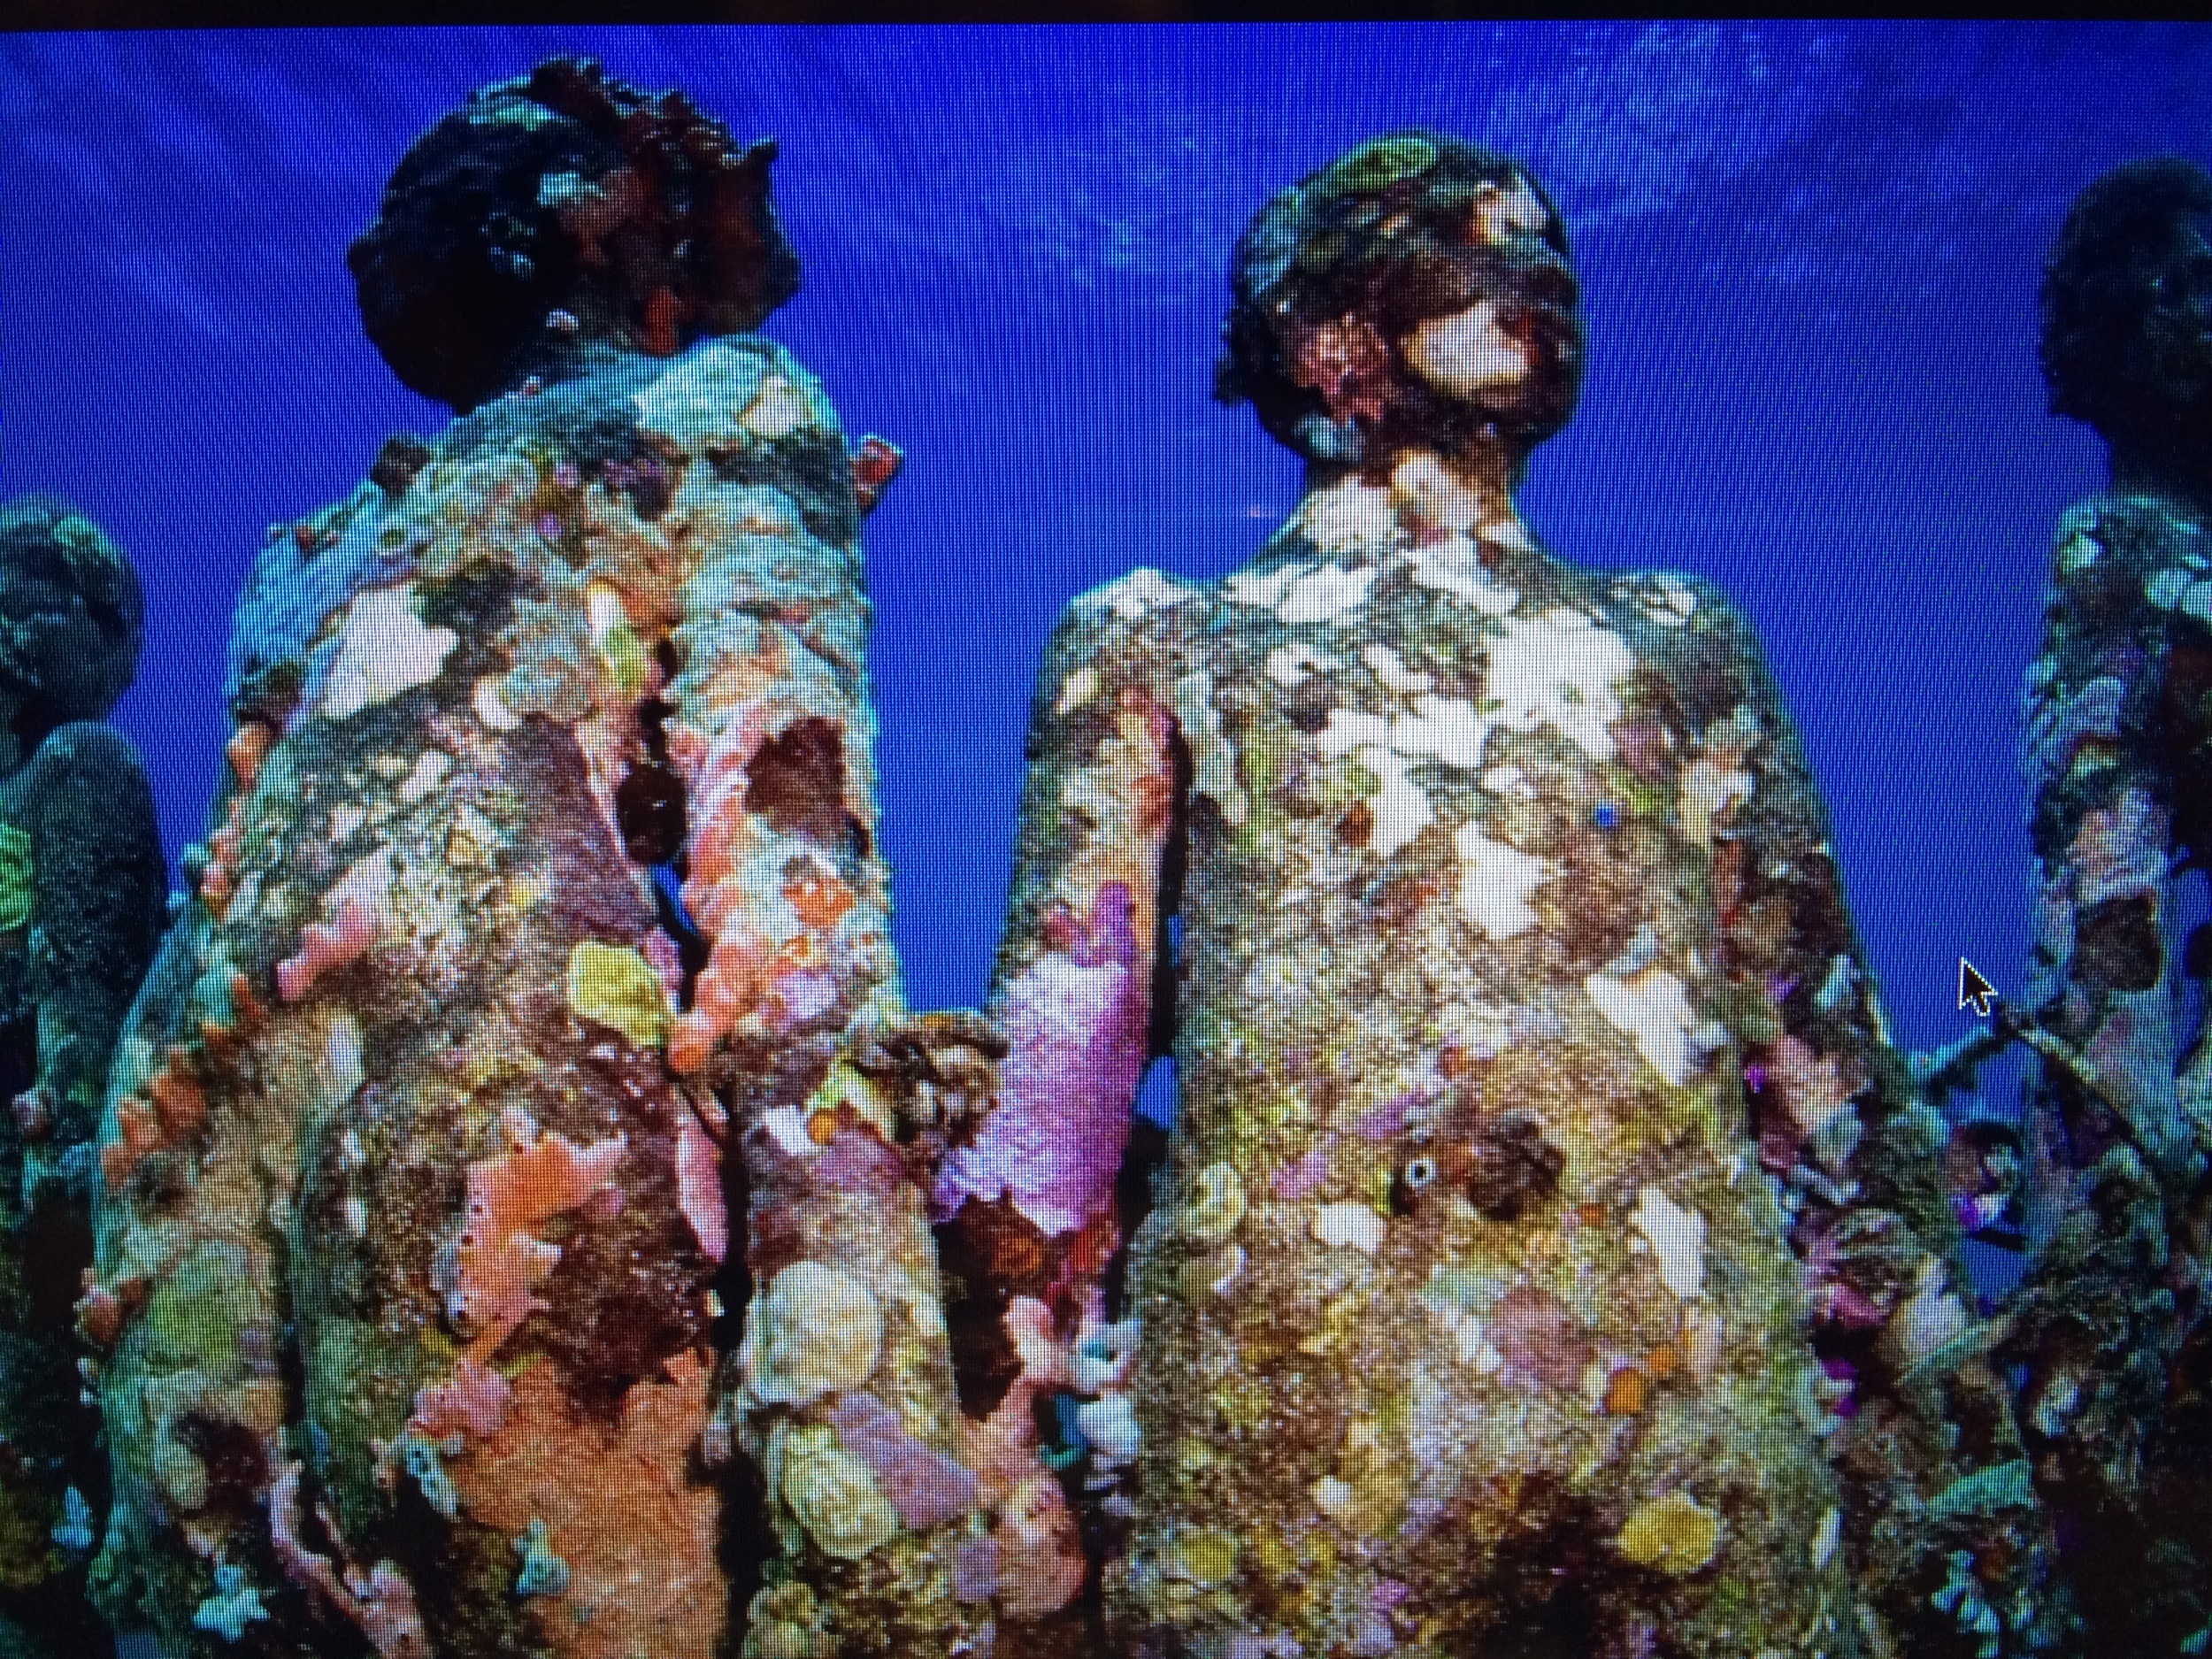
I just added to my art bucket list- to have a sculpture in an underwater museum.
I went for a run this am and heard Jason deCaires Taylor: An underwater art museum - teeming with life, Ted talk on my podcast app. I immediately came home and sat at my computer to see the talk with the visuals. Links to the pod cast and the actual Ted talk video are below as well as some photos I took as I watched the video.
ph neutral cement ✅
texture✅
nature✅
definitely sustainable living✅
It is a shame our Texas coast is not crystal clear for snorkeling. We could probably still use some art/coral under our waters. Maybe there is a way to make it visible with special lighting????? Where there is a will there is a way.


Picasso's sculpture @ MOMA
My son sent me this article from The Washington Post- In a MOMA retrospective, Picasso’s sculpture is still full of surprises - The Washington Post
https://apple.news/Aav06bpF1SdyTIuouEj4pIQ
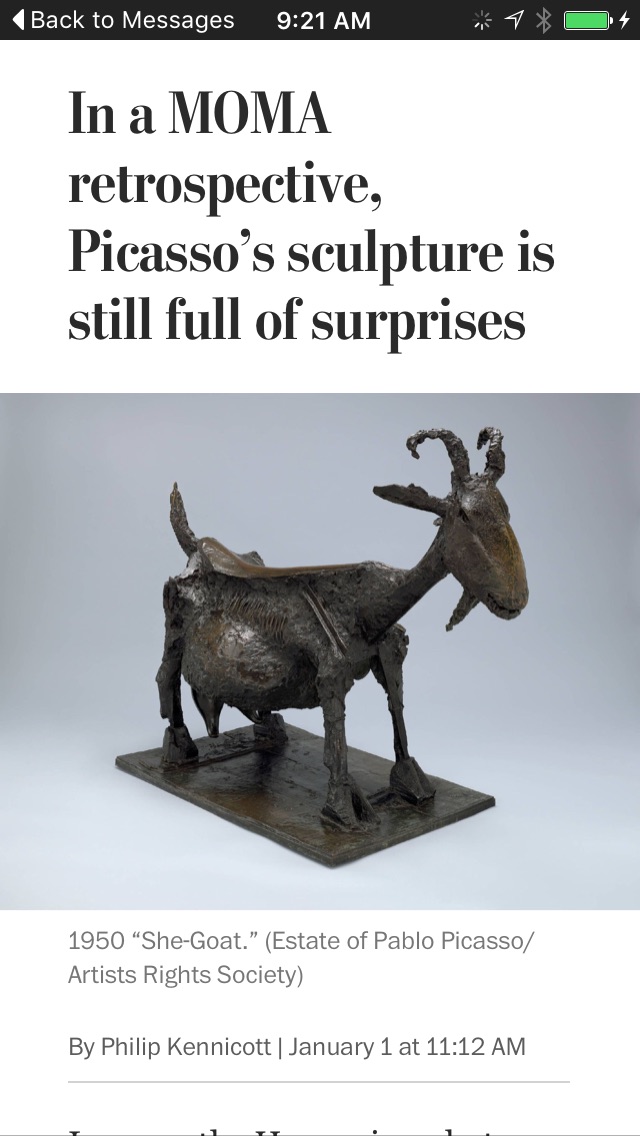
Screen shot of the article
The link at the end of the article takes you to the MOMA site and a link to take the tour. I saw it on my phone. It would only take a little arm twisting to get me to go see it before it closes.
MFAH Cullen sculpture garden features Glassell emerging artist
Didi Garza and Will Isbell Glassell sculpture die hards and part of the museum block program have work exhibited In the Cullen Sculpture Garden. To see more of Didi's work check out her website. http://www.didigarza.com/

Cullen Sculpture Garden

Detail on Will Isbell's piece.
It is so refreshing to see the MFAH supporting Houston artist.
Fairy tale chair patina
I finished this chair in 2012. I put a dark patina on it so it would fade over time like you see old wood in nature. I walked by it this morning and feel pleased to see the outer edges fading nicely with and the cracks staying dark. Ten more years and it might be ready to sell. 😳 old faux Bois is the best faux Bois.


Metal work
Serendipity's fingers needed a little work.

After I cut off the sprues her fingers were not as long as I wanted them. (Thank you David Medina for for help with this).

Then they were too long and I had to grind them down.

Fingers are finished.
Then they were just right.

If these fingers could talk the stories they could tell.


Here she has been sand blasted and is ready for her patina.
I am thinking of a high polish bronze
Insightful I and II by American artist Patrick Palmer.
Are these big heads and soulful eyes cool or what?
I came home from Art Basel early to make Patrick Palmer's open studio Saturday night. My intention was to get one of Patrick's heads to commemorate Curtis' 2016 retirement instead I purchased these two for me. Patrick will have another open studio December 12th at silver street studios.

Insightful I and II
Headstands
They stand! I am so relieved. 😊

Bronze
A bit more sand blasting and then I will apply the patina.
Art Basel=The Stendhal Syndrome. Here is a peak from the design district and art basel

A few that I was able to get photos of.

One of my favorites
A sculpture - detail


So much better in person

Negative space speaks volumes


Life size sculpture/candle

Beautiful gallery in design district the - I am there somewhere.
Amazing casting - tw thought of breaking out that shell and sandblasting makes me feel ill.

Love the colors in her skin


Detail - this was/is a monumental and it is an embroidery- wait what????? That is a lot of stitching even for me.

Interesting colors/quantities

If you are going to art Basel you need 3 days.this was too much to take in.
Art Basel at the Bass sculpture garden

Close up - such beautiful texture and rhythm.
Cool use of basic construction material.

From a distance
All the art and I am mesmerized by this tree and the ages loved confessed on its bark. Lovely mark making.

The light 👋🏻👋🏻
Headstands - the shells are off
Here they are as they were poured. You can see the cup on the top.


The next step is to cut off the cup and the sprues used to vent the piece during the pour.
stratis de insectum

stratis de insectum
50" X 60" X 4"
collage and ink
From wax to bronze #6 breaking off the shell and doing the metal work
The shell the day after the pour.

Looking into the shell full of bronze from the top of the cup.
The shell is broken off with a sledge hammer and a chisel. It is exciting to finally get to see the piece in bronze. Luckily the bronze got into every cavity of the shell it does not always.

Serendipity after knocking off the shell.

Serendipity with more shell cleaned off.
Next to cut off the sprues with my angle grinder.

Sprues are cut off
Here she is with the cup still attached.

Serendipity with cup attached. The fingers need some metal work.
Once the sprues are detached the chasing begins.

Working on the fingers.

Removing all traces of the sprues with a pneumatic cutter.

I am almost Finished with the chasing.

The metal work is finished
The last step is applying the patina.
Keep an eye out for the patina post.
Video- From wax to bronze #5 - bronze pour
The first thing we do the day of a pour is double check each piece and make sure all cracks are patched. Then we calculate how many pounds of bronze we will need to fill each piece.

Bronze
Next we weigh the bronze needed and heat it in the furnace.
As the bronze heats up the shells are put back in the kiln to preheat.
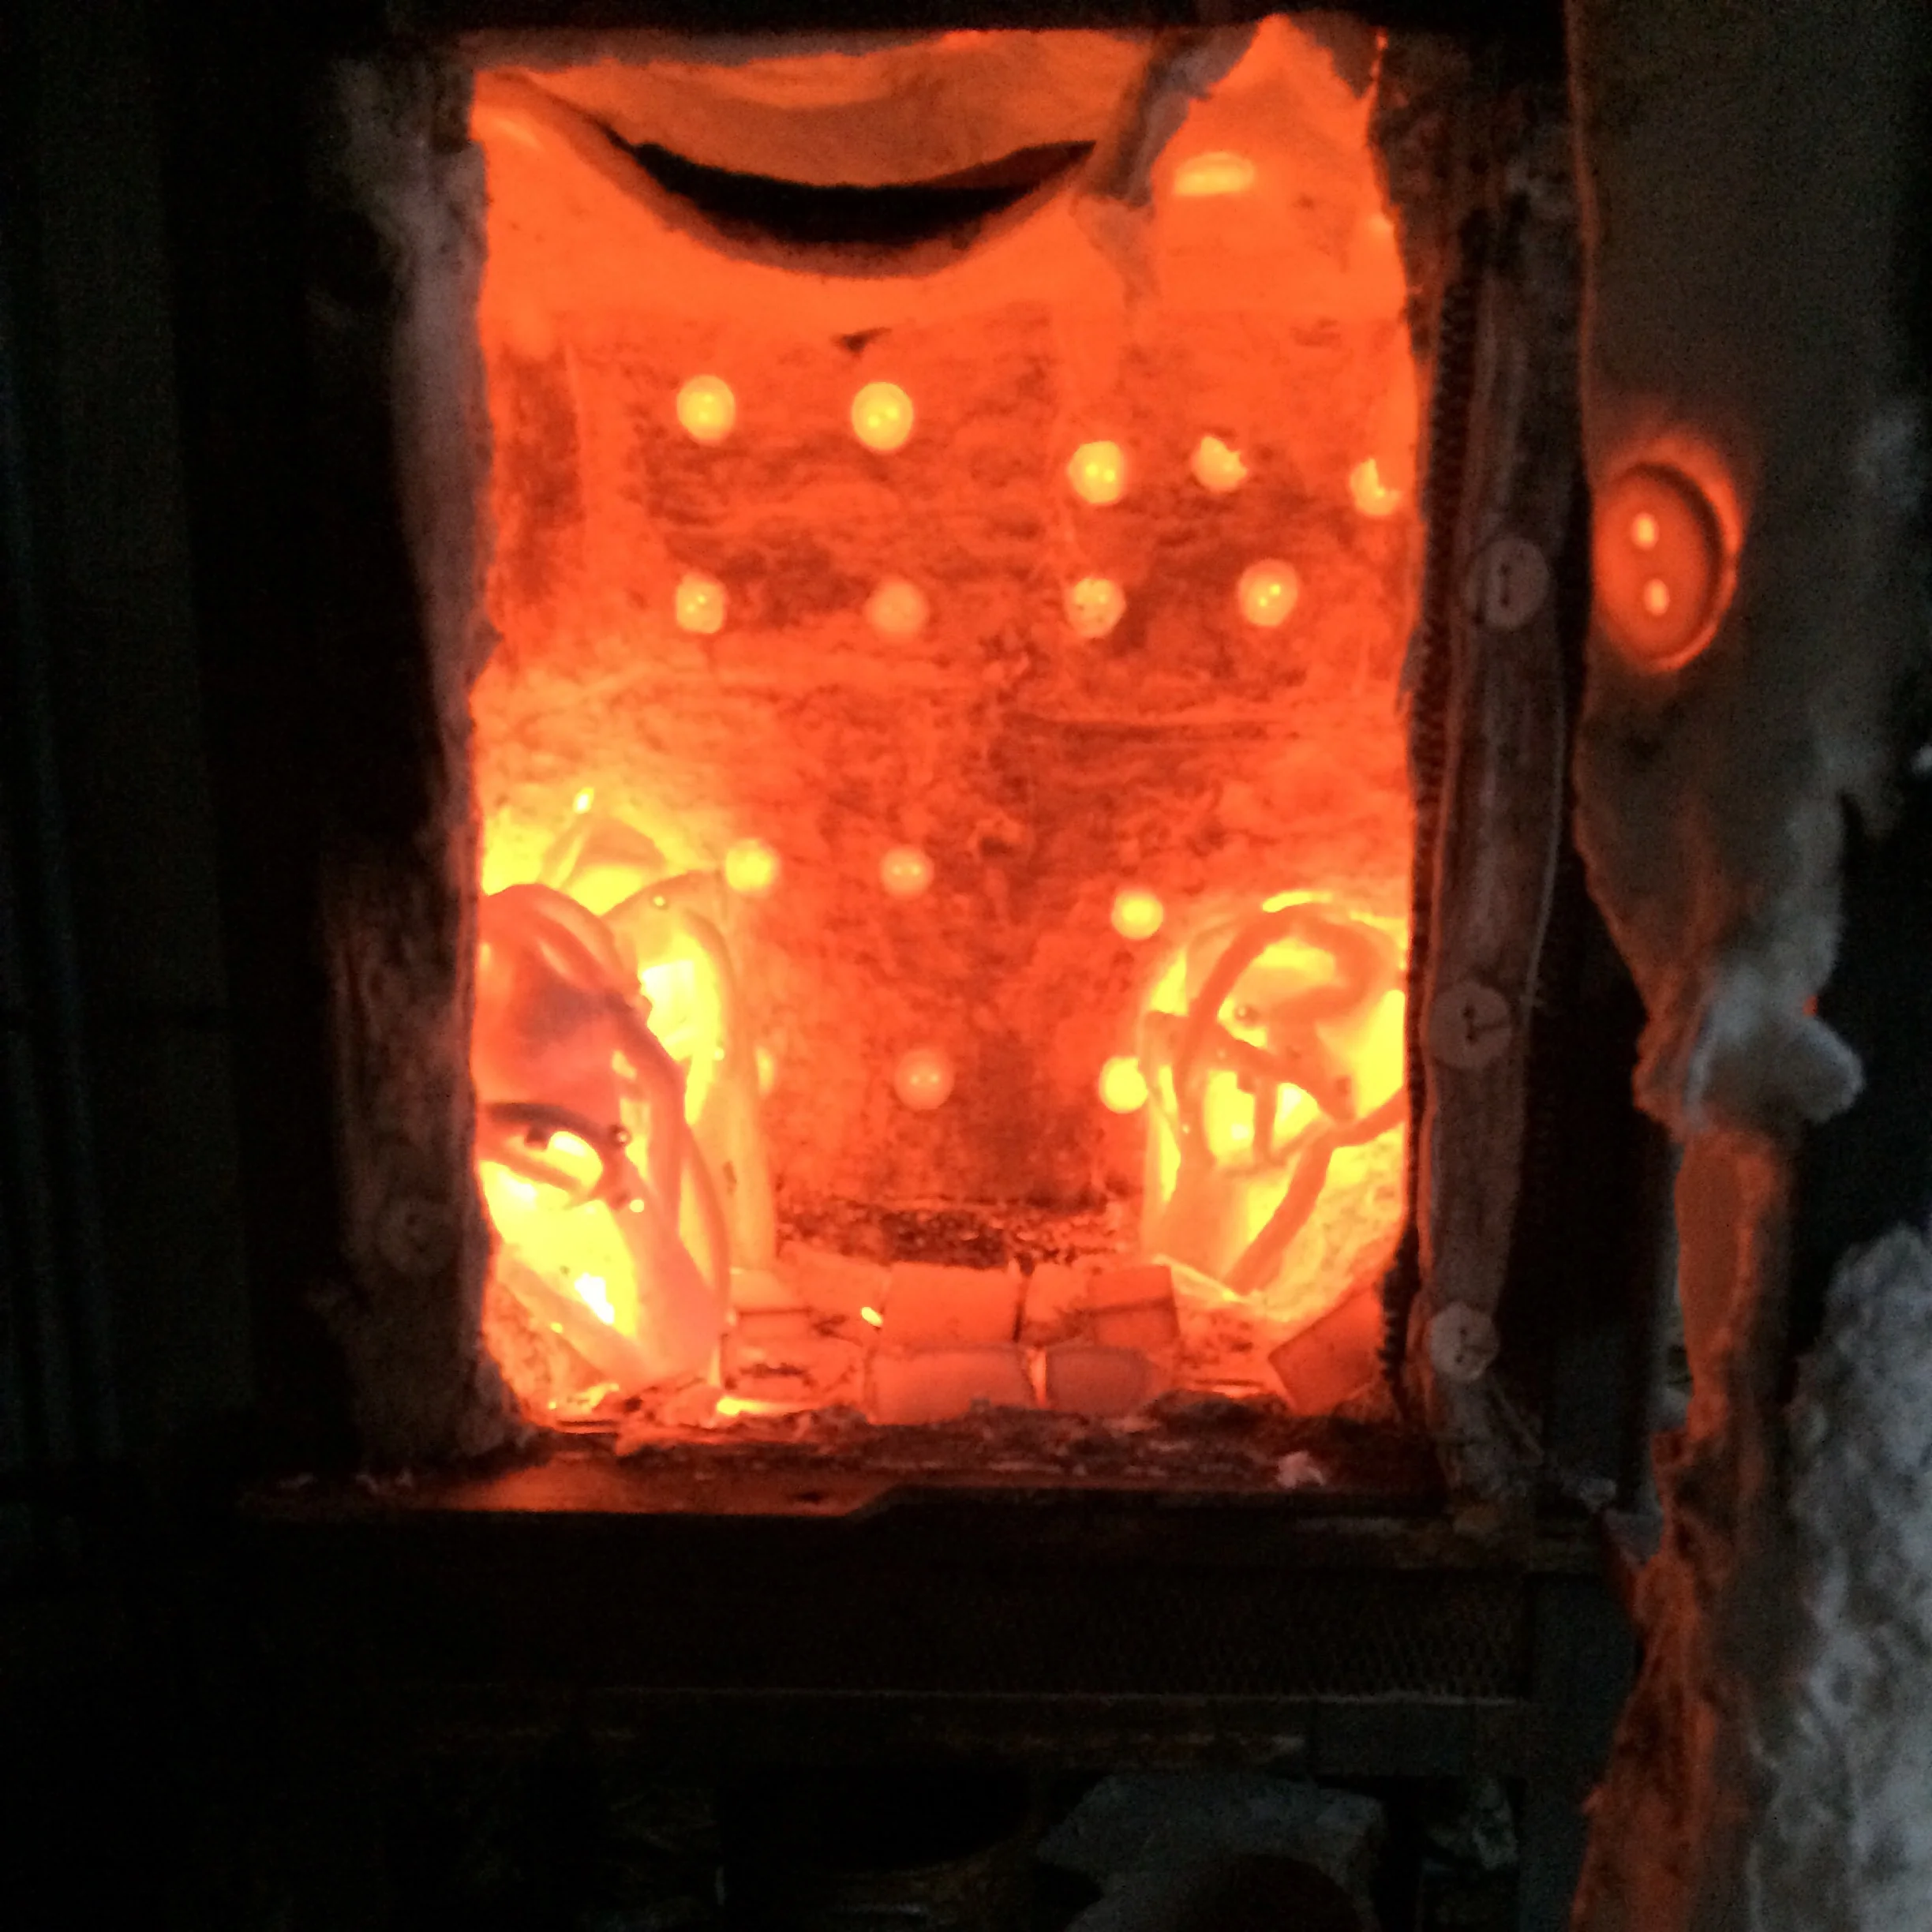
Reheating shells
While everything heats up we get metal buckets or empty file cabinets drawers (as were used the night this was filmed) and fill them about 1/3 full with sand.

Buckets of sand that will hold the shells when we pour in the bronze.
Additional buckets of sand are set aside to pour around the shells.
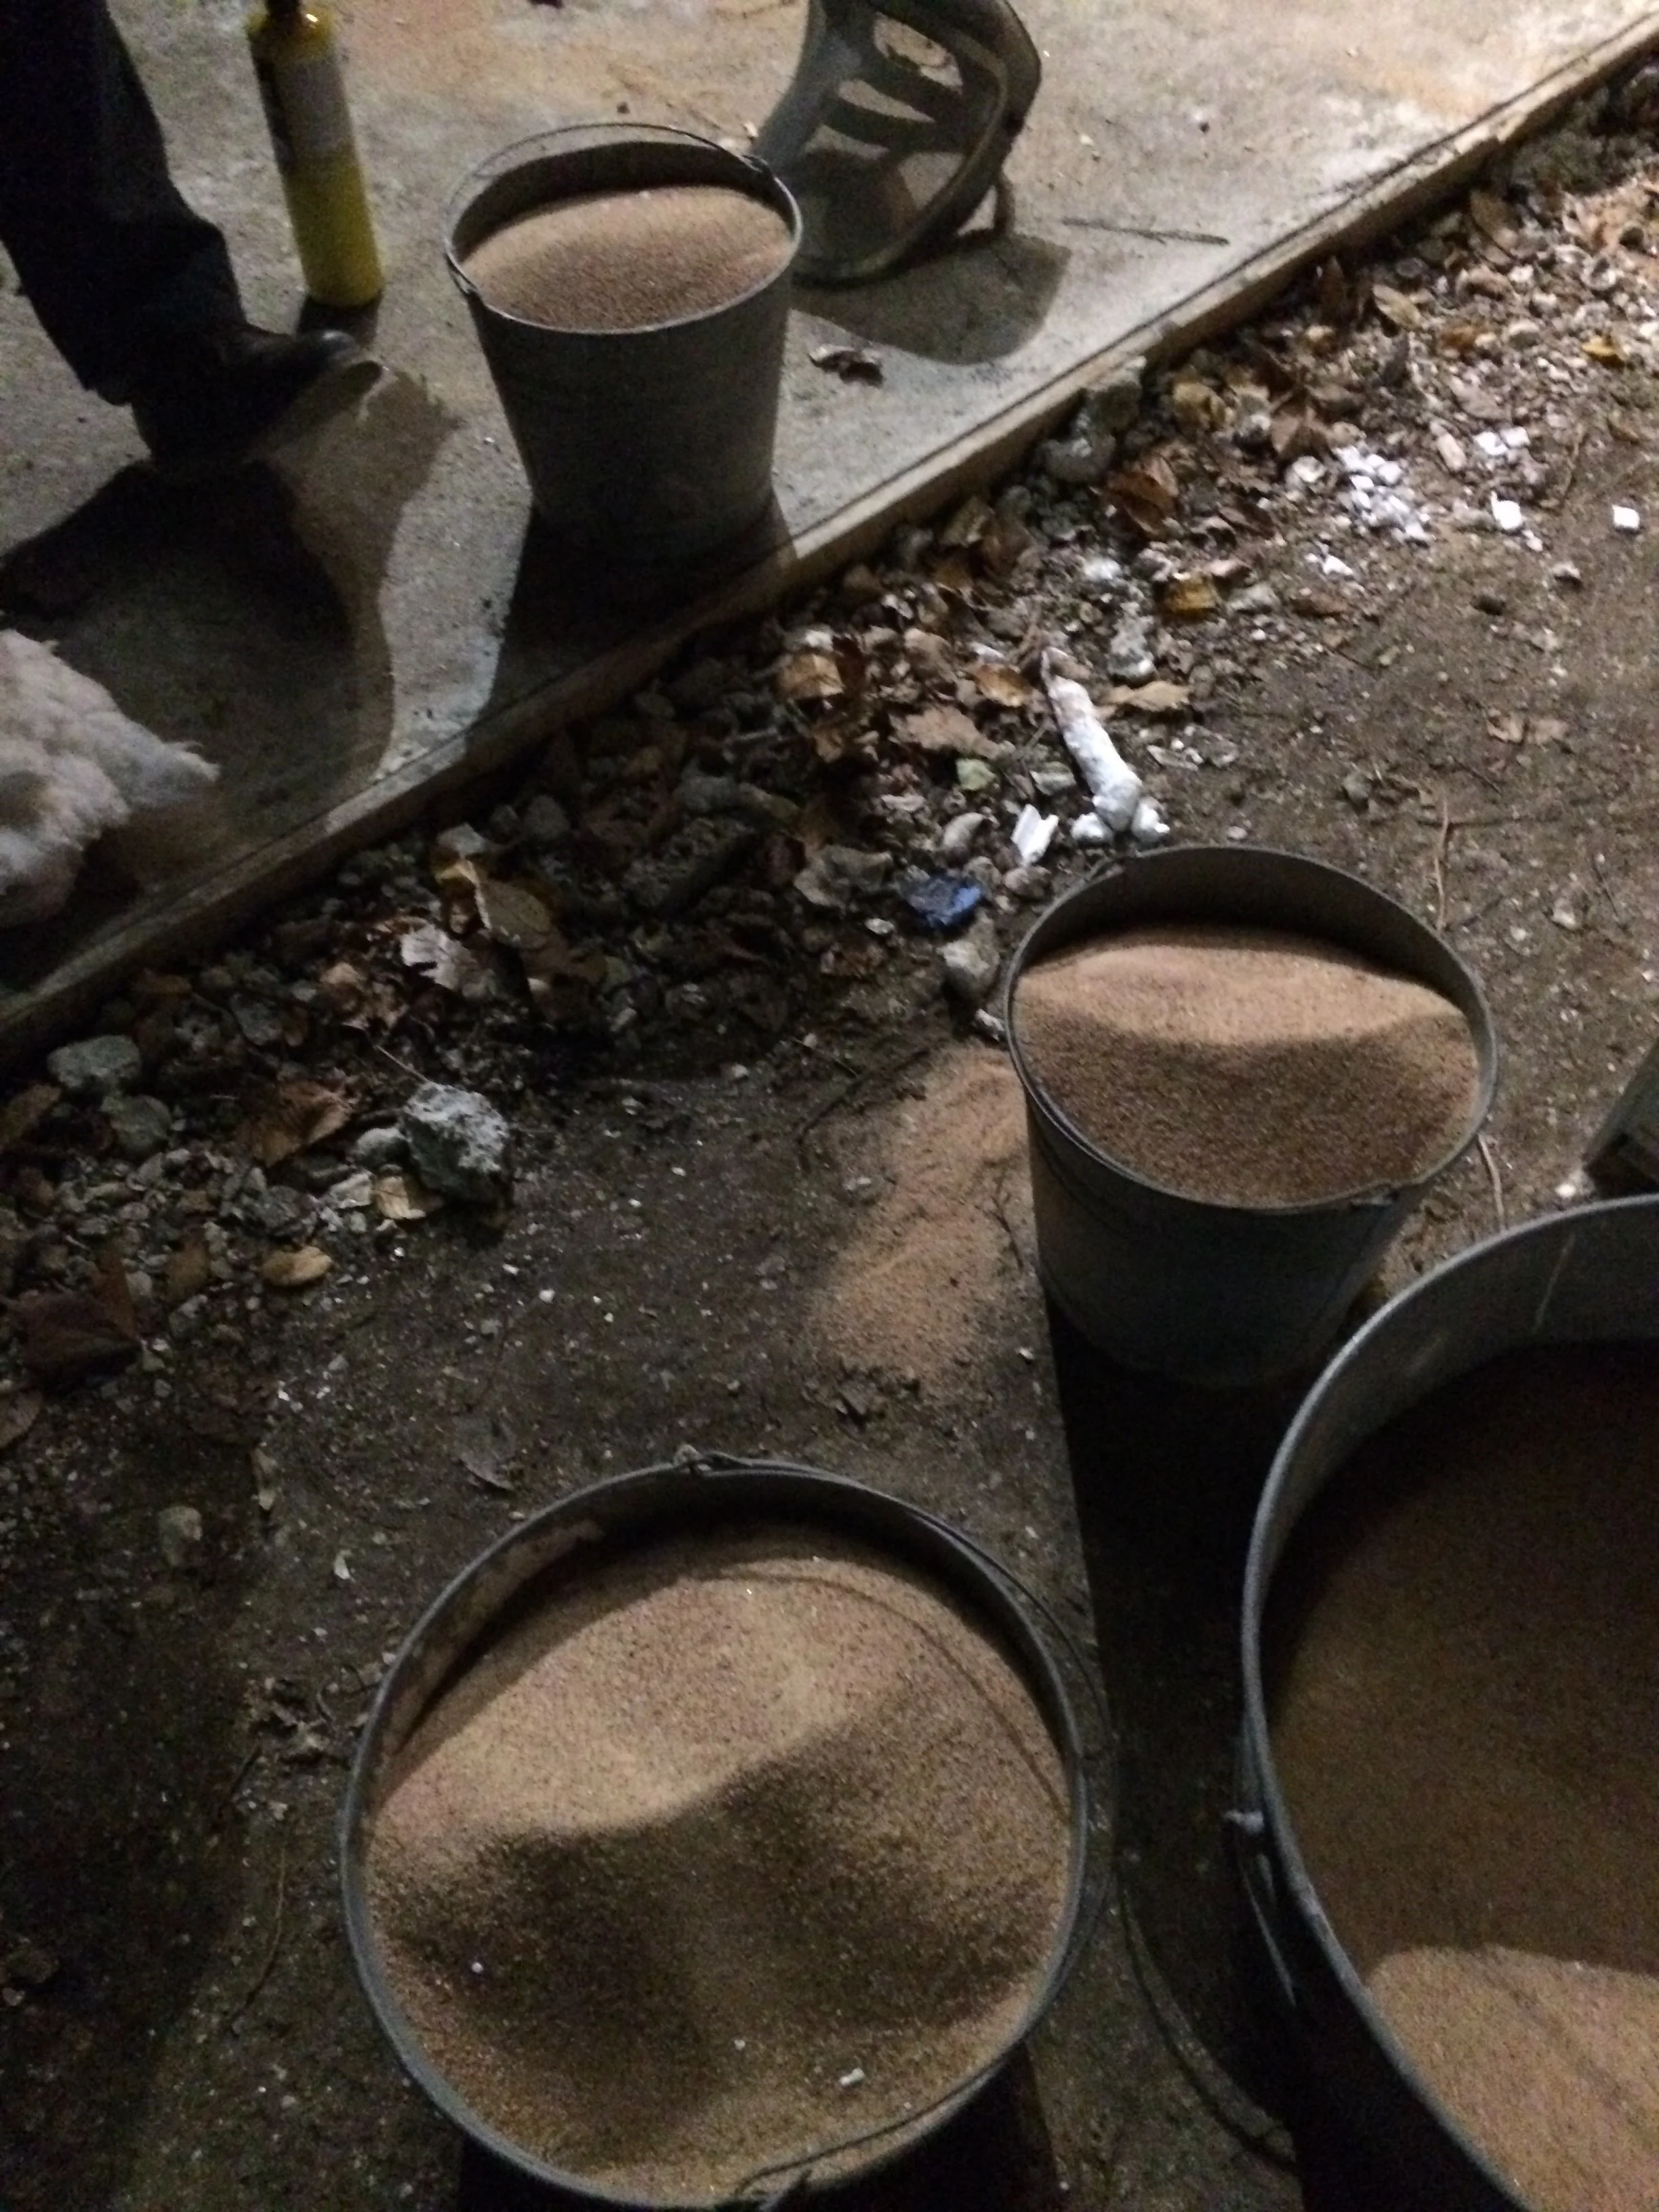
Buckets of sand ready to be poured around the shells.
Bullion molds are heated for the excess bronze.
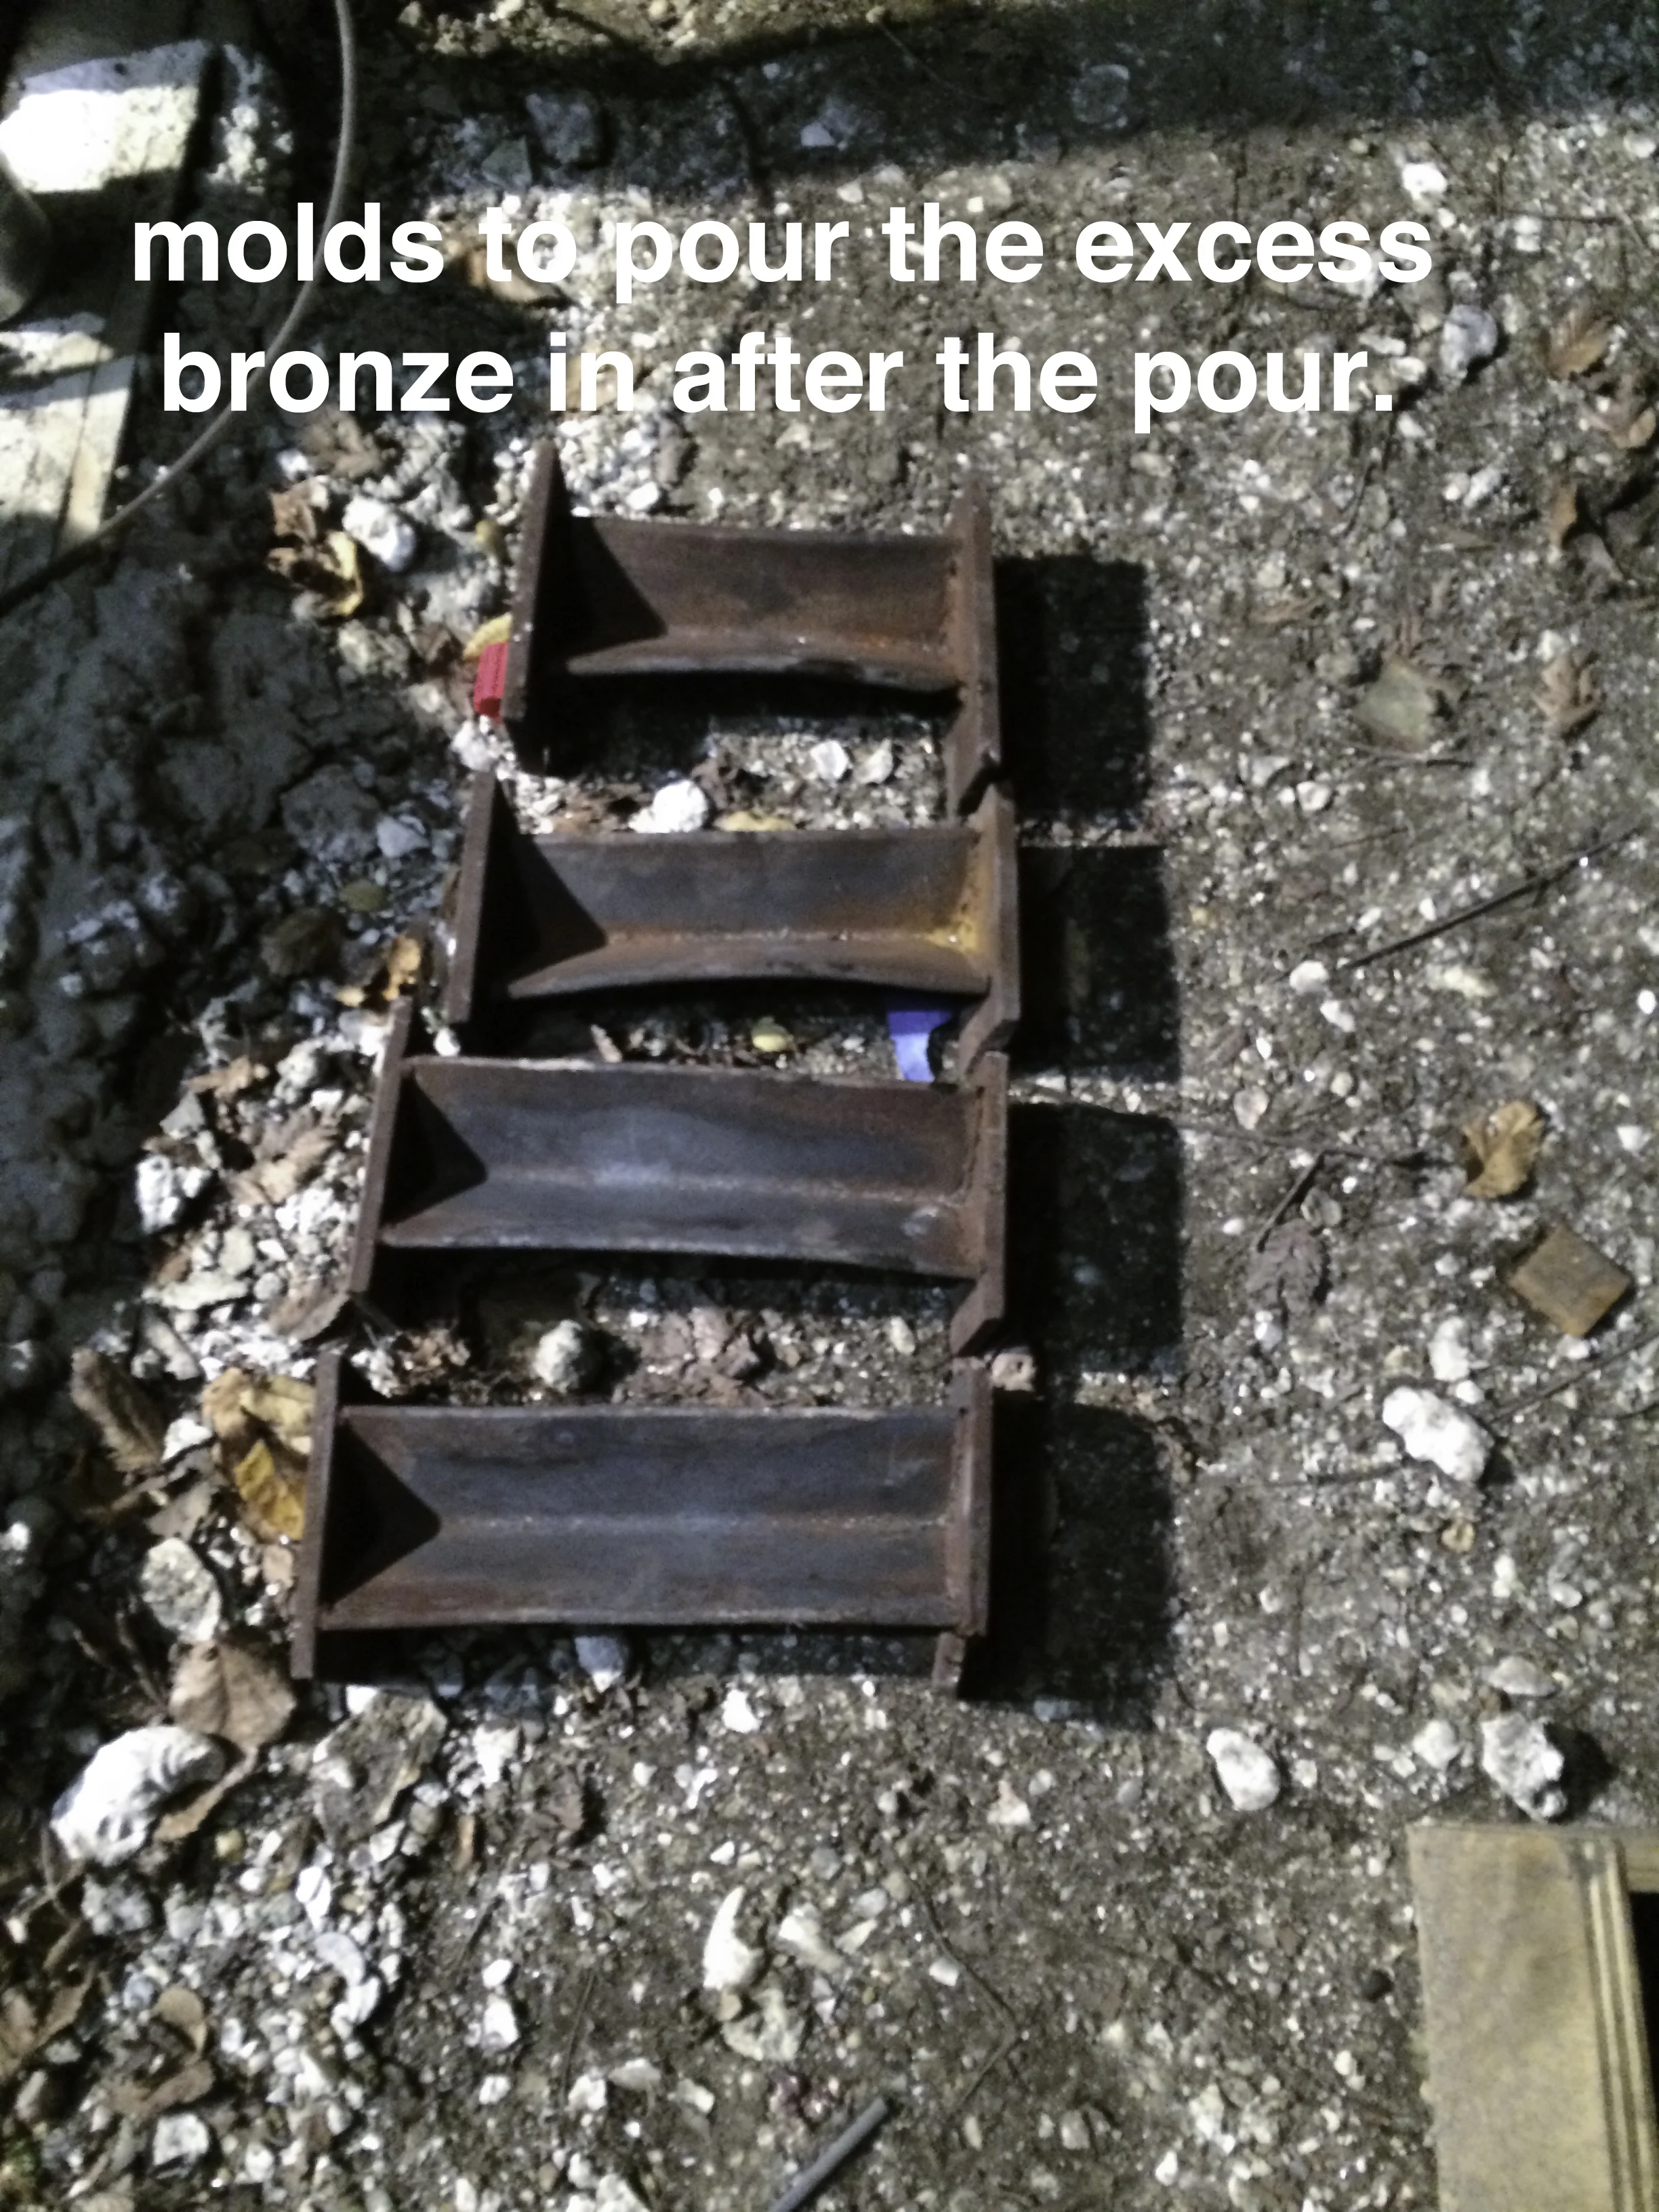
Molds for excess bronze
We all put on our leather safety clothing, gloves and helmets with screens to protect our faces should the bronze spray or squirt in our direction.

Safety apparel
When it is time to pour David with special gloves on picks up each shell and places it in one of the buckets. I with a pair of thick welding gloves and an additional pair of fire proof gloves cover the opening of the shells and hold them up while others pour sand around the pieces. The sand not only helps hold the pieces up but helps hold the heat in. Covering the opening keeps the sand from getting in the shell. Once all the shells are set up Will and Carlos lift the crucible out of the furnace with (80 lbs. in this pour) the molten bronze and set it in the fulcrum and ring. They then clean out any debris floating on top. Next they each grab and end of the fulcrum and lift the ring holding the crucible of bronze. The one that gets the pour end of the fulcrum is known as the dead man. I then remove the covers of the first shell. They pour bronze into the piece until the cup and vents remain full. I then replace the cover. We always have someone who watches for leaks, if there is a leak they quickly stick a lump of sparset on the leak. The excess bronze is poured into the bullion molds to be used in the next pour. Will and Carlos then lift the crucible back in the furnace and we all cheer.
#4 from wax to bronze- Preparing the shell for casting in bronze
24hrs. after the last dip of the shells we cut off the tops of the cups.
Then we cut slits in the shell to keep them from cracking when the wax heats and expands.

Shell 24 hrs. after last dip.

I used an angle grinder with a masonary cutting blade to cut off the top.
These shells are then put in the kiln cup side down and heated.

Heating in the kiln

Wax melts into bucket
The wax runs out of the shells into a bucket under the kiln. This is the lost wax casting method.
Once the empty shells have cooled we patch any cracks and all the cuts used to release the wax except the cup opening and the two main vents that exit at the top of the cup.

Shell with cracks and slits patched with sparset