While I was raising my kids and sitting in carpool lines, waiting at soccer practices I used to stitch, stitch, stitch. It was a great way to direct my creative juices and be the mom I wanted to be.
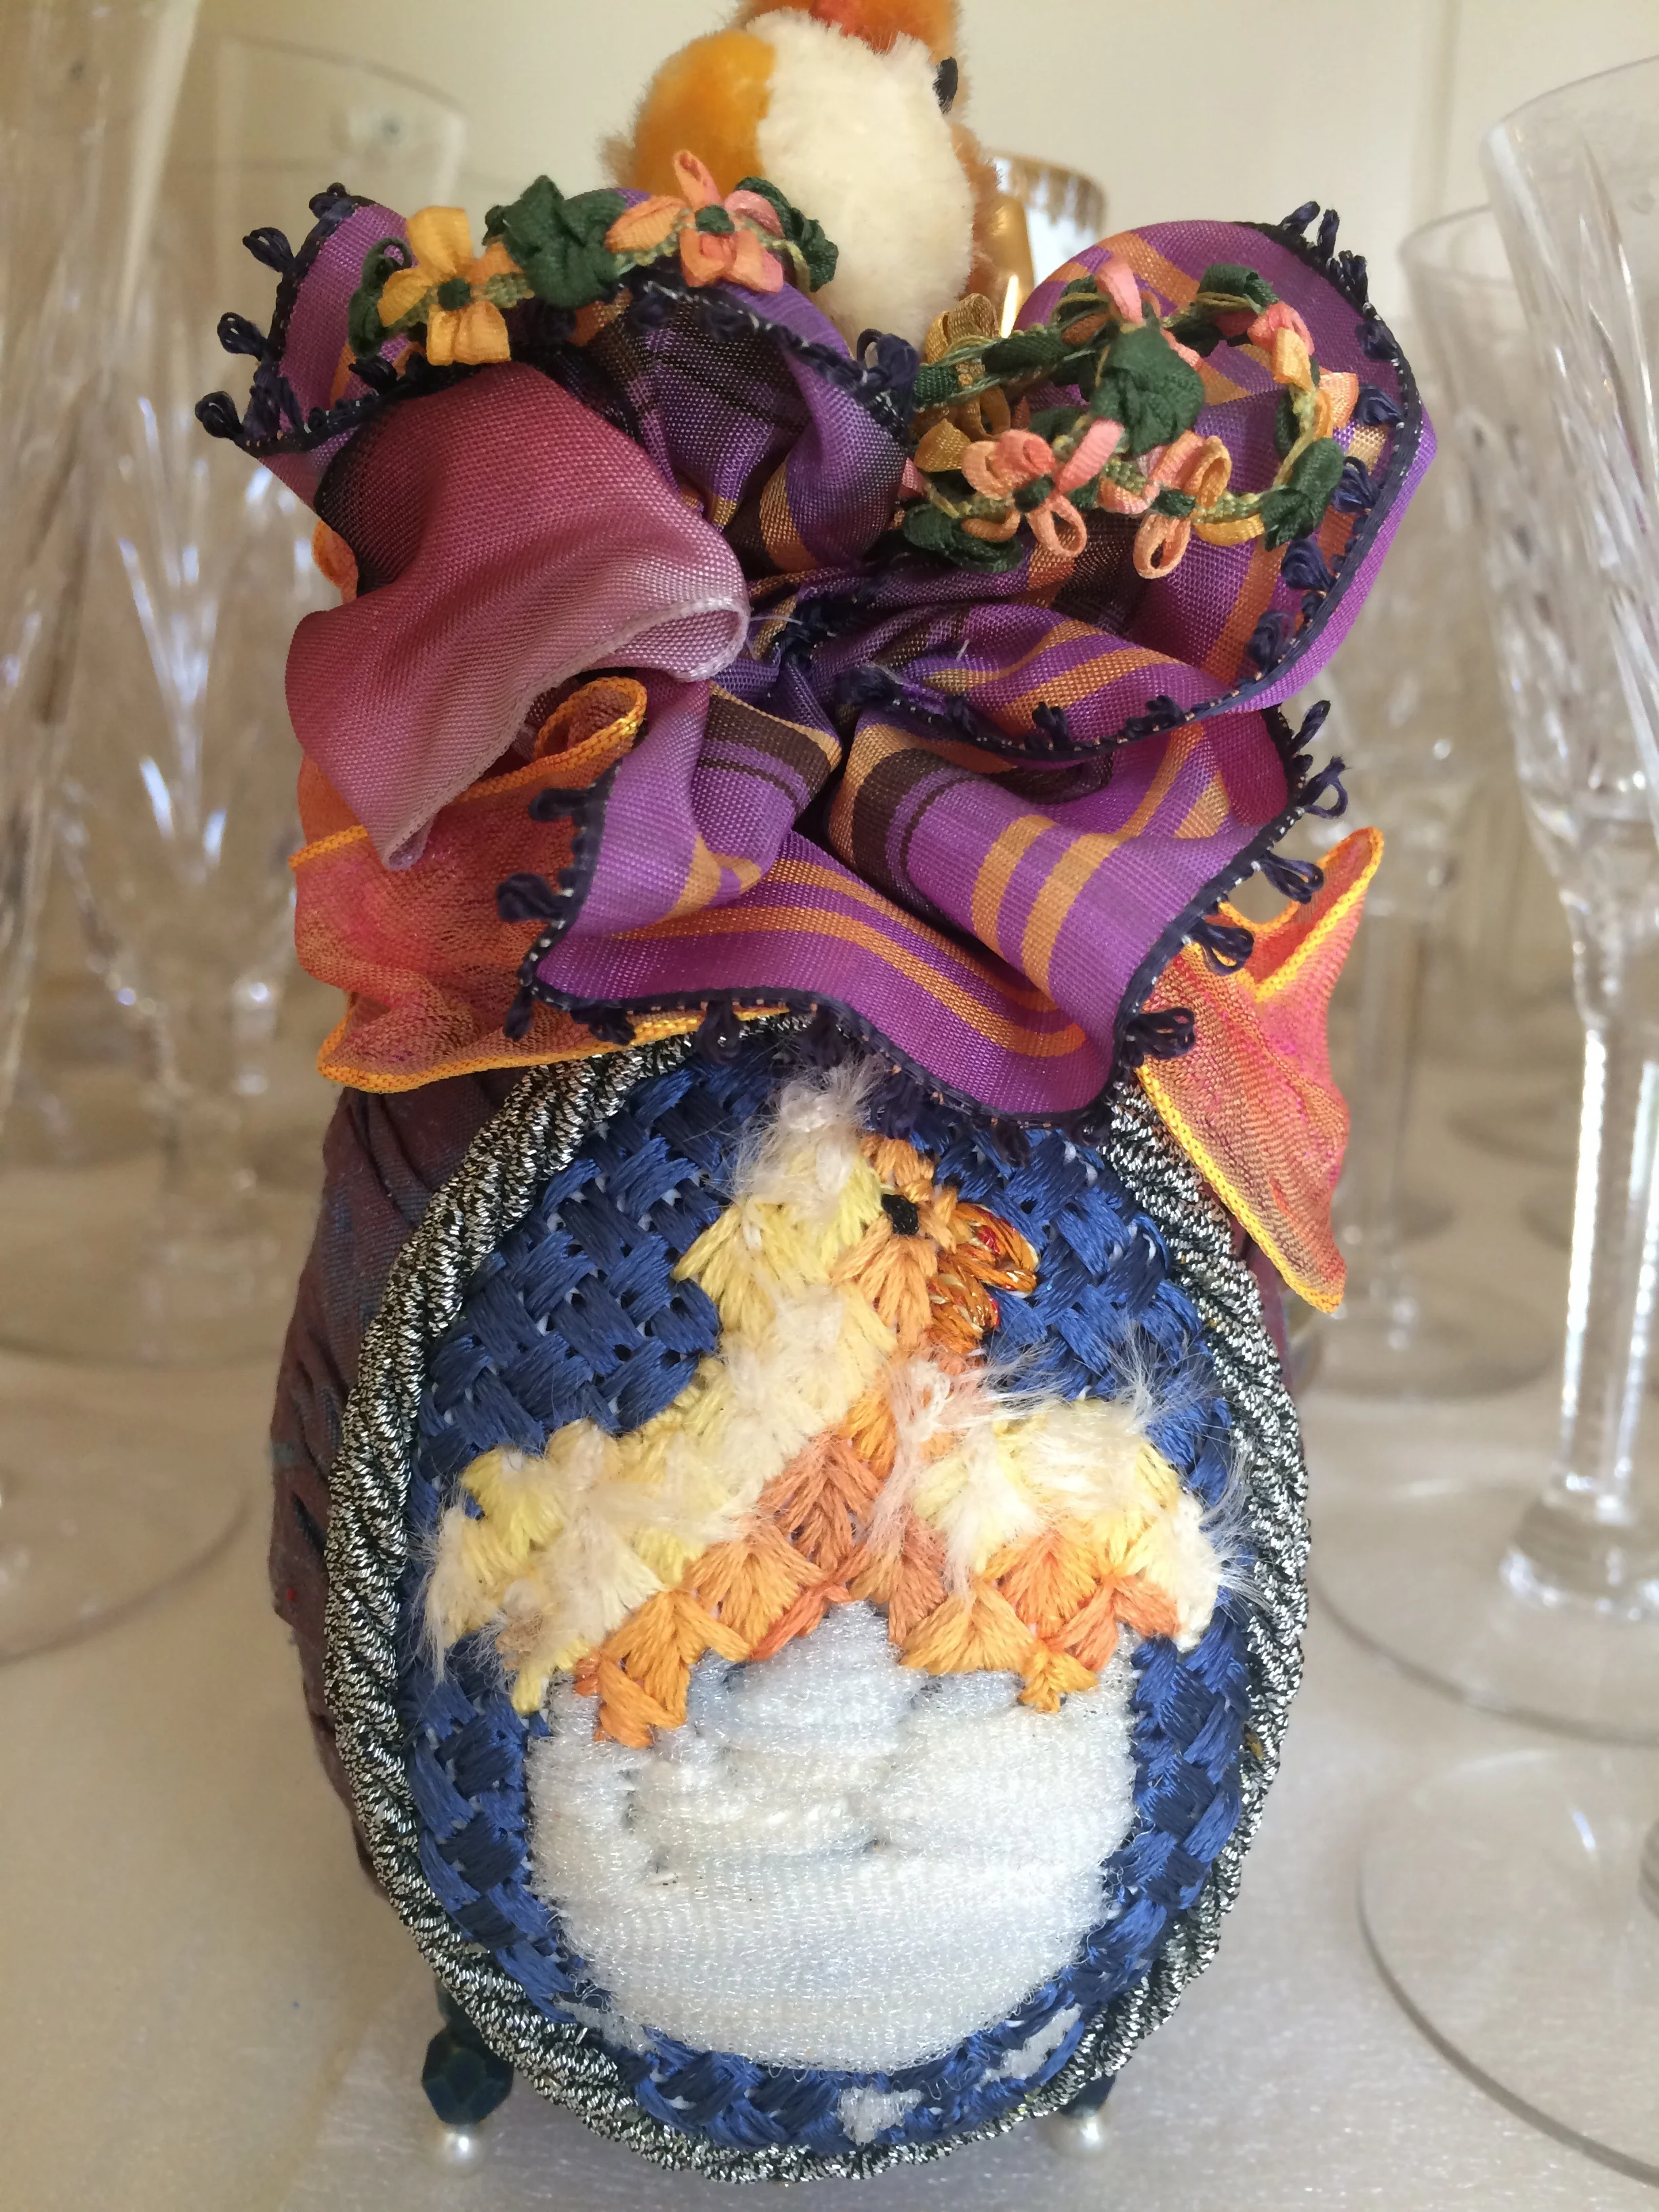
There is a vintagebaby chick on top


Pansy egg
There is a vintage baby rabbit on top. I found him in a flea market.


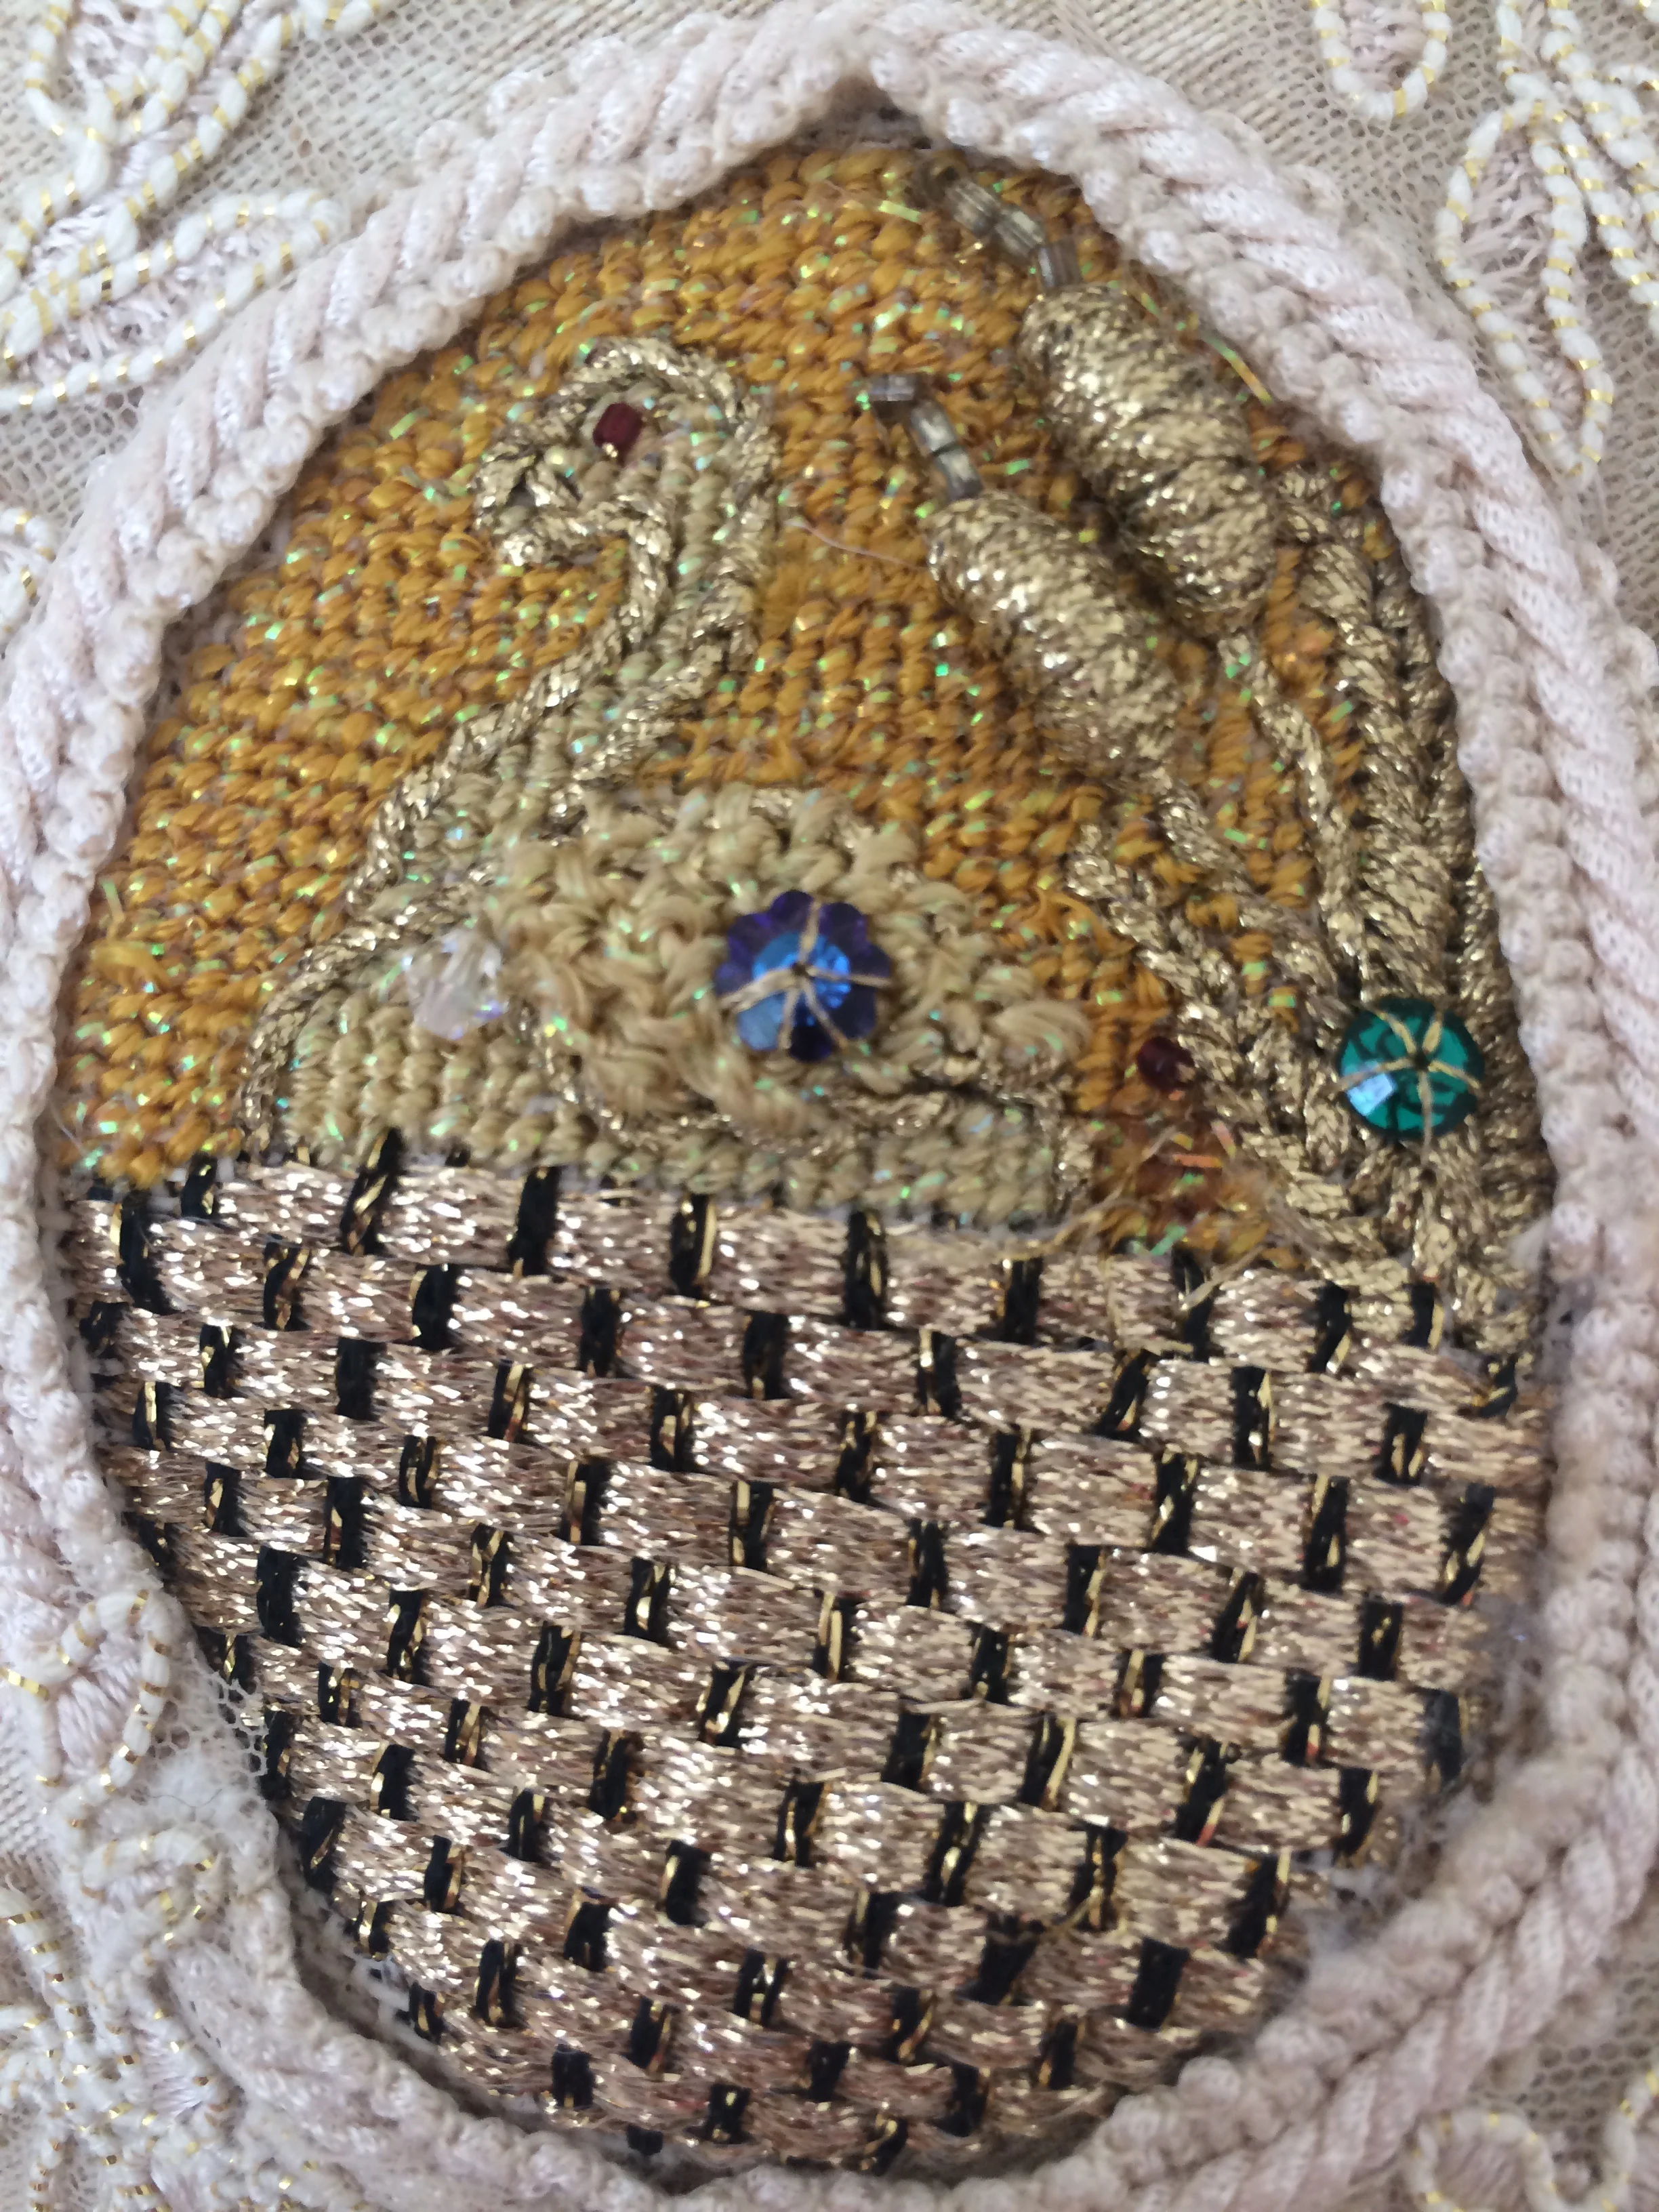
Sweet bumblebee in center also a flea market treasure.
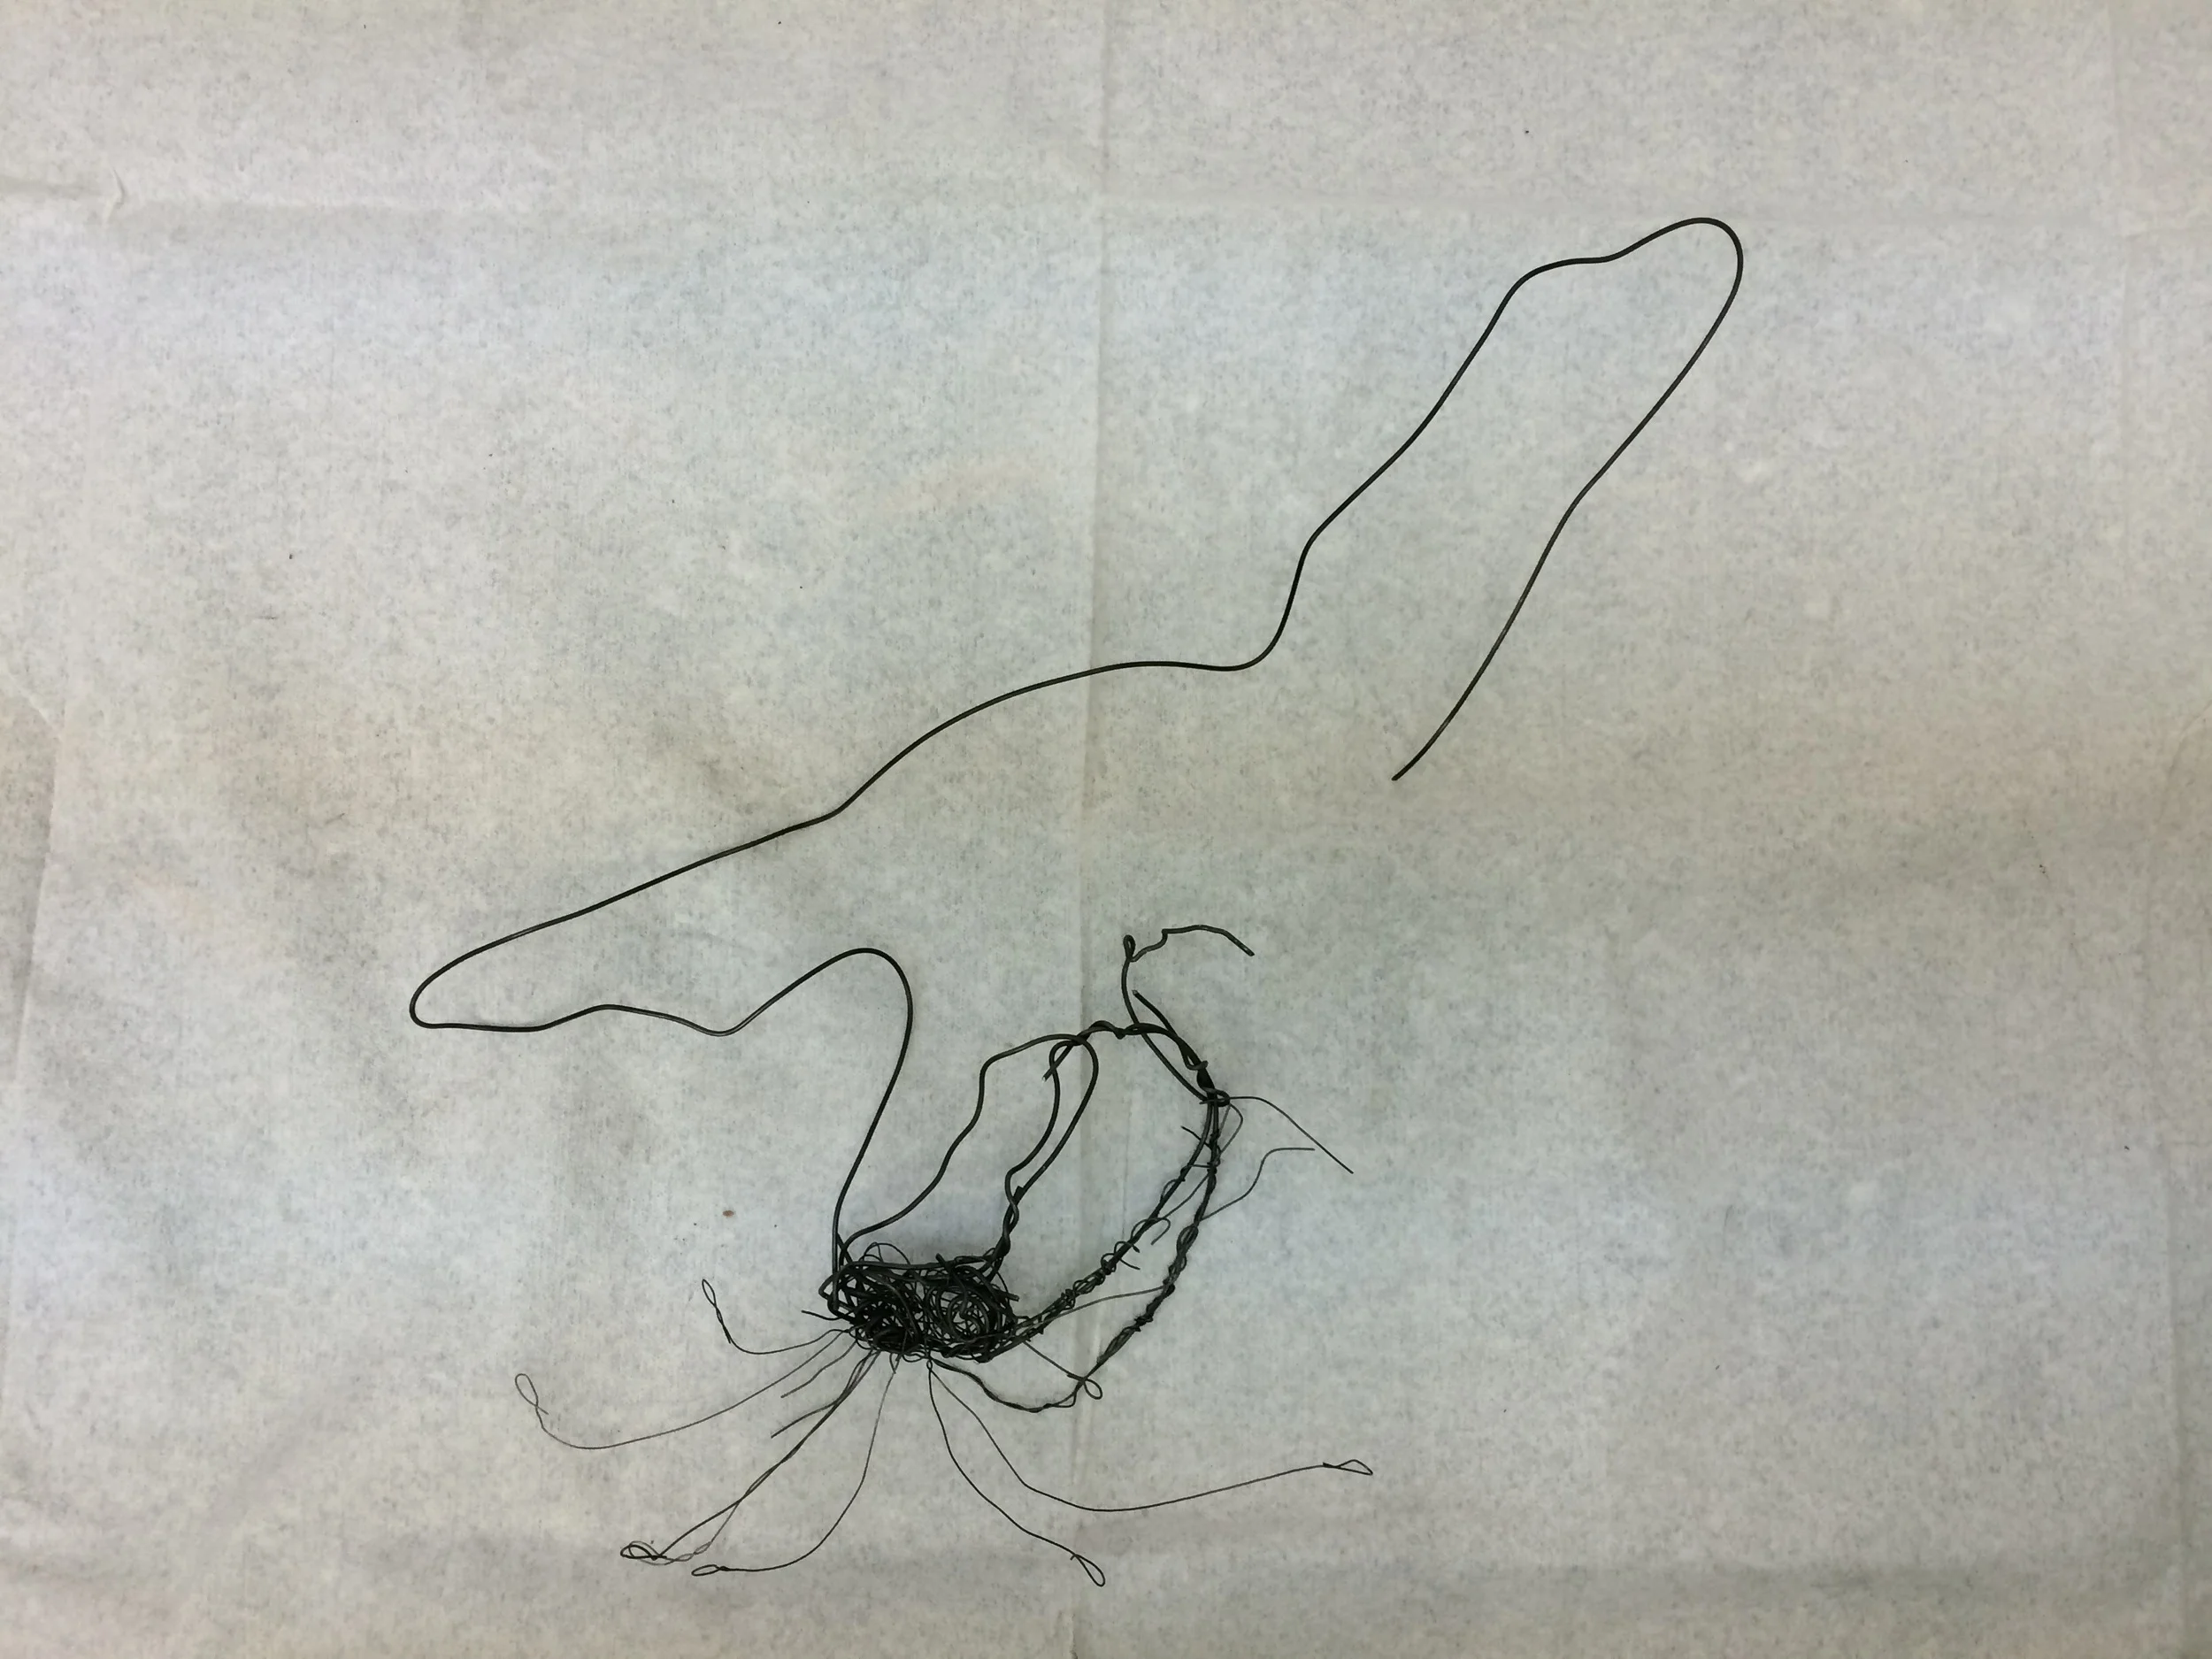
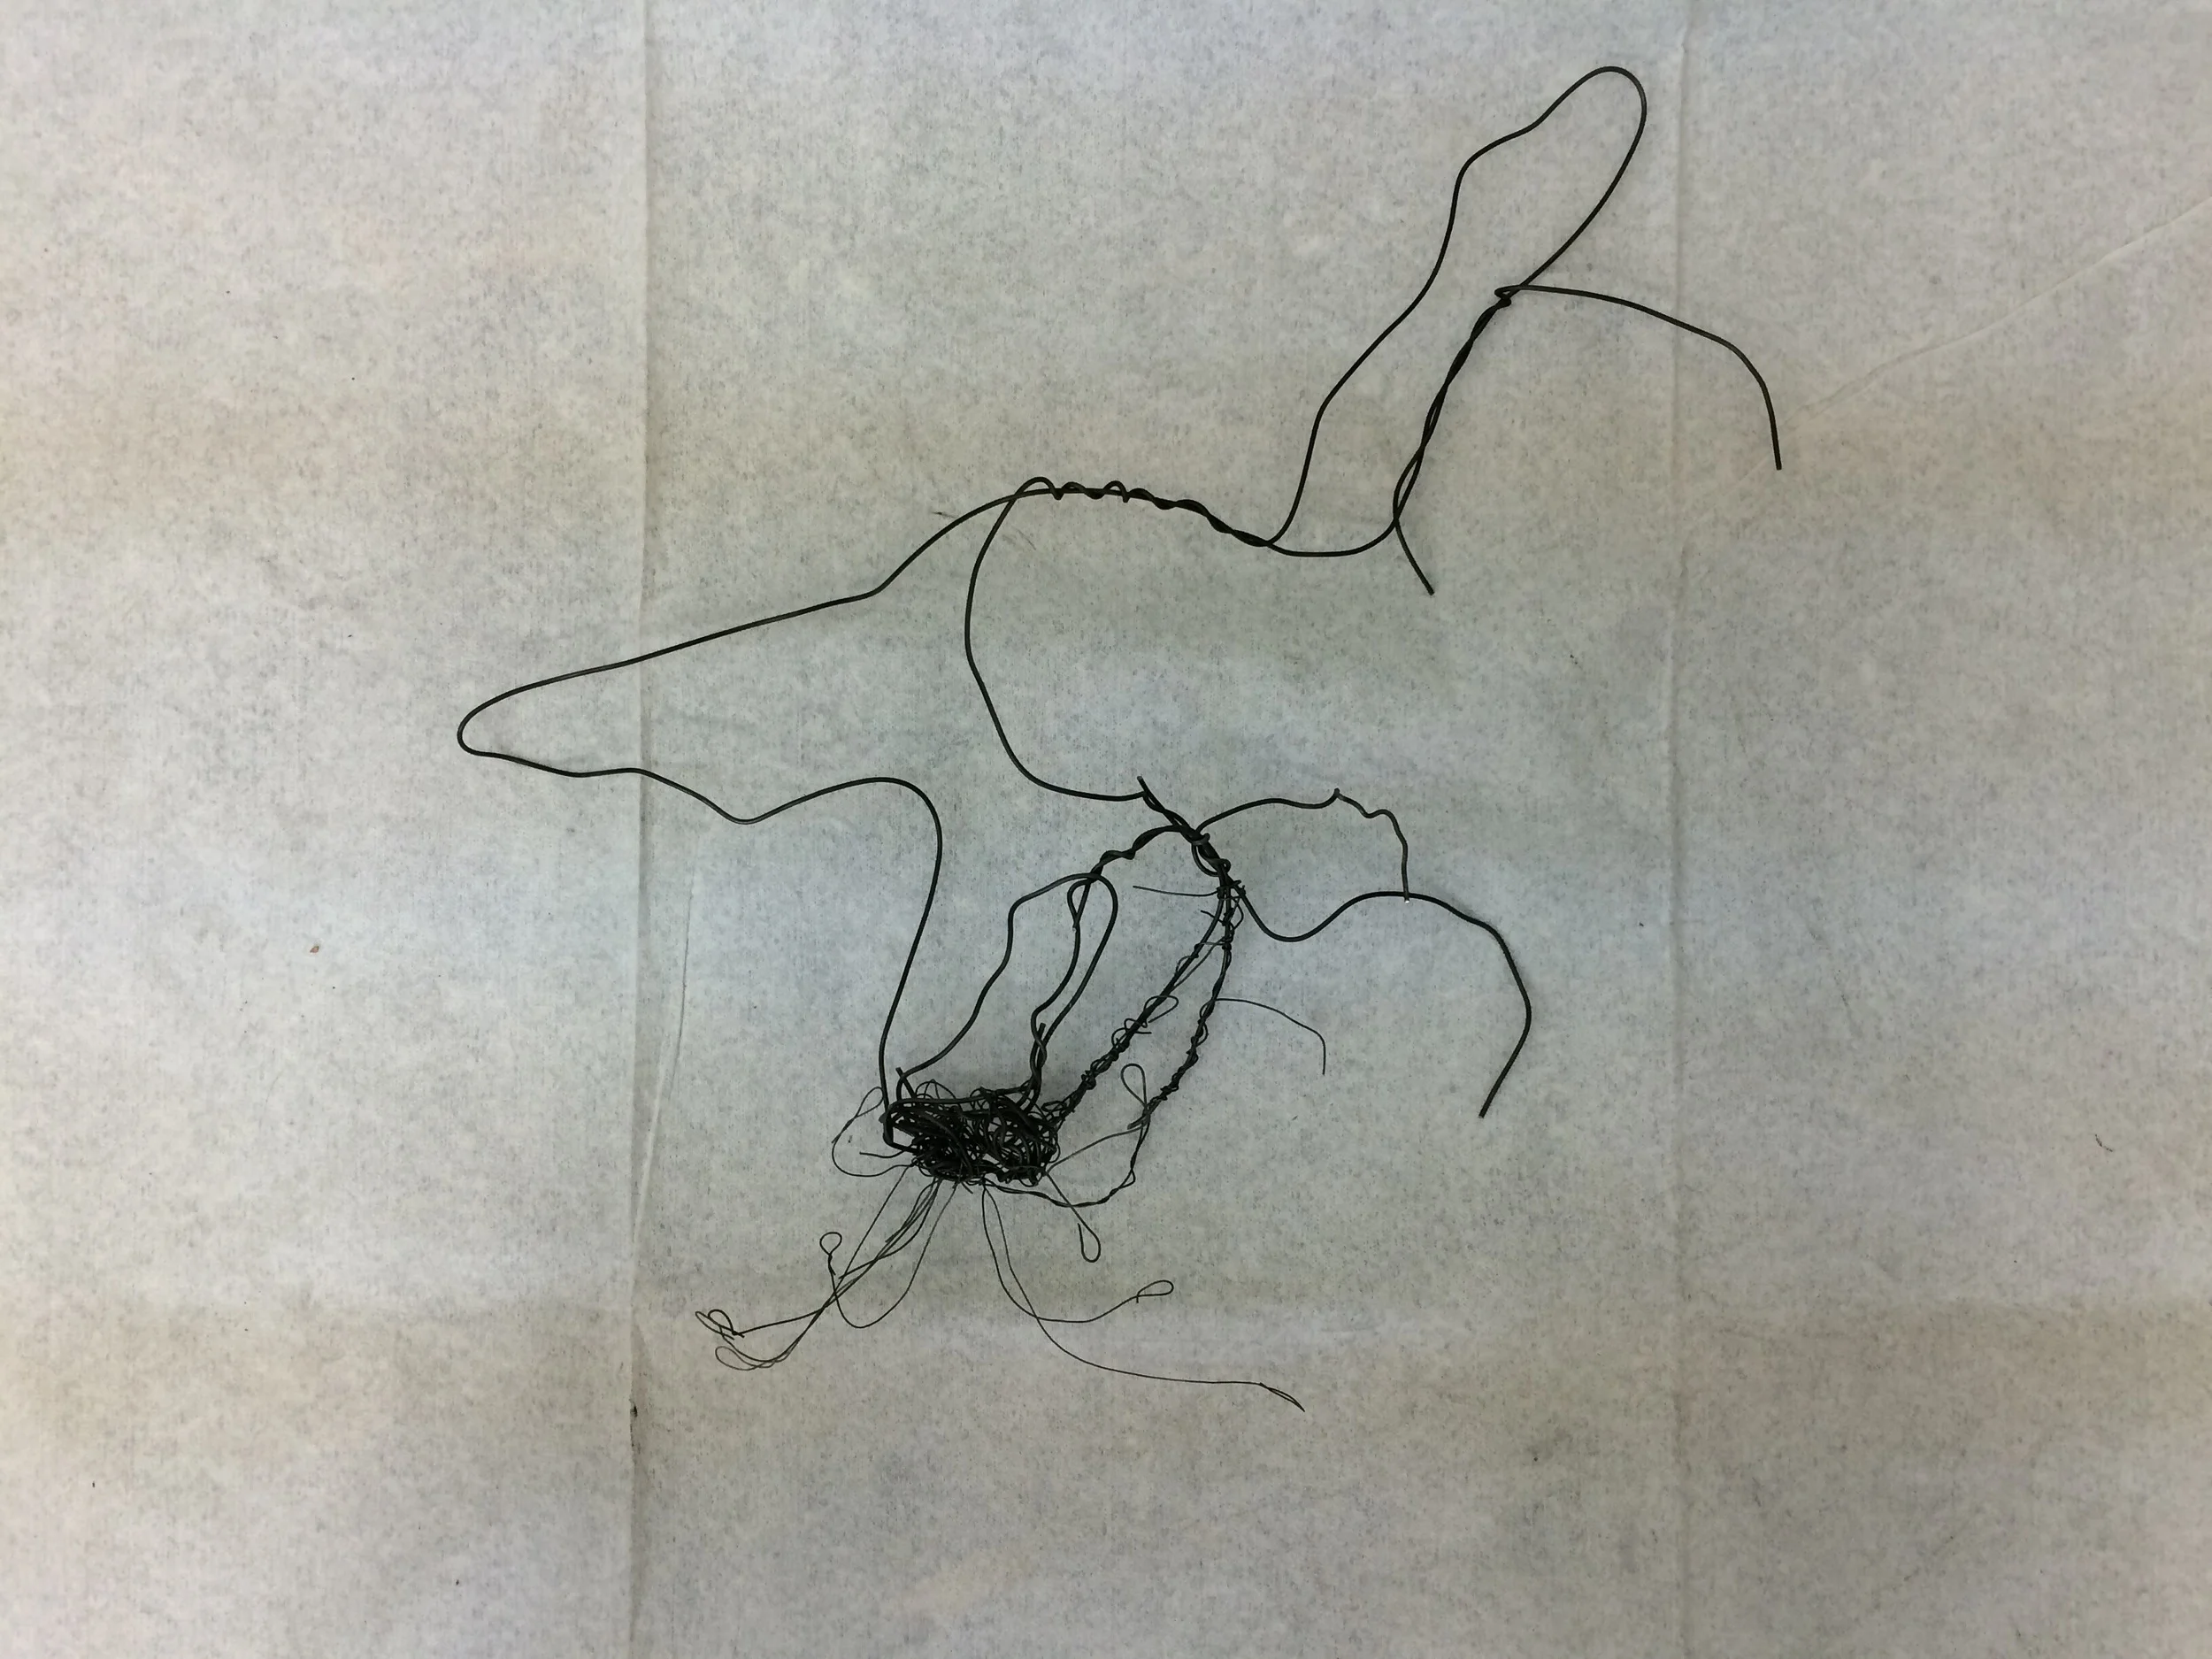
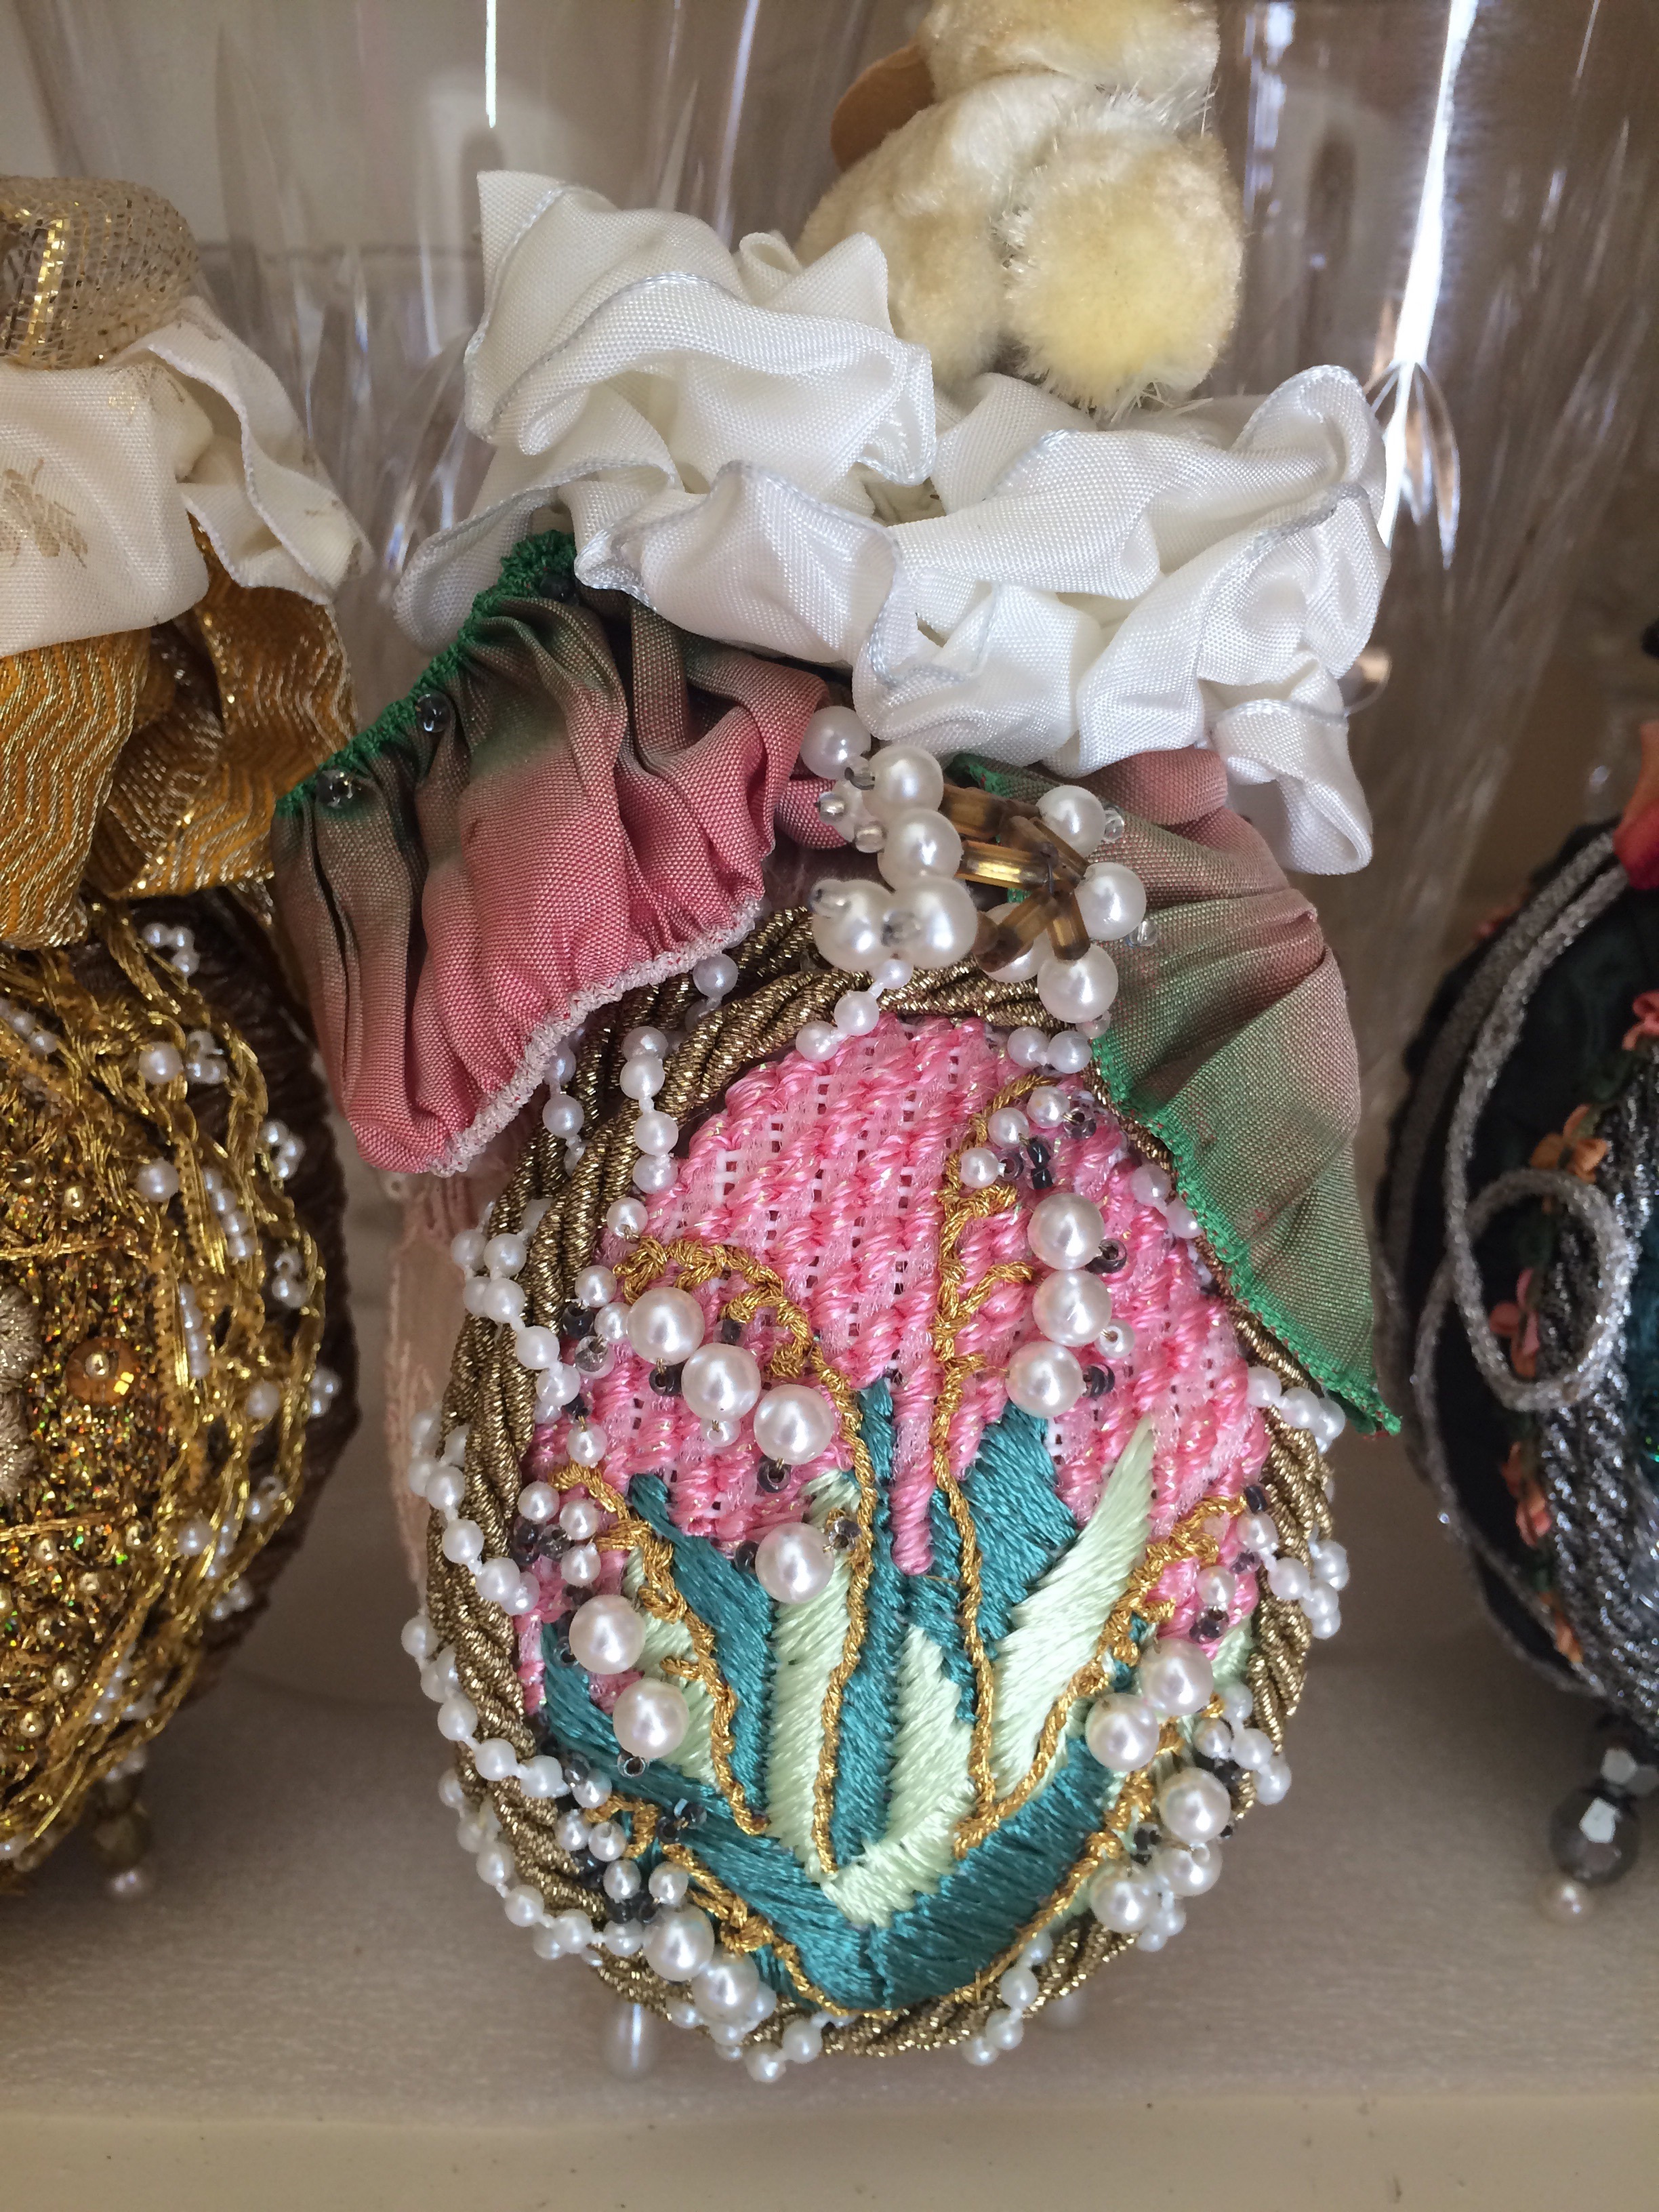
Swan and cat tails.
The last three are in a pillow.