Once the sculptures are cast in bronze and chased I take mine to Legacy fine art foundry and have them make me molds of the pieces. I could do this my self but it is very time and space consuming. First they make a silicone mold then they reinforce the silicone with a mother mold which is plaster.

The 3 headstands and serendipity molds held together with giant rubberbands.

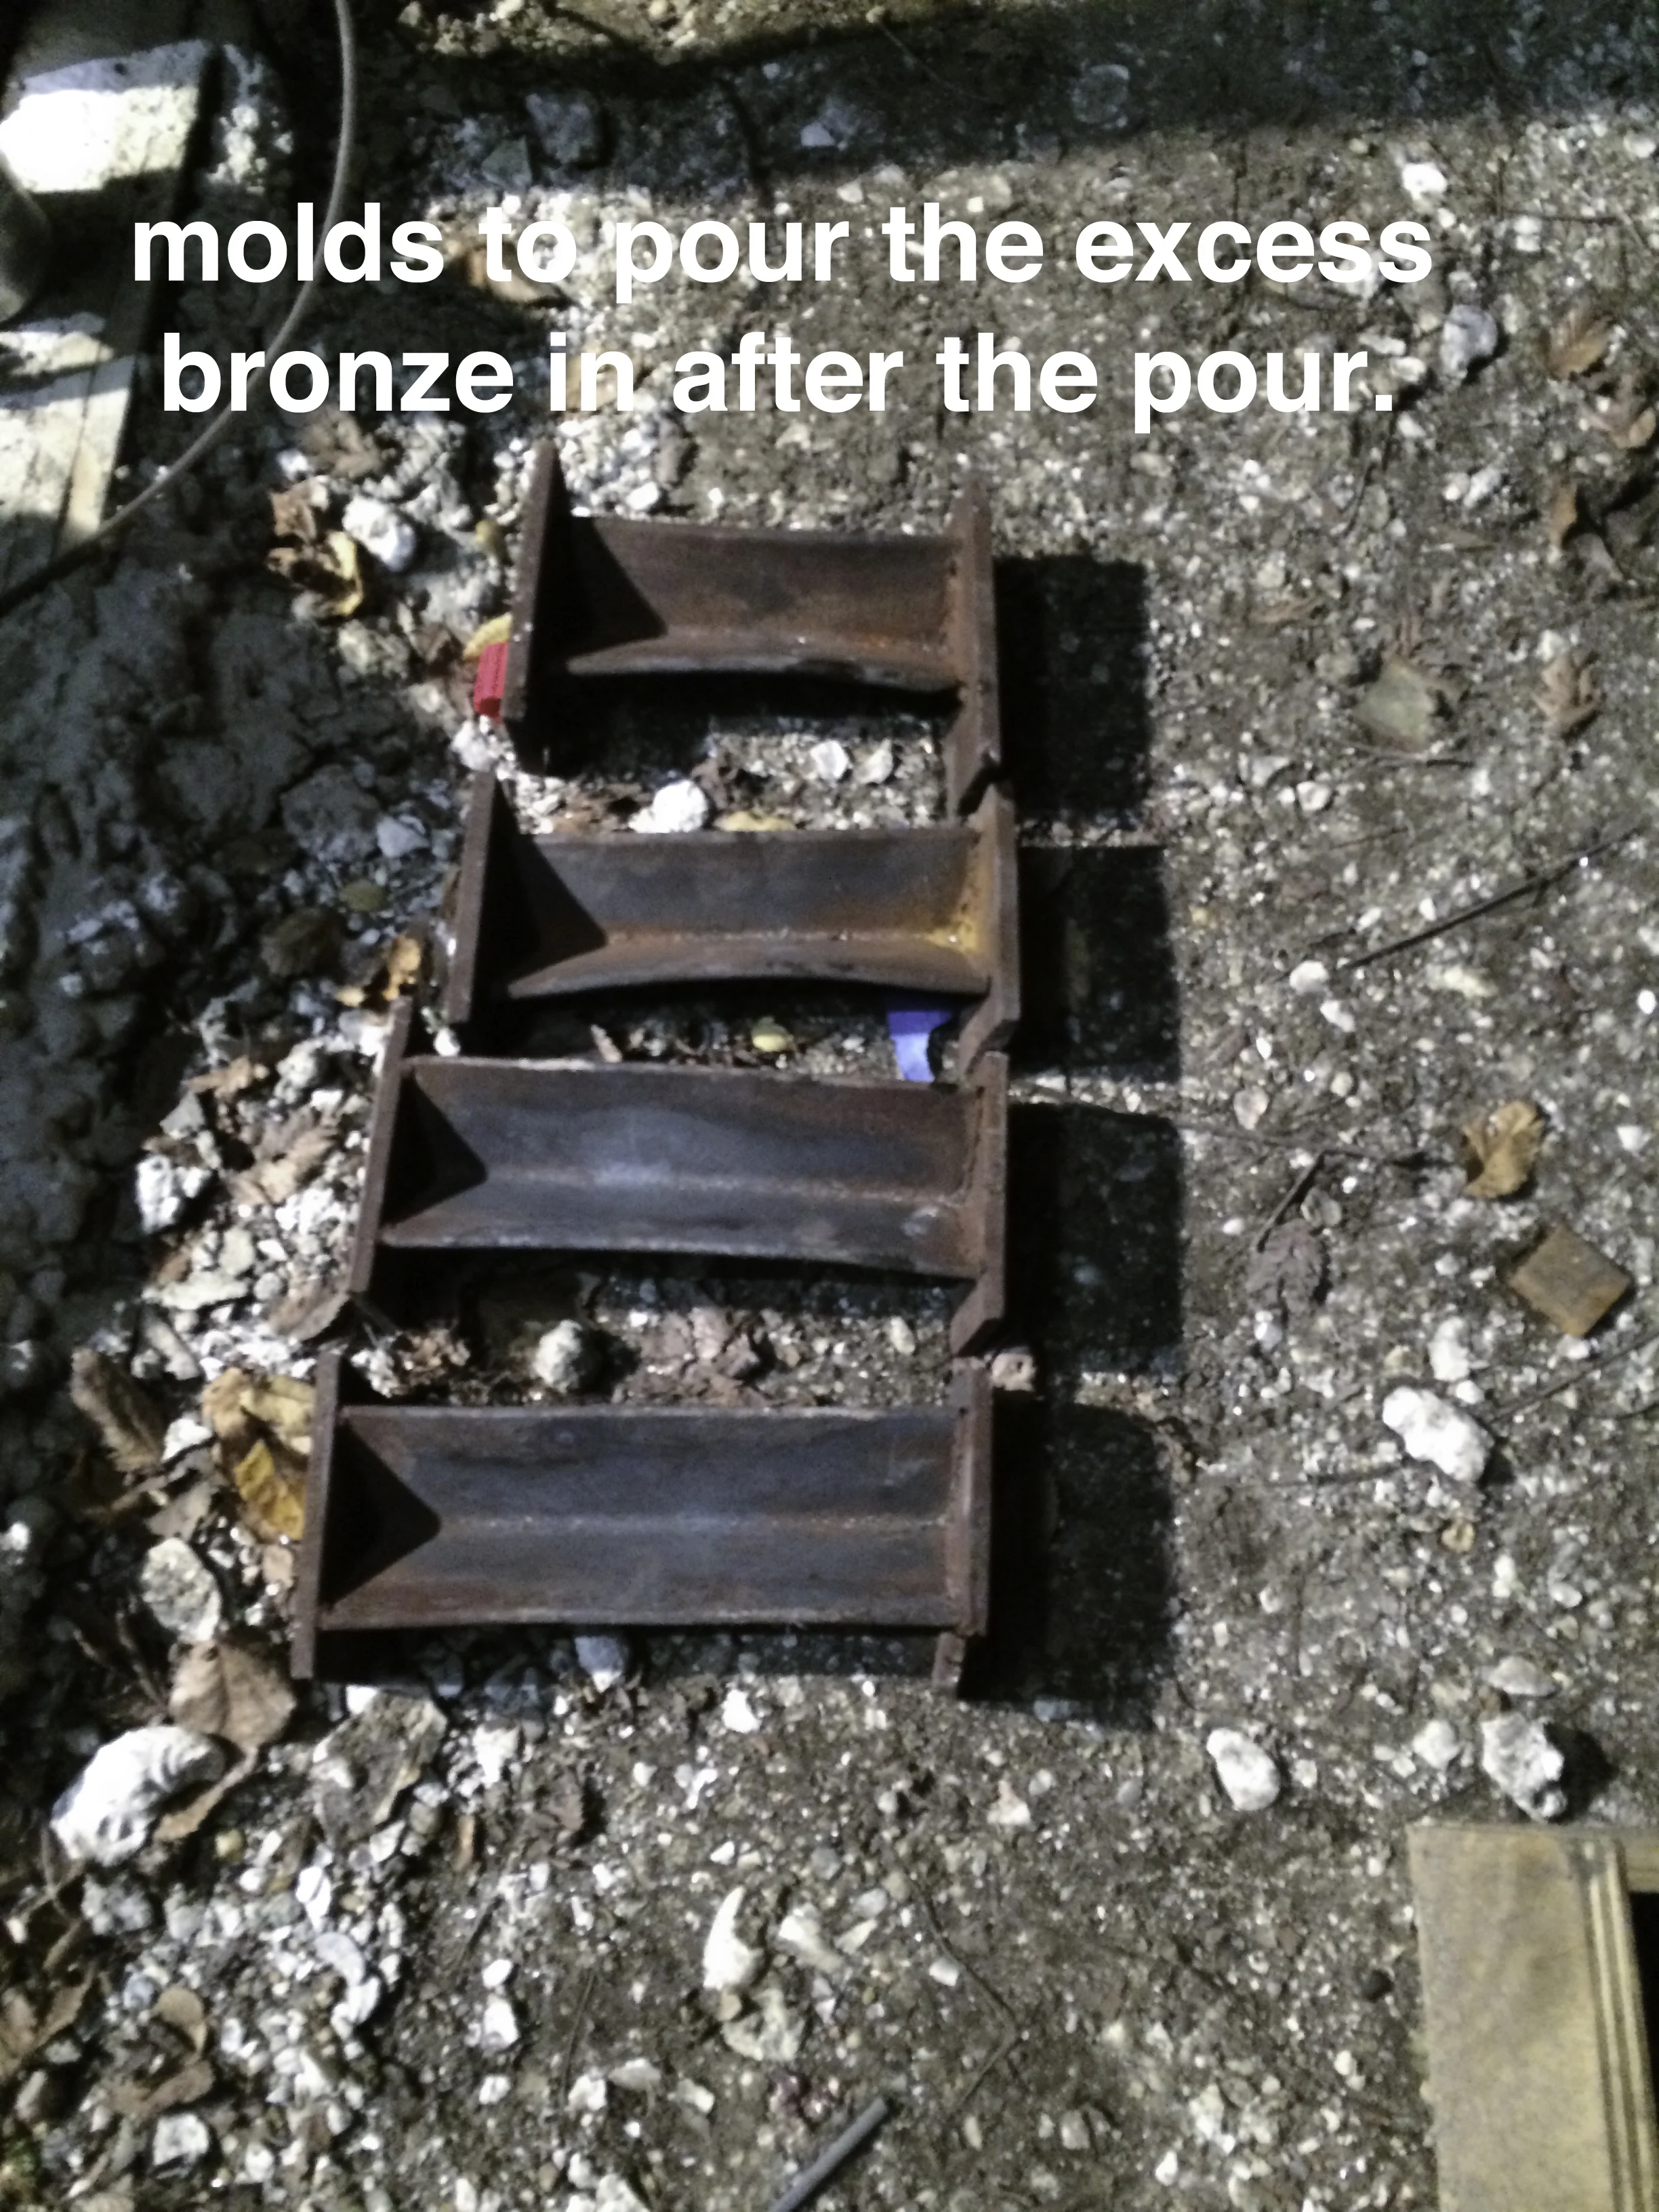
The first headstand mold opened. The dimples are registers to make sure the two sides are properly lined up. This mold includes the sprue system that would be used to get the bronze into the piece.

Head stand #3

Head stand #3

Serendipity
I will keep these in a safe cool place in order to make reproductions of my originals.