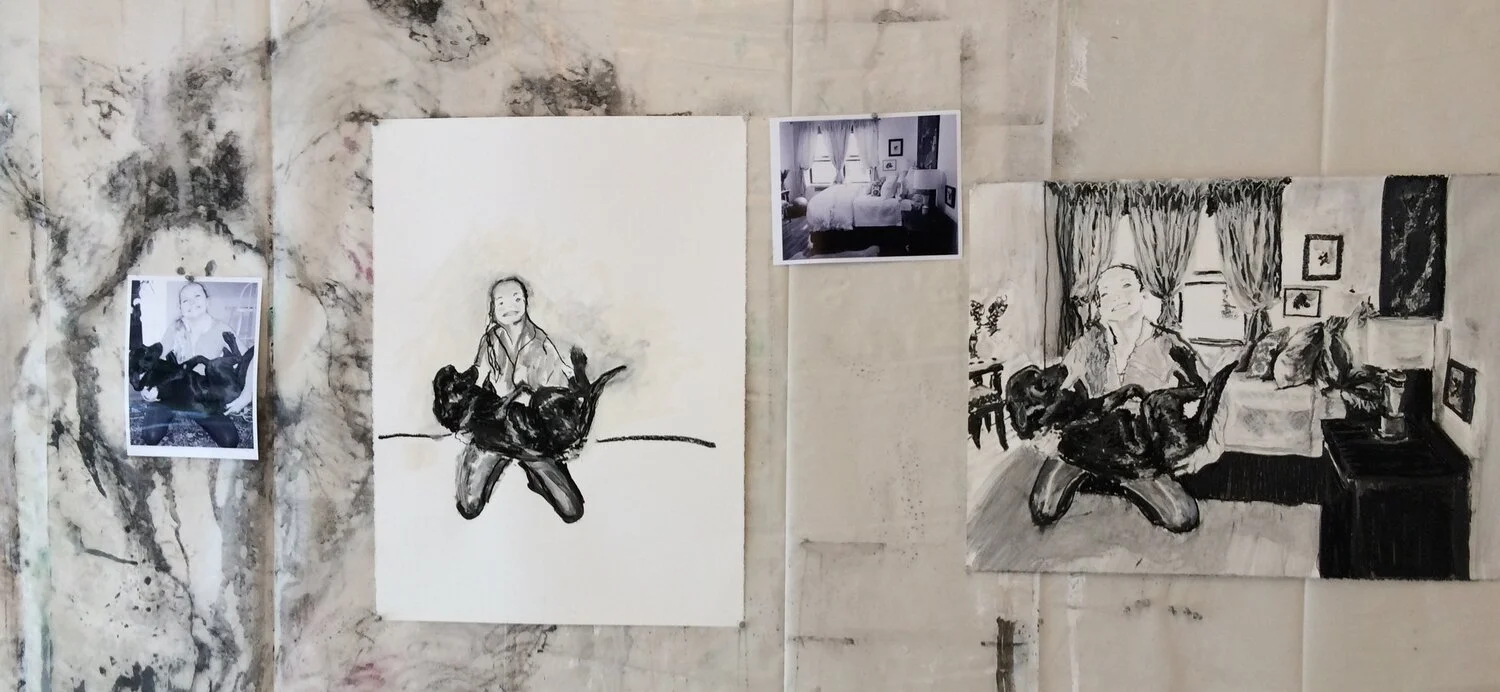
“Score” #20 lath - what to cover and what not to cover


I will not cover the entire armature in lath as some of the armature will be used to support additional materials to express the energy of the music.  I will add these materials after the lath and some after the concrete. Deciding what does and what does not get covered, is crucial in creating the right movement and energy of the piece.

IMAGE.JPG
IMAGE.JPG
FullSizeRender.jpg

Detail of the chest covered in lath


“score” #19 tieing down the lath

The lath is what holds the concrete or plaster to the figure. Concrete liquefies with movement so the lath has to be tied securely, it can not have any play.

The tools  I use a hammer to manipulate the lath and to smash the sharp edges of the cut lath. The pliers are used to tie or twist the ties to secure the lath to the armature. The clippers are used to cut the lath. 

The tools  

I use a hammer to manipulate the lath and to smash the sharp edges of the cut lath. The pliers are used to tie or twist the ties to secure the lath to the armature. The clippers are used to cut the lath. 

IMAGE.JPG

Materials 

Small piece of cut lath and stainless steel wire.  

The Stainless steel is cut into small pieces that is used to tie the lath to the rebar. 

The Stainless steel is cut into small pieces that is used to tie the lath to the rebar. 

Lath tied down with small piece of stainless steel.  

Lath tied down with small piece of stainless steel.  

FullSizeRender.jpg

The tie is clipped and the sharp end is folded under. 


IMAGE.JPG

Lath ties to the rebar

“Score” #18 the lath

I know have supports on the ground and I am comfortable that the piece is not going to fall on me. In the end I may cut them off. Right now they stabilize the piece and they are not visually distracting to me. 

Now to start adding the lath.  


I started with the right arm and hand.  

I started with the right arm and hand. 


Jumping around I next added his right coat tail  then his left arm.  

IMAGE.JPG

Left arm  


IMAGE.JPG

Left back of his jacket  


1/16/2018


working on the folds in the fabric of the left pant leg. 

working on the folds in the fabric of the left pant leg. 

“score” #15 artist statement

11/15/2017

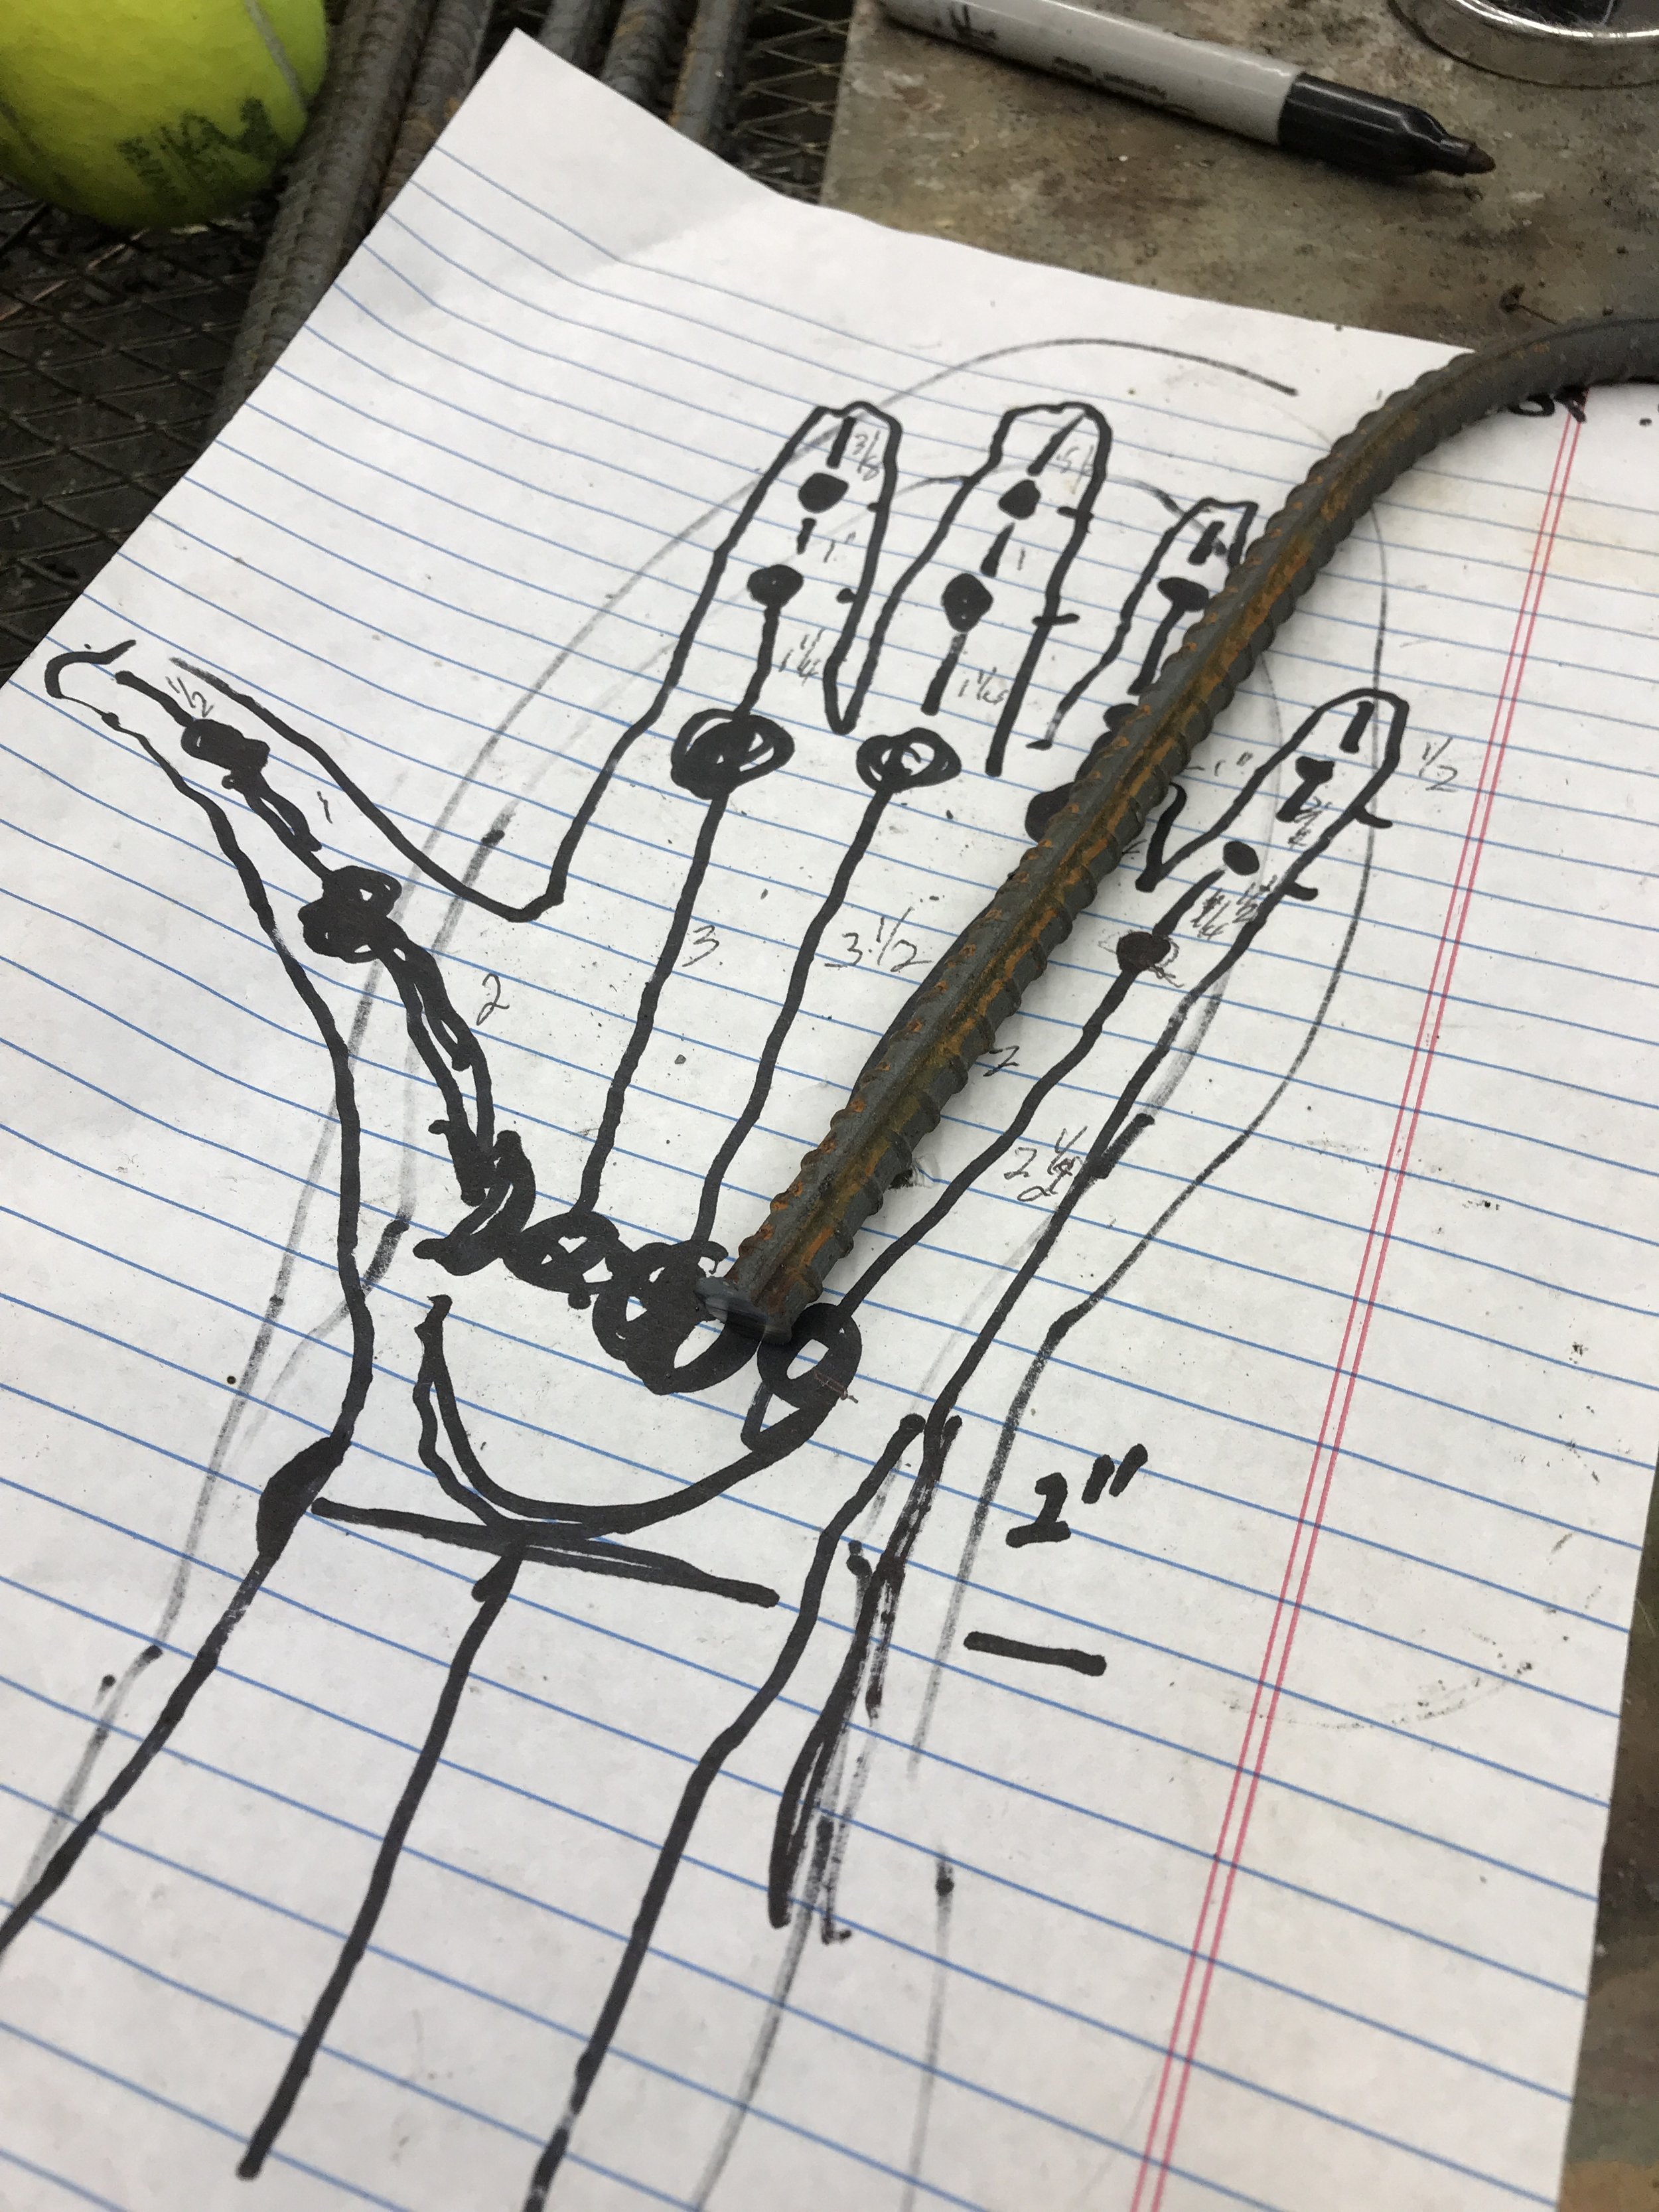
As I work on a piece I start tinkering with what the artist statement should be. Many times both the piece and the artist statement take on unexpected directions and meanings. Below is my latest rendition. 
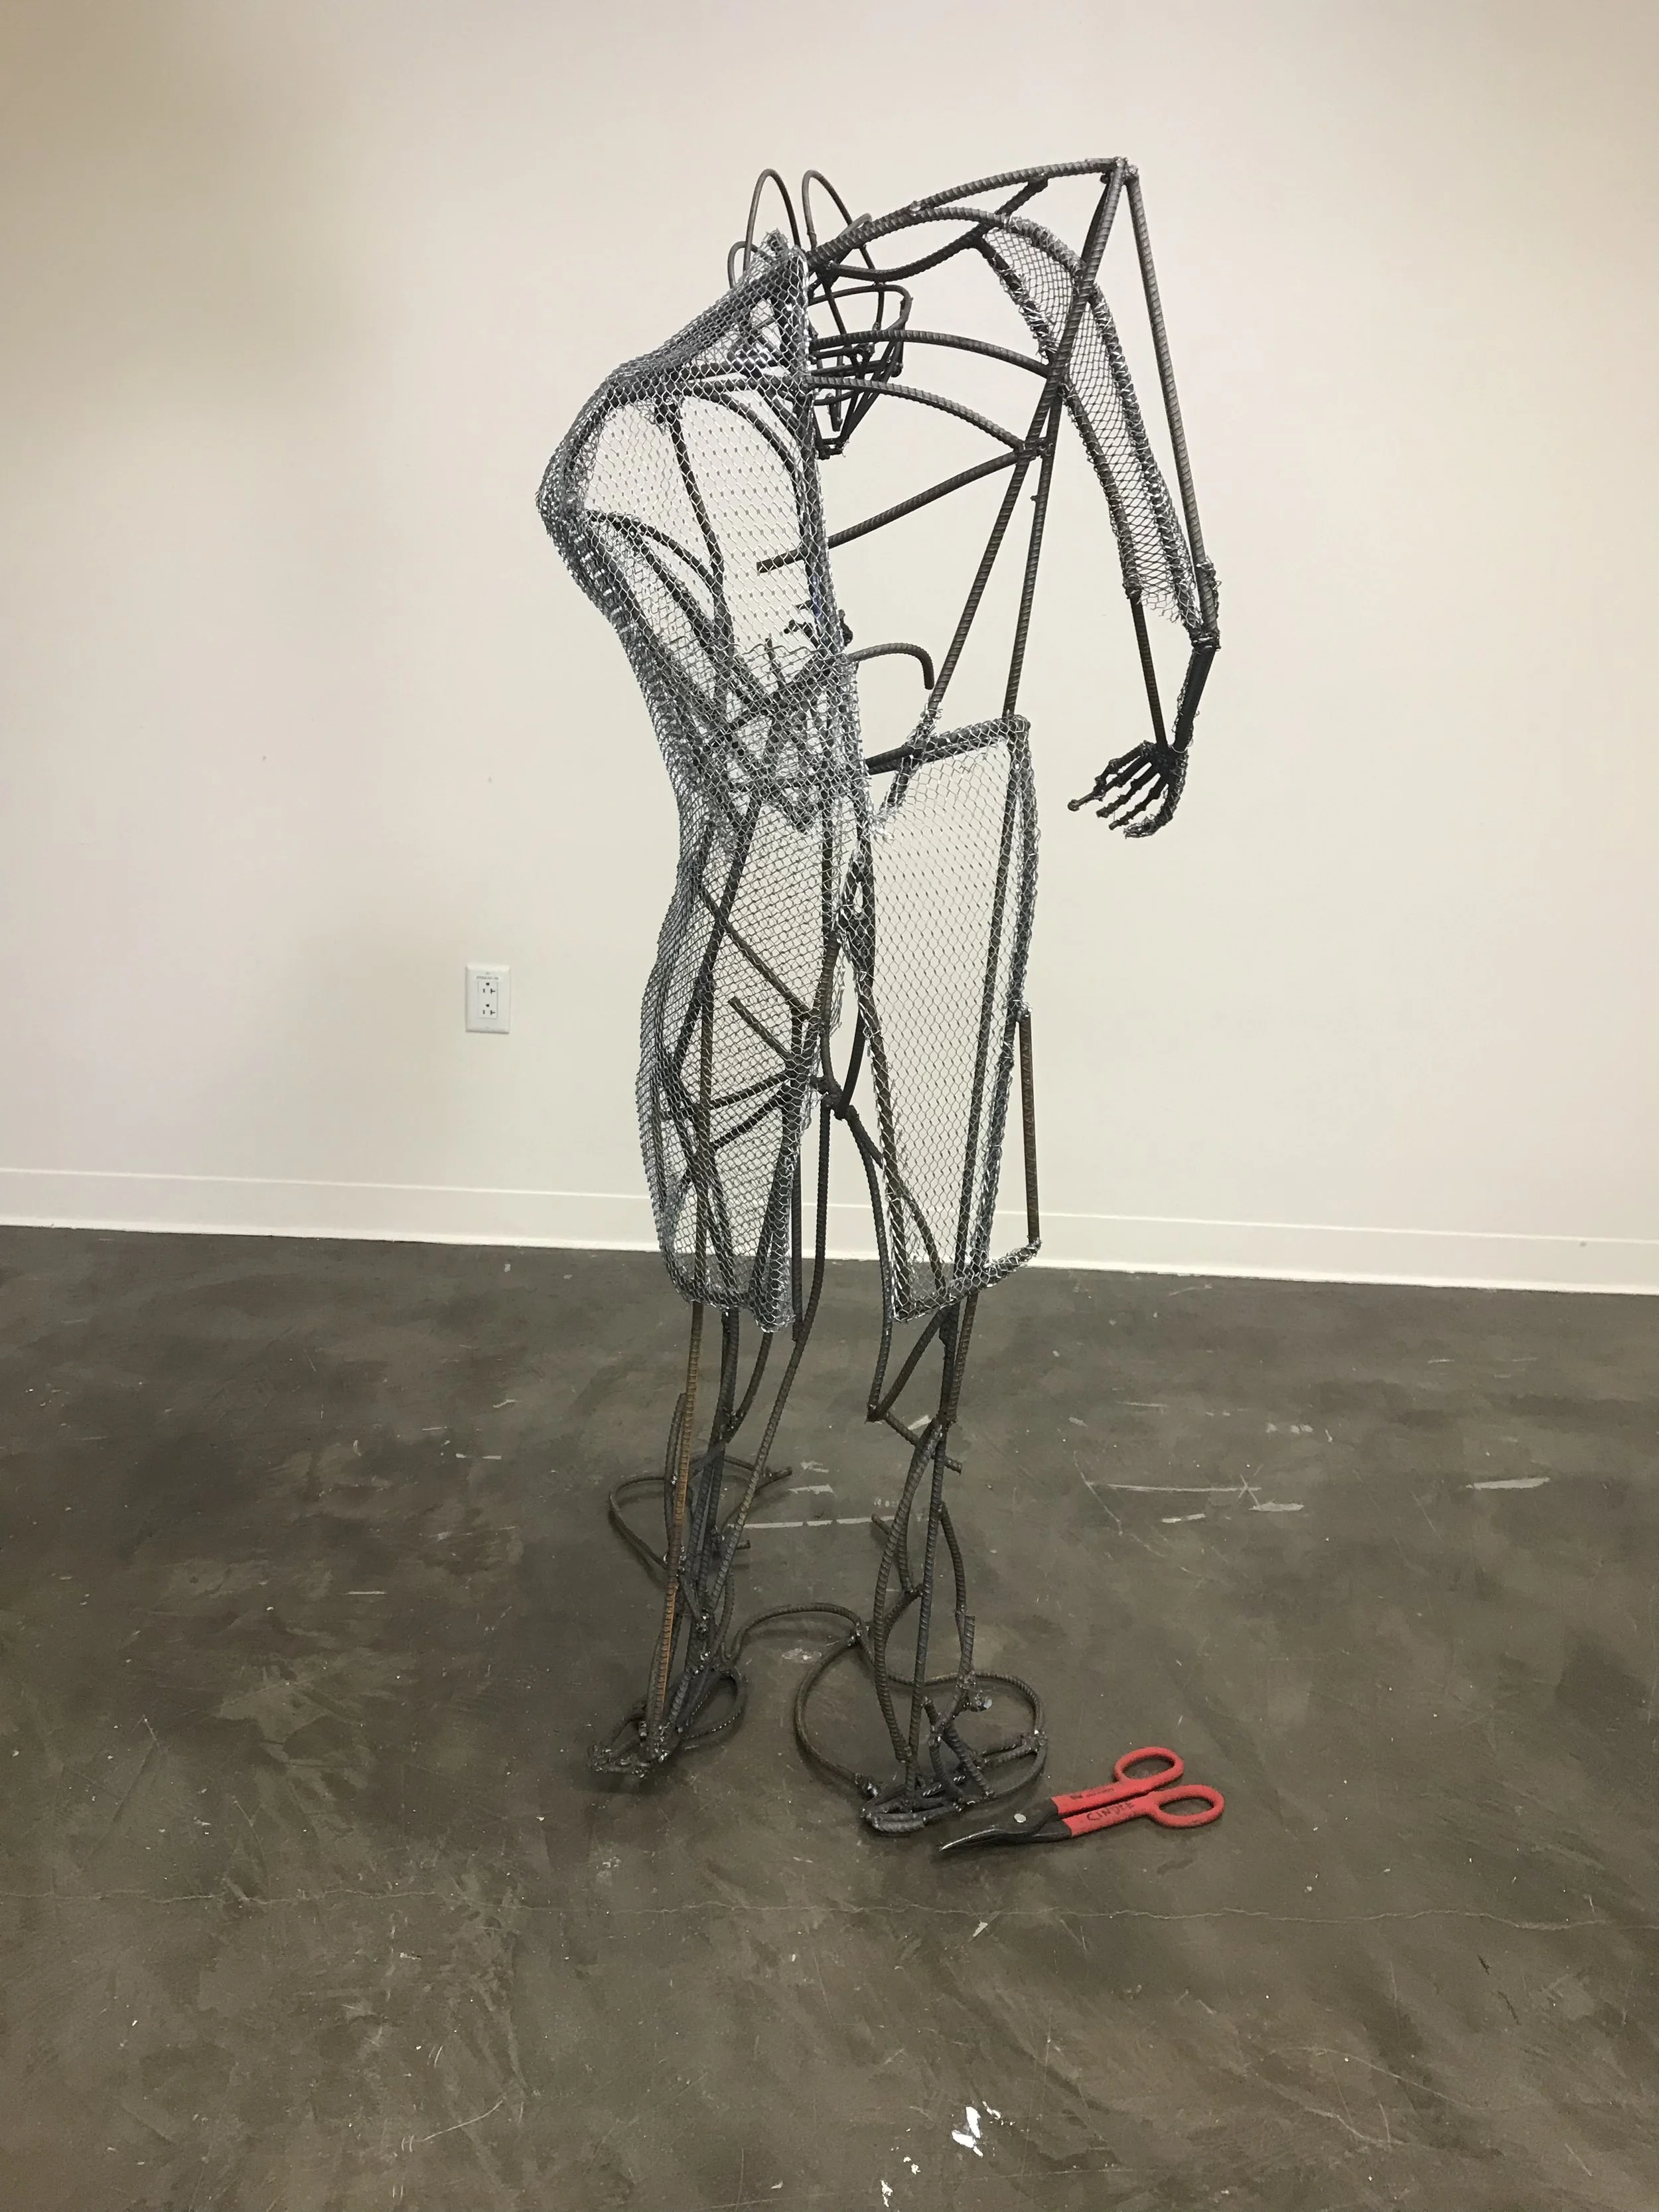
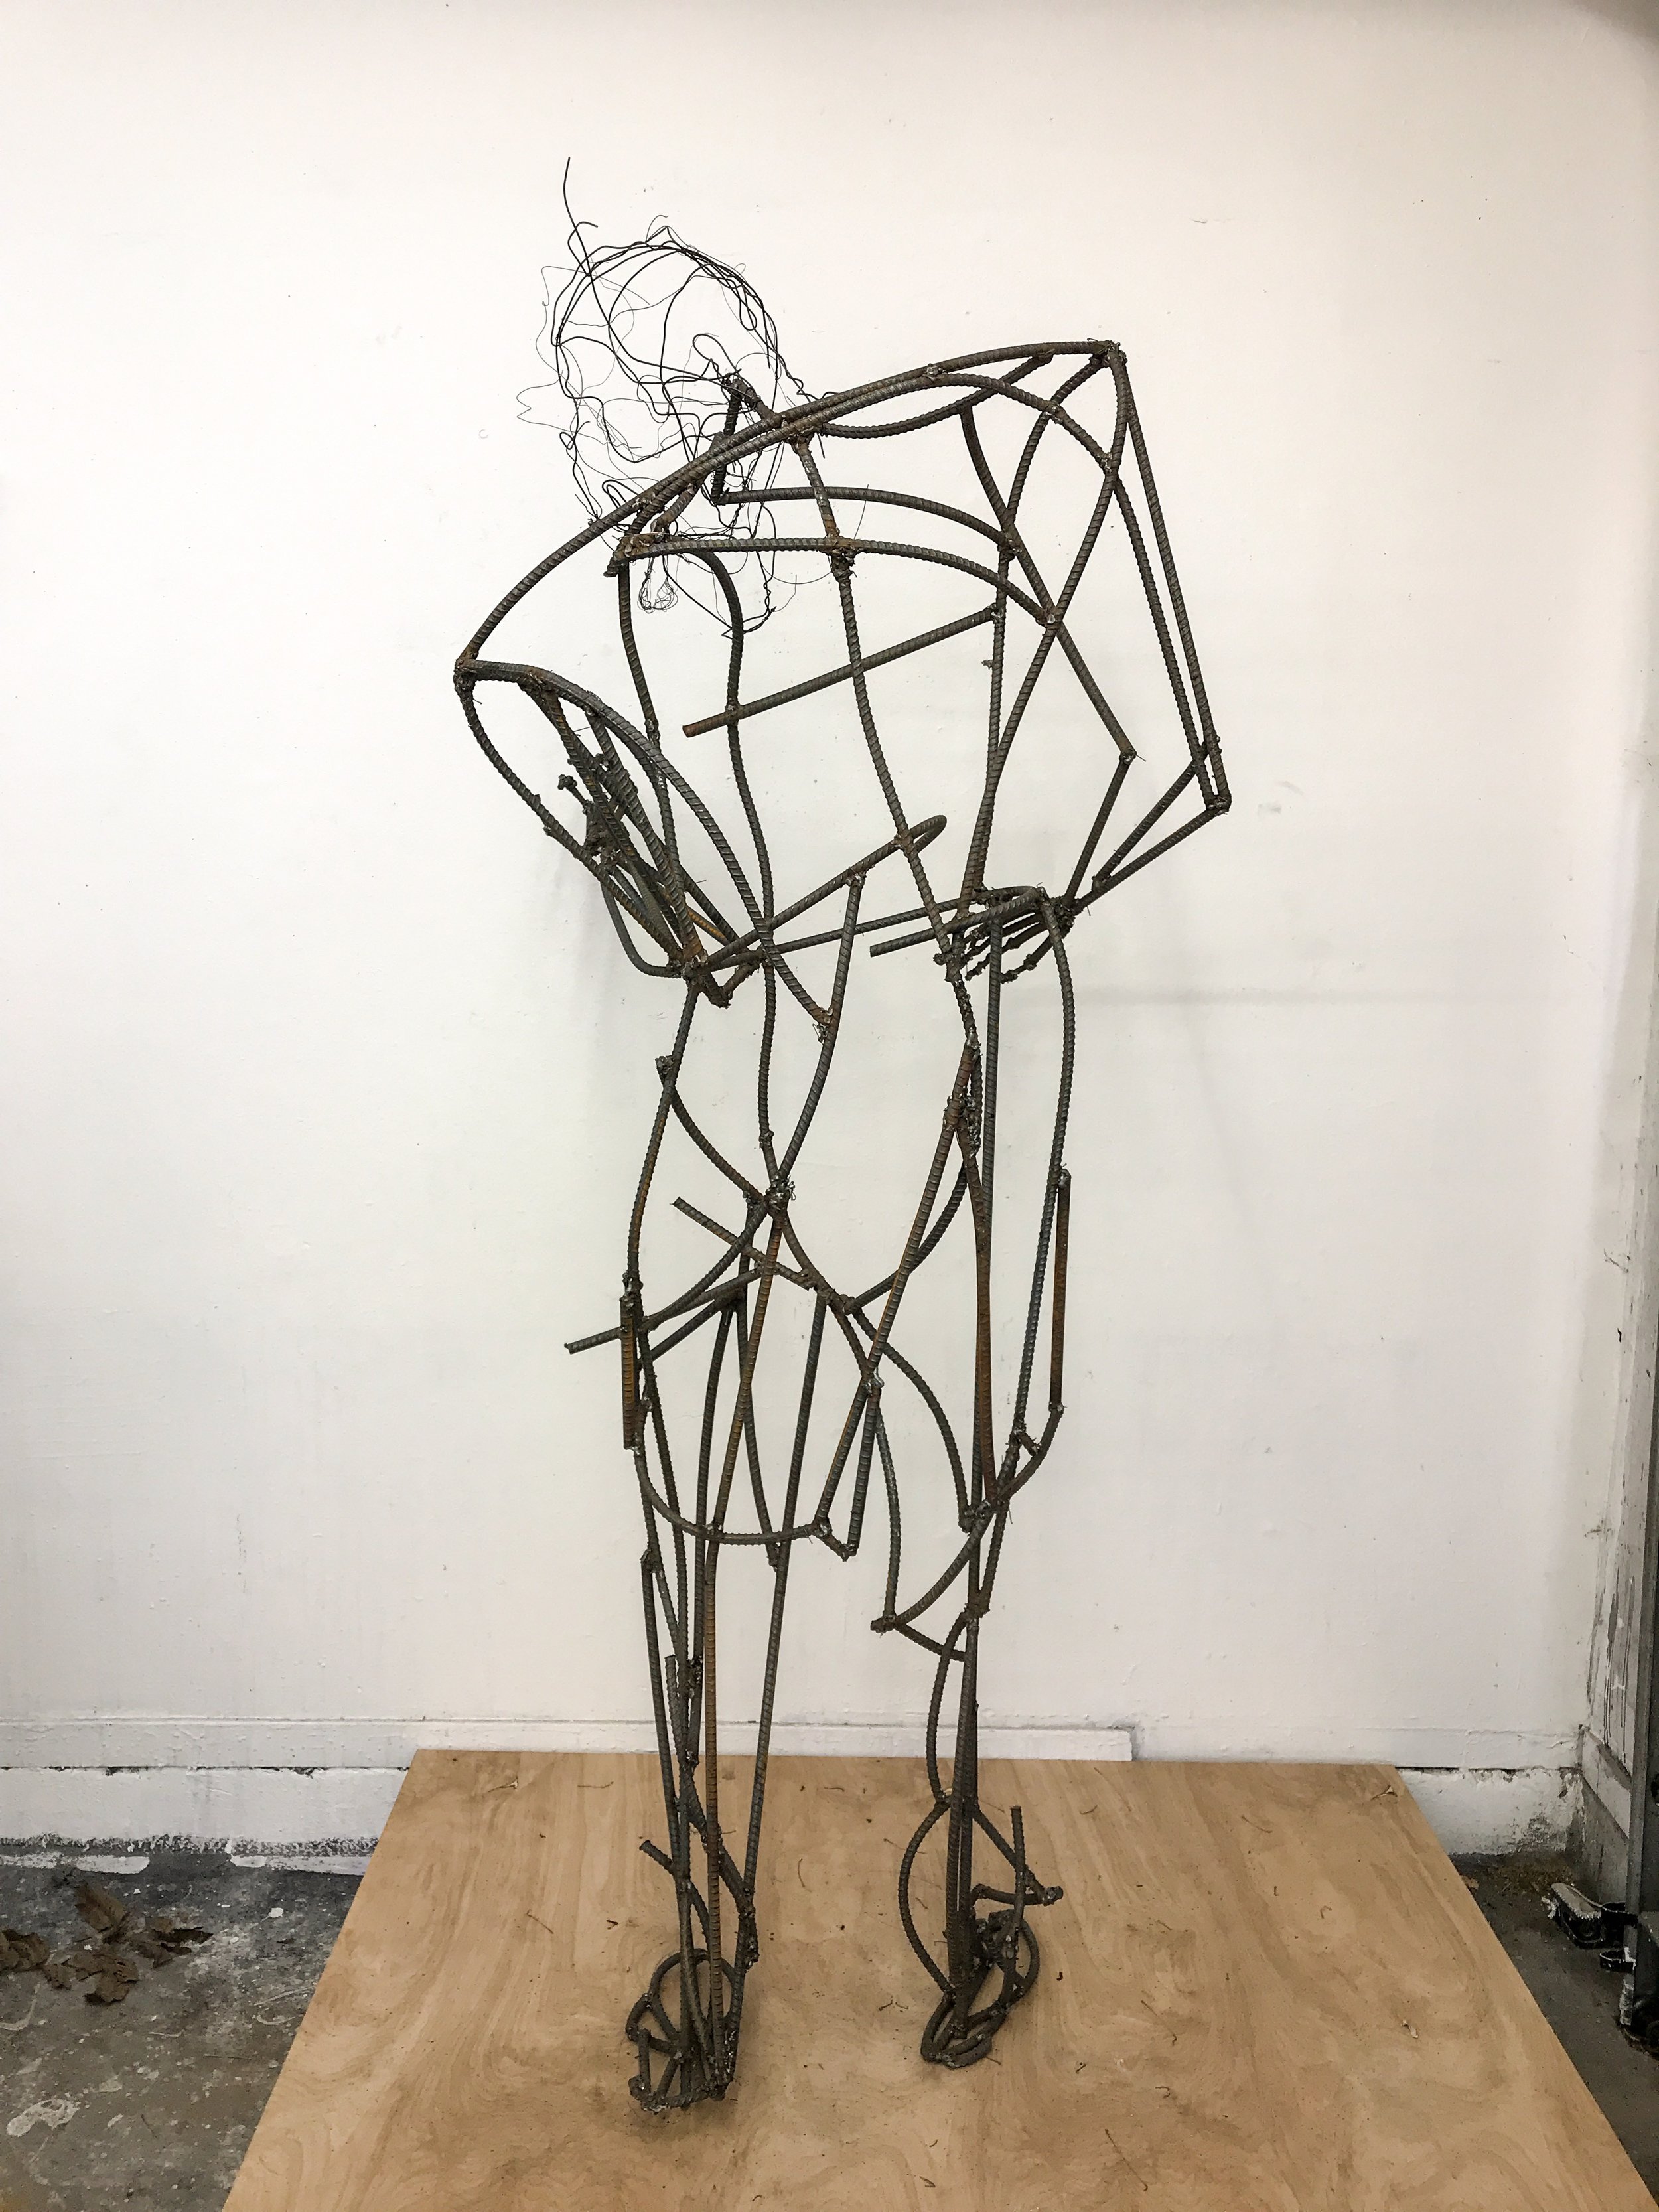
“score”  

artist statement  

From the beginning of time music has been used as a powerful way to influence human emotion. Modern scientists report that music has the ability to change brainwaves that control our emotional energy.  It is presently used not only as an artistic expression, but also in physical and emotional therapy.

“score” was inspired by a slow shutter release photograph of my cousin, Concert Master Andrew Irvin, that captures multiple images as he plays his violin.  Applying this concept of multiple images with the raw materials recycled wire, steel, and white concrete  “score”  embraces both the primal impact, music has on our emotions  and the contemporary elements of music. ”score” not only expresses the energy of playing the violin but also the raw energy expressed through music. The application is raw, emotional and visceral

FullSizeRender.jpg
FullSizeRender.jpg
FullSizeRender.jpg

“Score” post #9 repositioning the left forearm....

....to hold the muIcal instrument. 

I need to repositioning the left forearm to hold the violin. I have a bailing wire face attached to you he neck of the armature to help me visualize where the head would be. 

FullSizeRender.jpg

front view

FullSizeRender.jpg

left side of front

FullSizeRender.jpg

left side 

FullSizeRender.jpg

backside

FullSizeRender.jpg

figures backright side 

Front right side of figure

Front right side of figure

I am excited that the piece still balances on it’s own, however it is starting to want to lean forward. In order to keep it balanced I will add the right arm next. 

“score” post #8 winging it.

11/09/2017

I decided to weld the arm pieces onto the torso. I started with the left arm and the palm of the hand. I am totally winging this. Since the piece is in motion I want the arm position to reflect movement. The left shoulder dips and the elbow digs into his side. The left forearm has to be free so the fingers can to move up and down the violin. The violin will be held in place between his chin and his shoulder/chest. 


IMG_6391.JPG

Next I decide to trace my hand to determine how long the finger pieces of steel should be. Then I draw in the bones and measure how long each finger bone is between the joints. My hand is smaller than the figures would be but by the time I add the lath and cement it should be the right size. 

IMG_6387.JPG

My hand pattern with bone measurements.  

IMG_6388.JPG

The hand pattern  with two pieces of the palm of the hand bones cut.  


IMG_6393.JPG

Detail of the left arm and the palm of his hand.  

IMG_6394.JPG

The bones in the palm of the hand.  

Now I need to see if I am anywhere close on the angle of the forearm and back of hand. I will do this by holding up a violin to the figure.  


IMAGE.JPG

No, I missed it. Tomorrow I will cut the forearm off and reattach it with the wrist right under the violin. Then I will look at the angle of the hand. That might also need to be altered. Totally winging it.