My daughter special requested this piece. She asked if I could make her a sapling. My response was I could try, but the pencil size steel limits how thin I can make the tree limbs. Long story short, the sapling grew old fast. After the first coat the sapling limbs we're no longer sapling thin.

Covered in lath
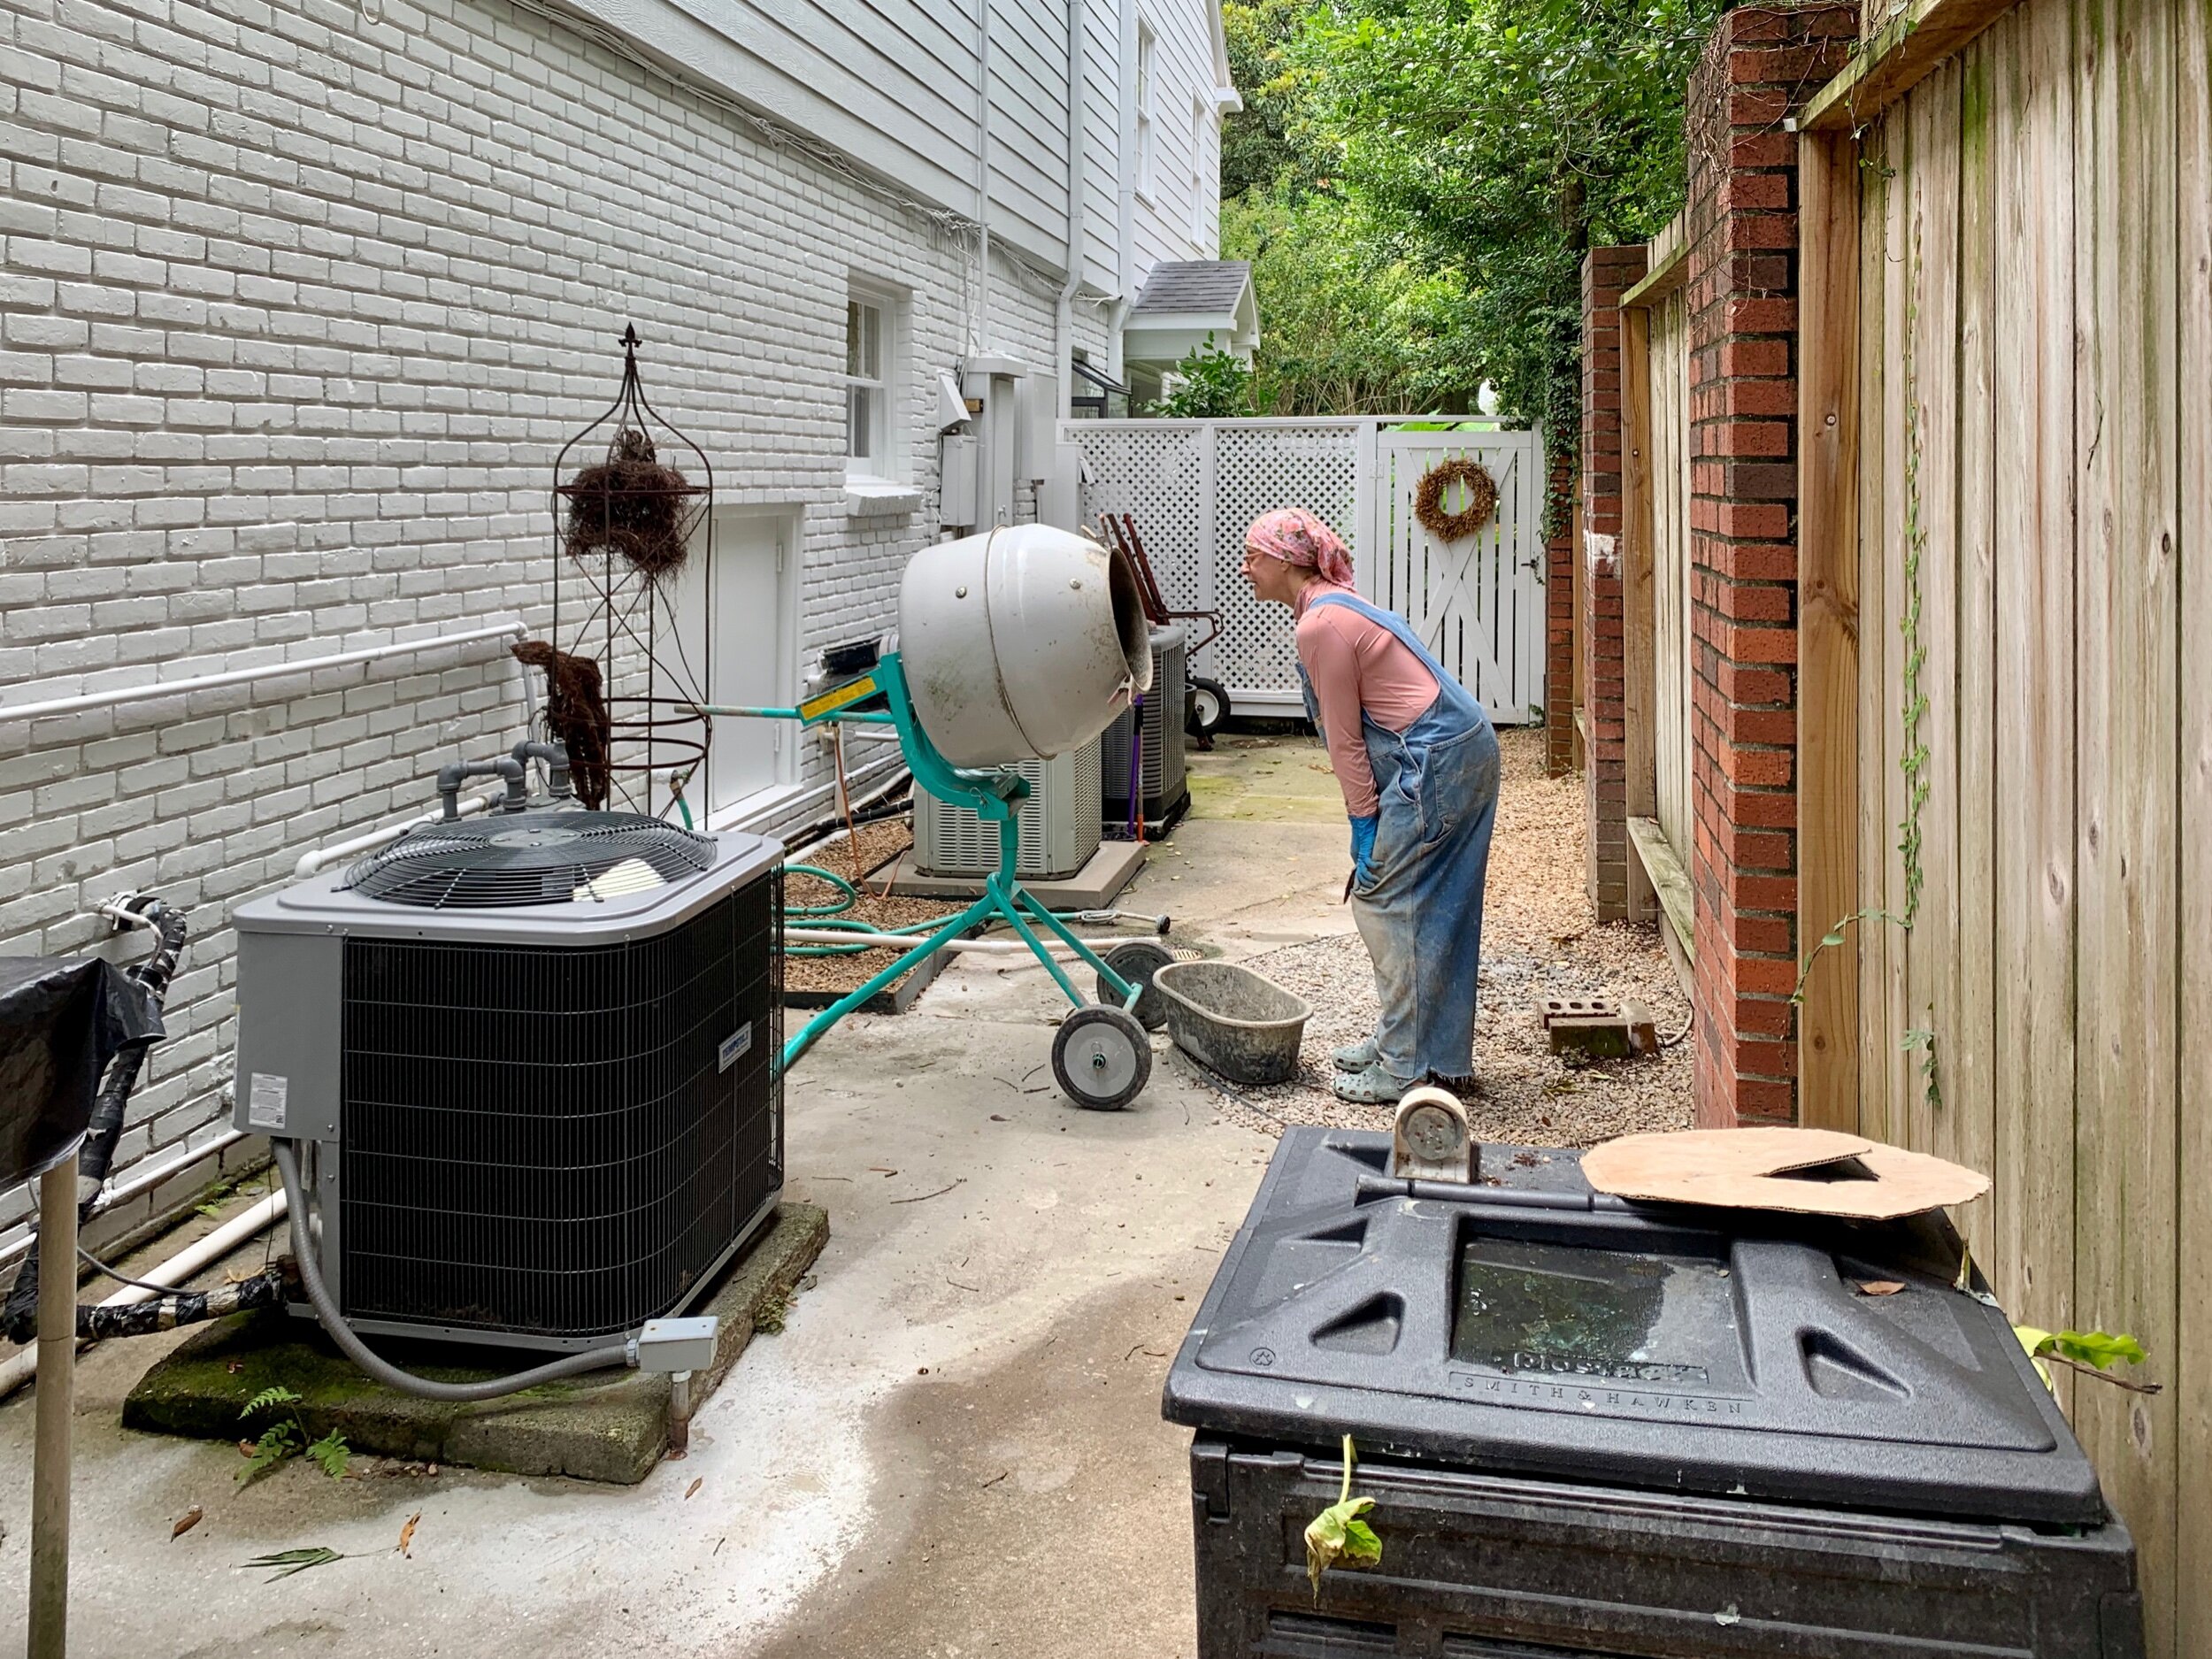
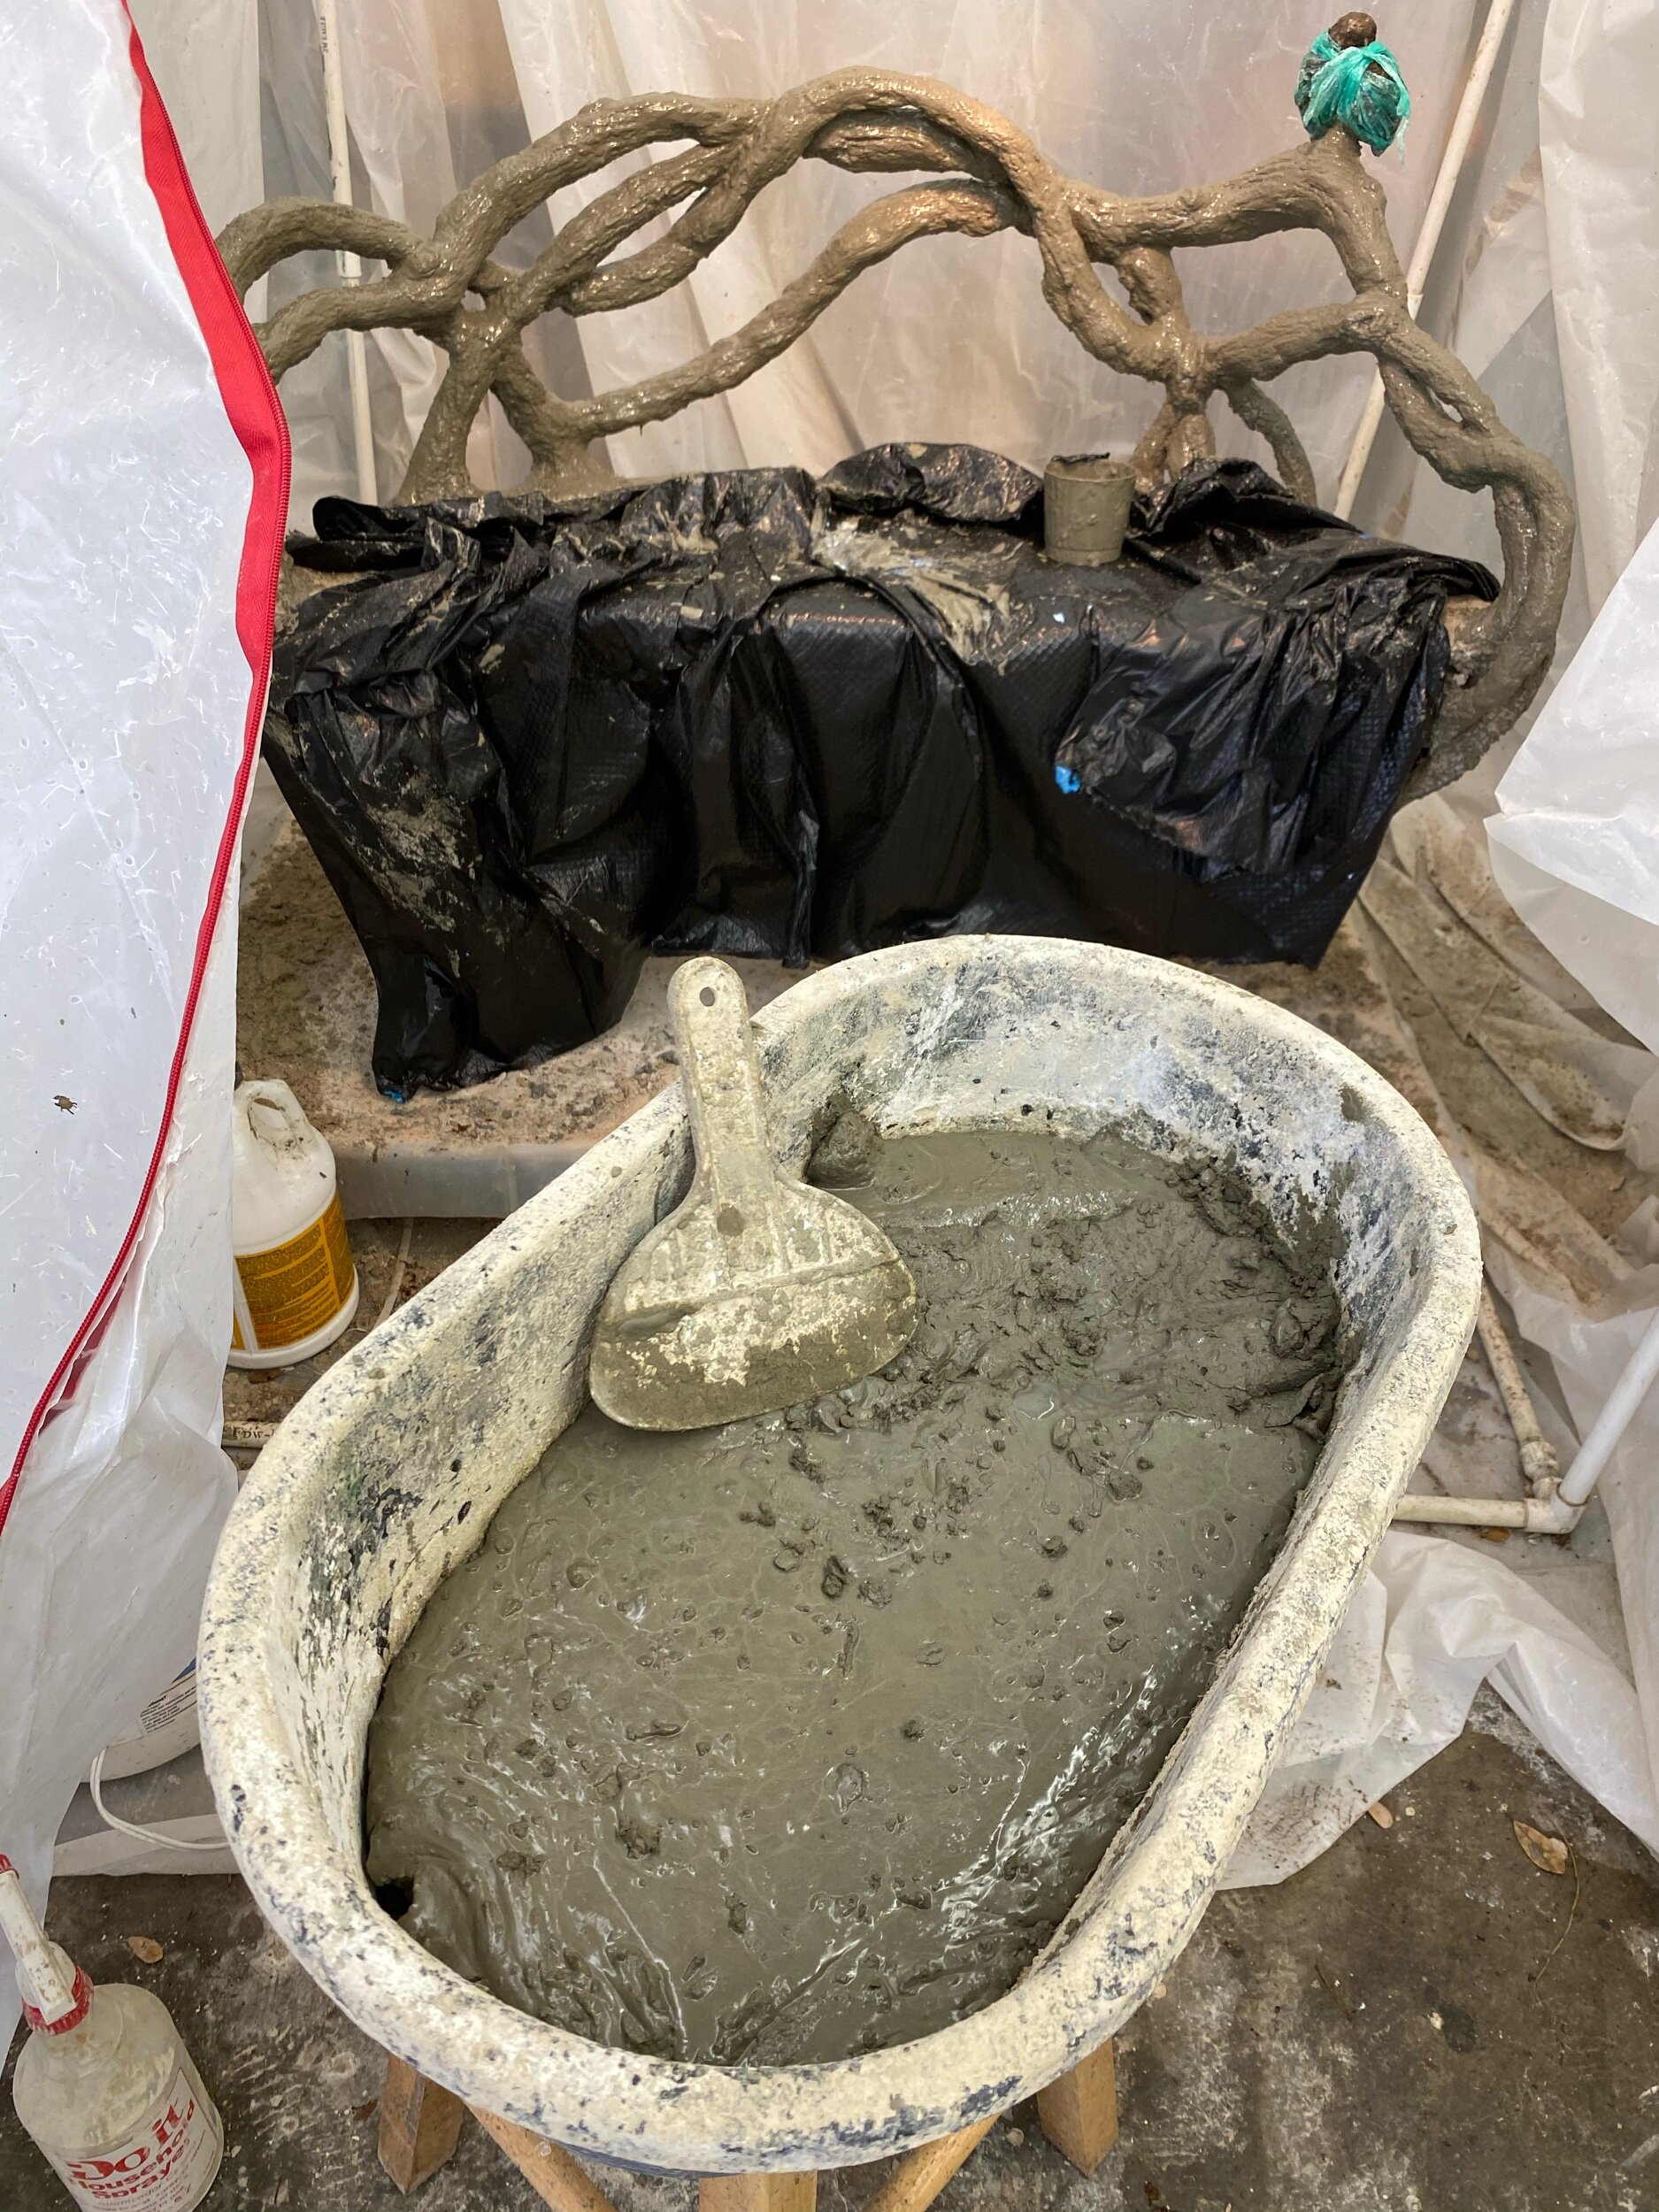
Keeping an eye on my mix

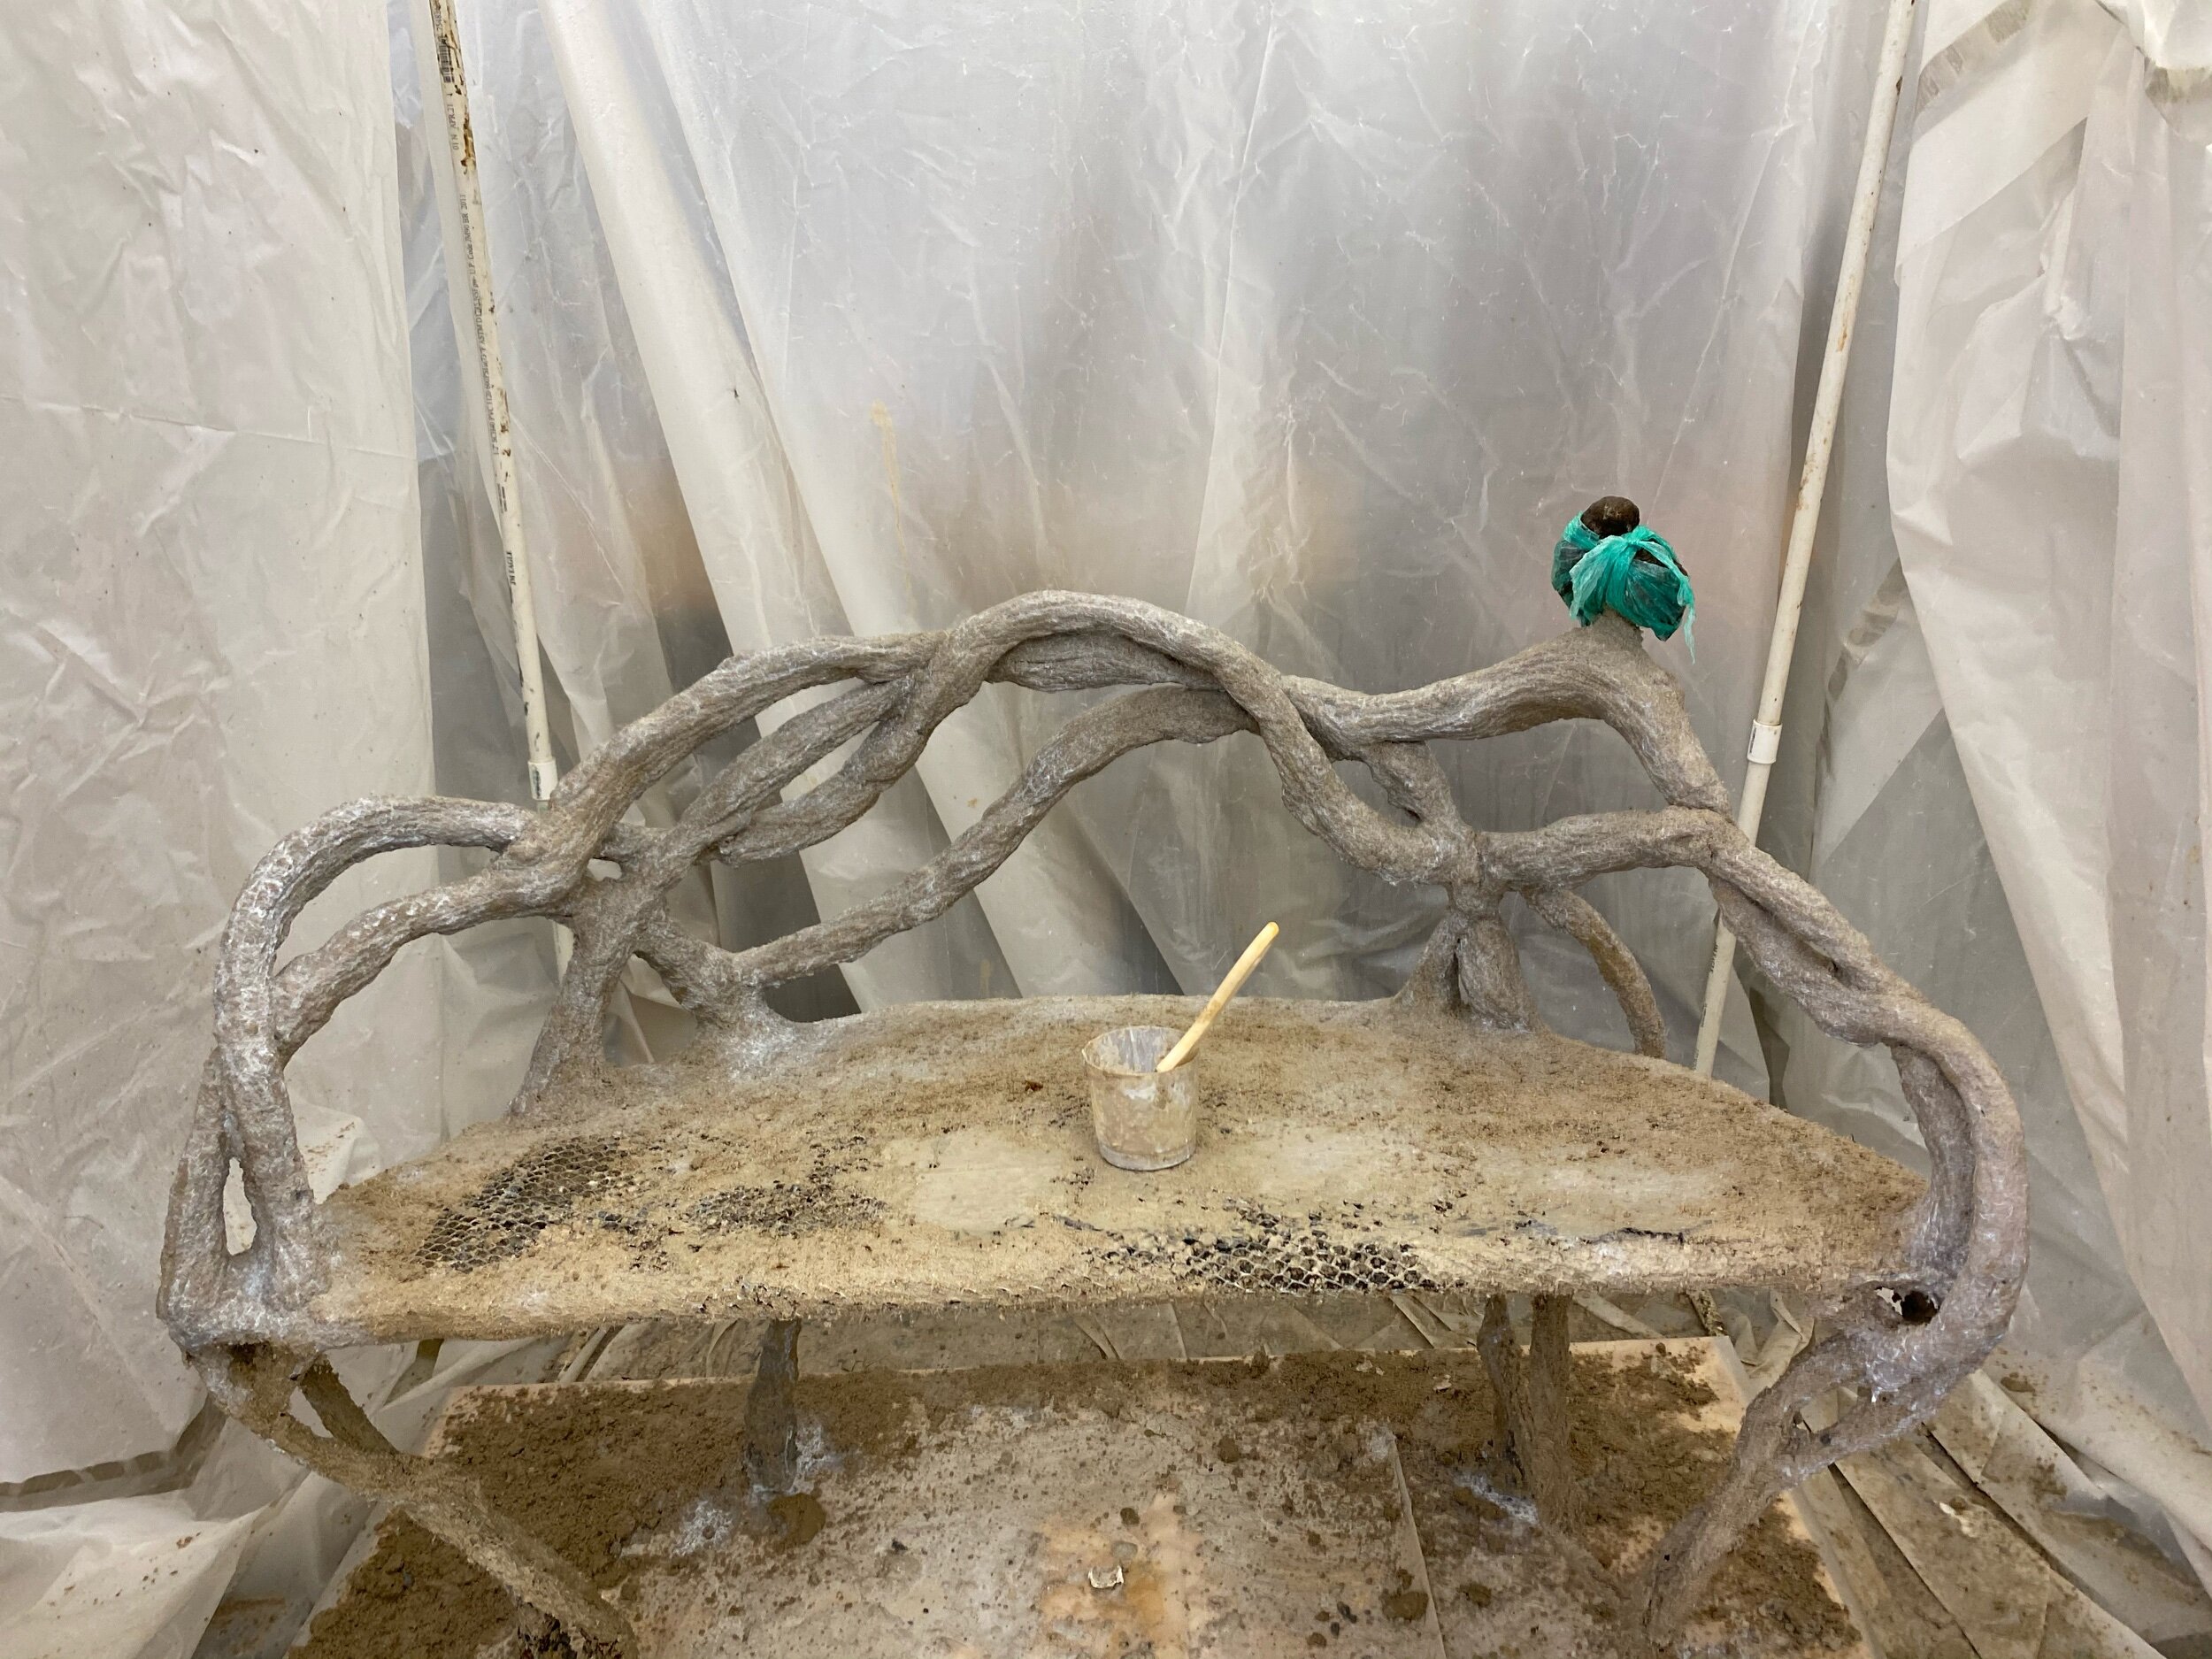
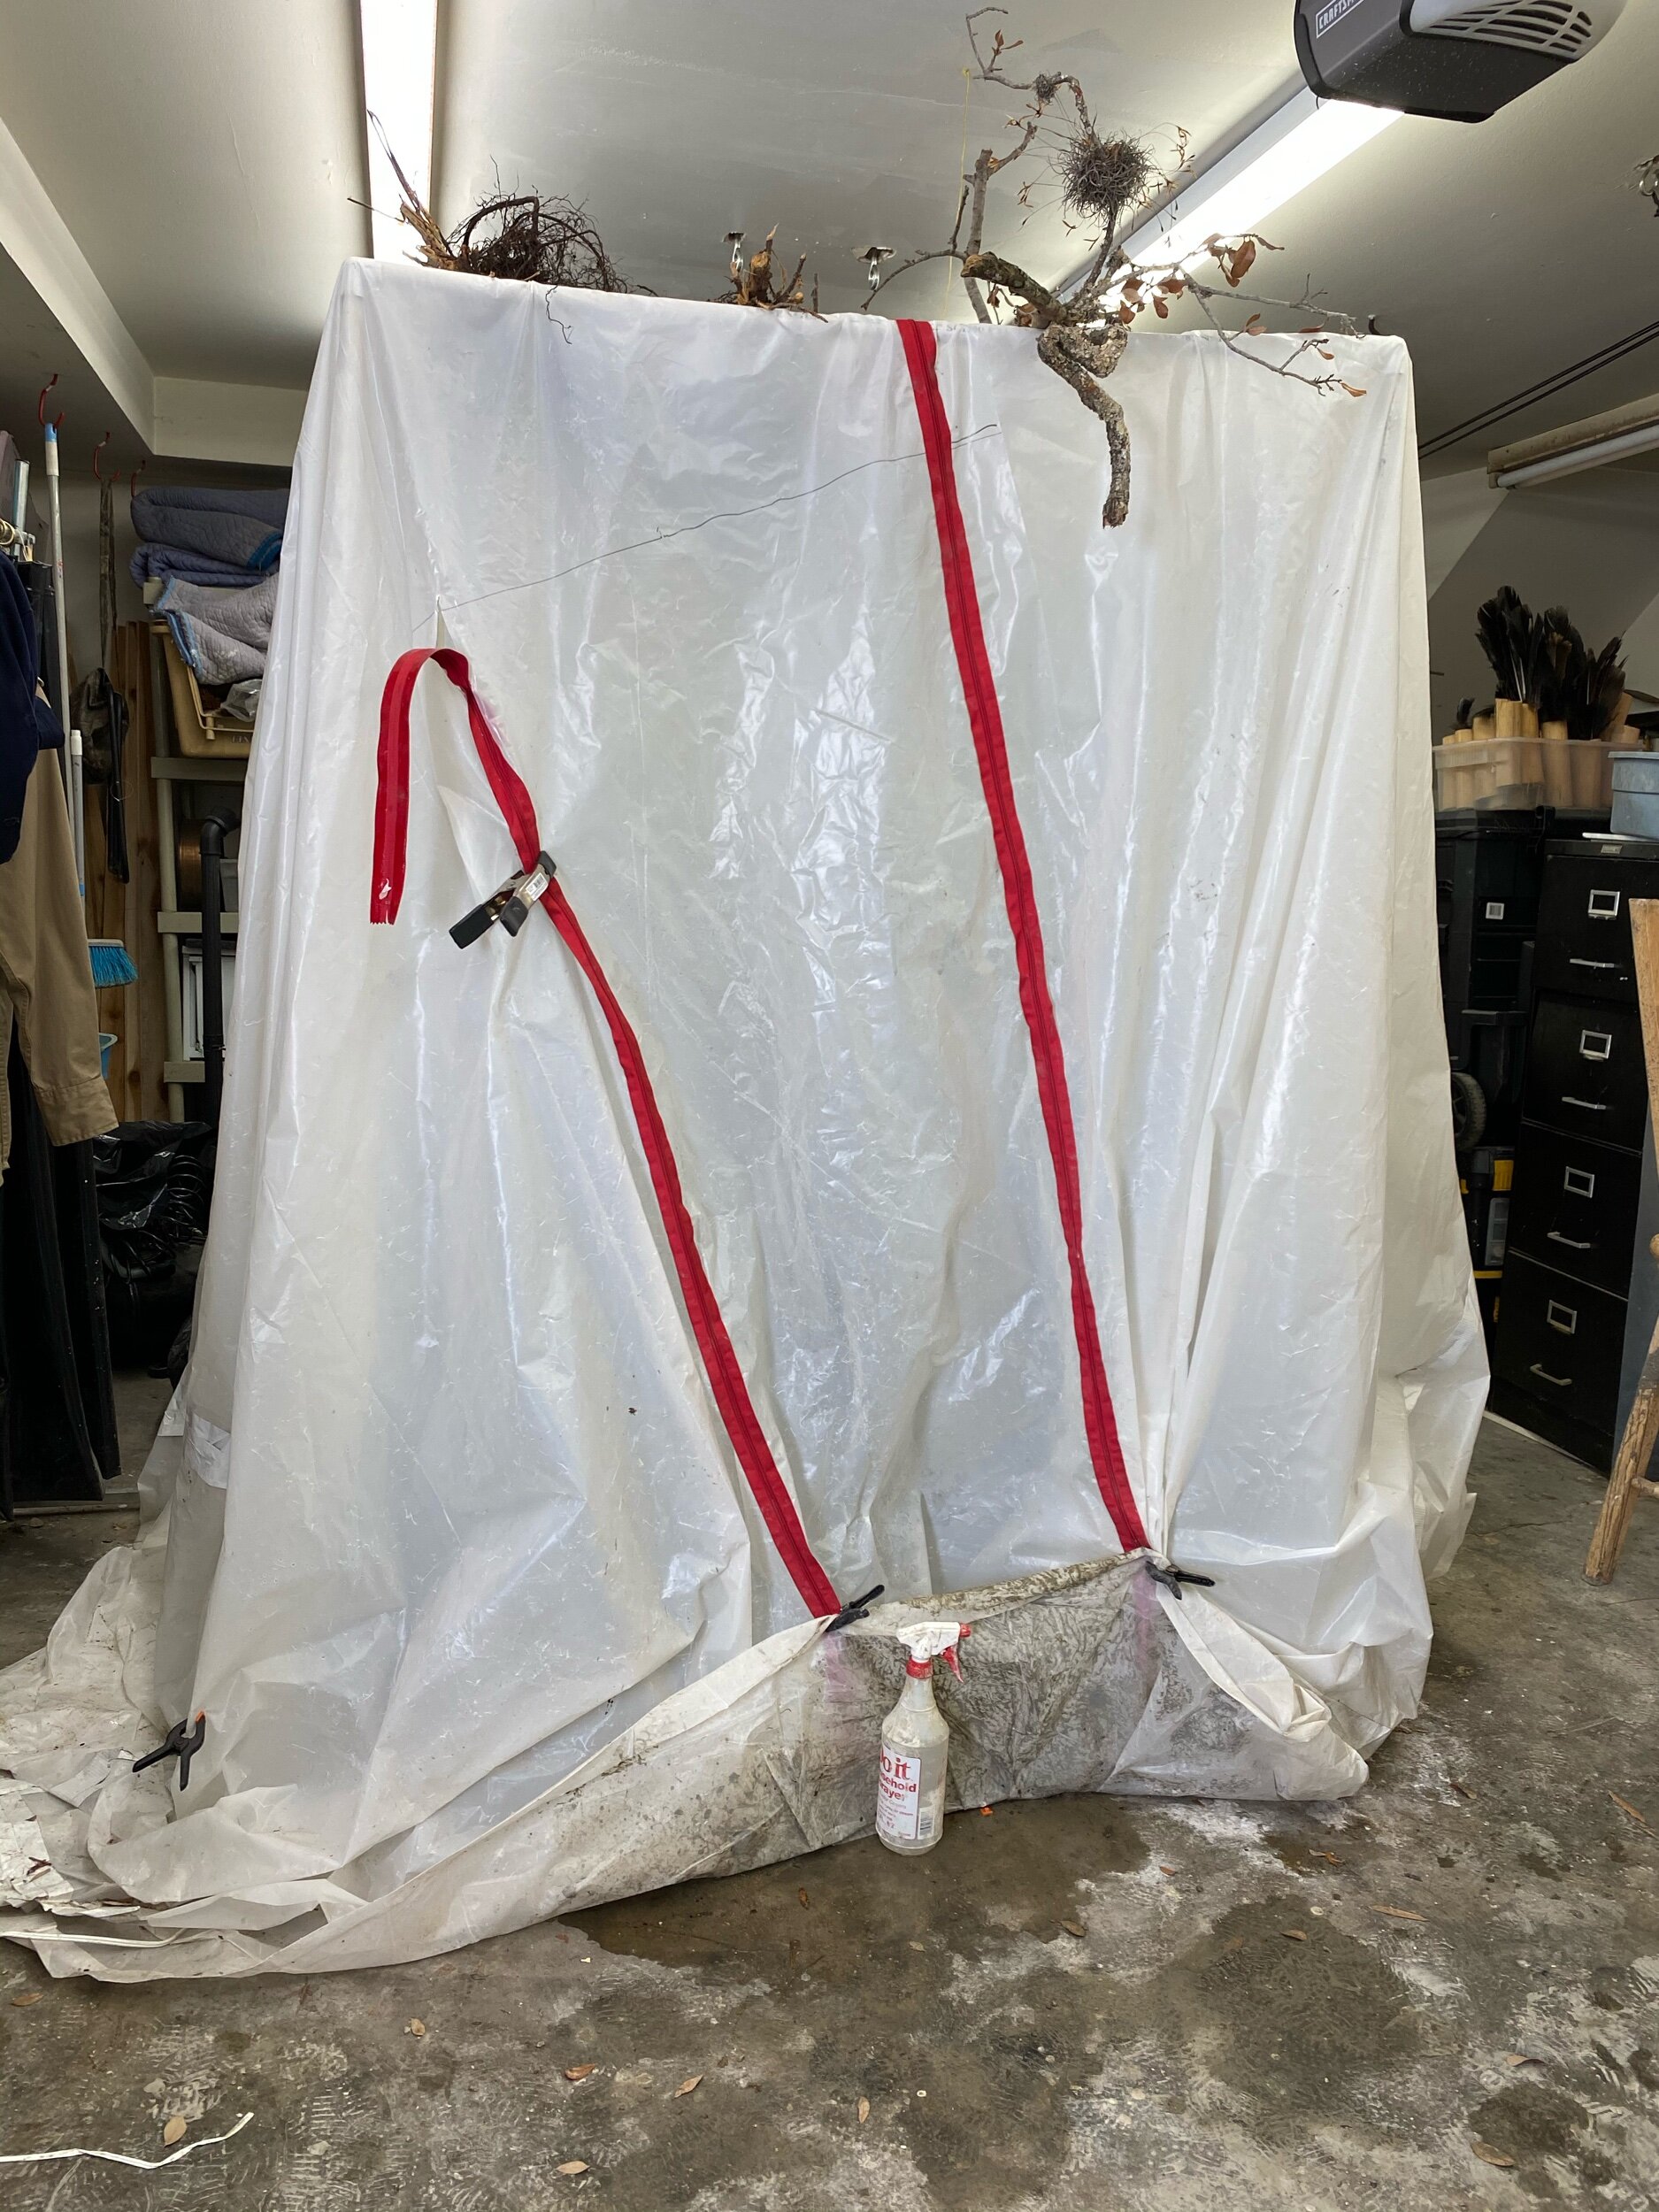
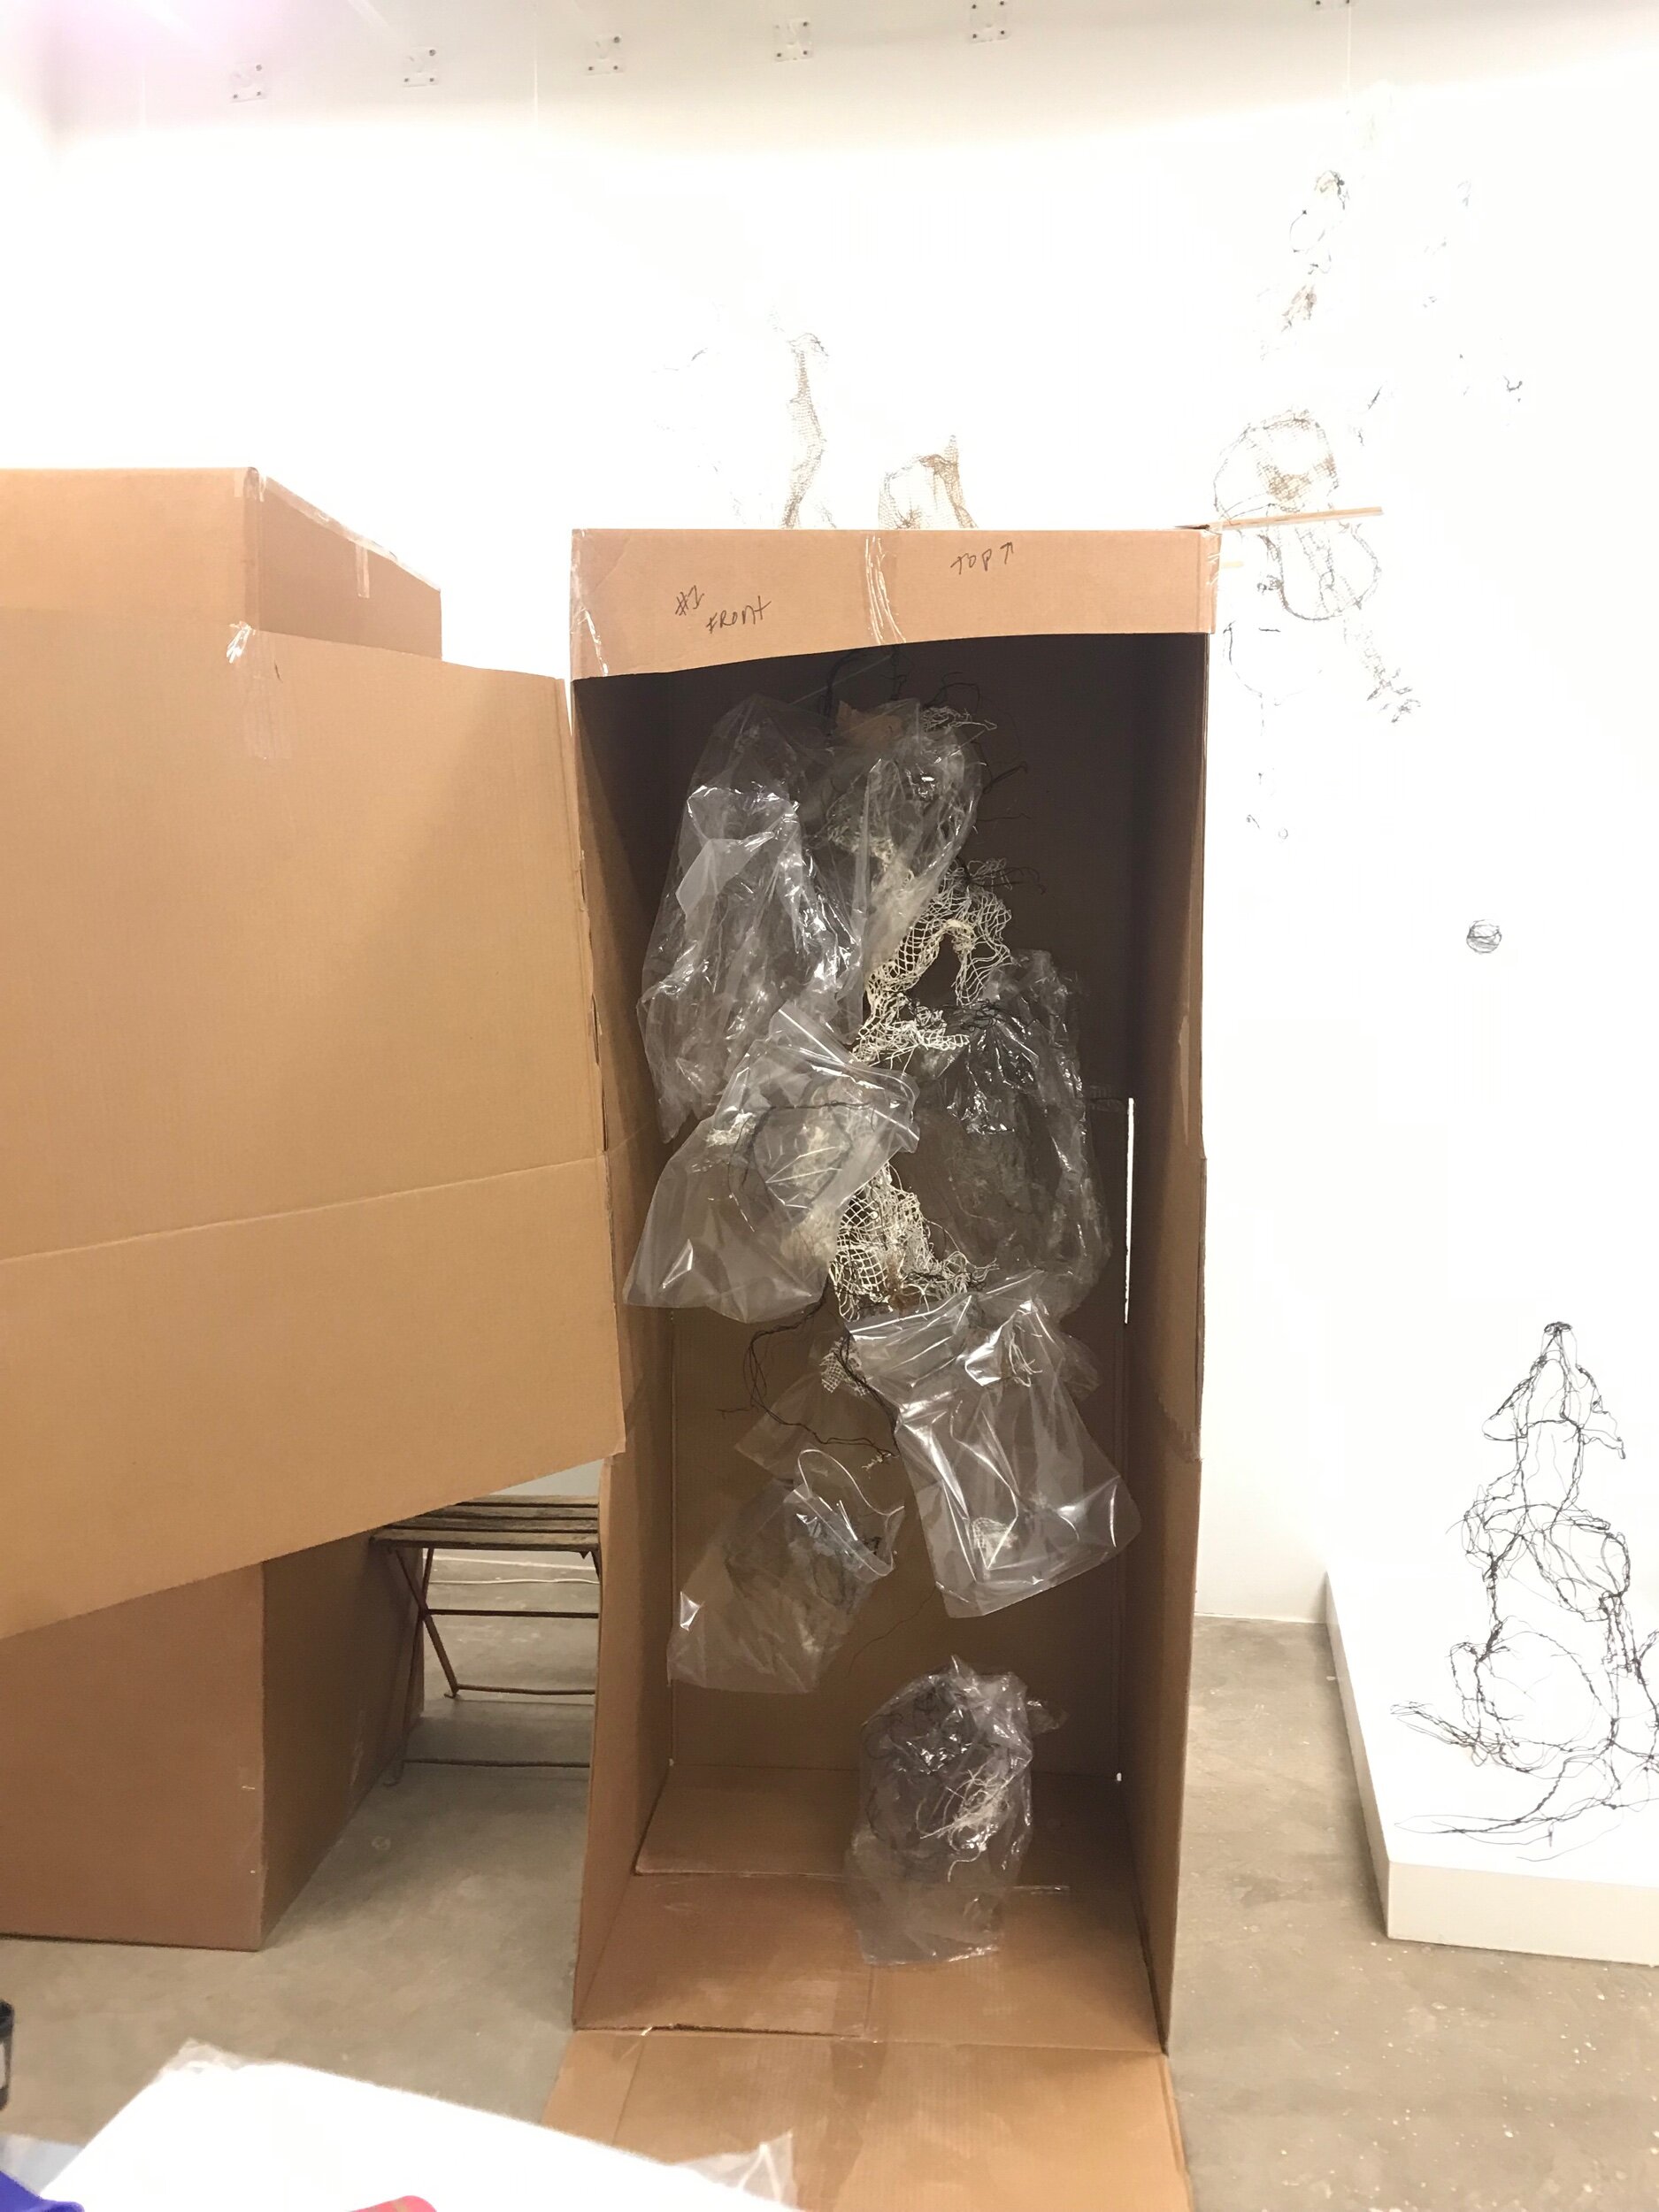
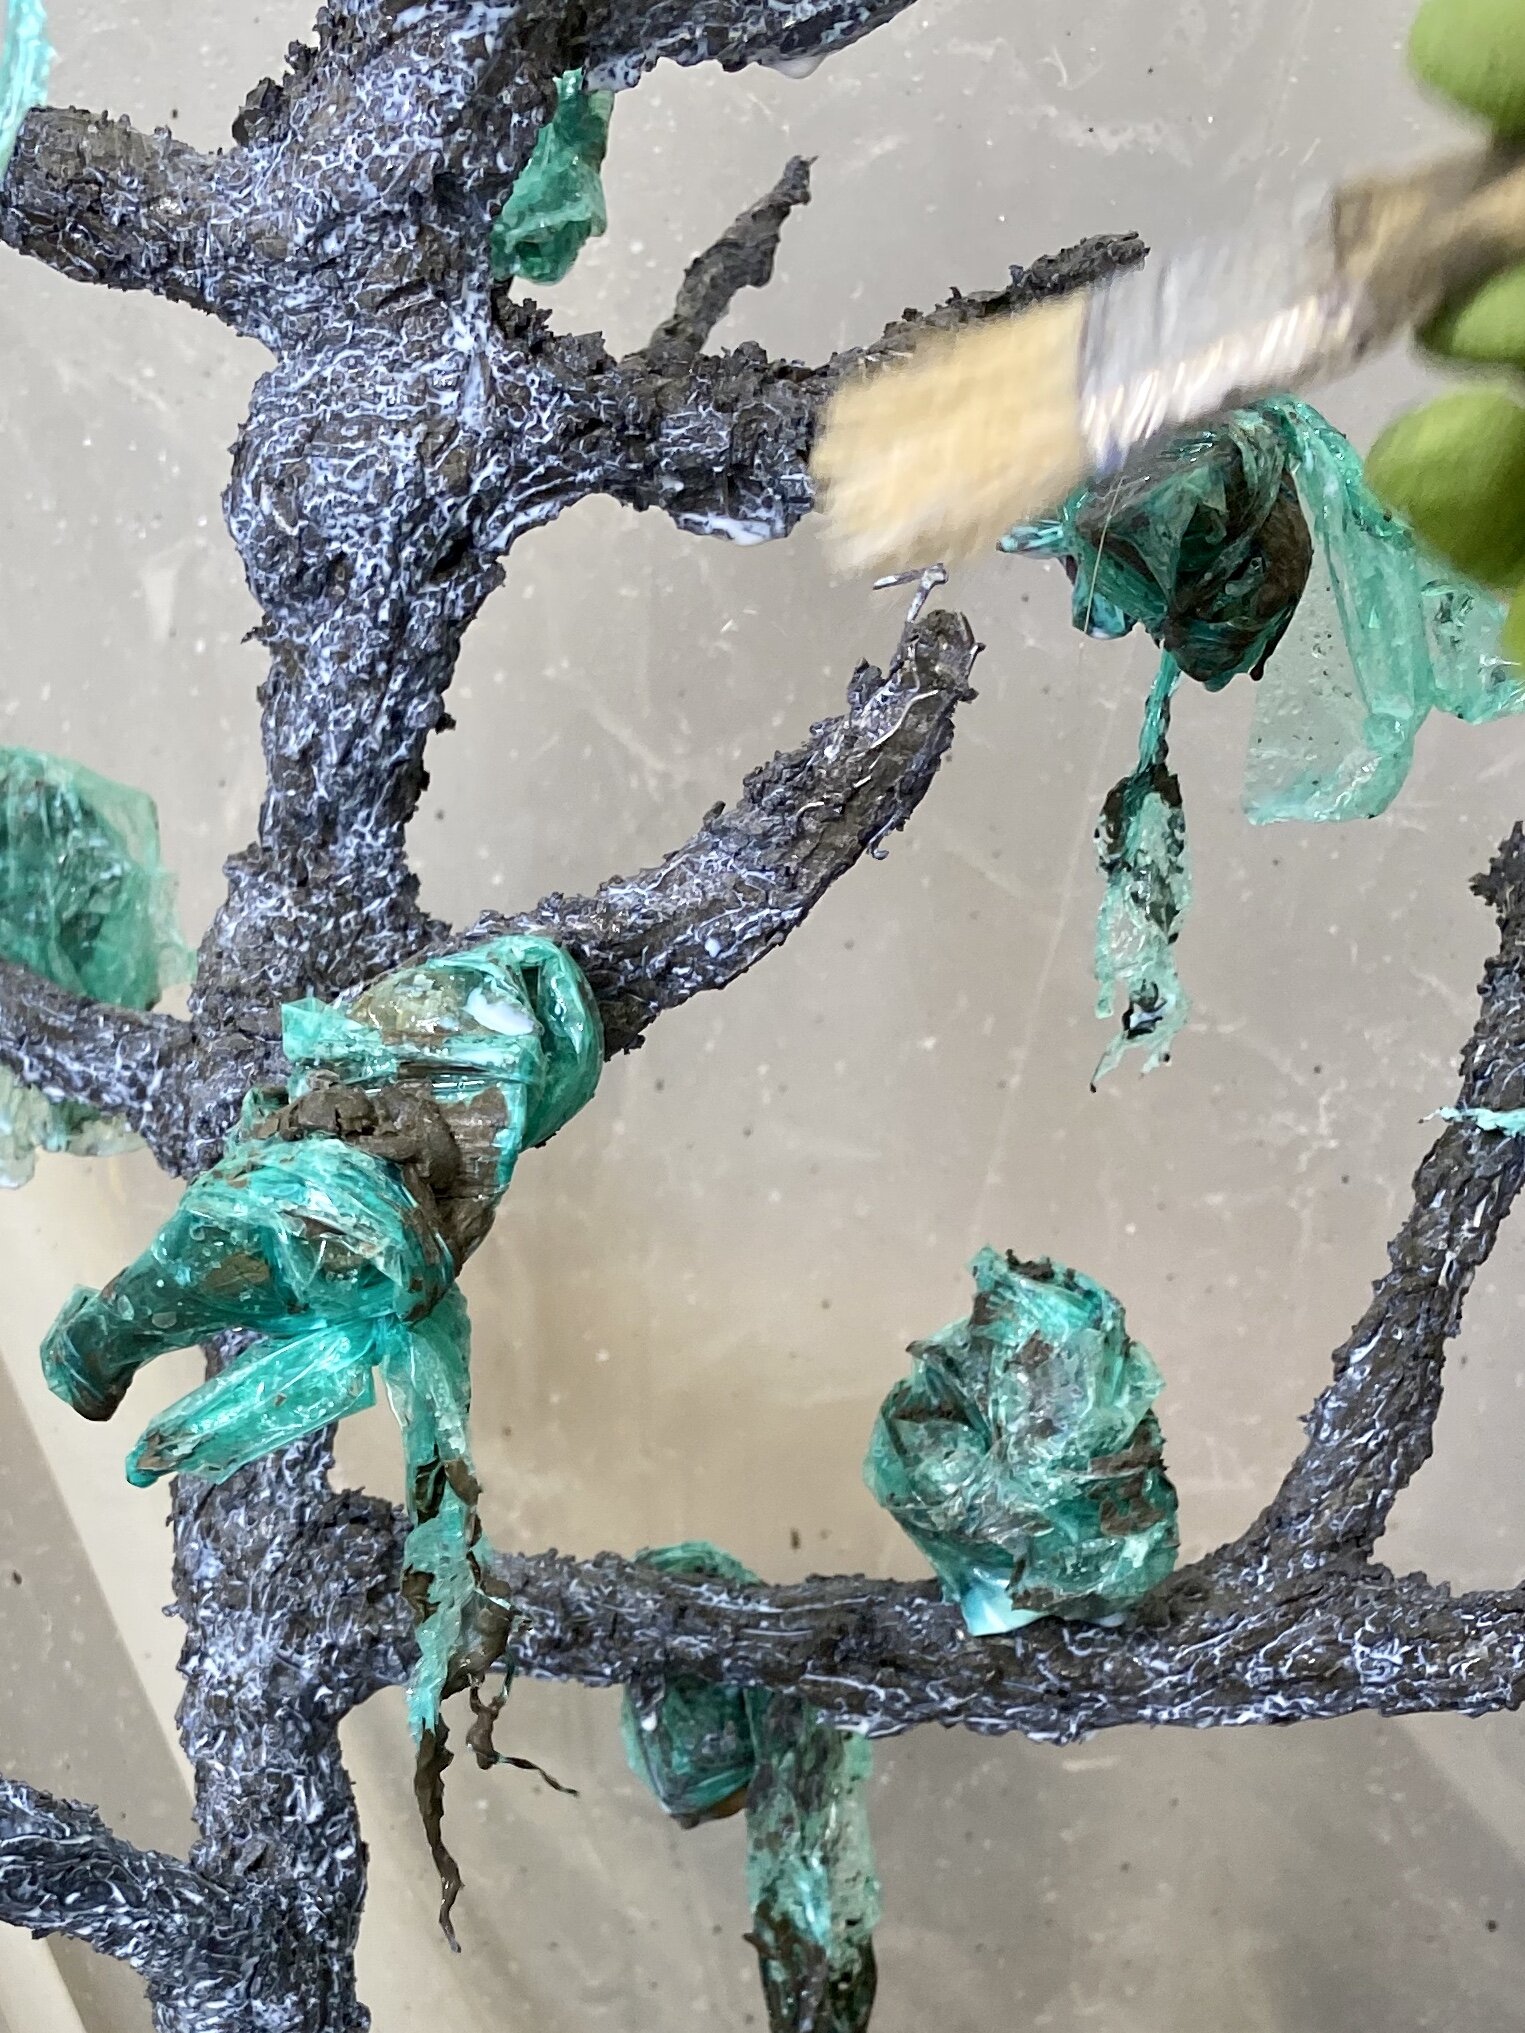
The first coat - the bronze leaves are covered in green plastic to protect them.
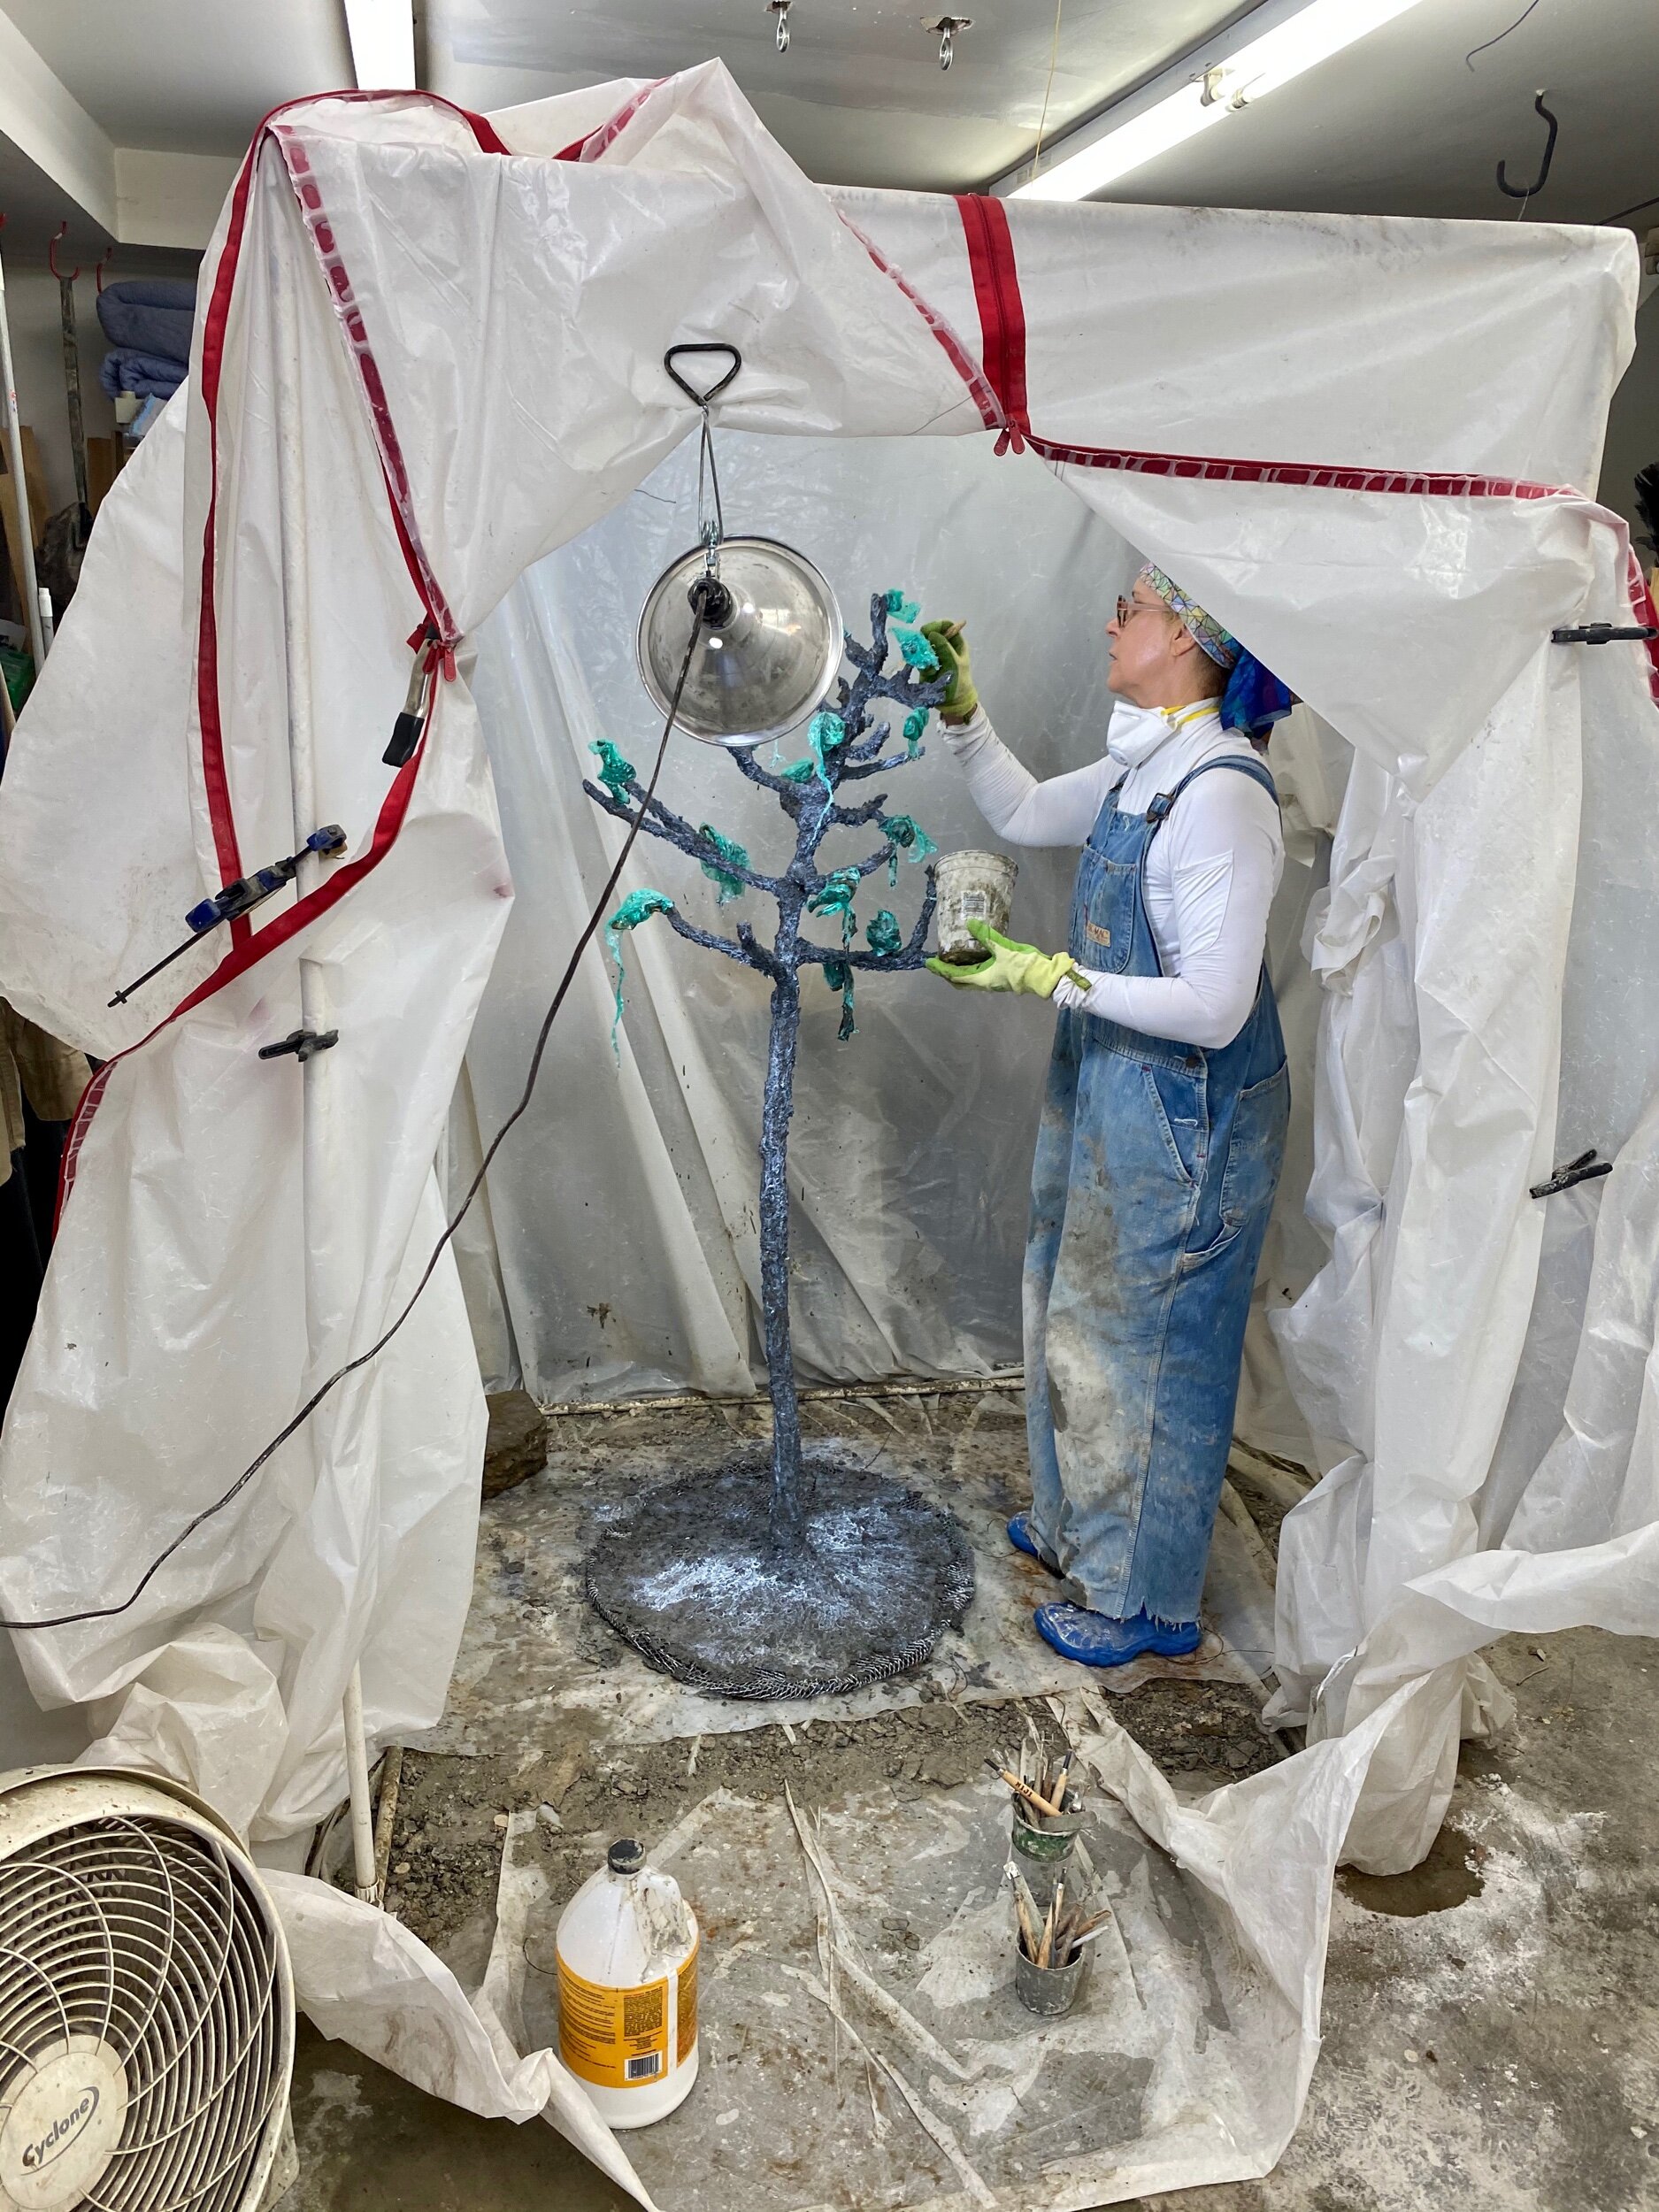
First, I paint on the bonding liquid.
The piece is now ready for coat number 2.

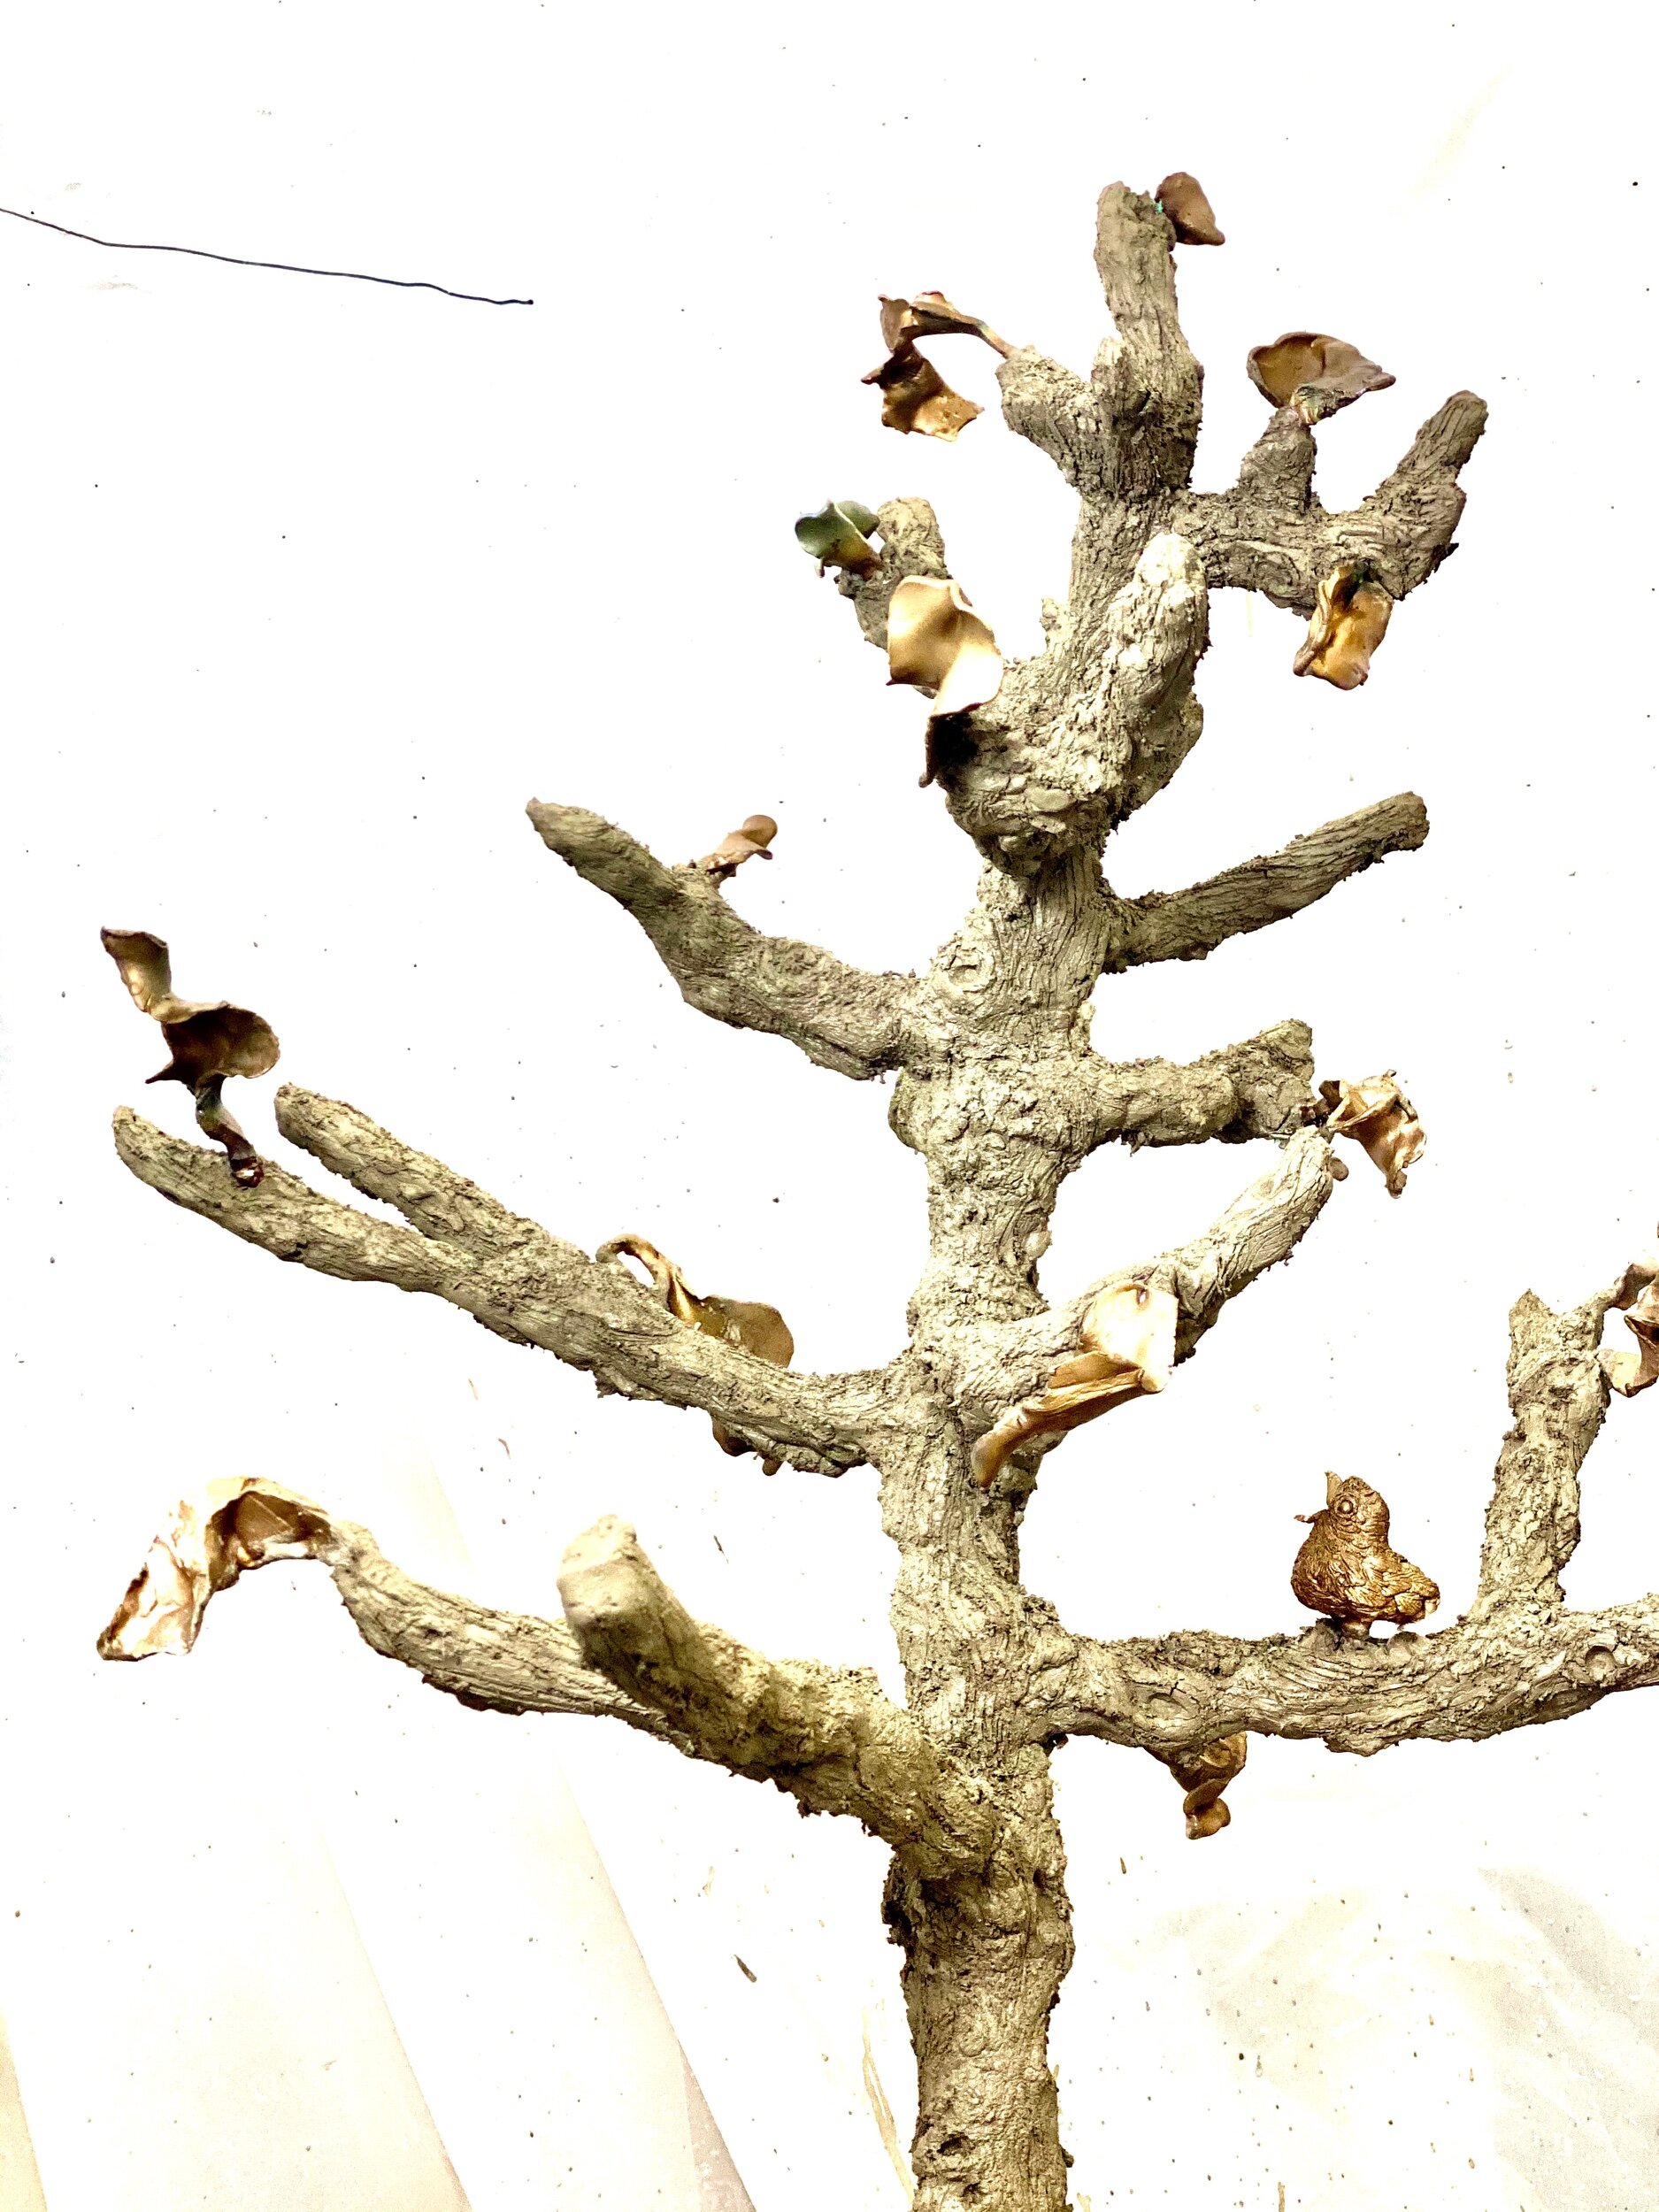
Coat number 2 ✅

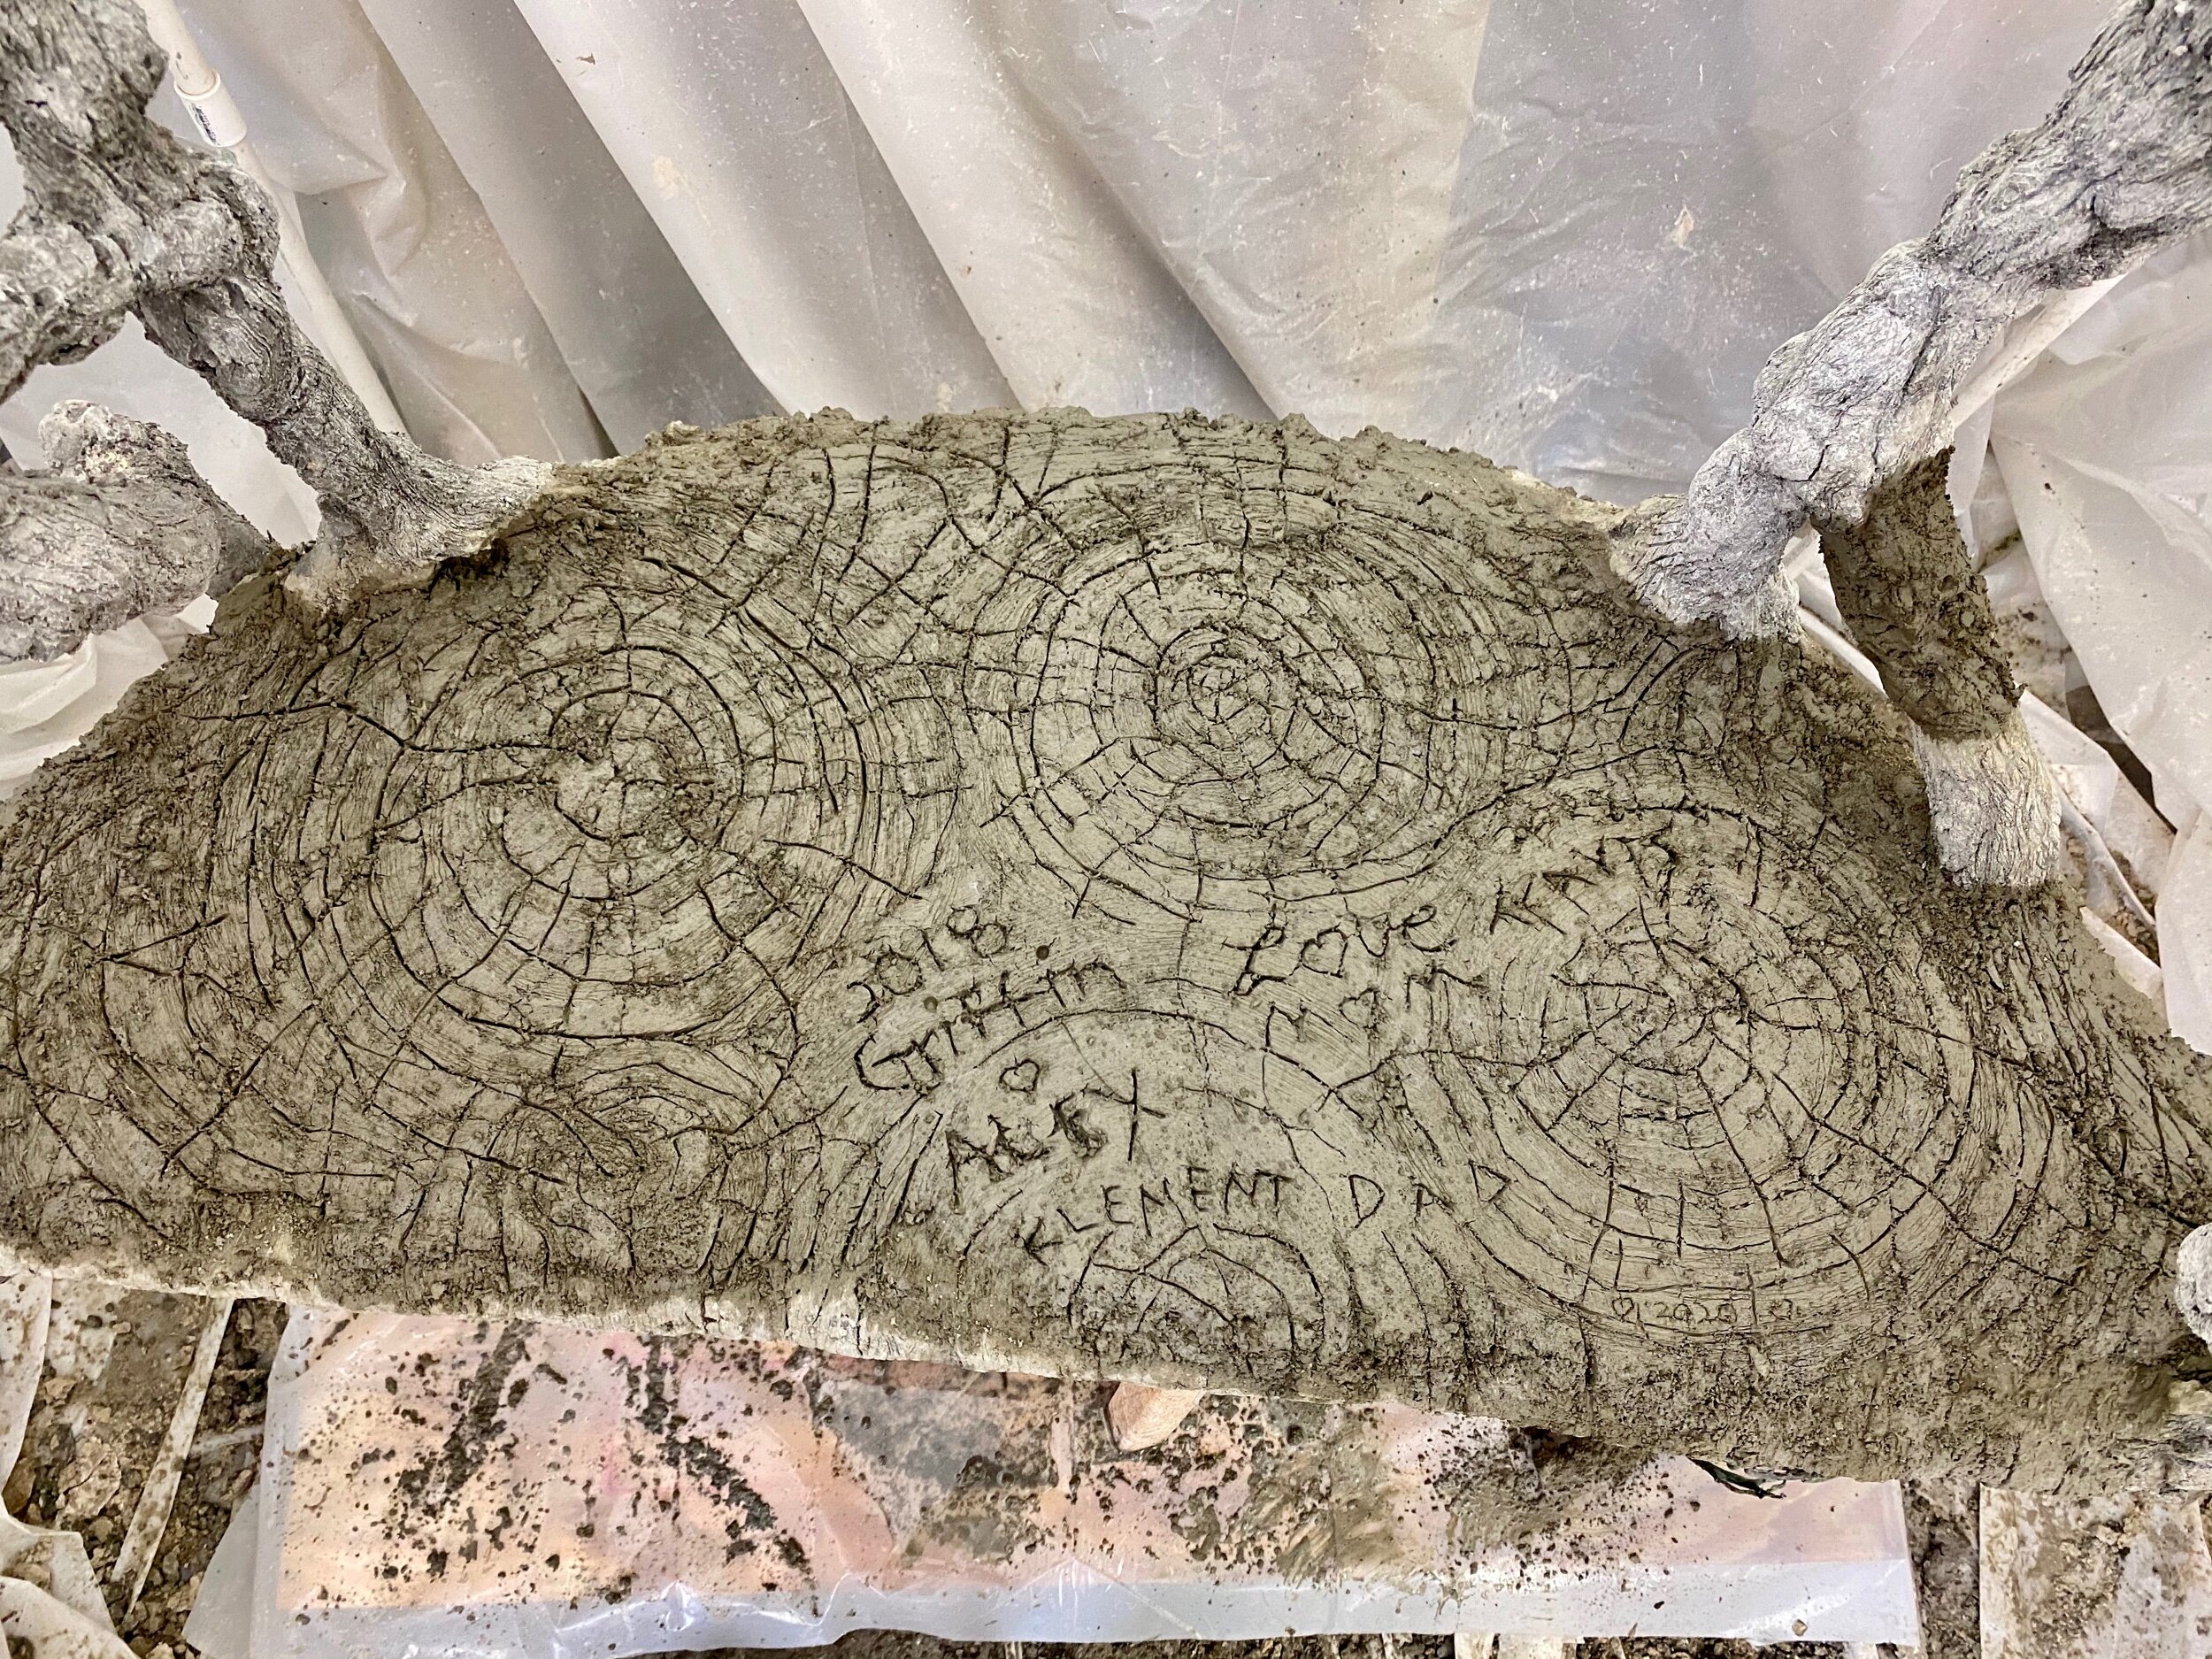
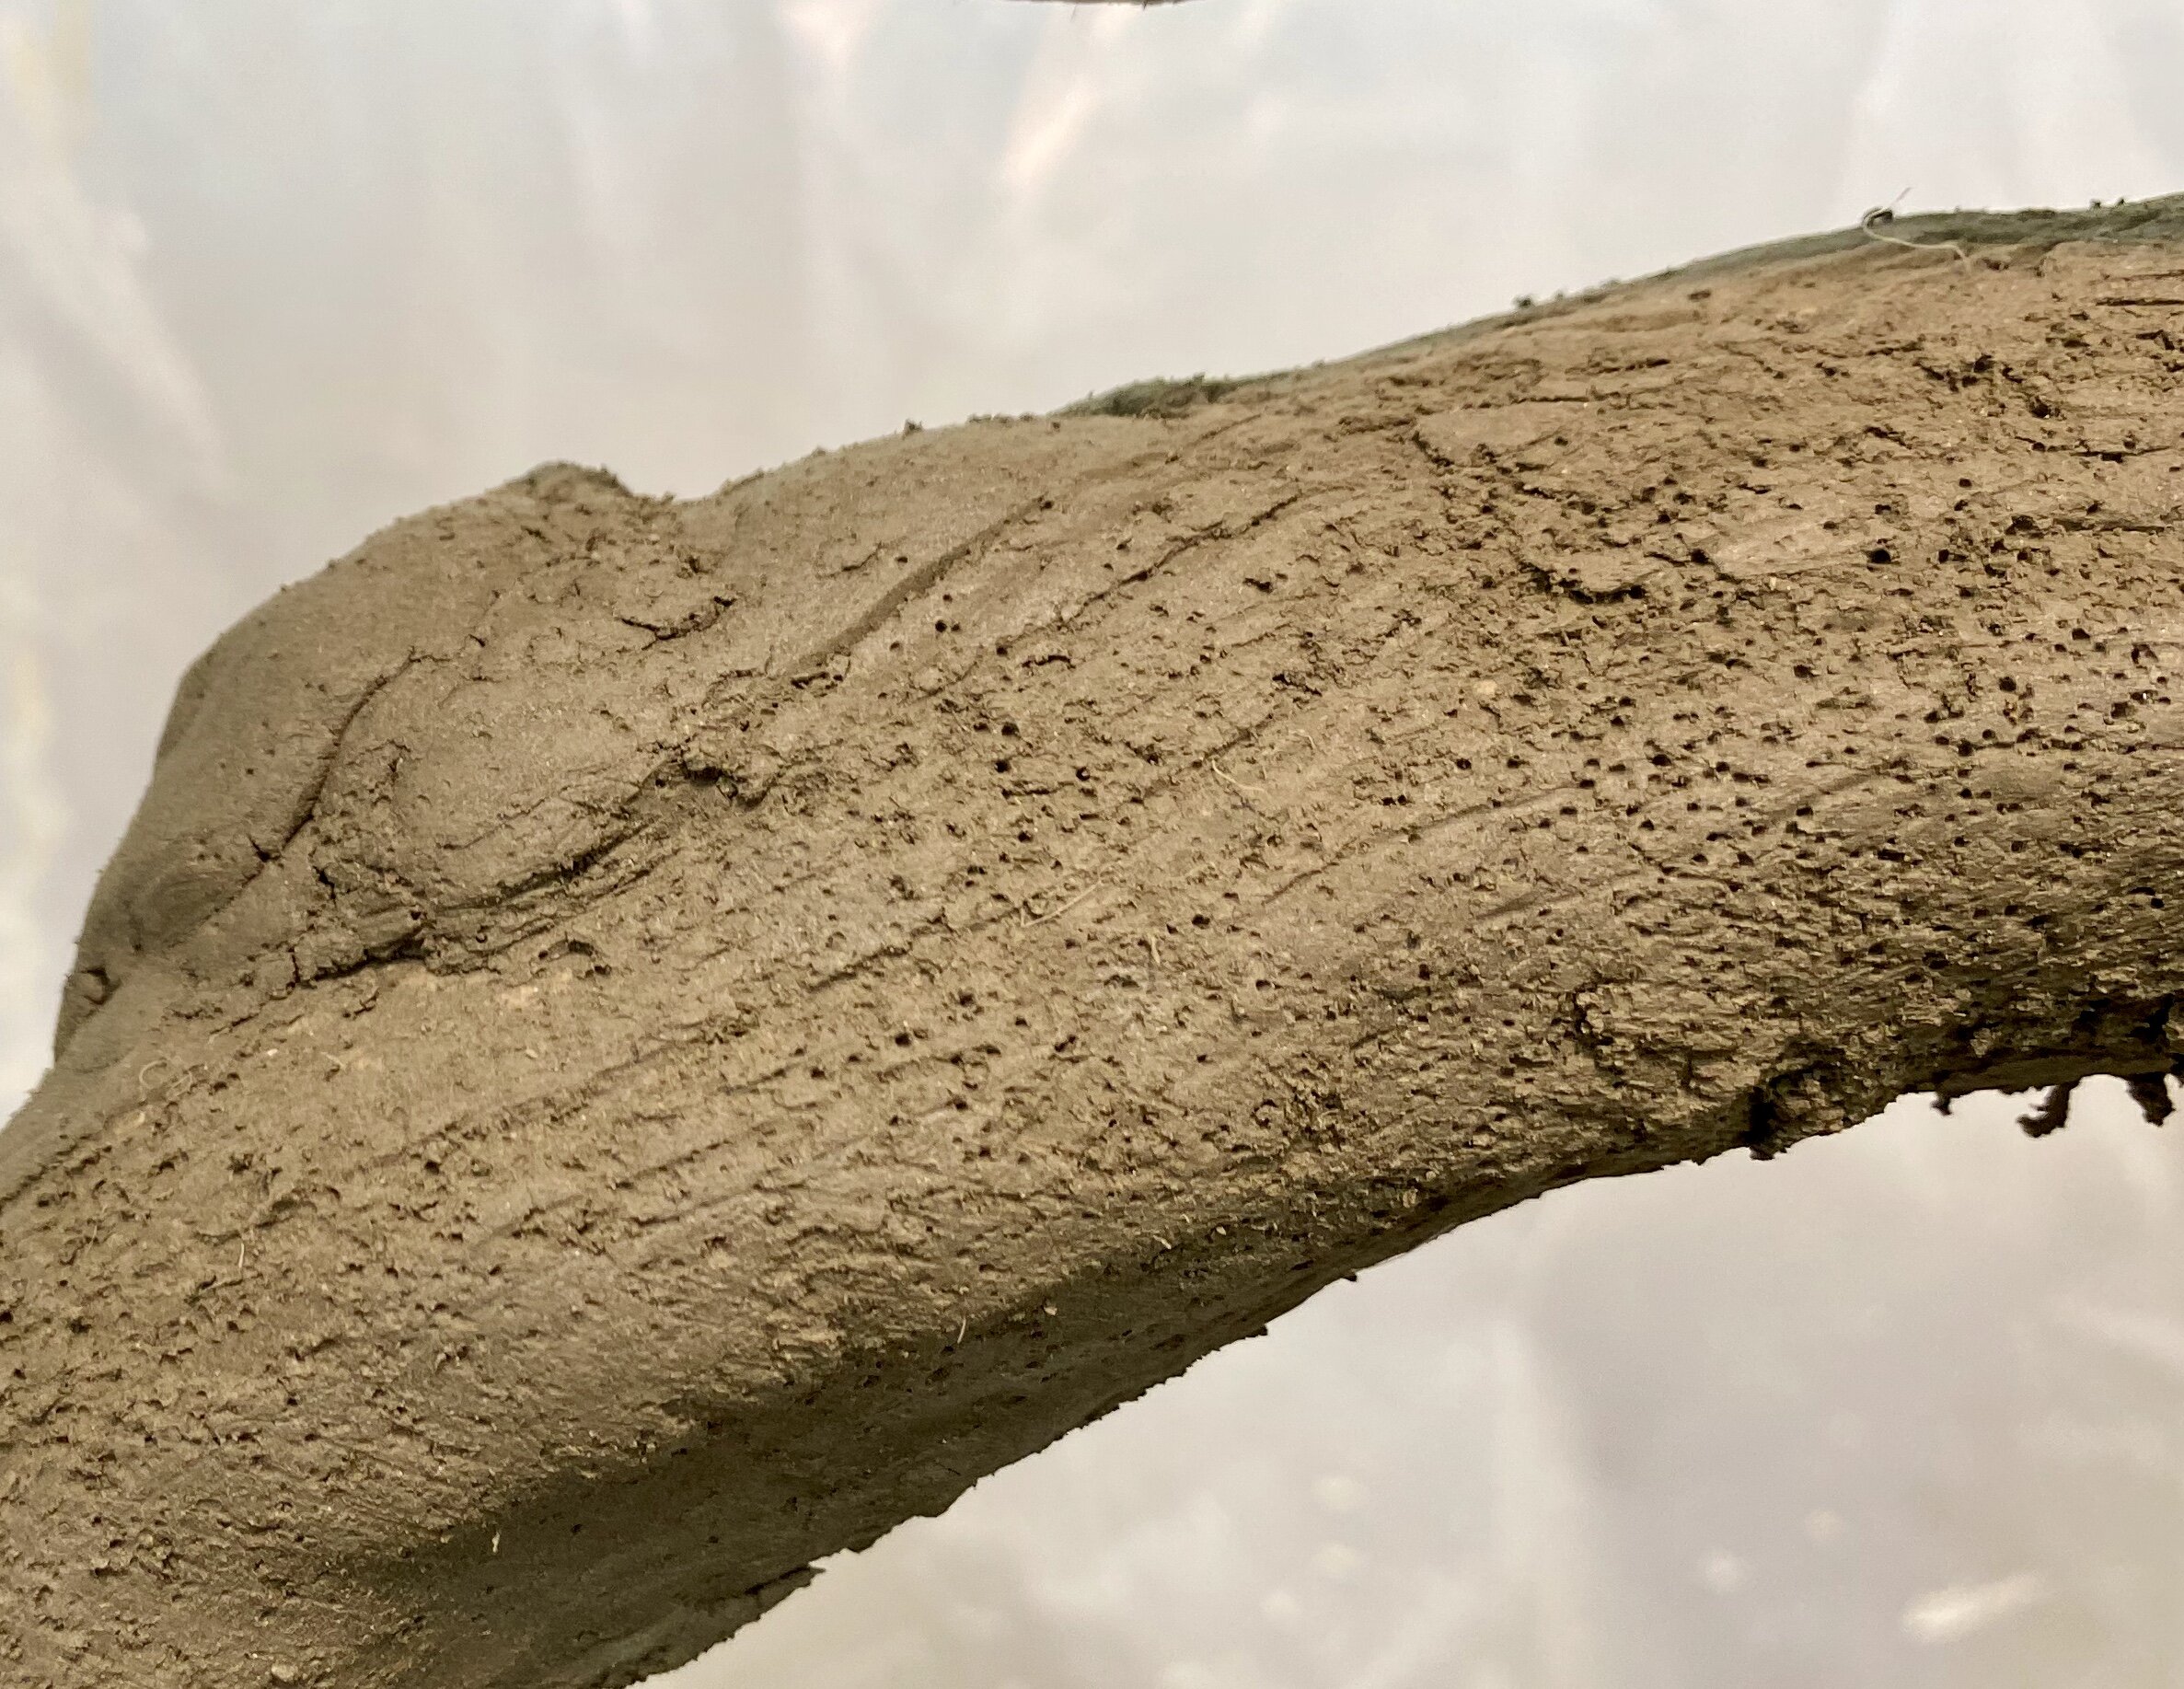
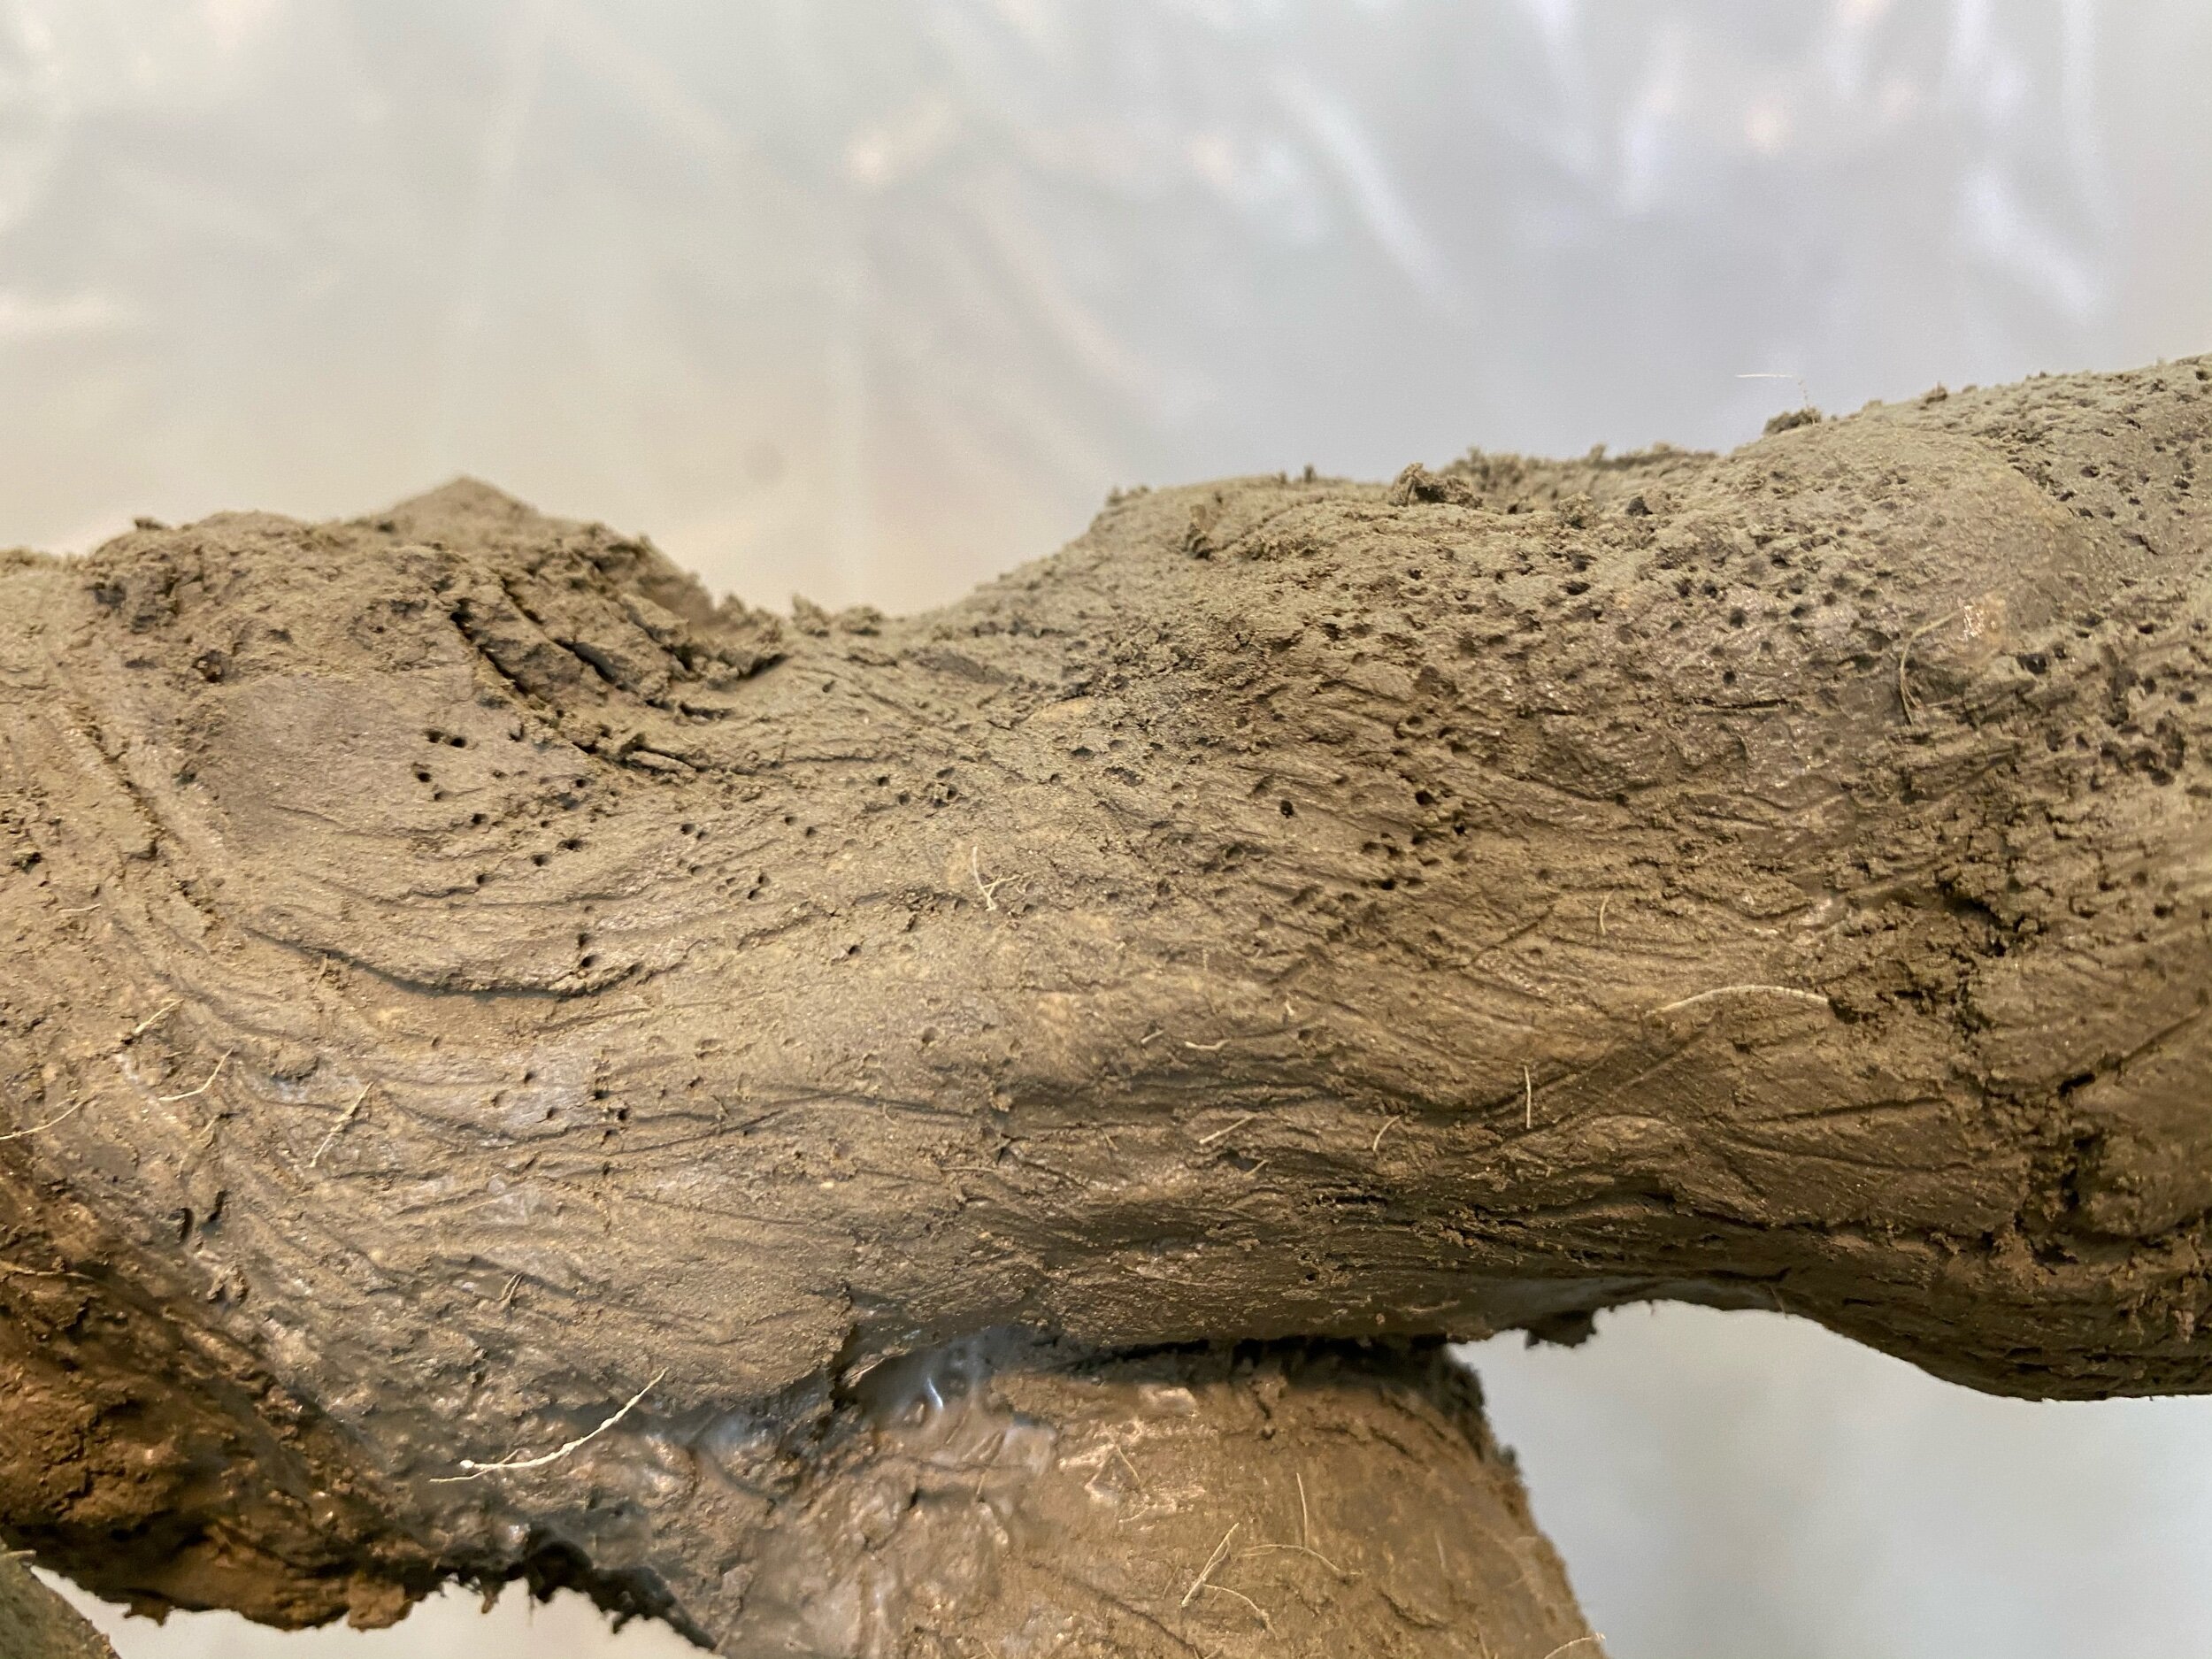
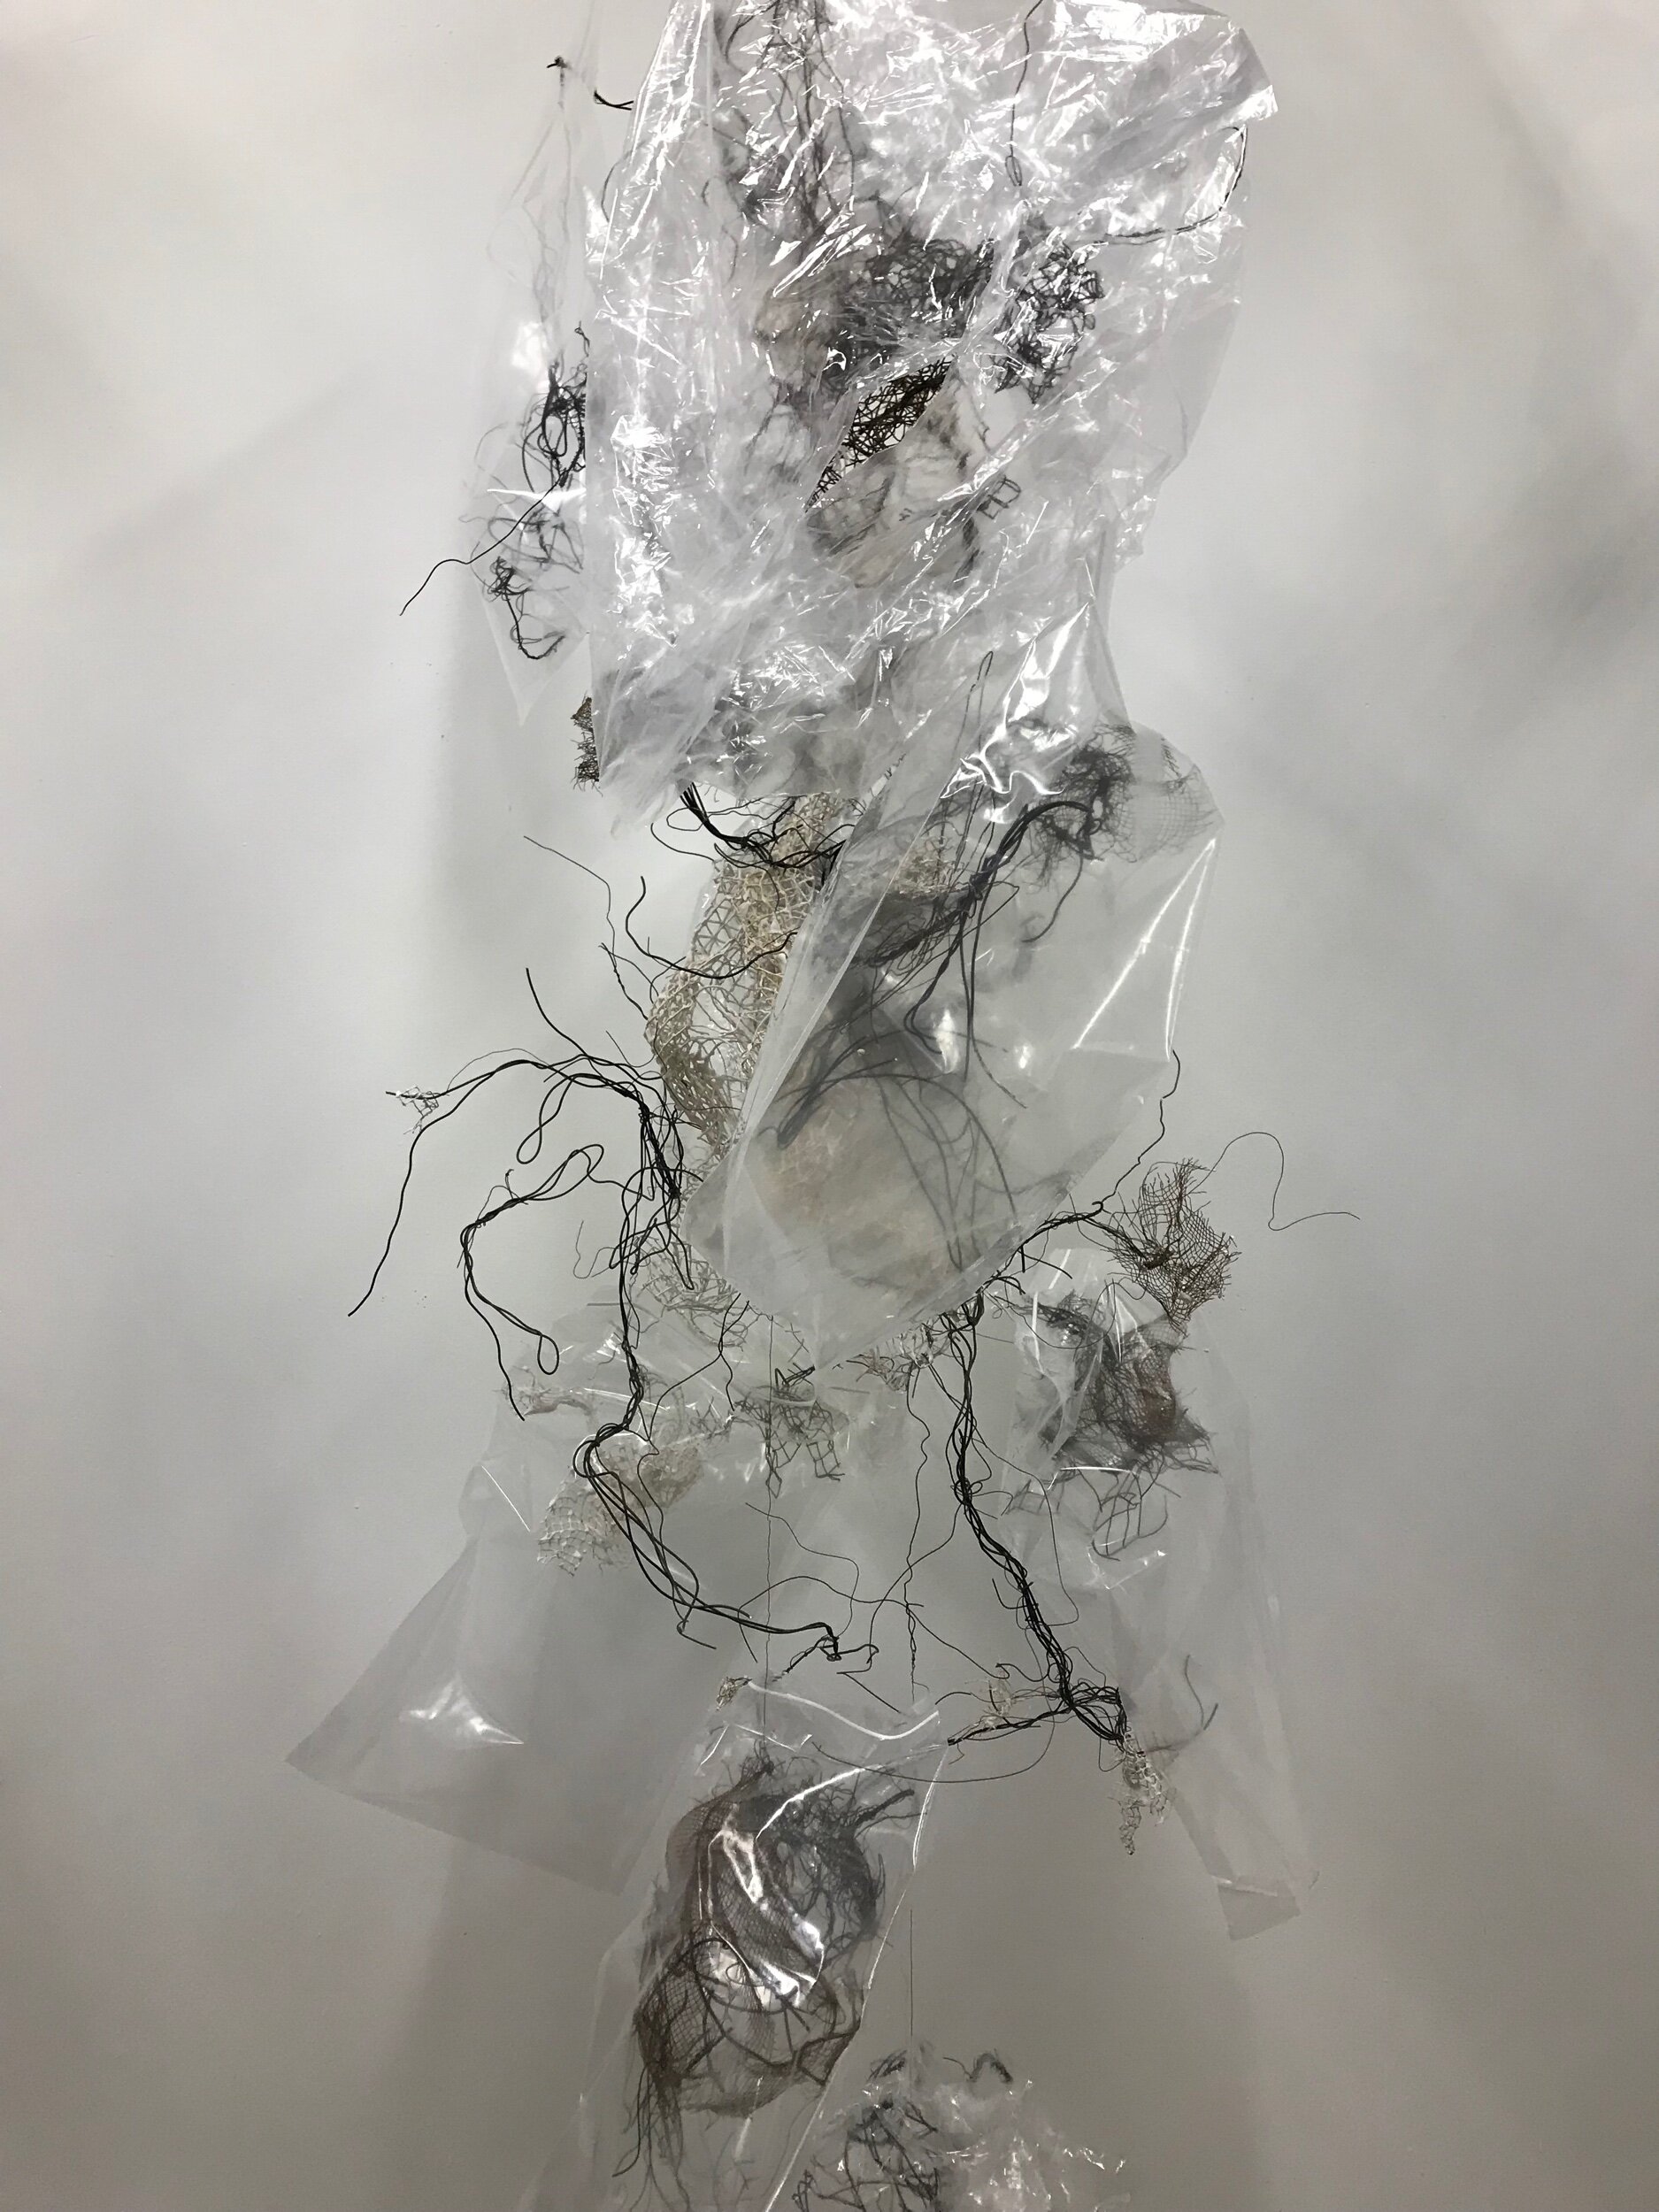
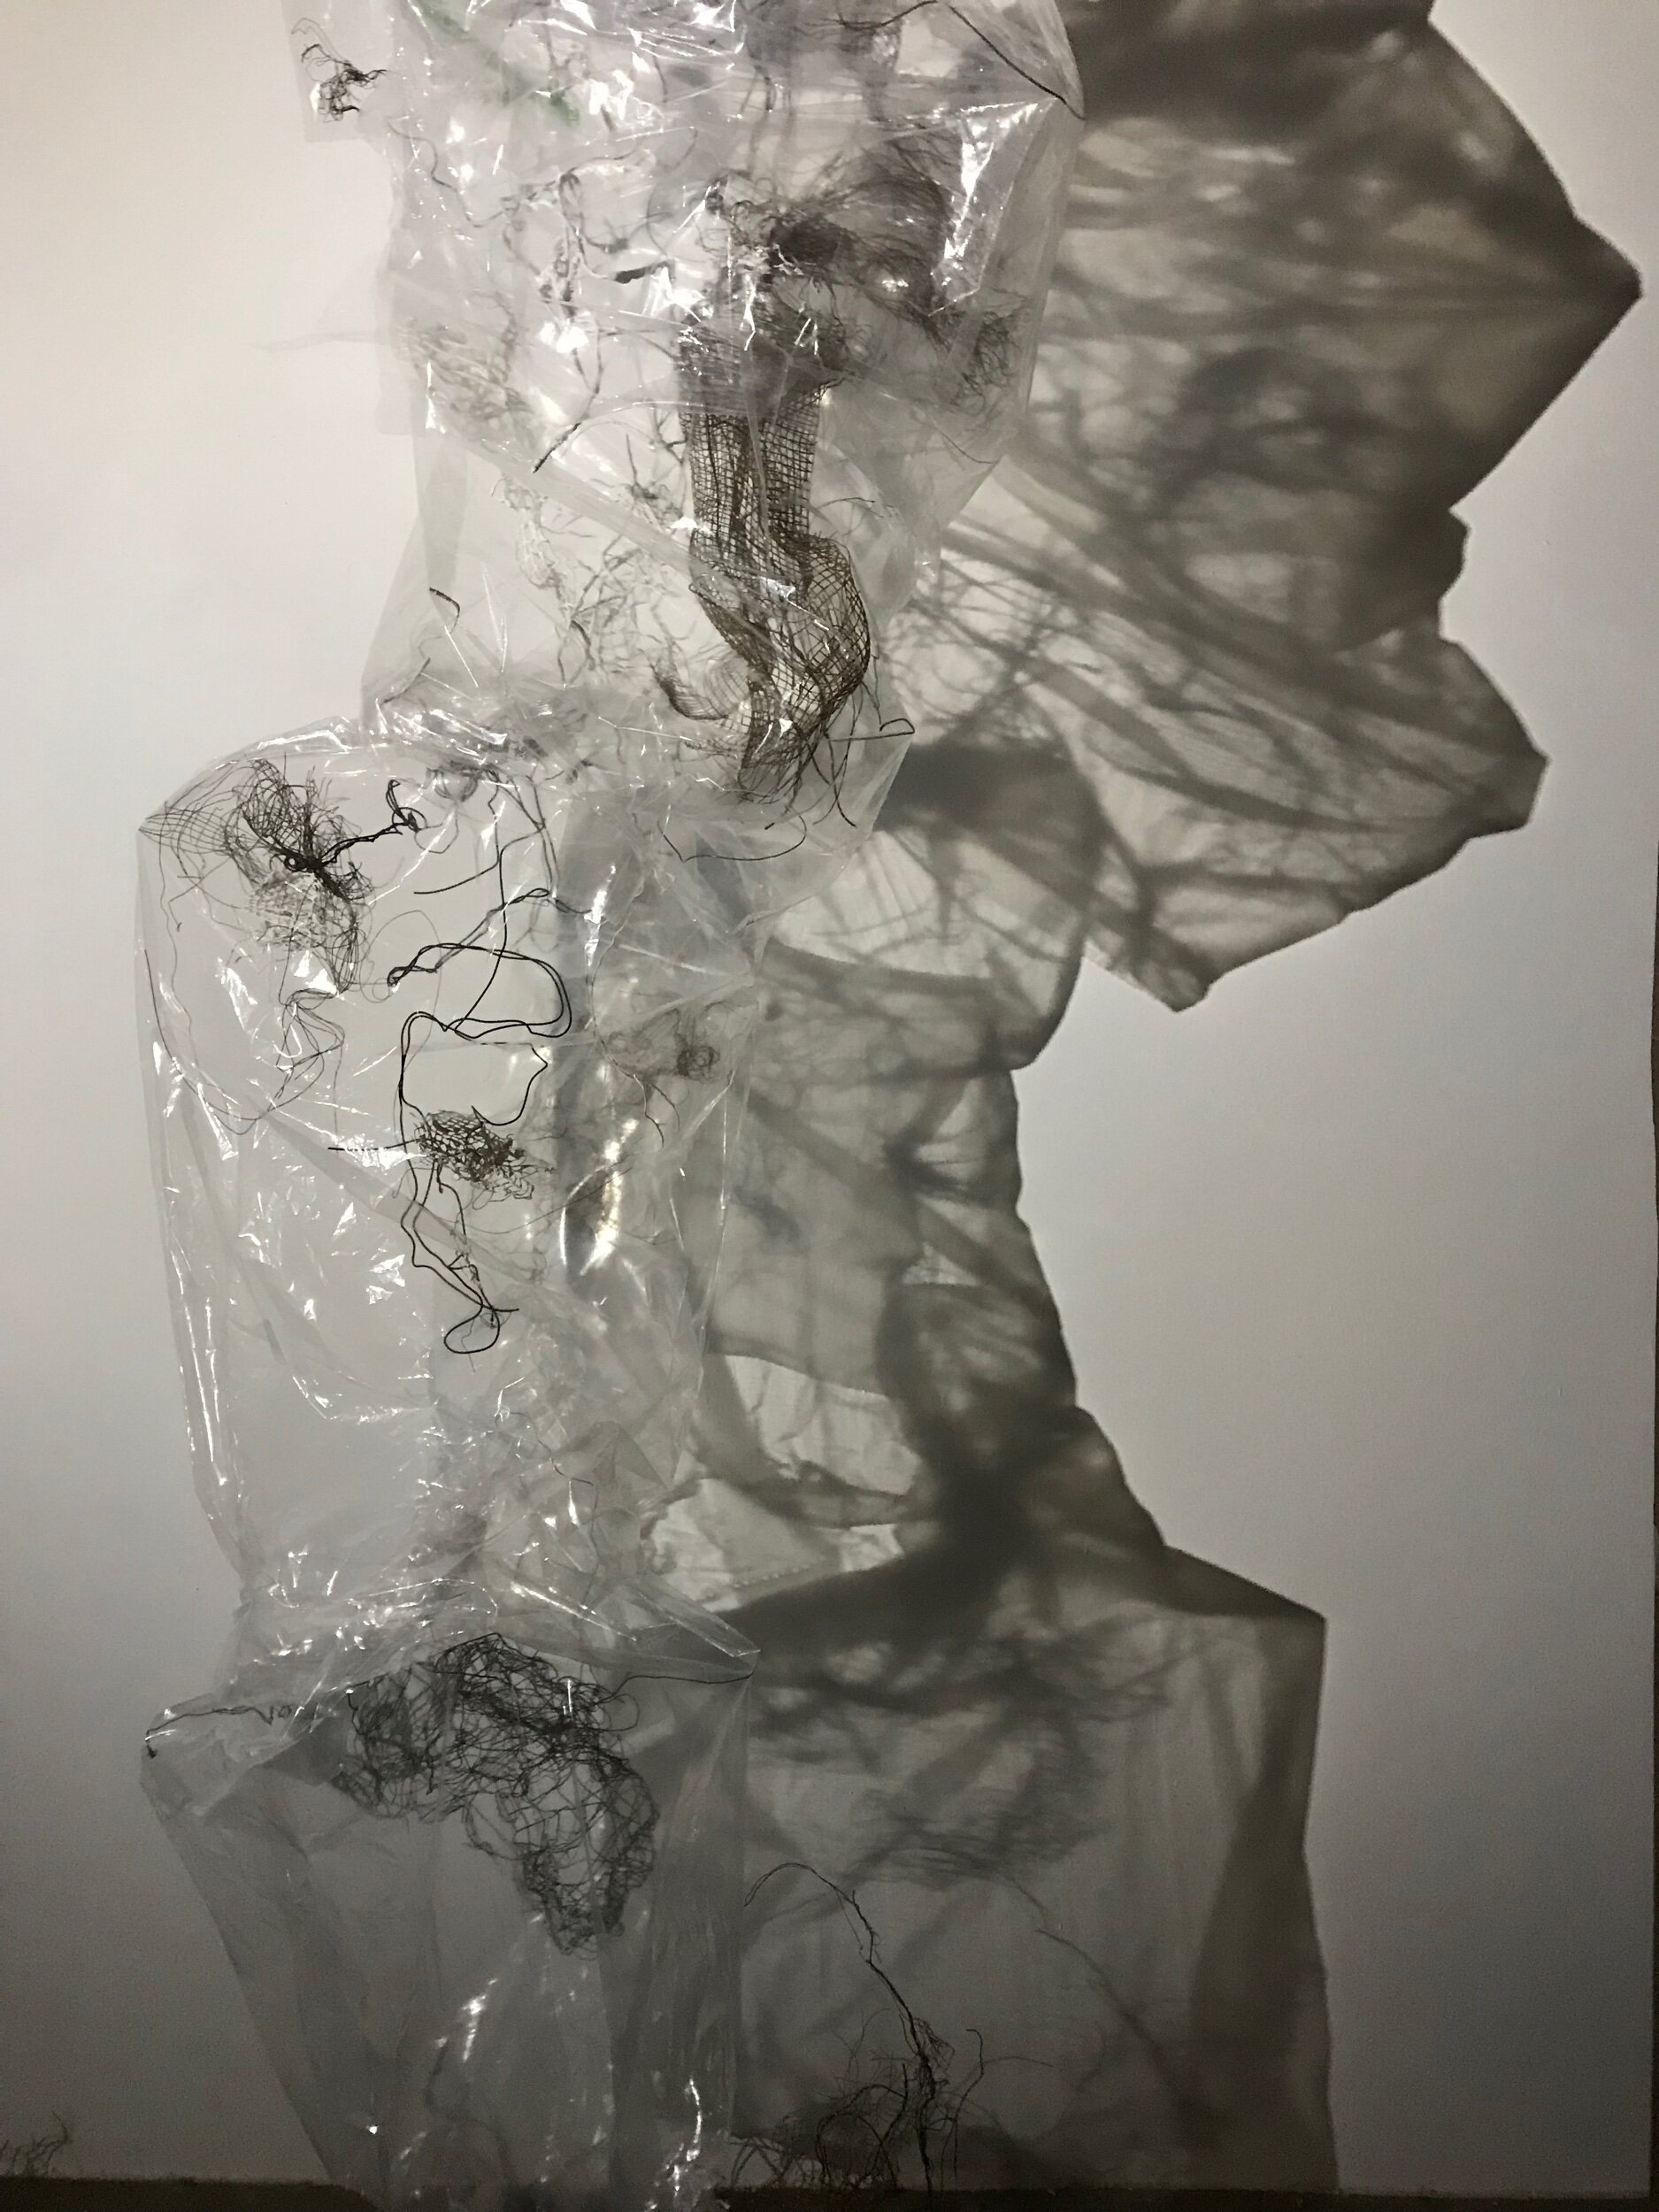
Here is the image edited super light in order to show the texture.
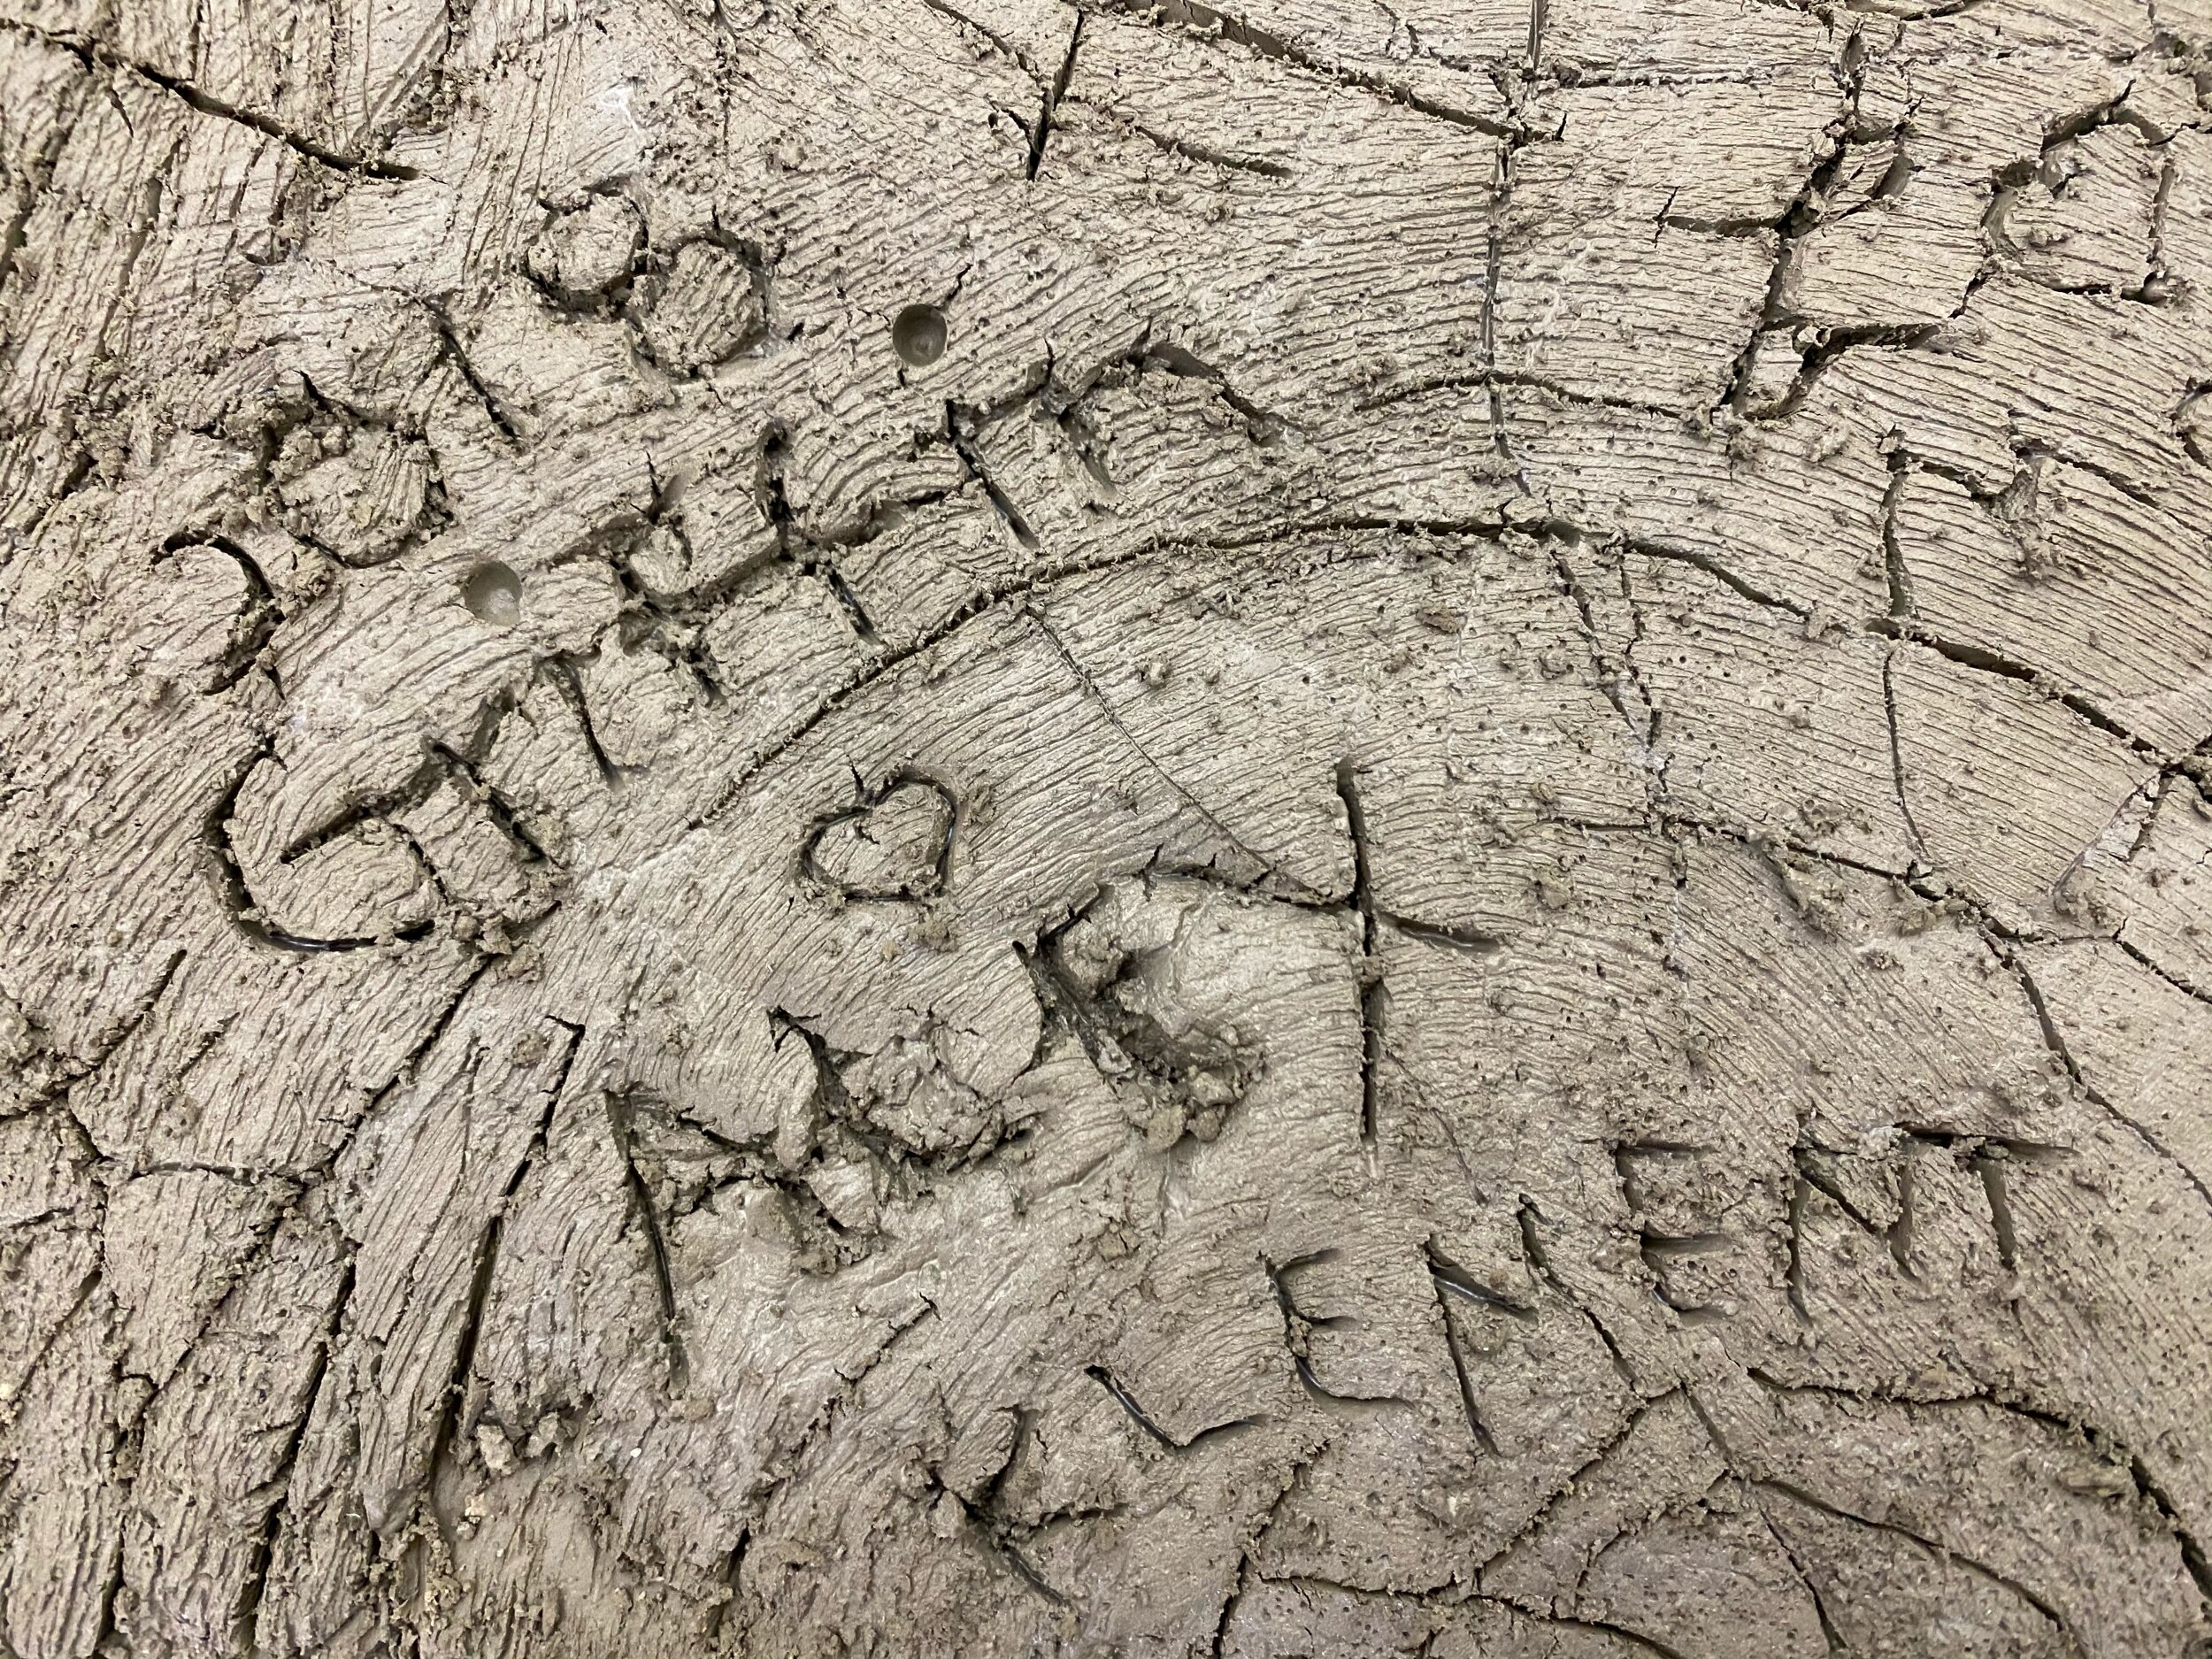
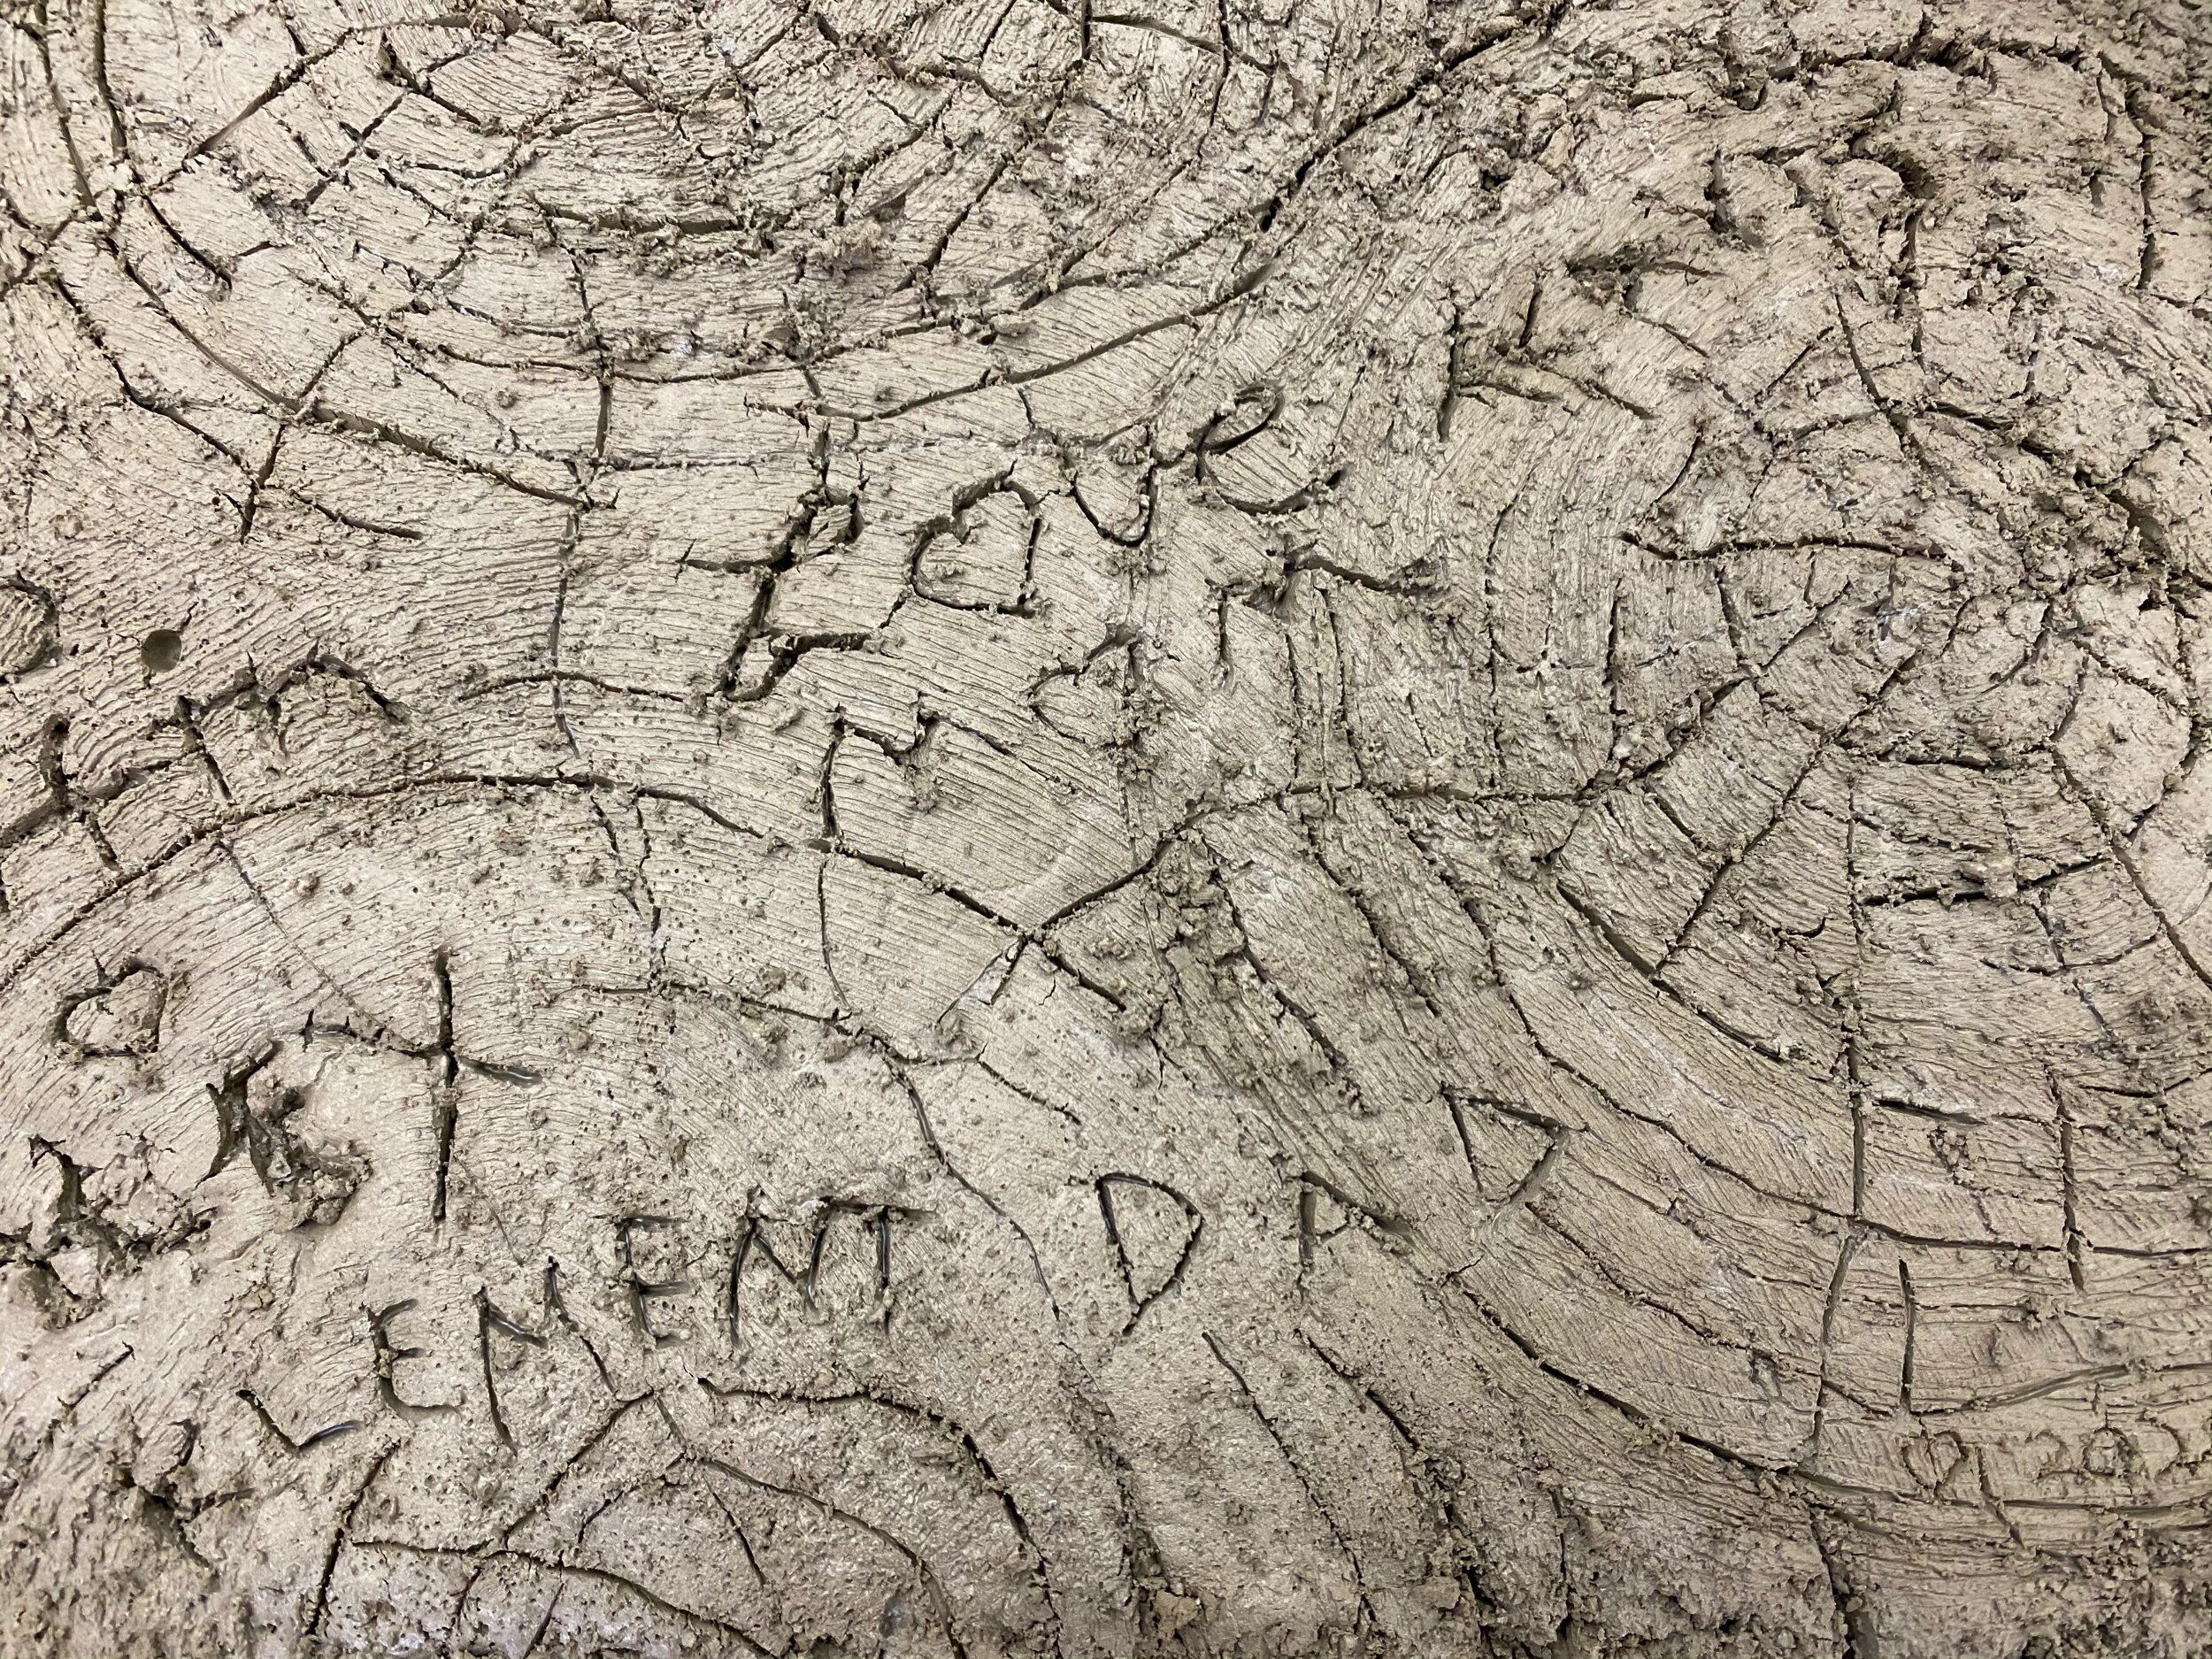
More details

Detail of upper branches
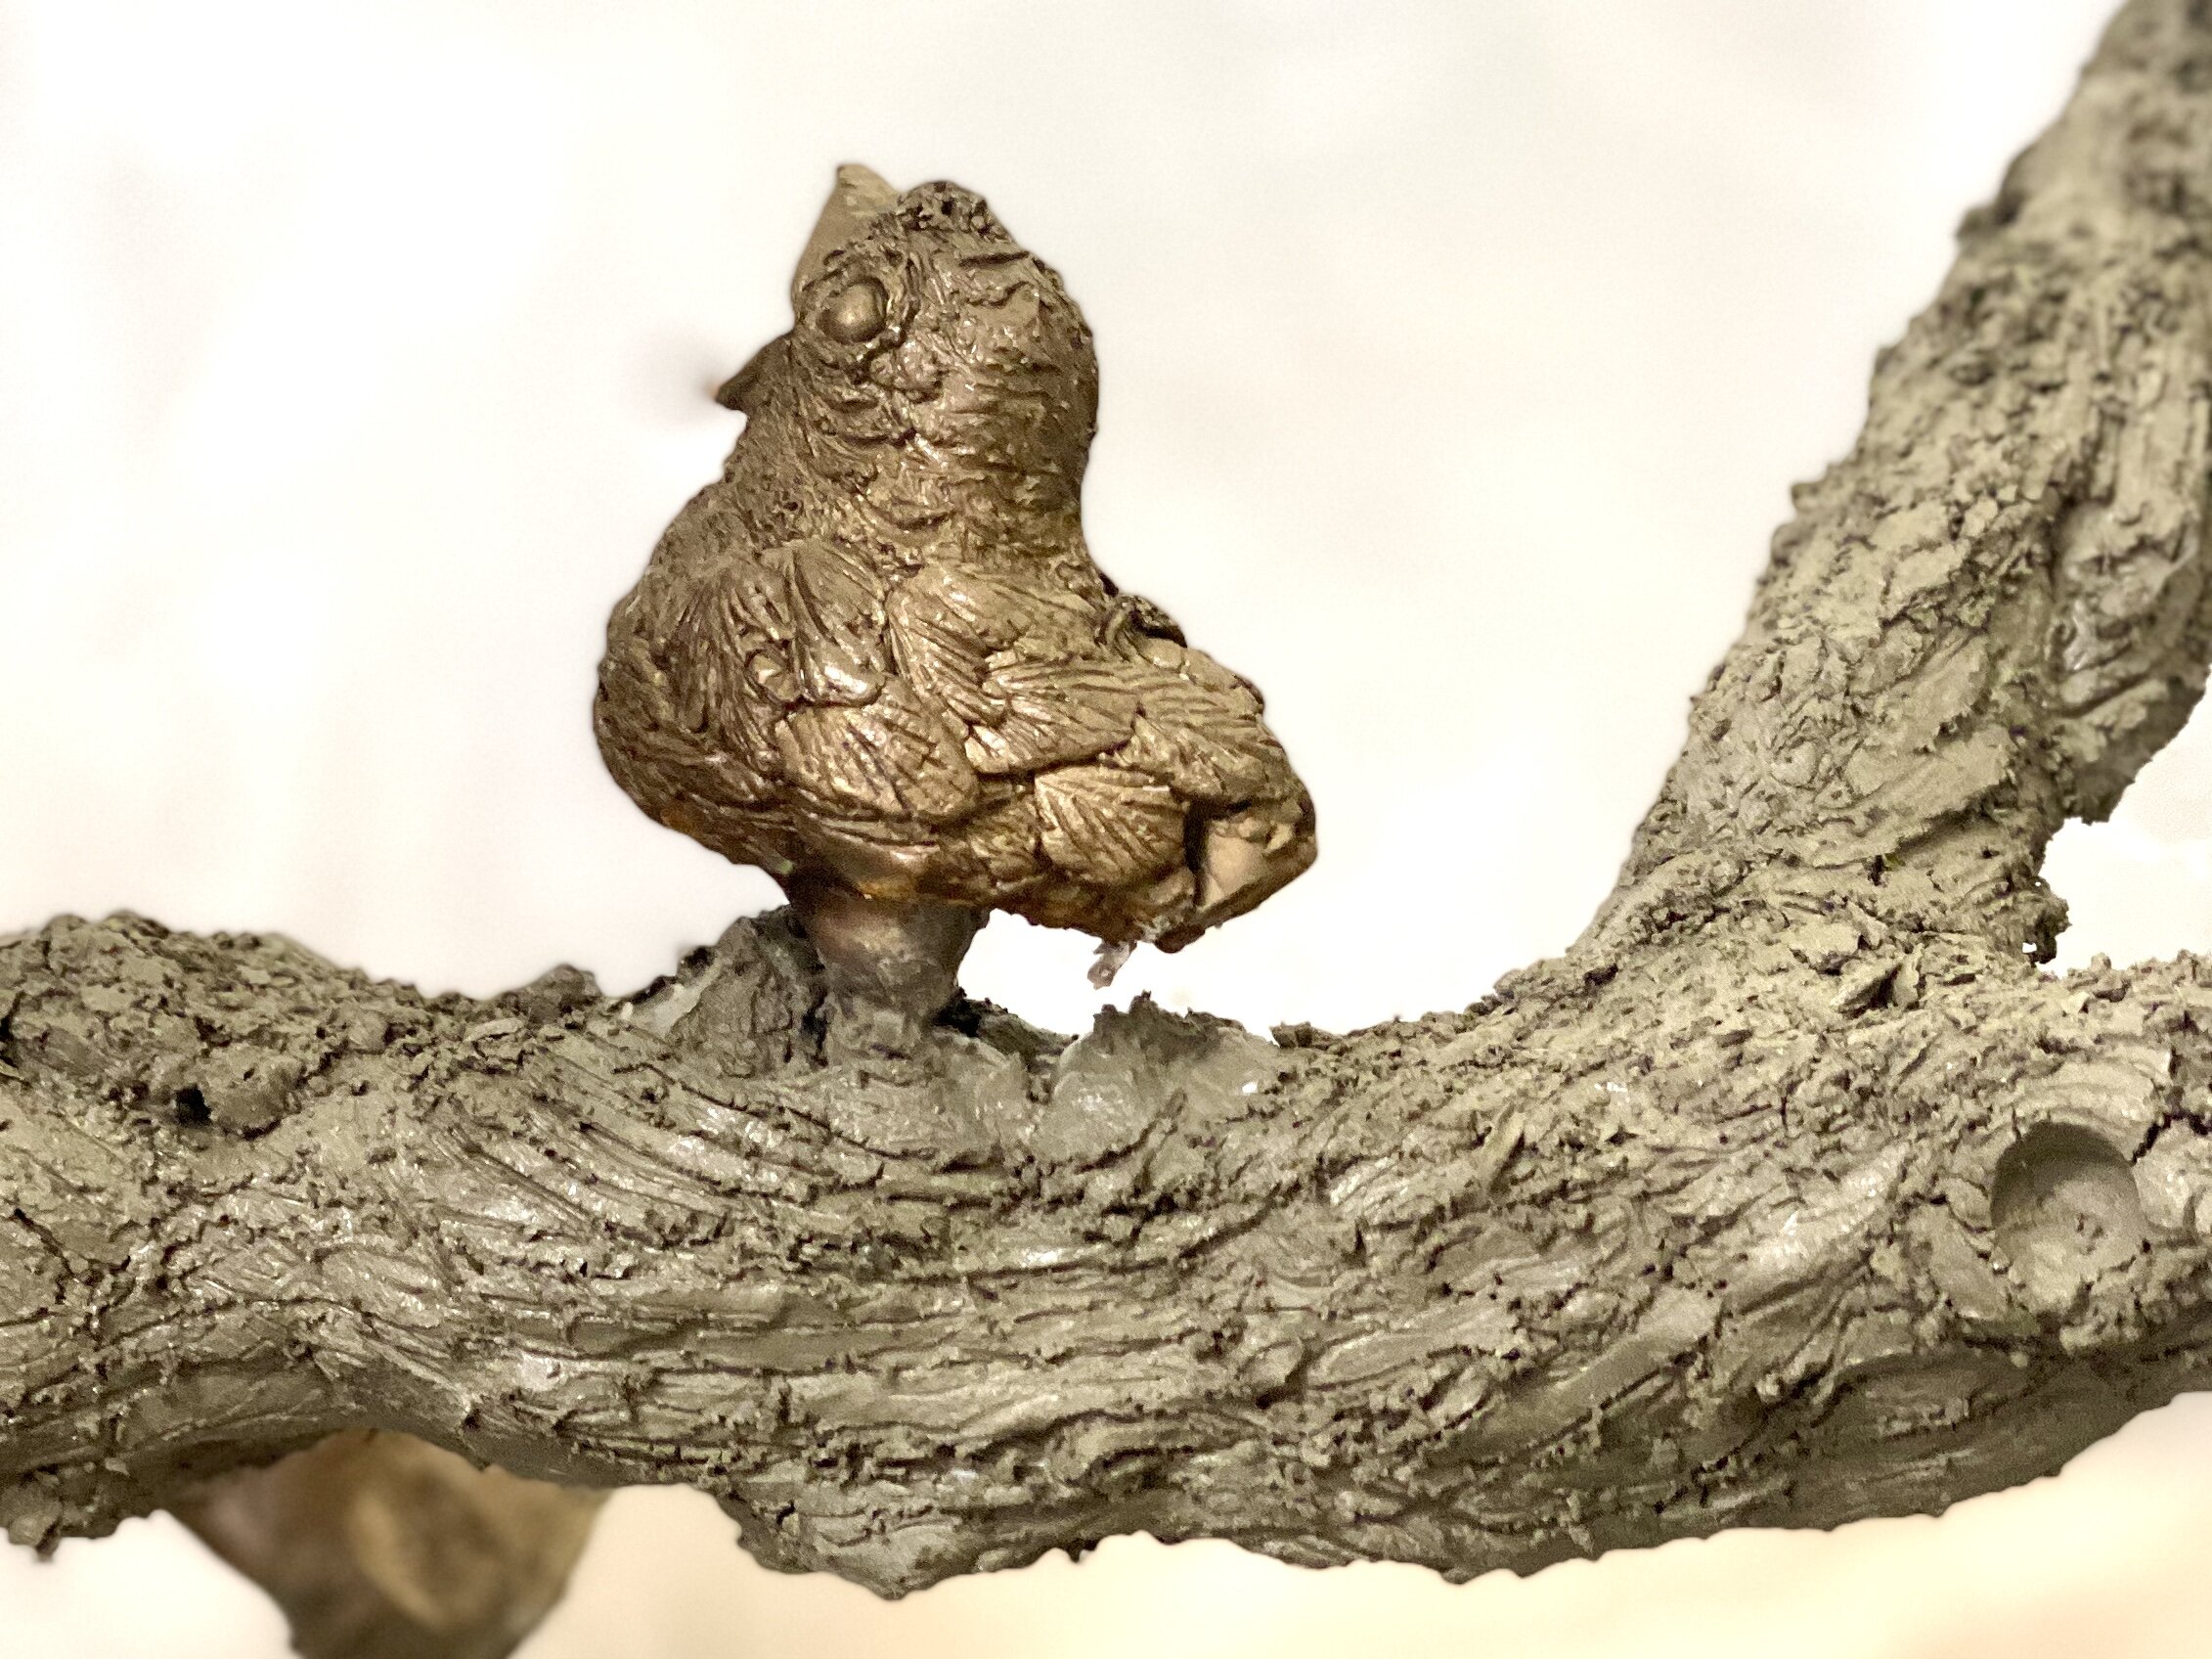
A little more concrete need under the bird.
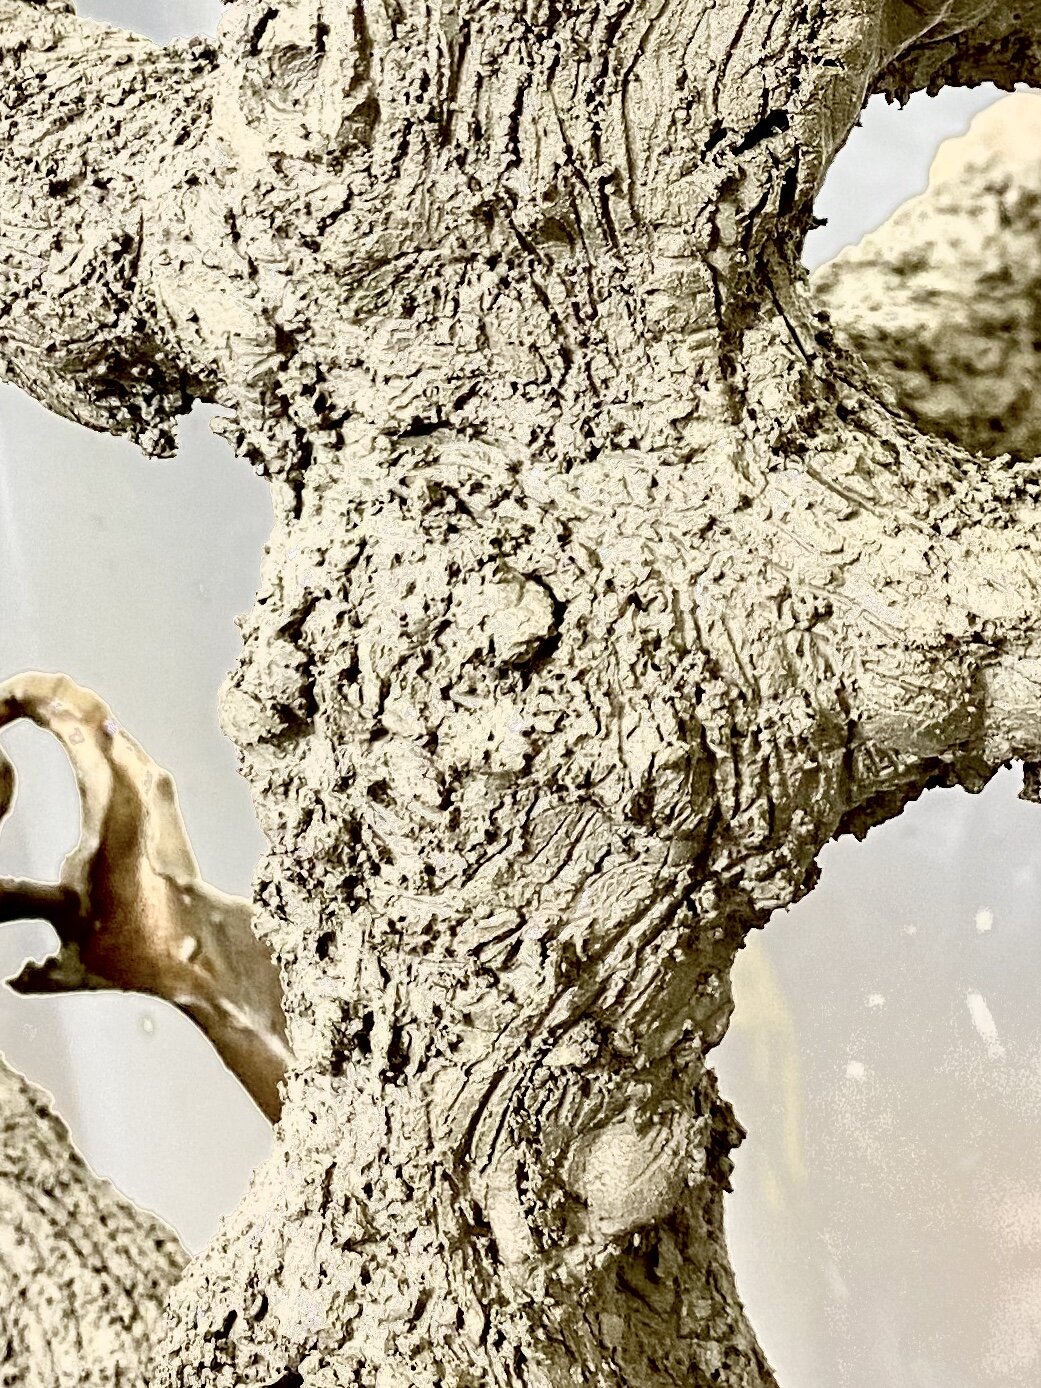
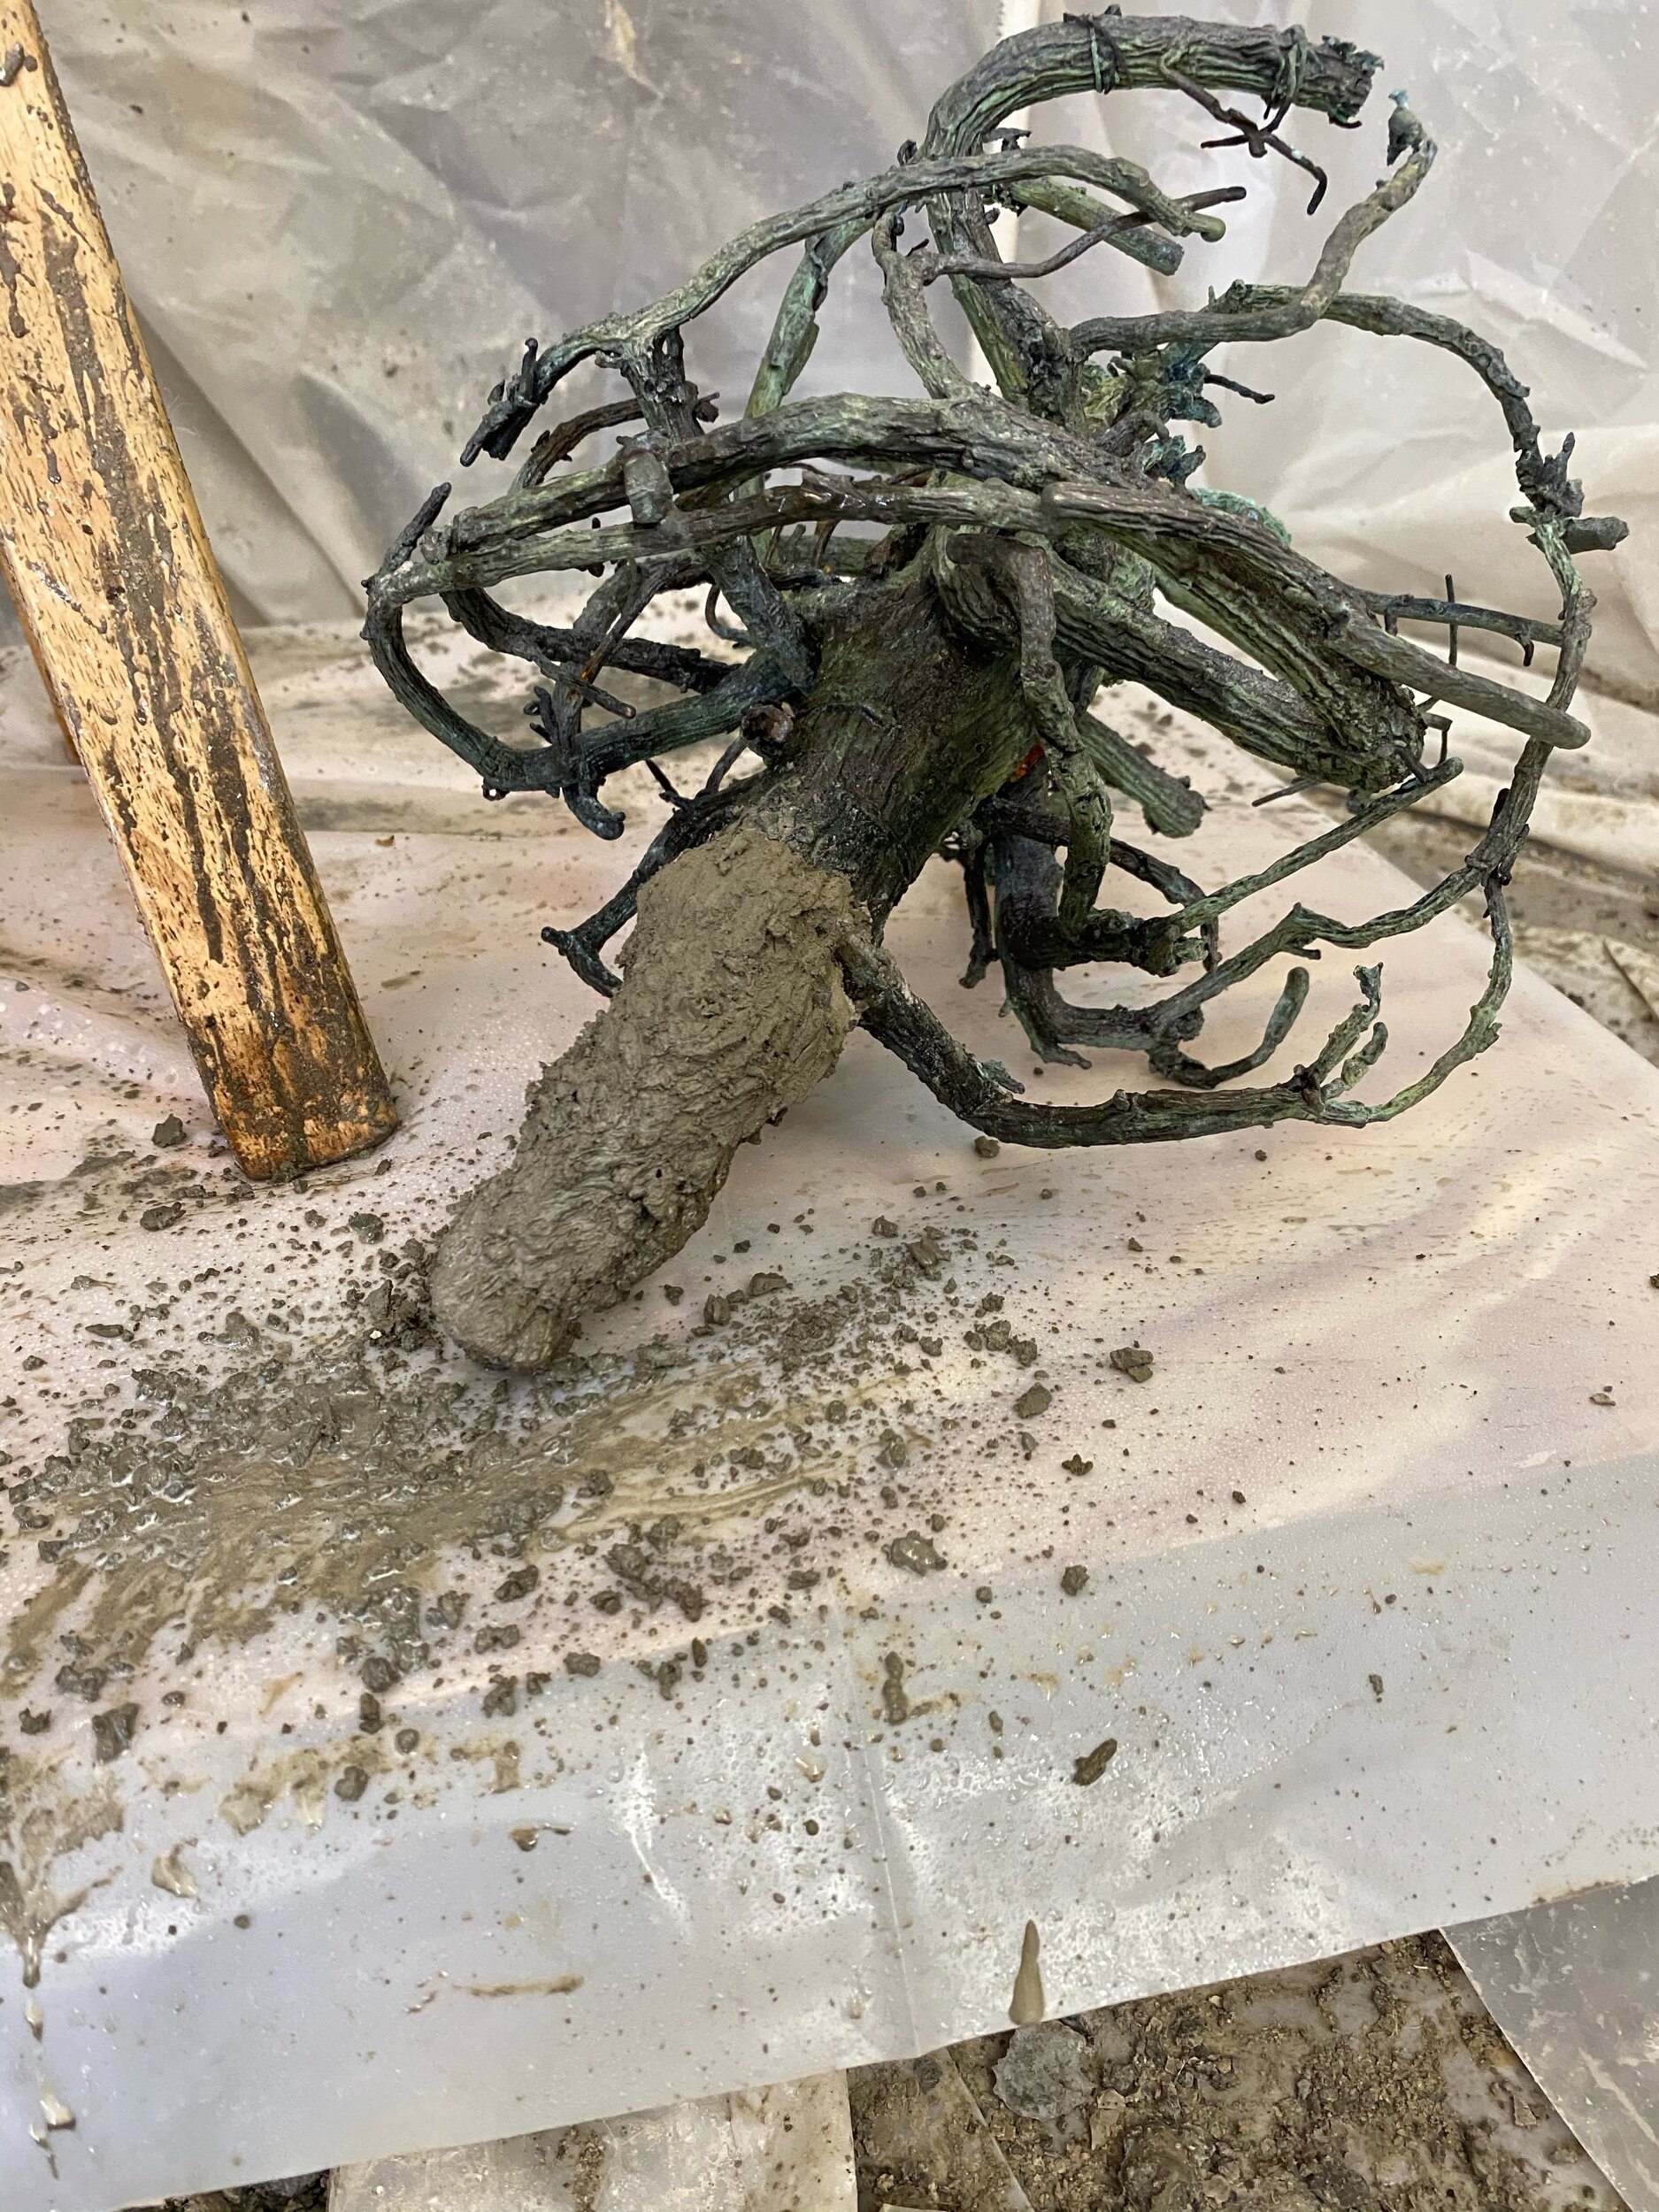
Detail of trunk
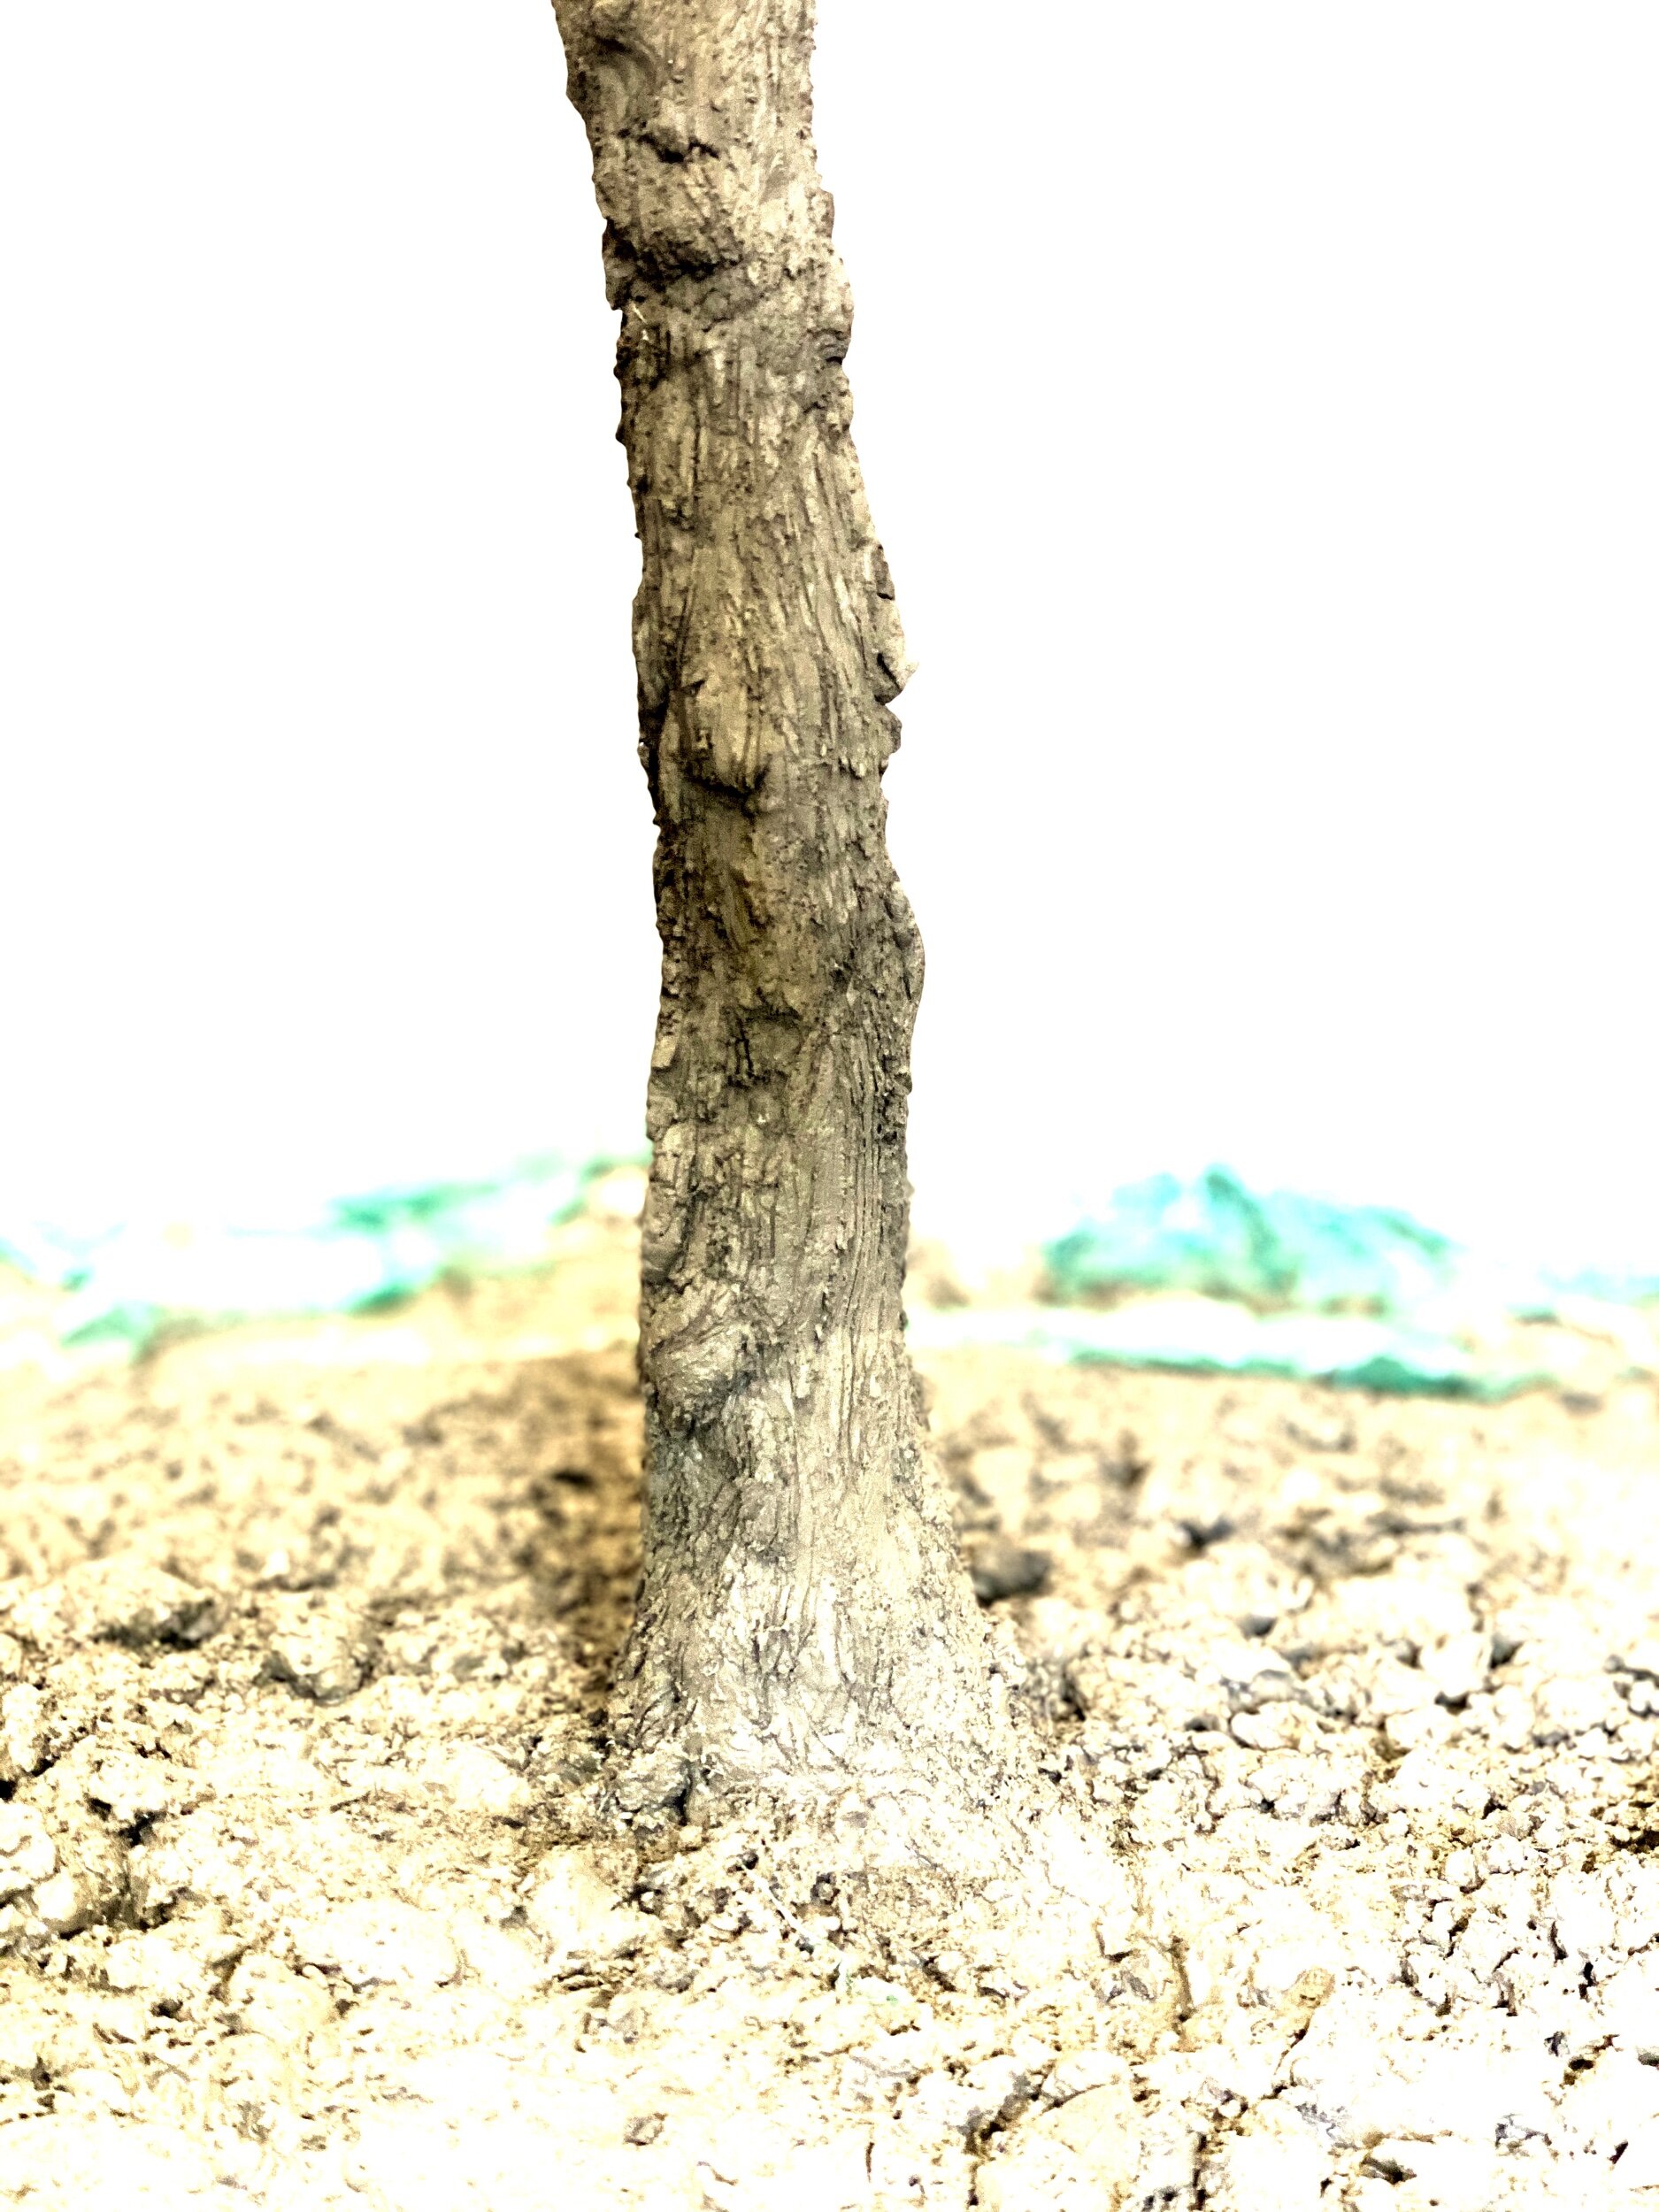
The lower trunk and base.
The abundance of knots is evidence that this tree is the host of many insects and good bacteria. Bees and other insects use trees for nesting and receive antiviral properties from the fungus and bacteria that grow on the tree.