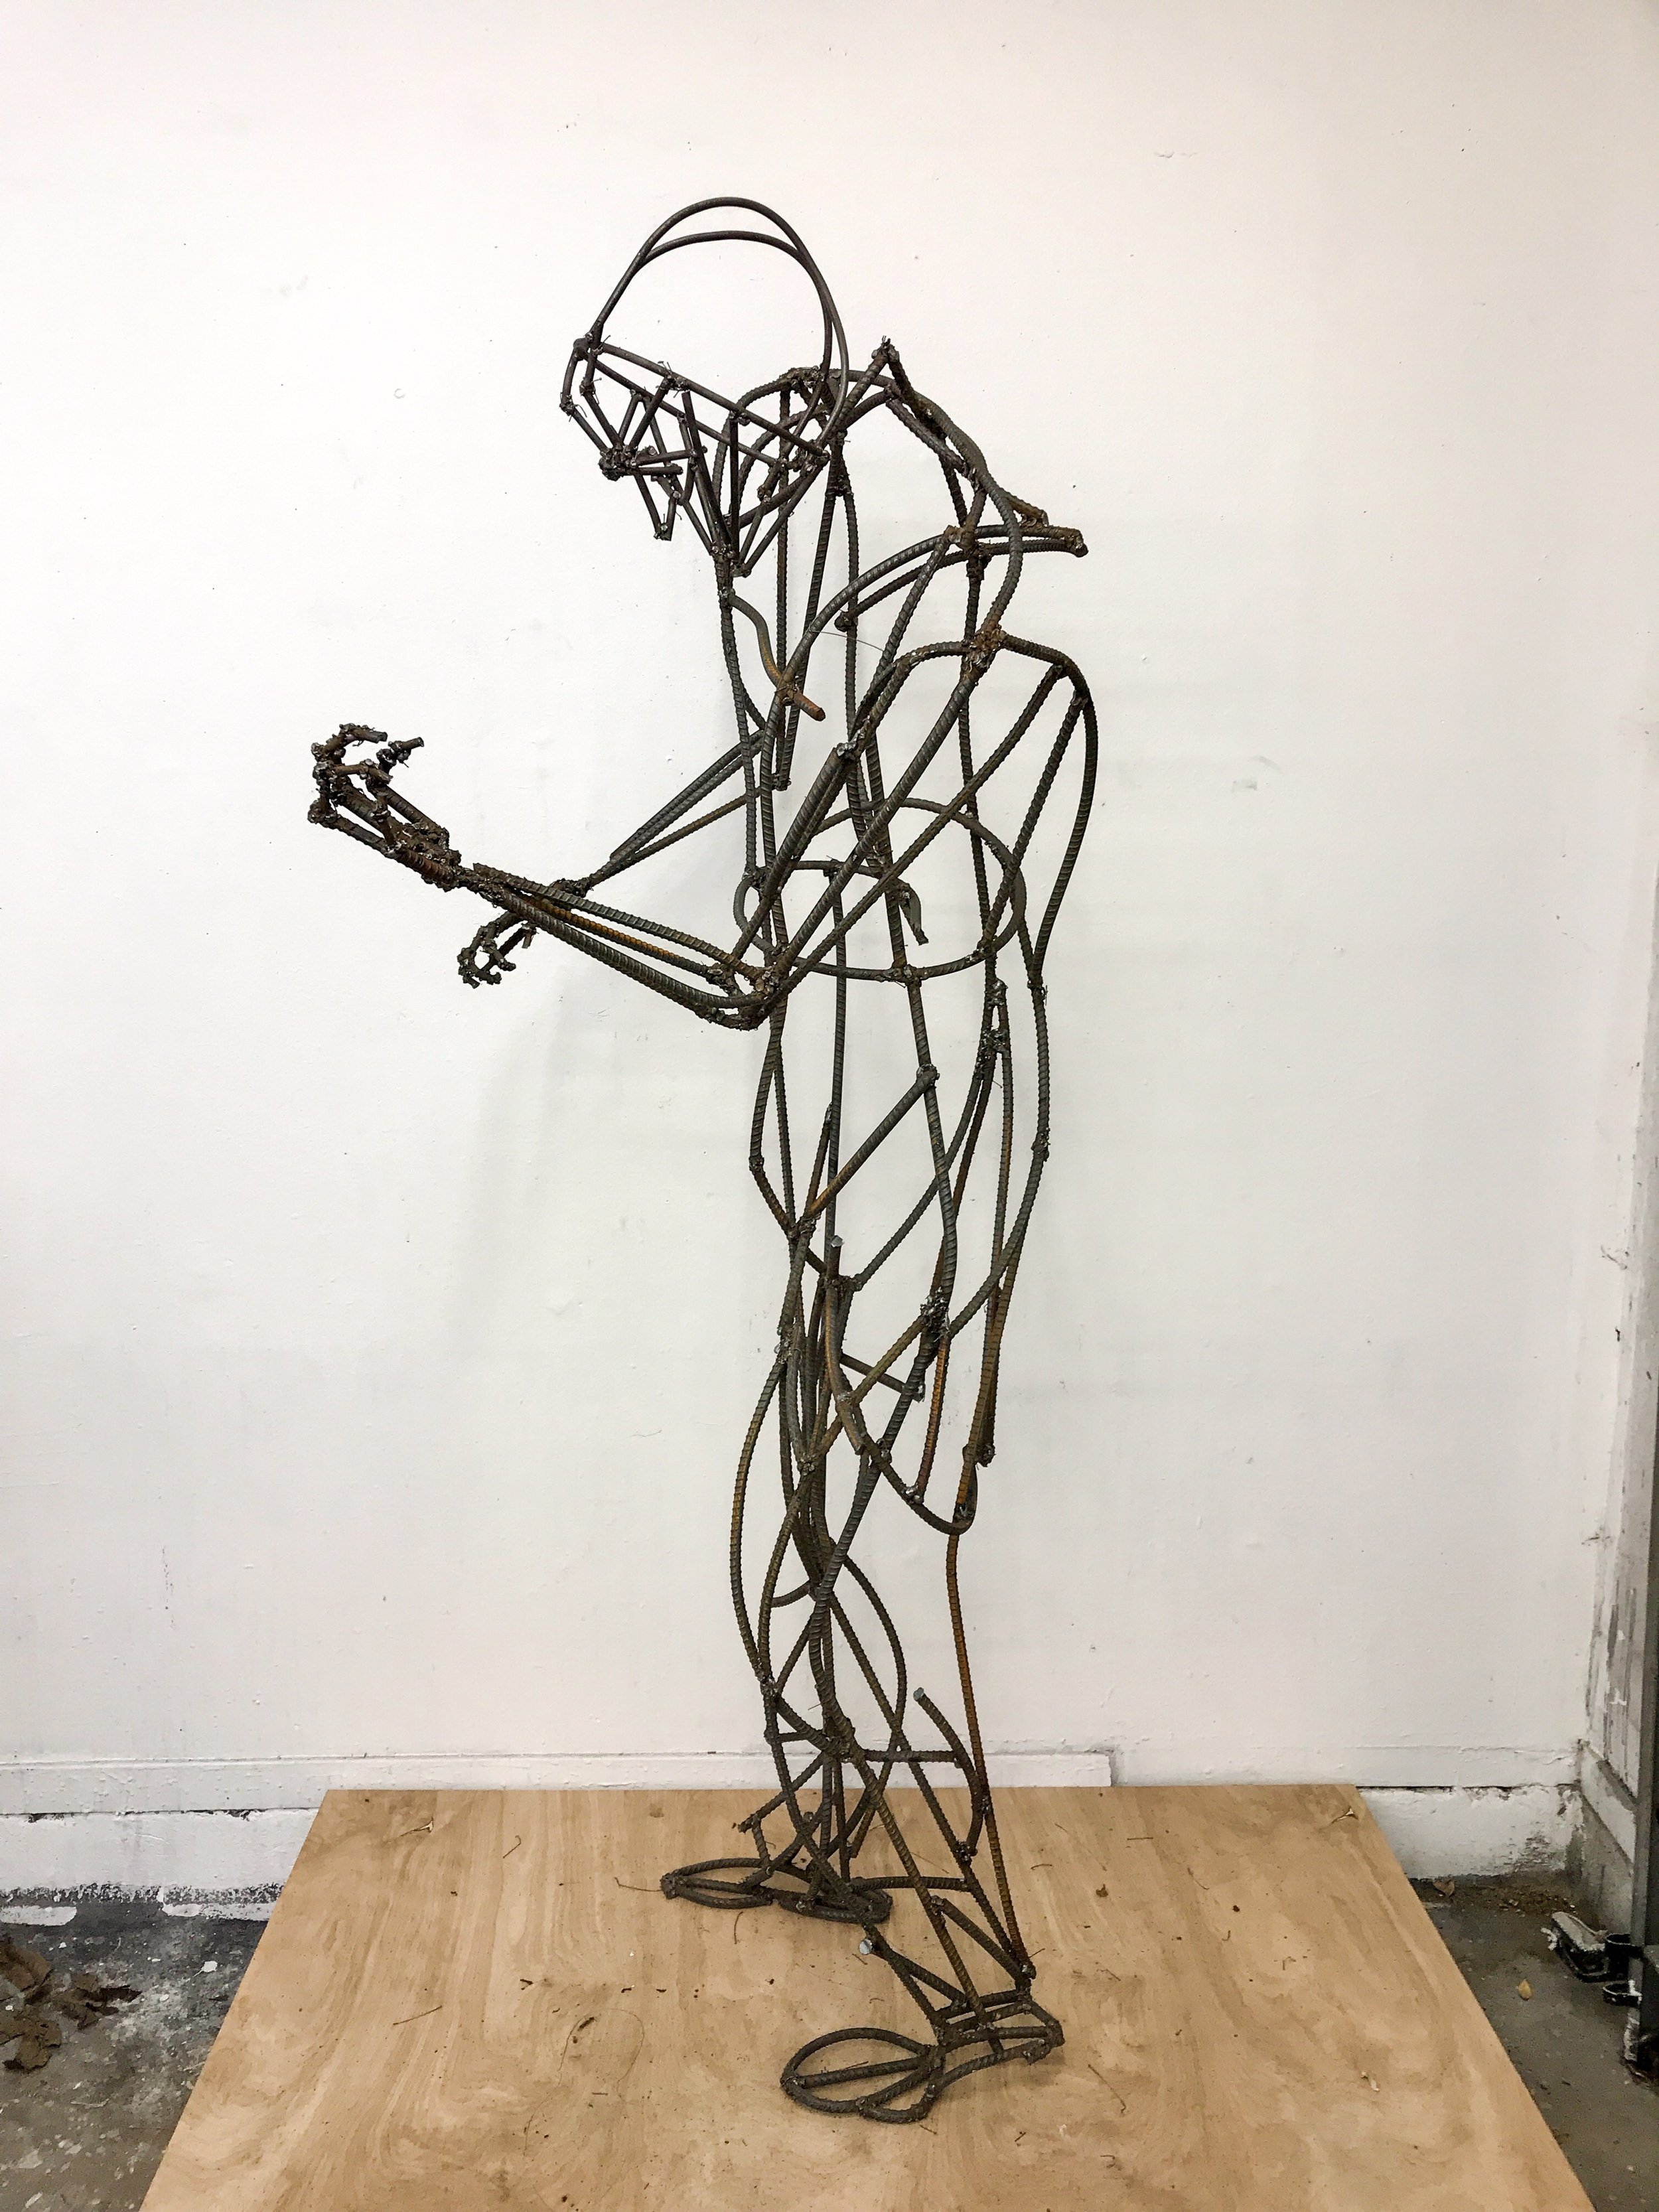
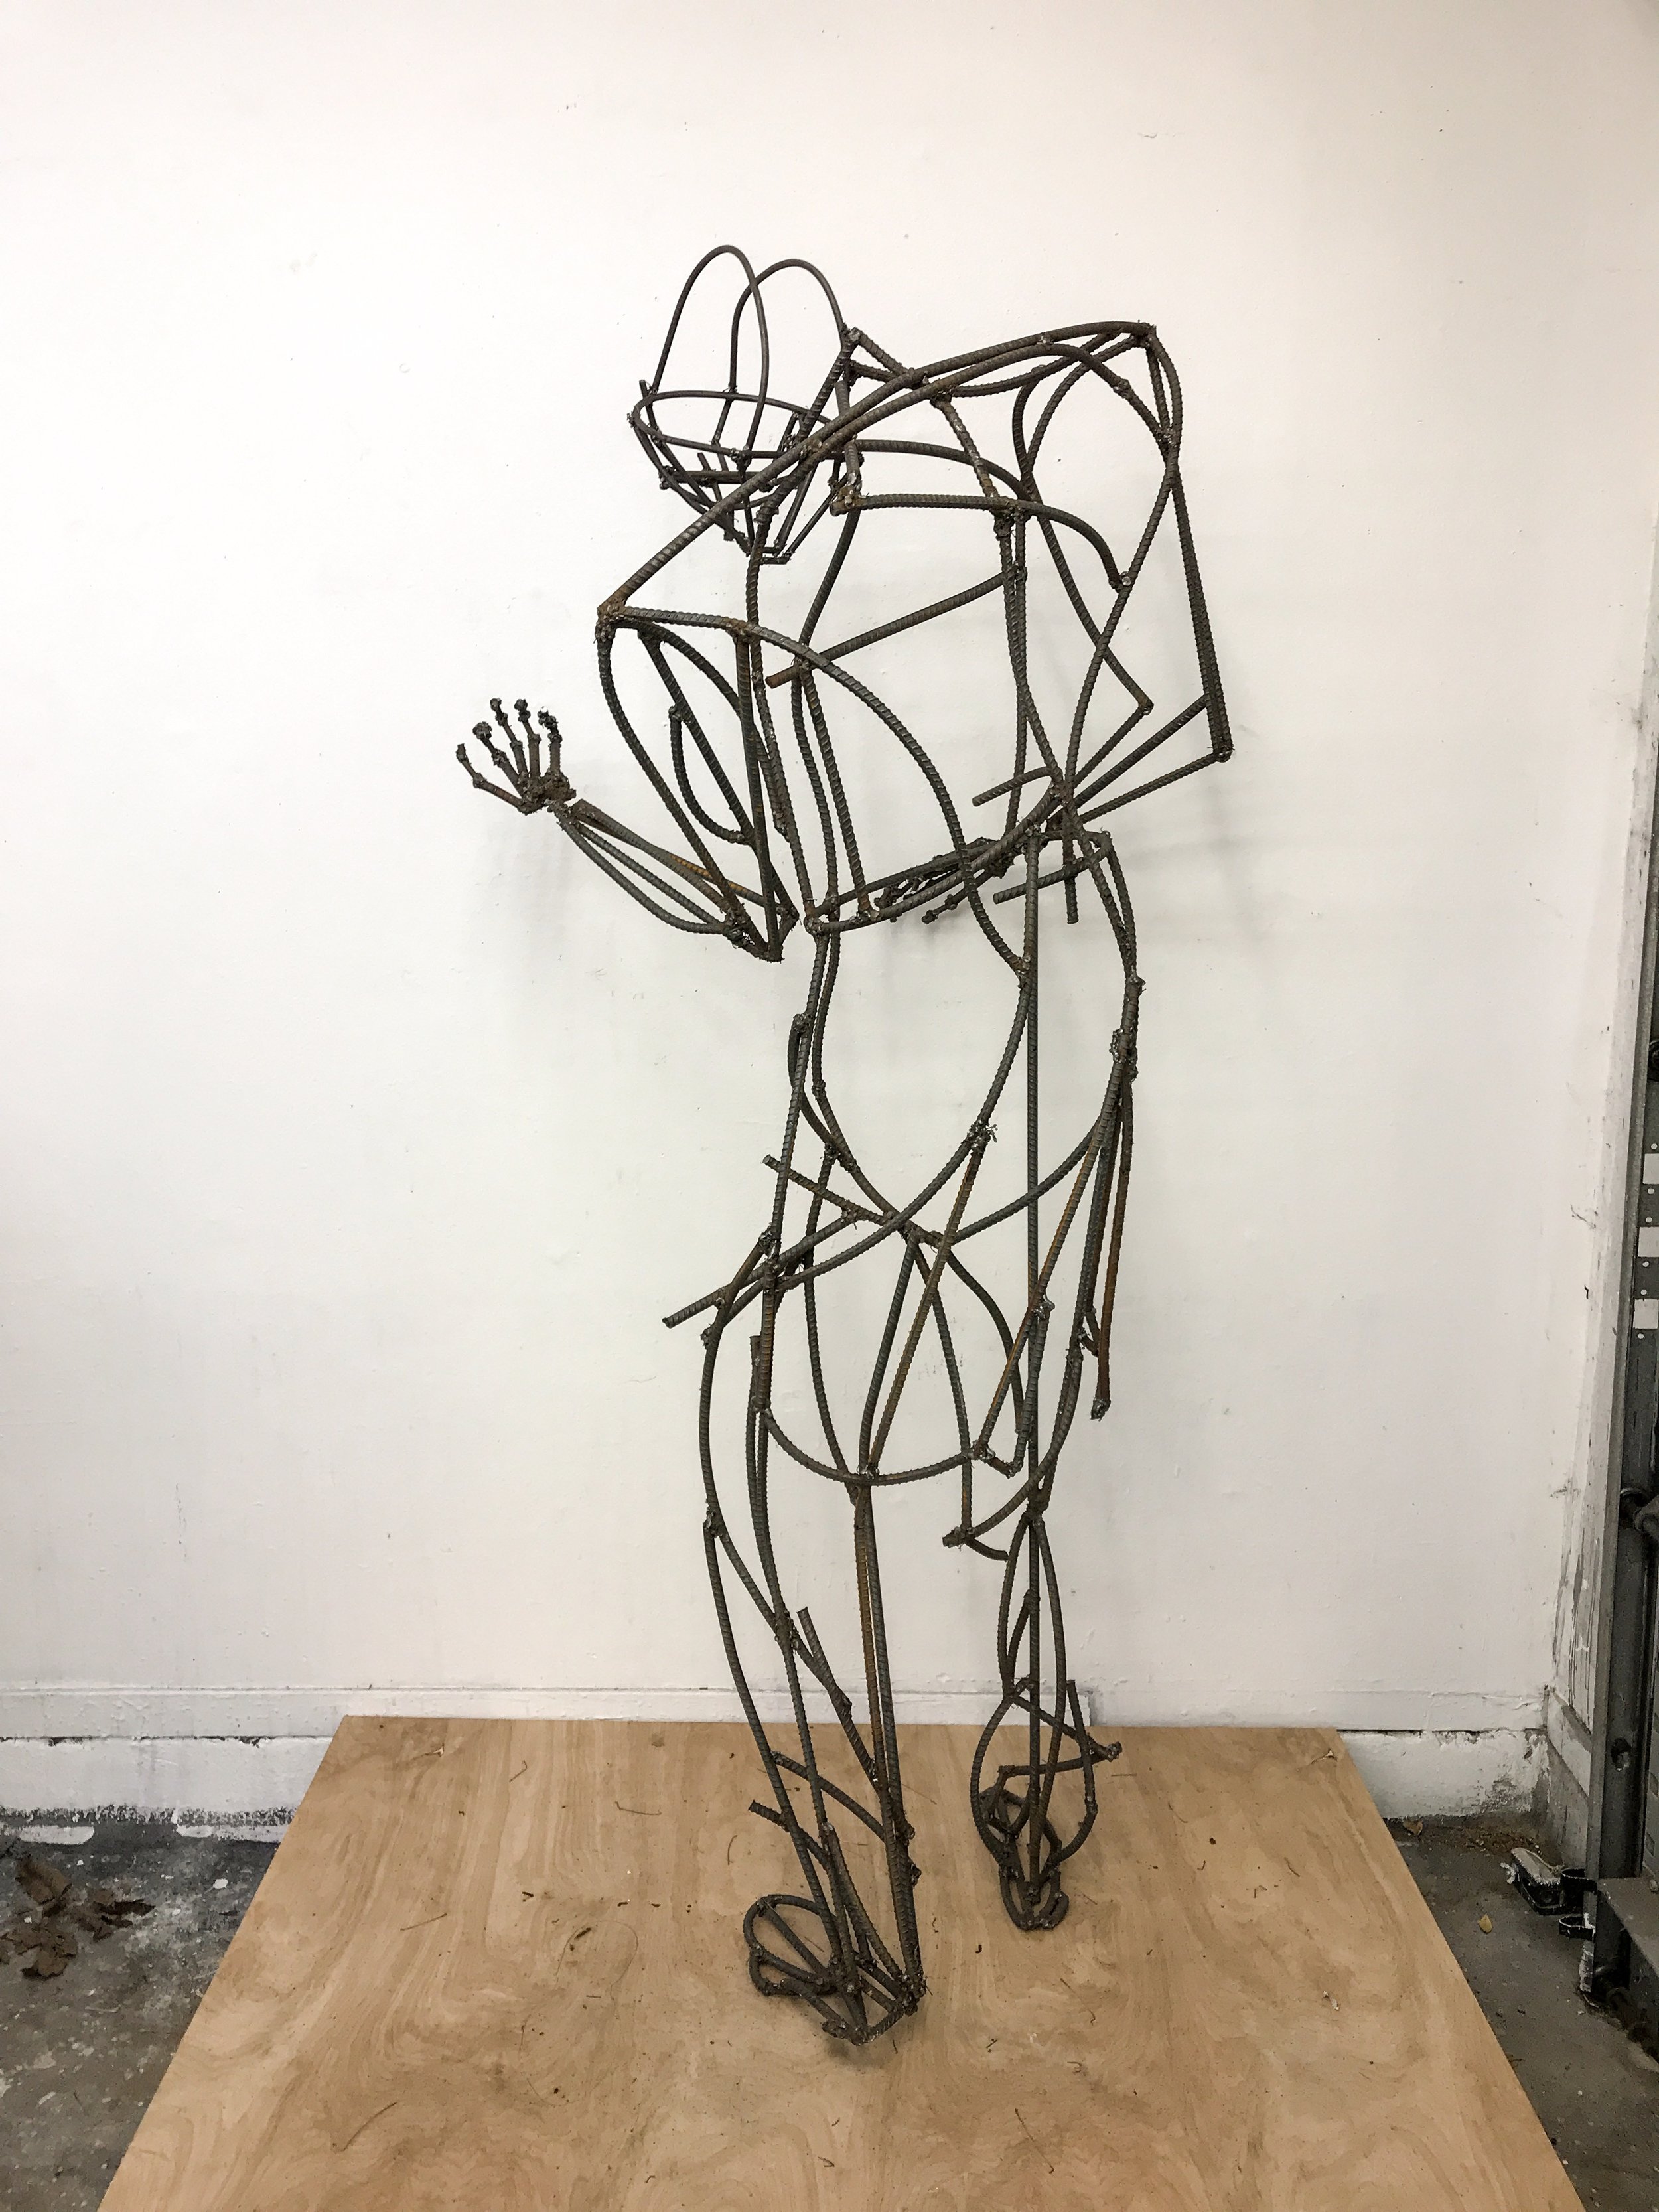
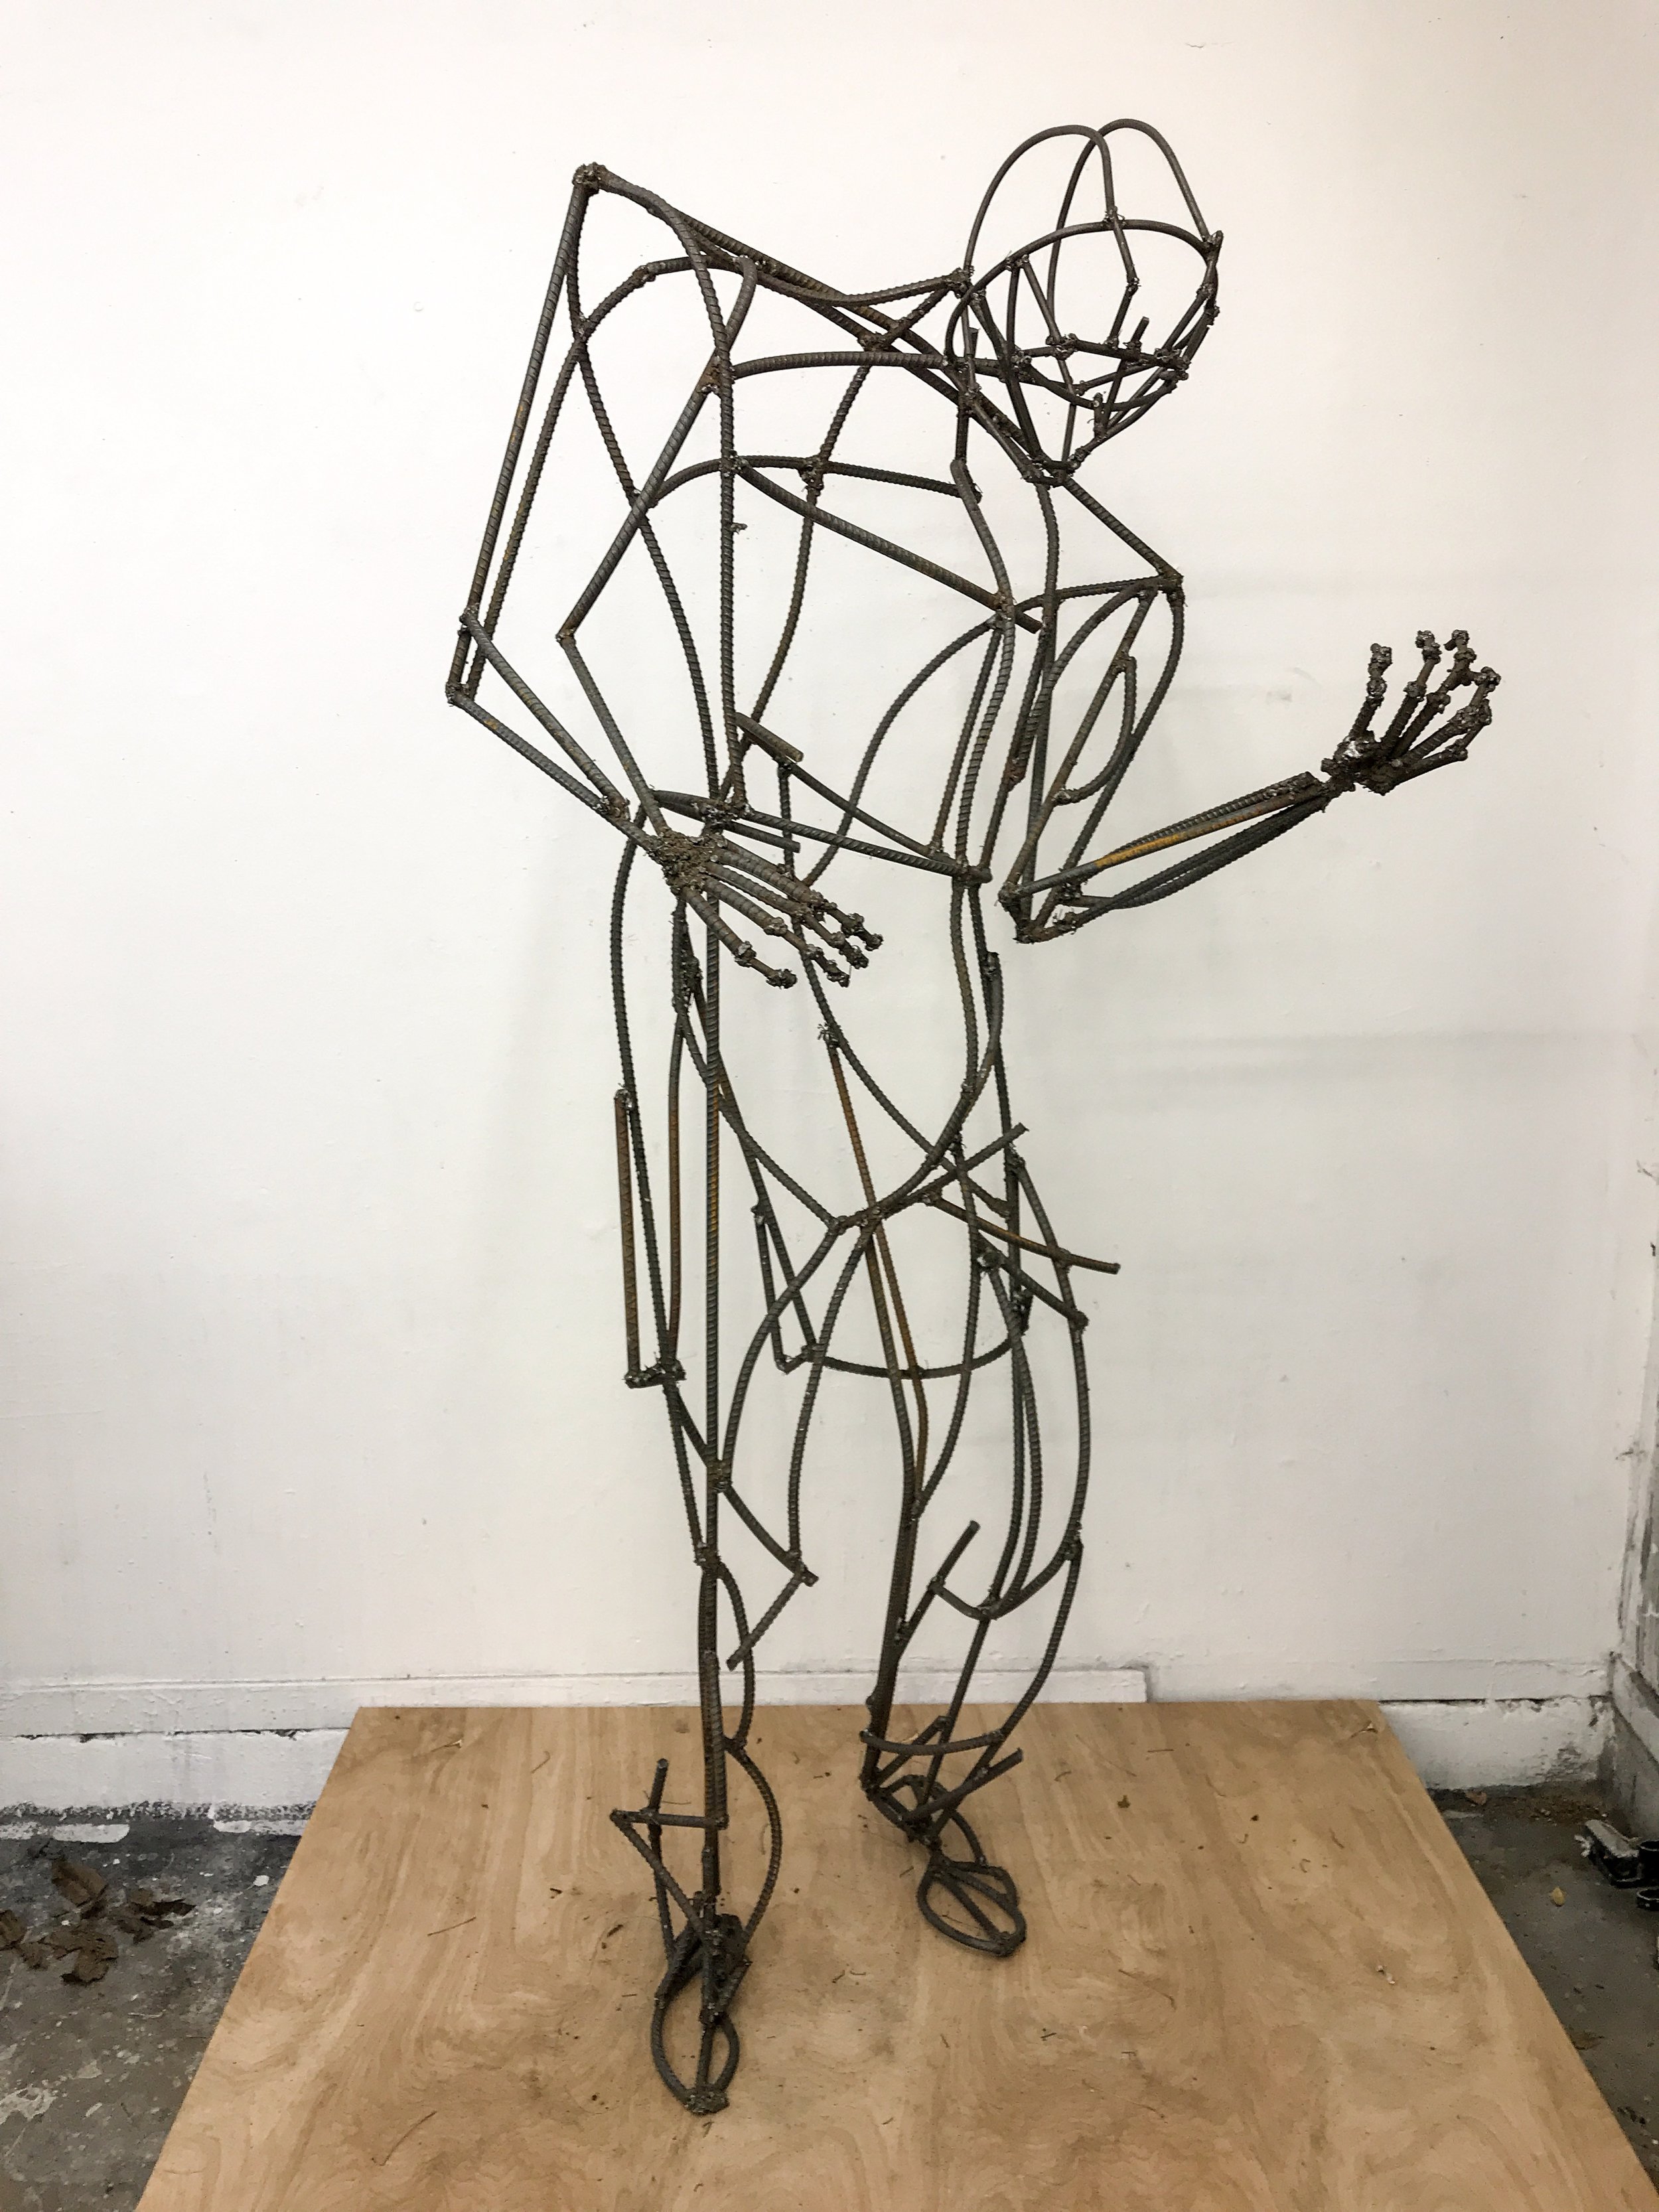
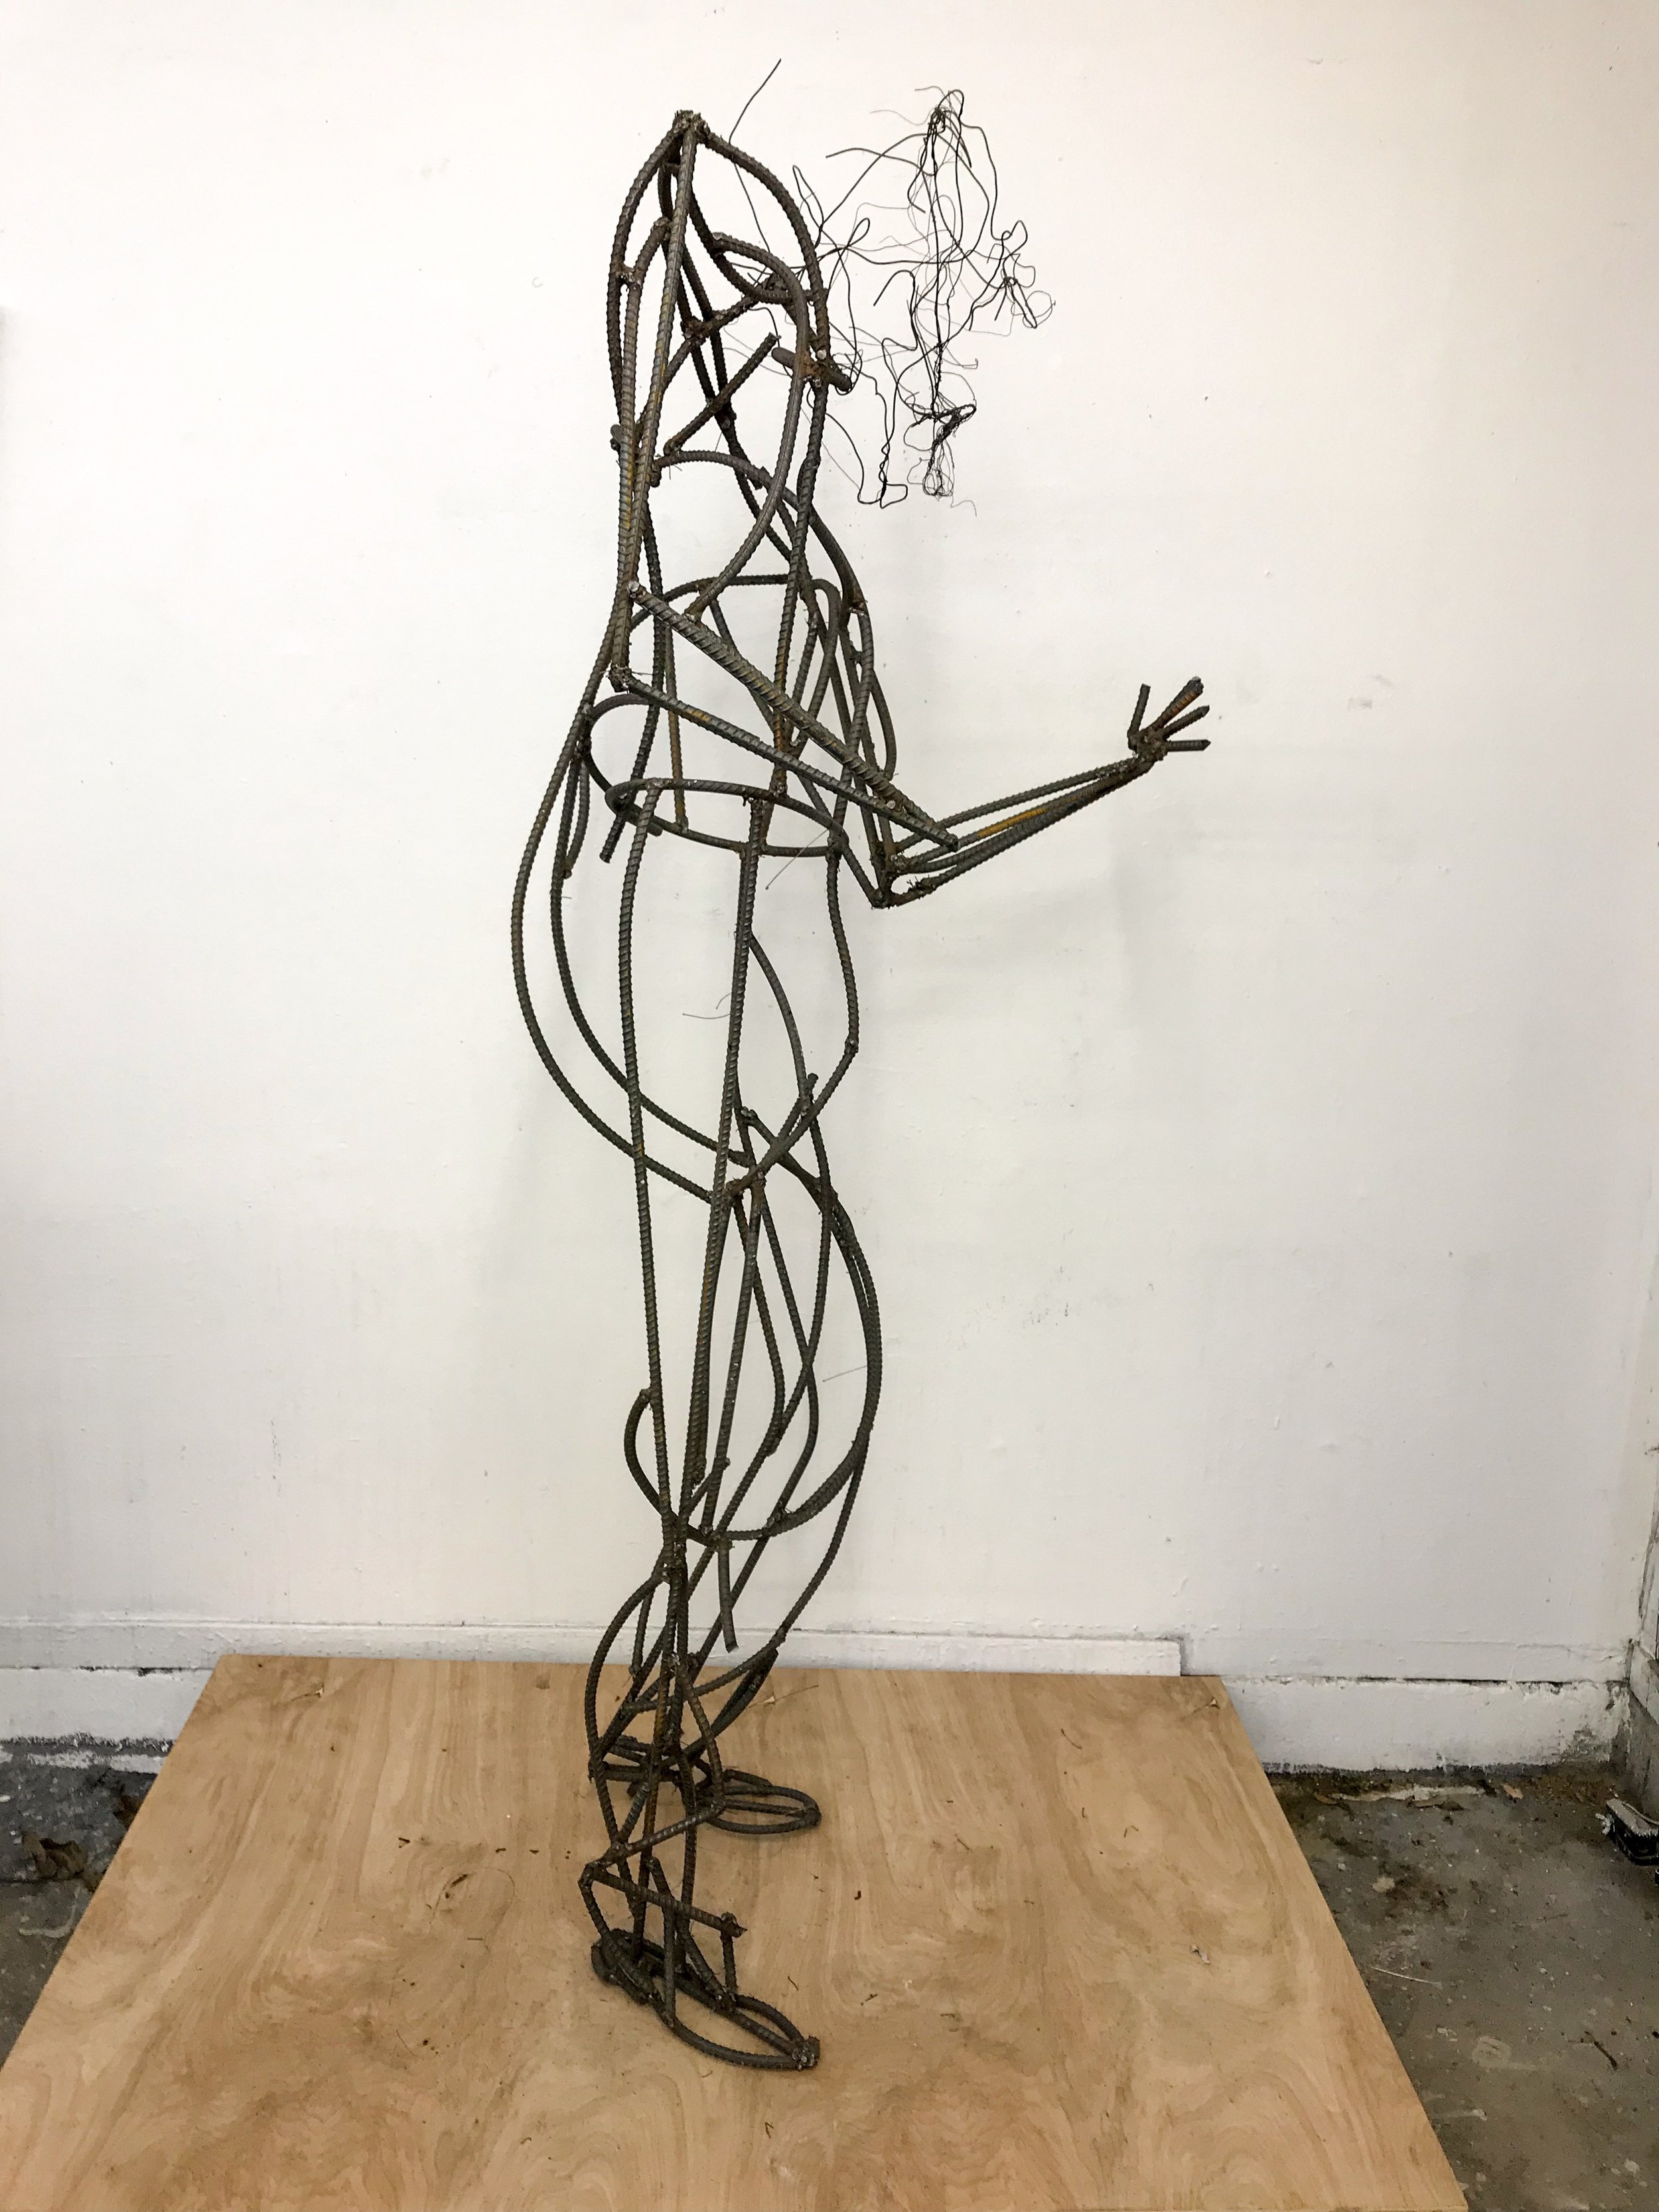
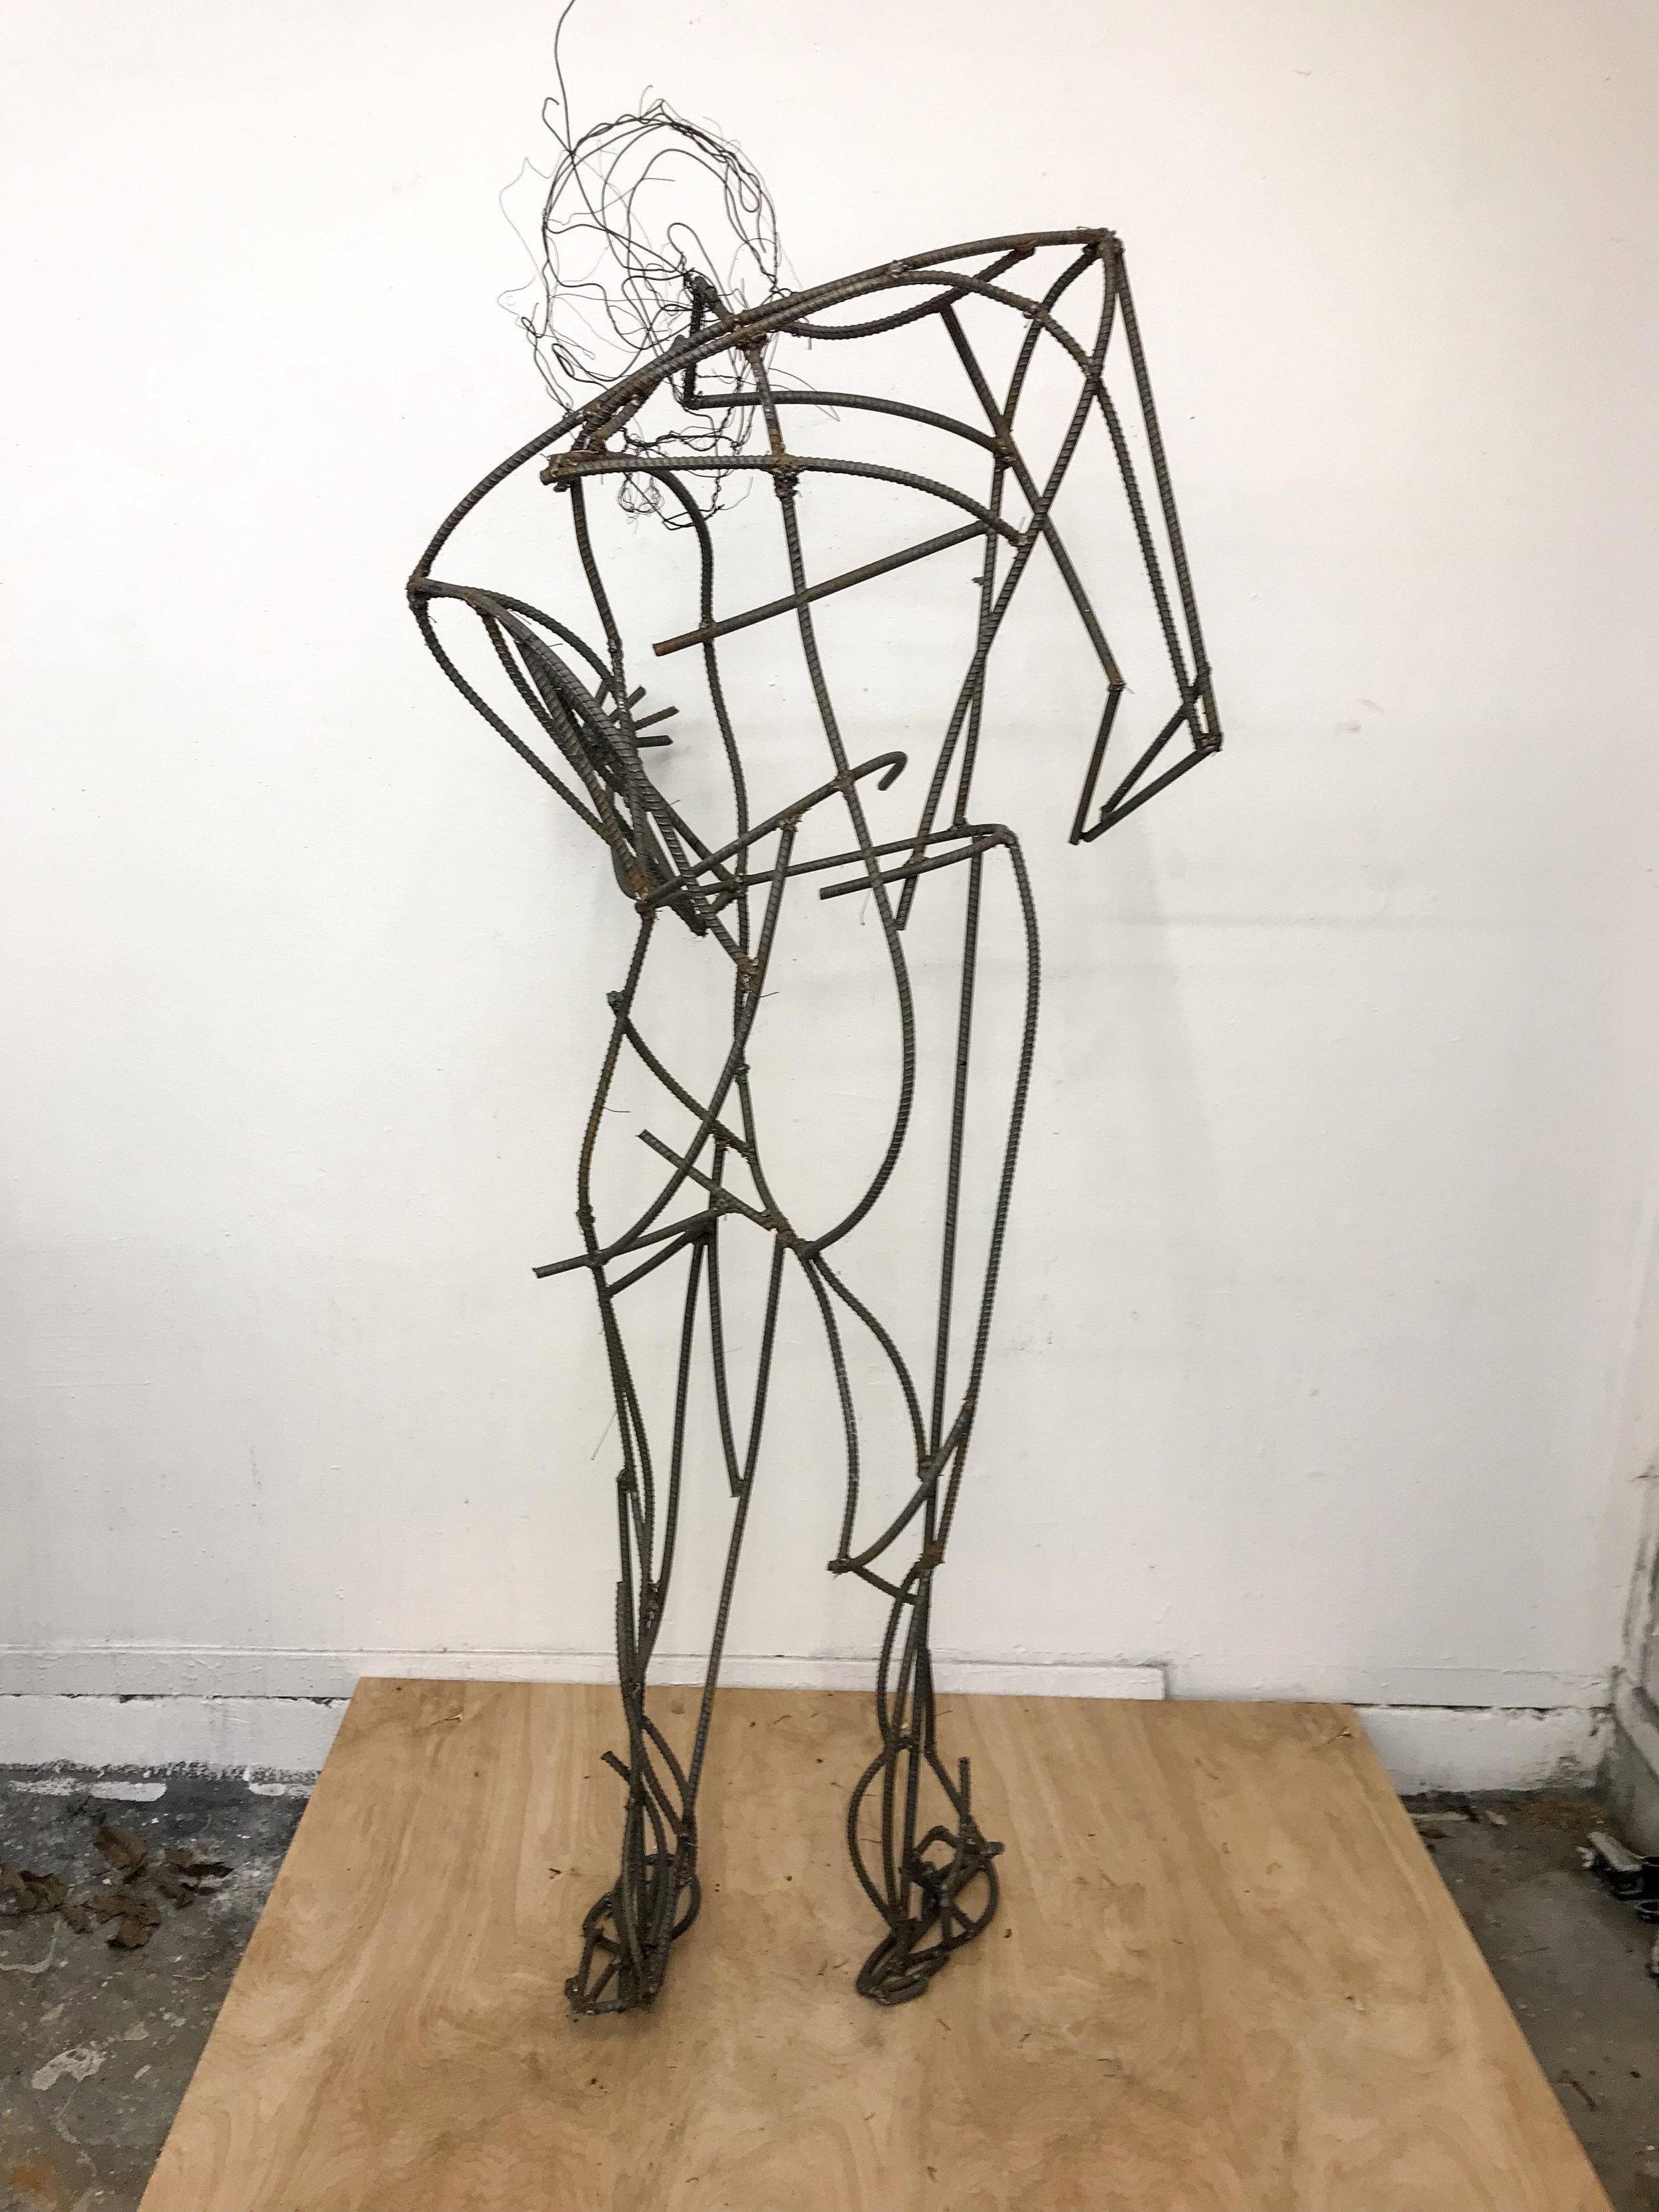
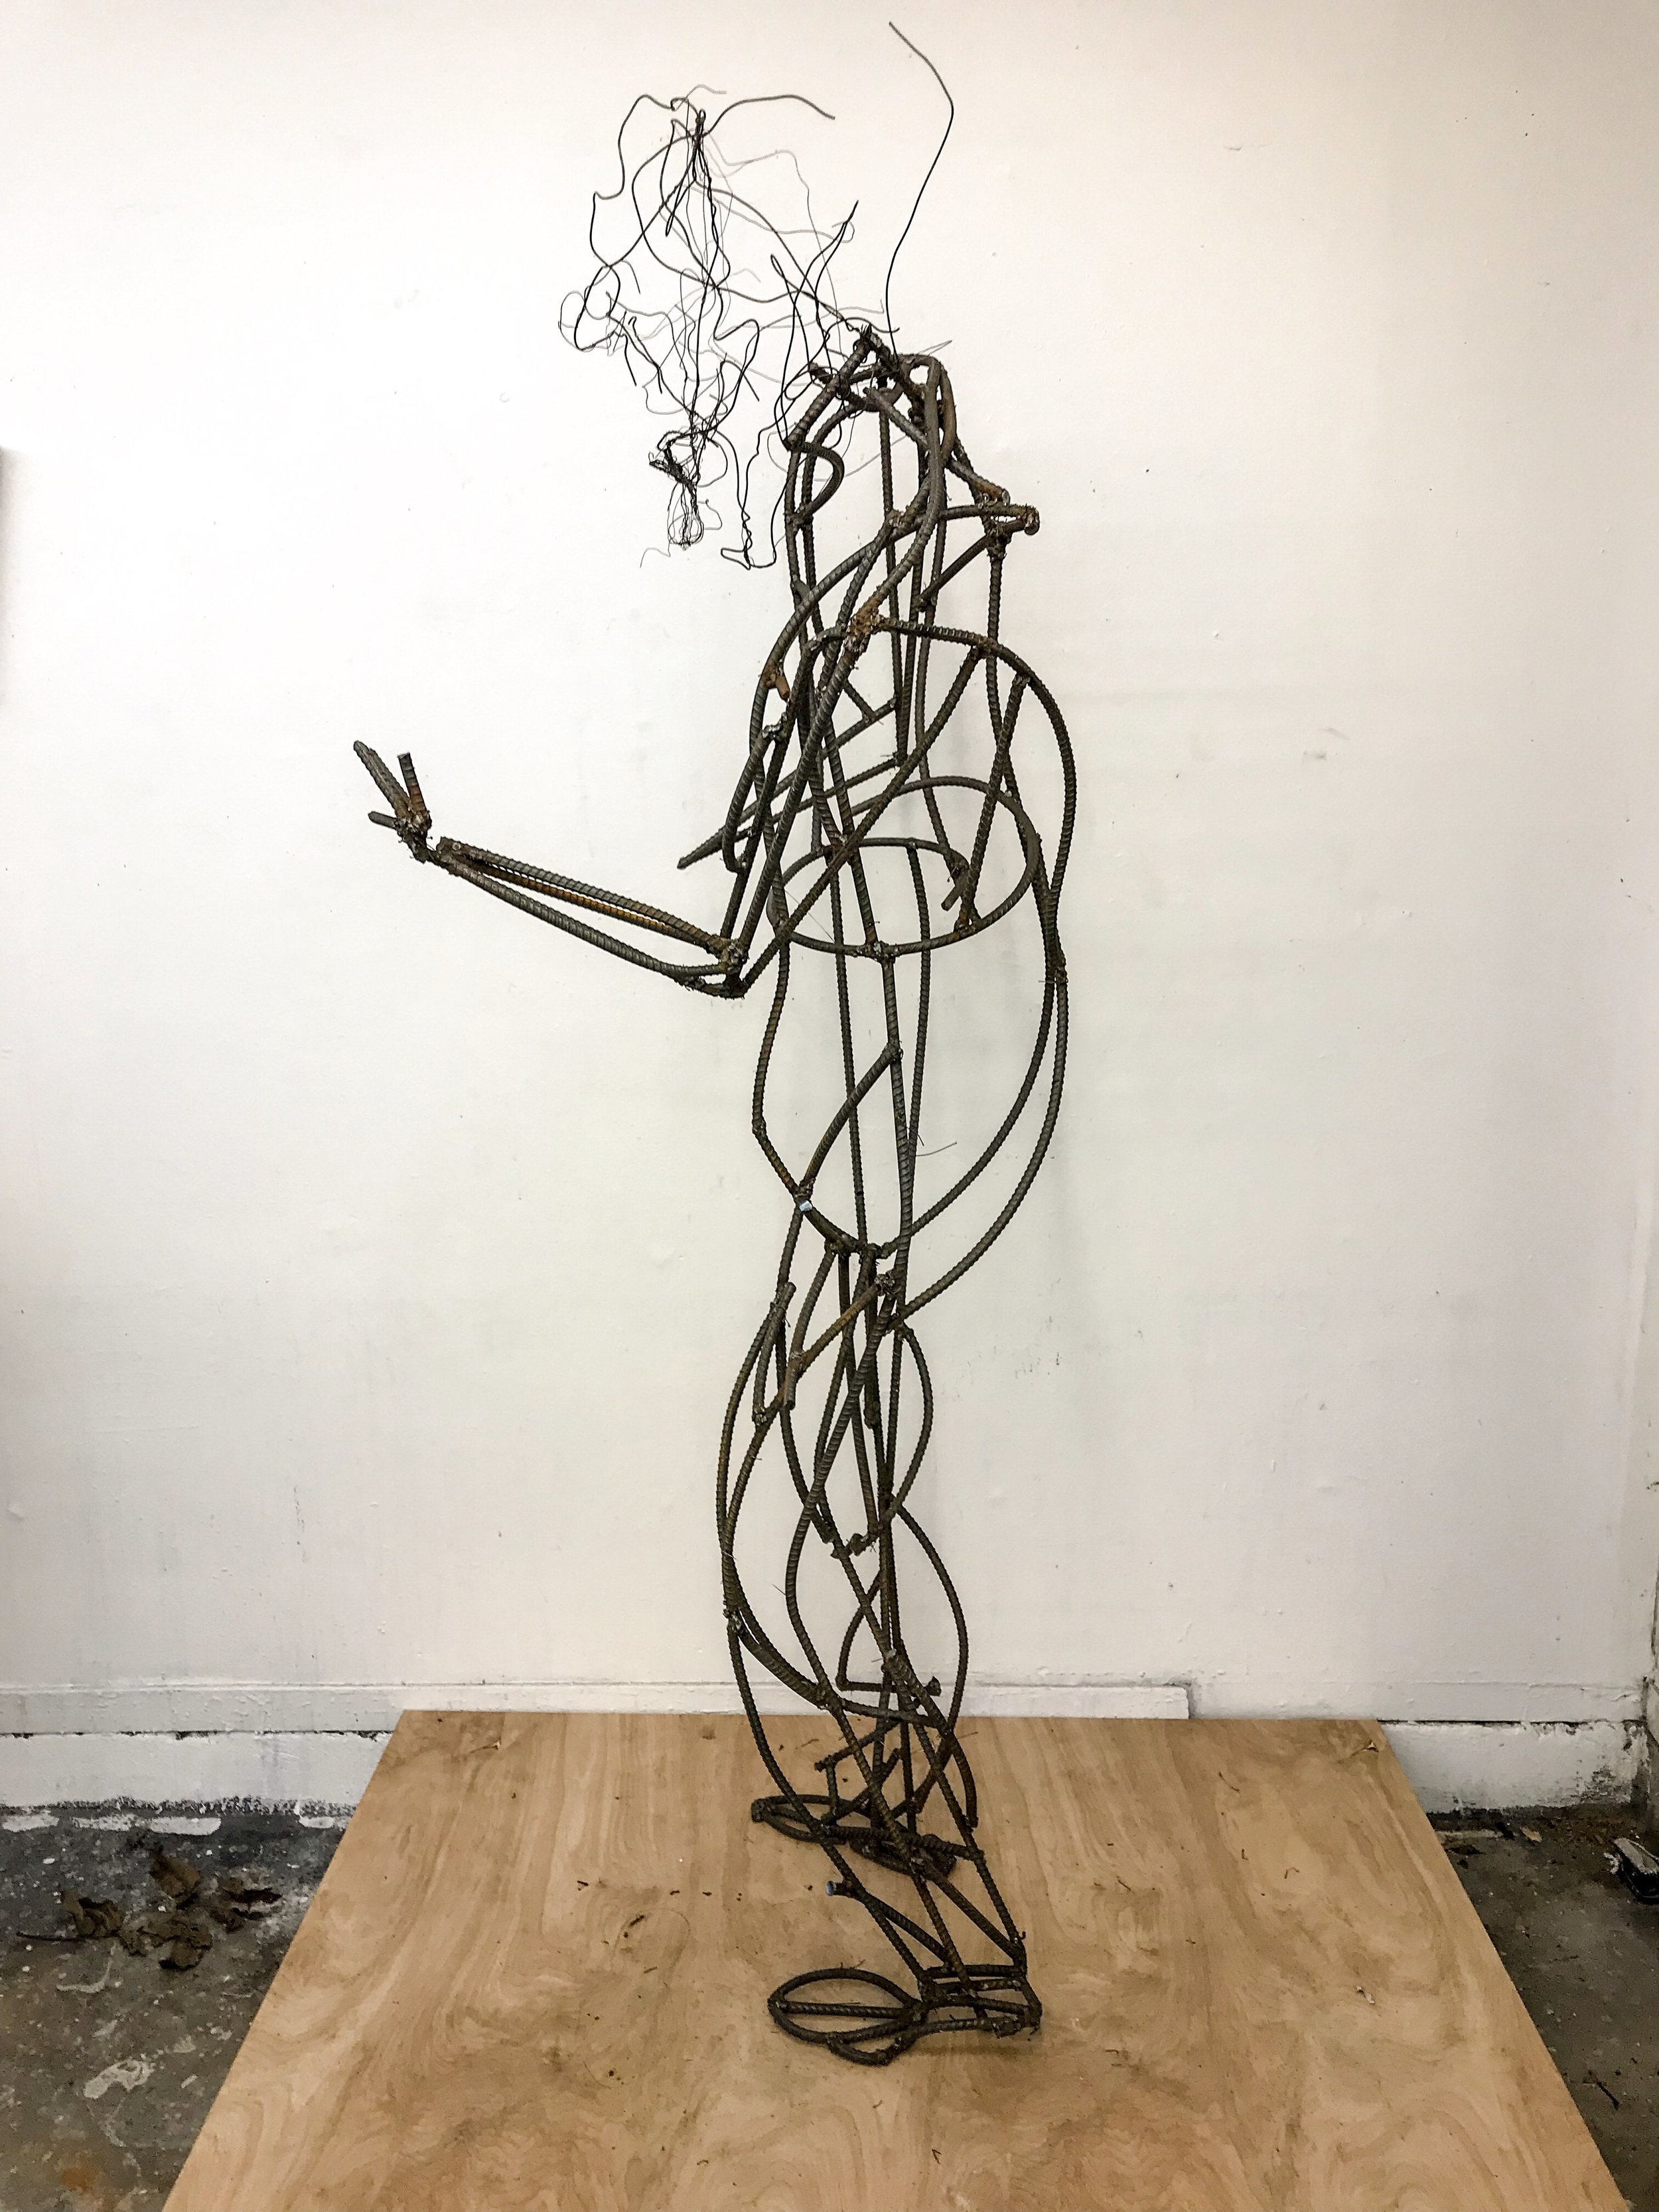
Moving Forward

Moving Forward

67” X 15” X 18”

Image by Jake Eshelman

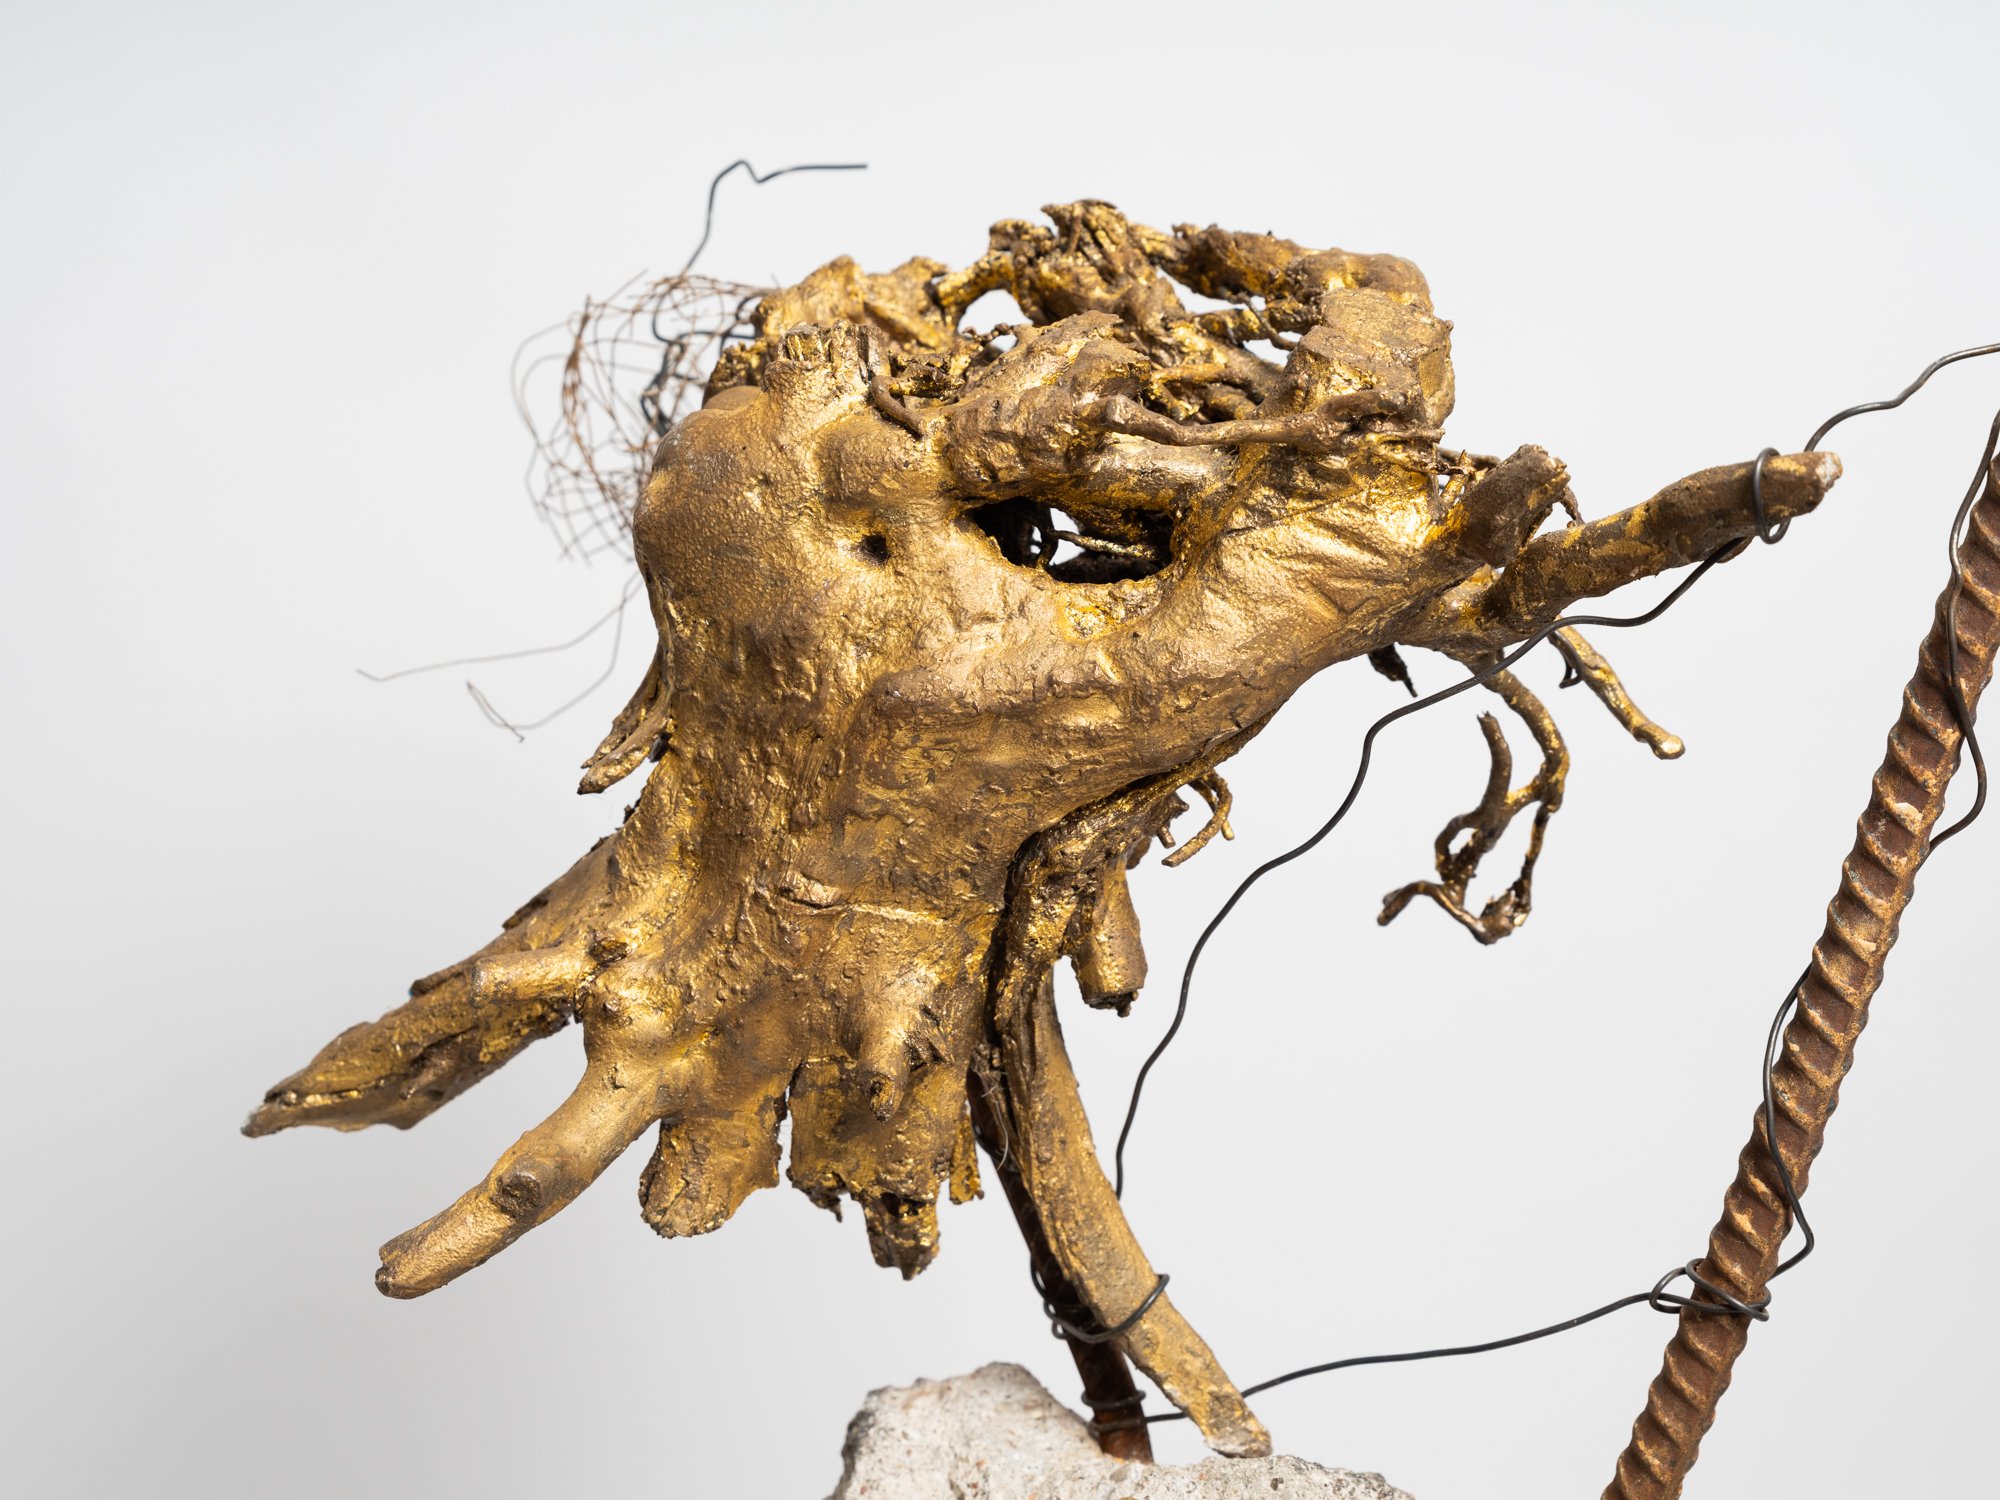
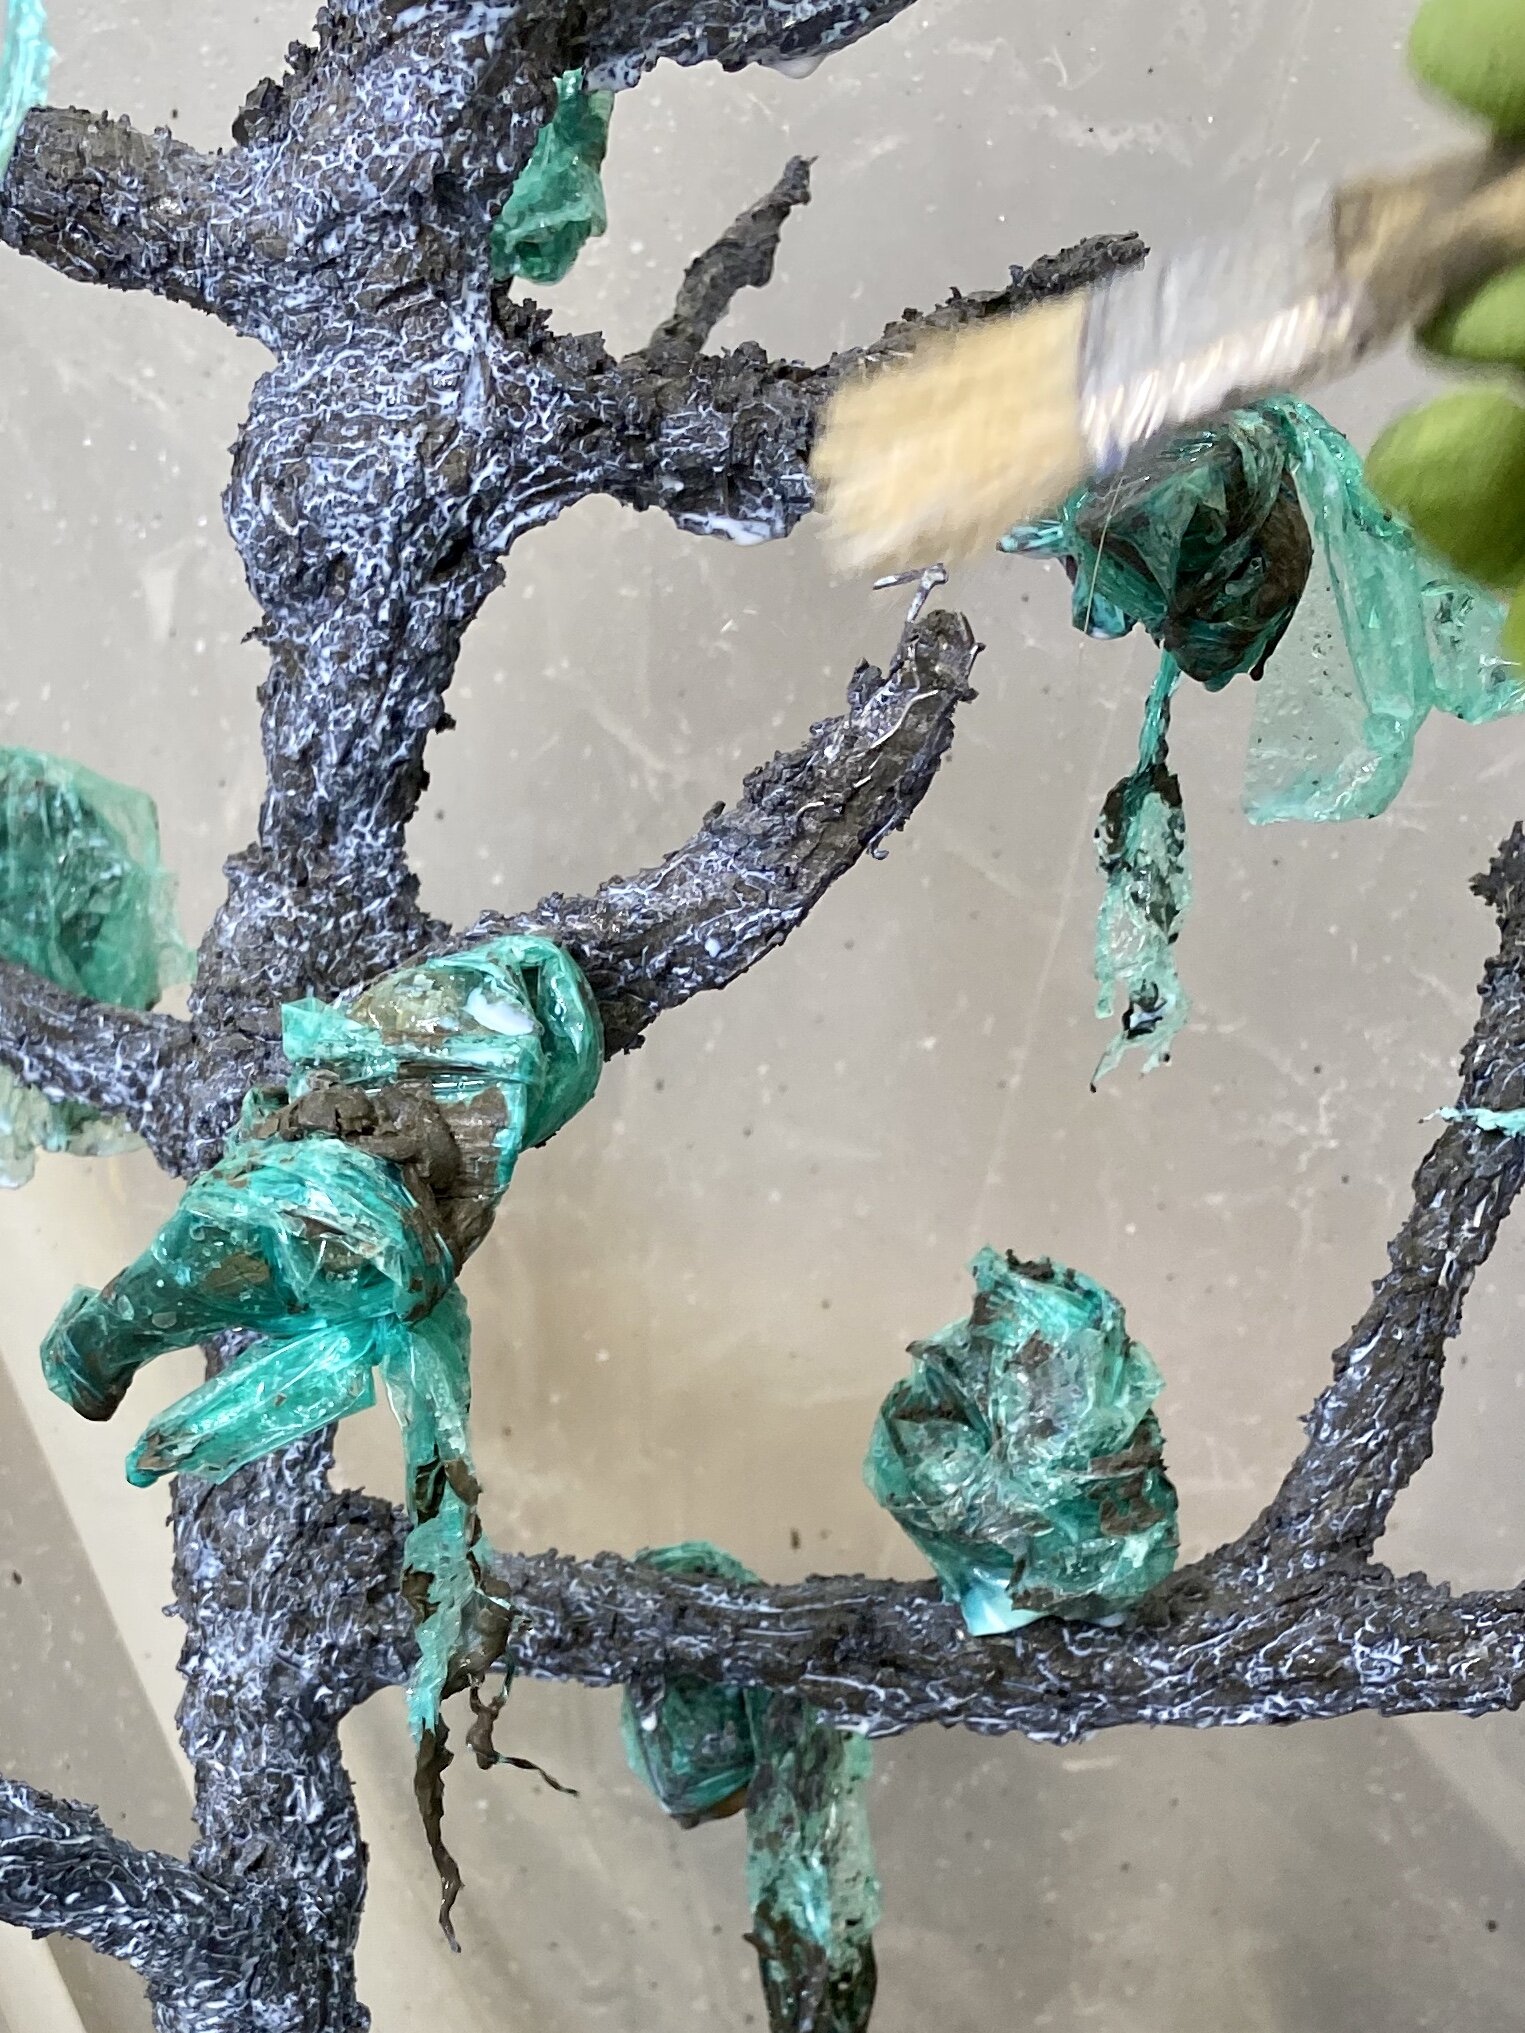
Found object concrete and rebar curbing fragment, rusted steel, bronze, and gold leaf.

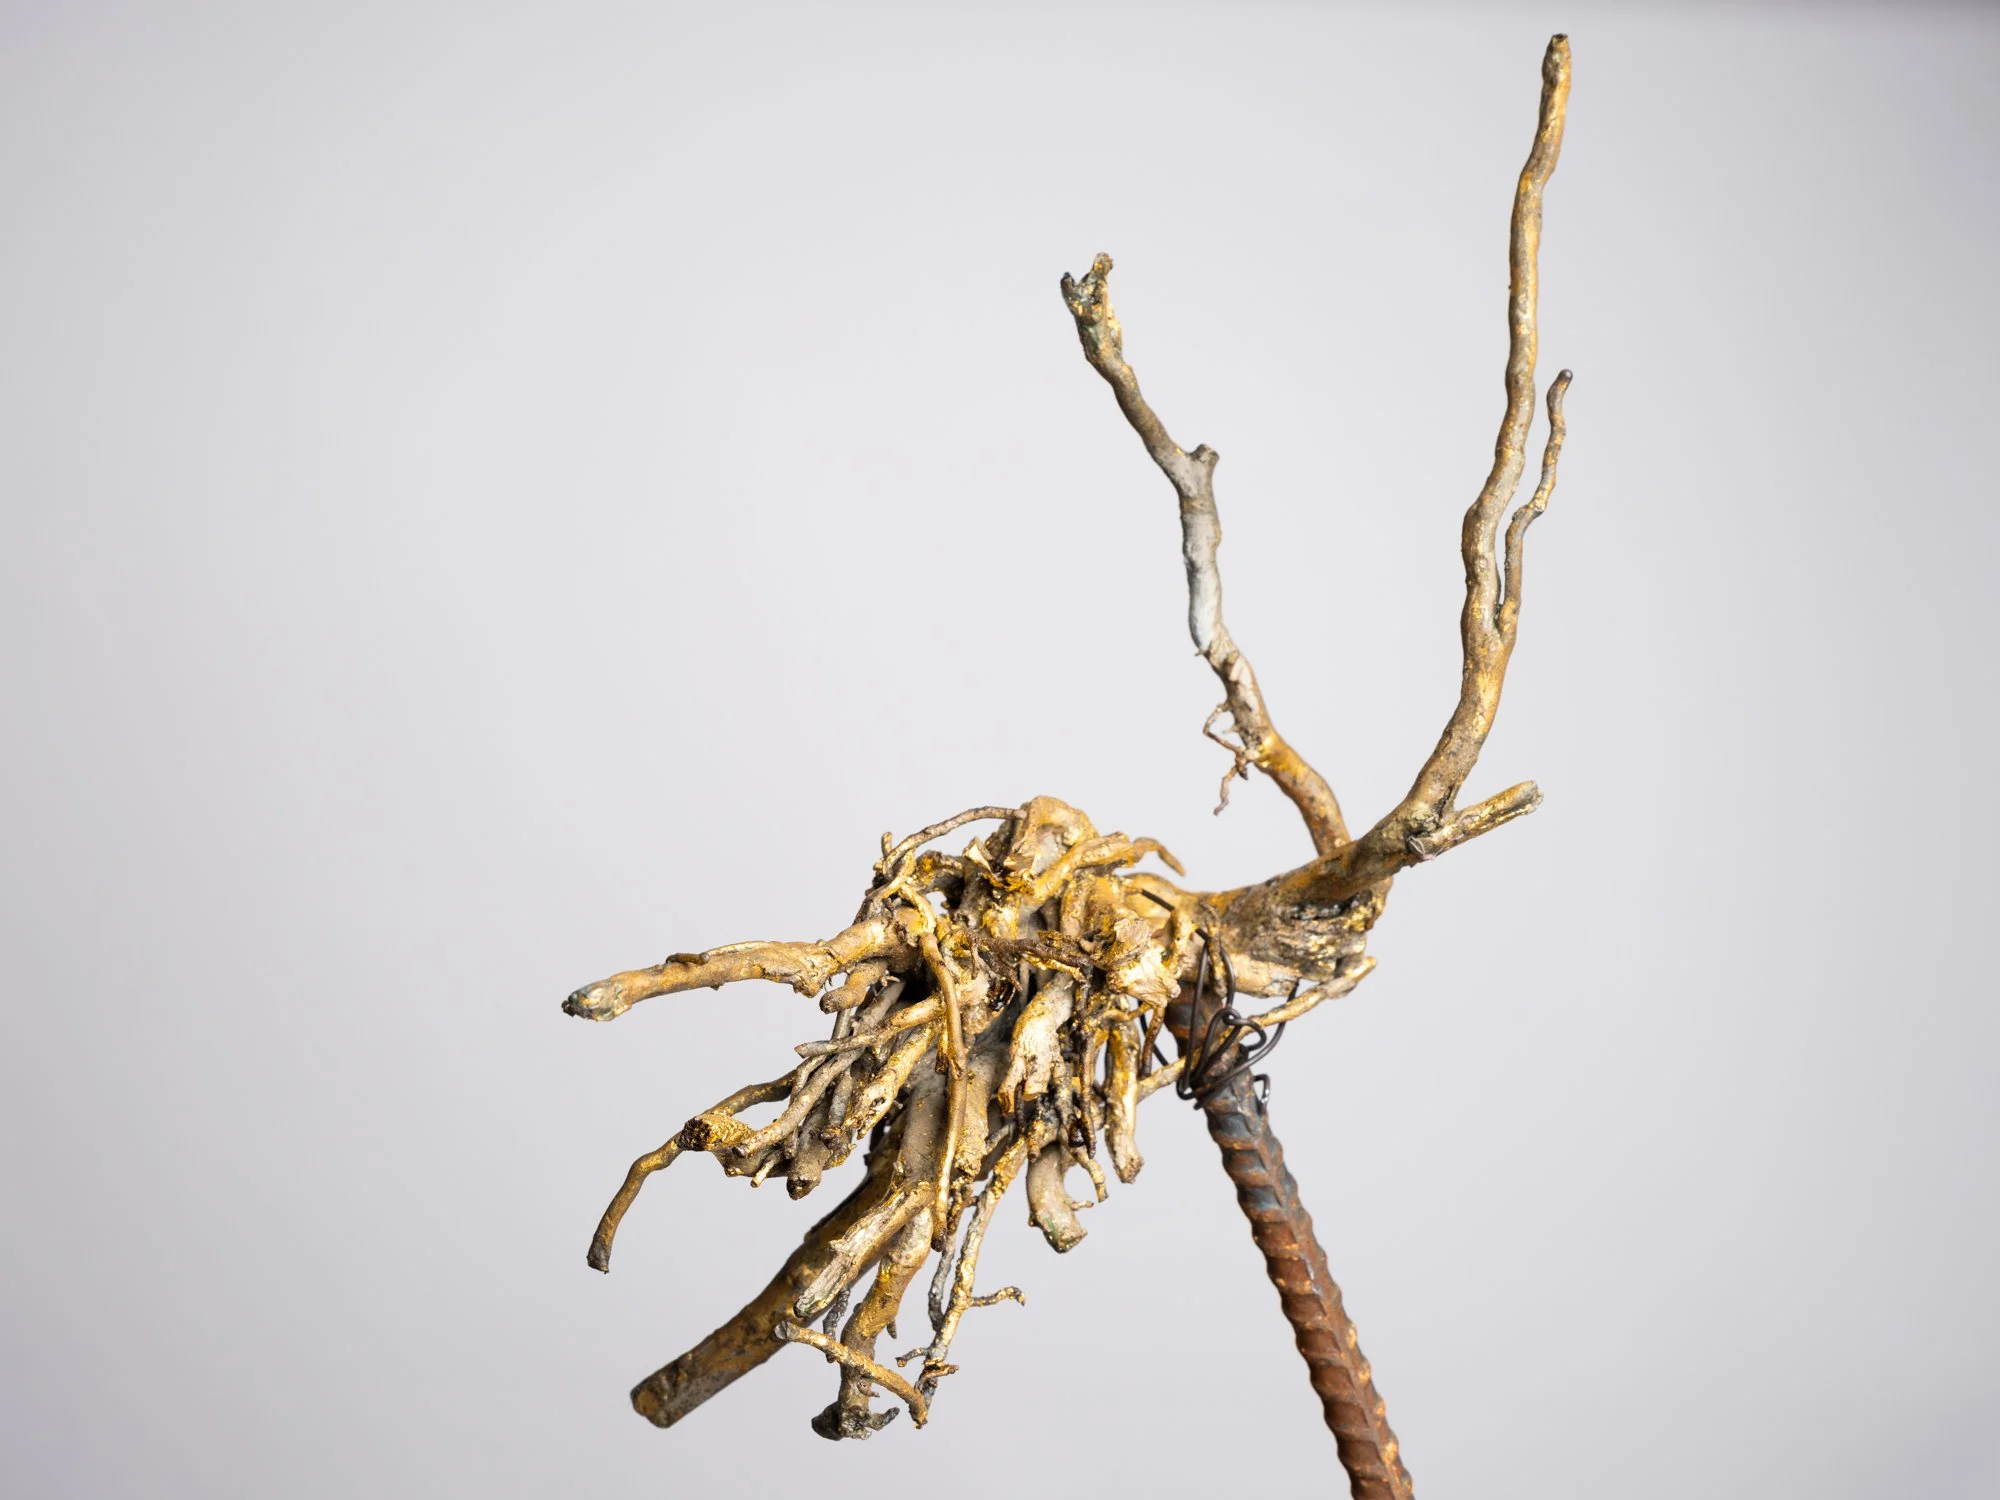
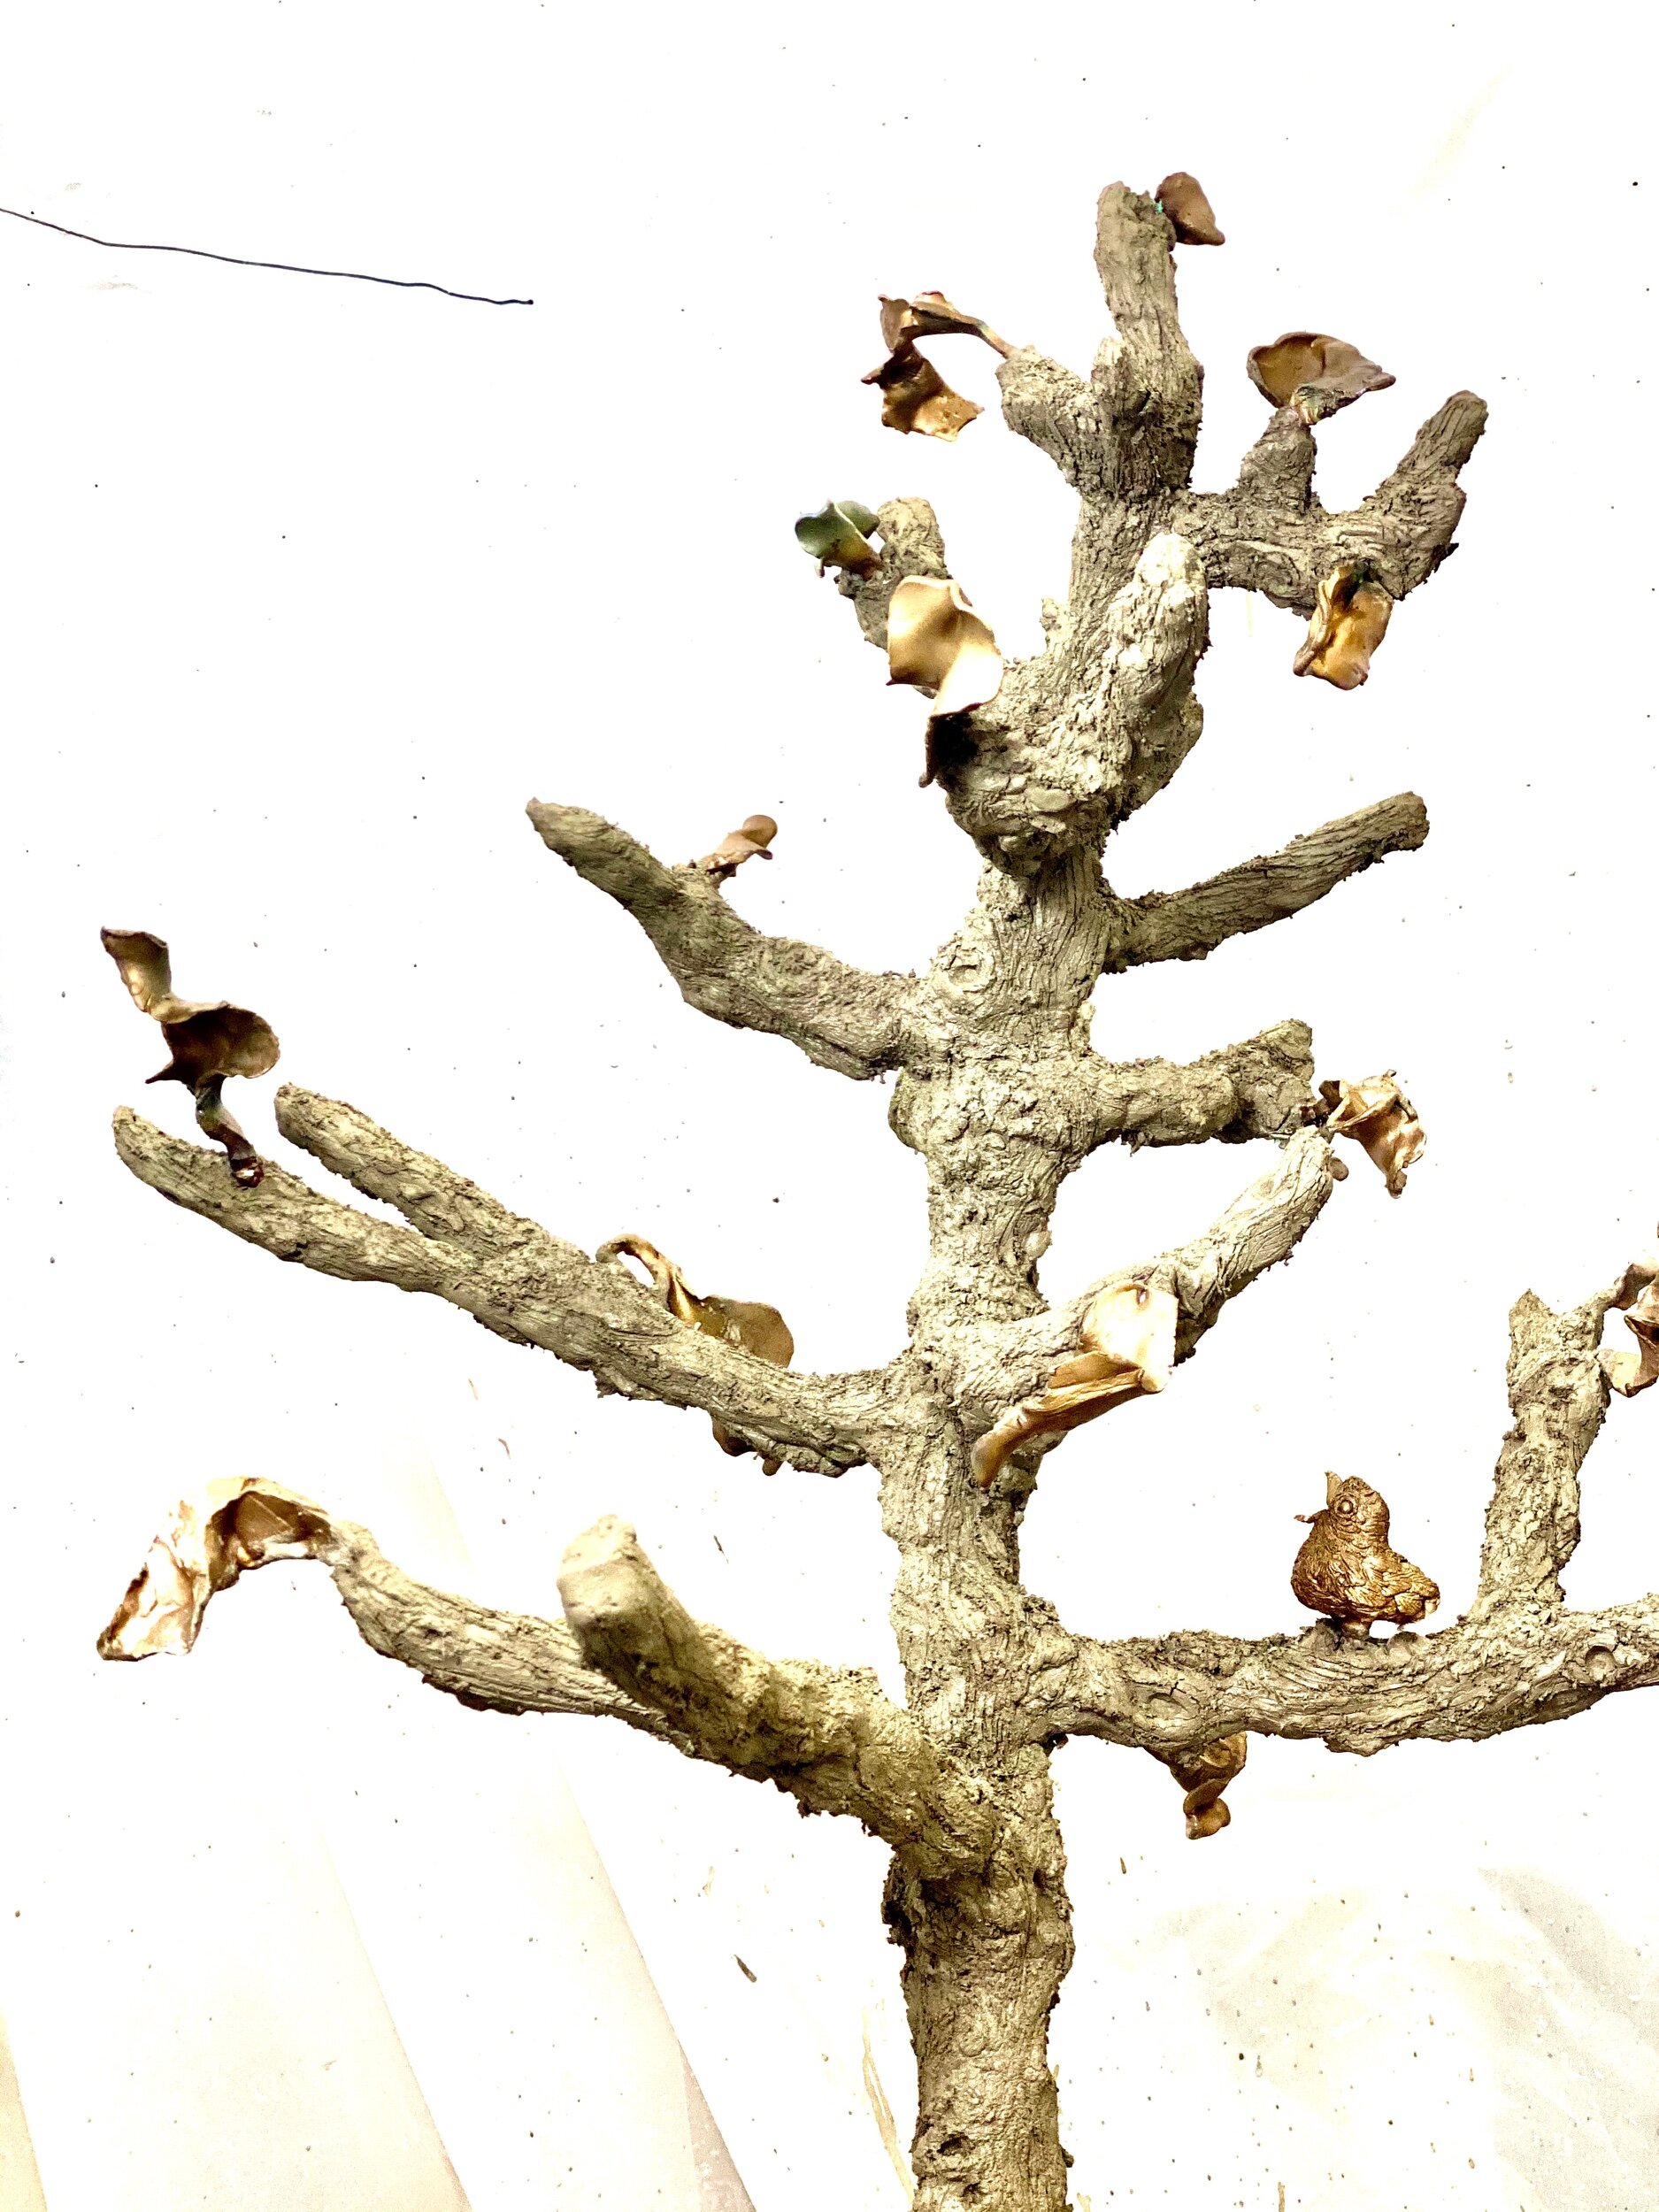
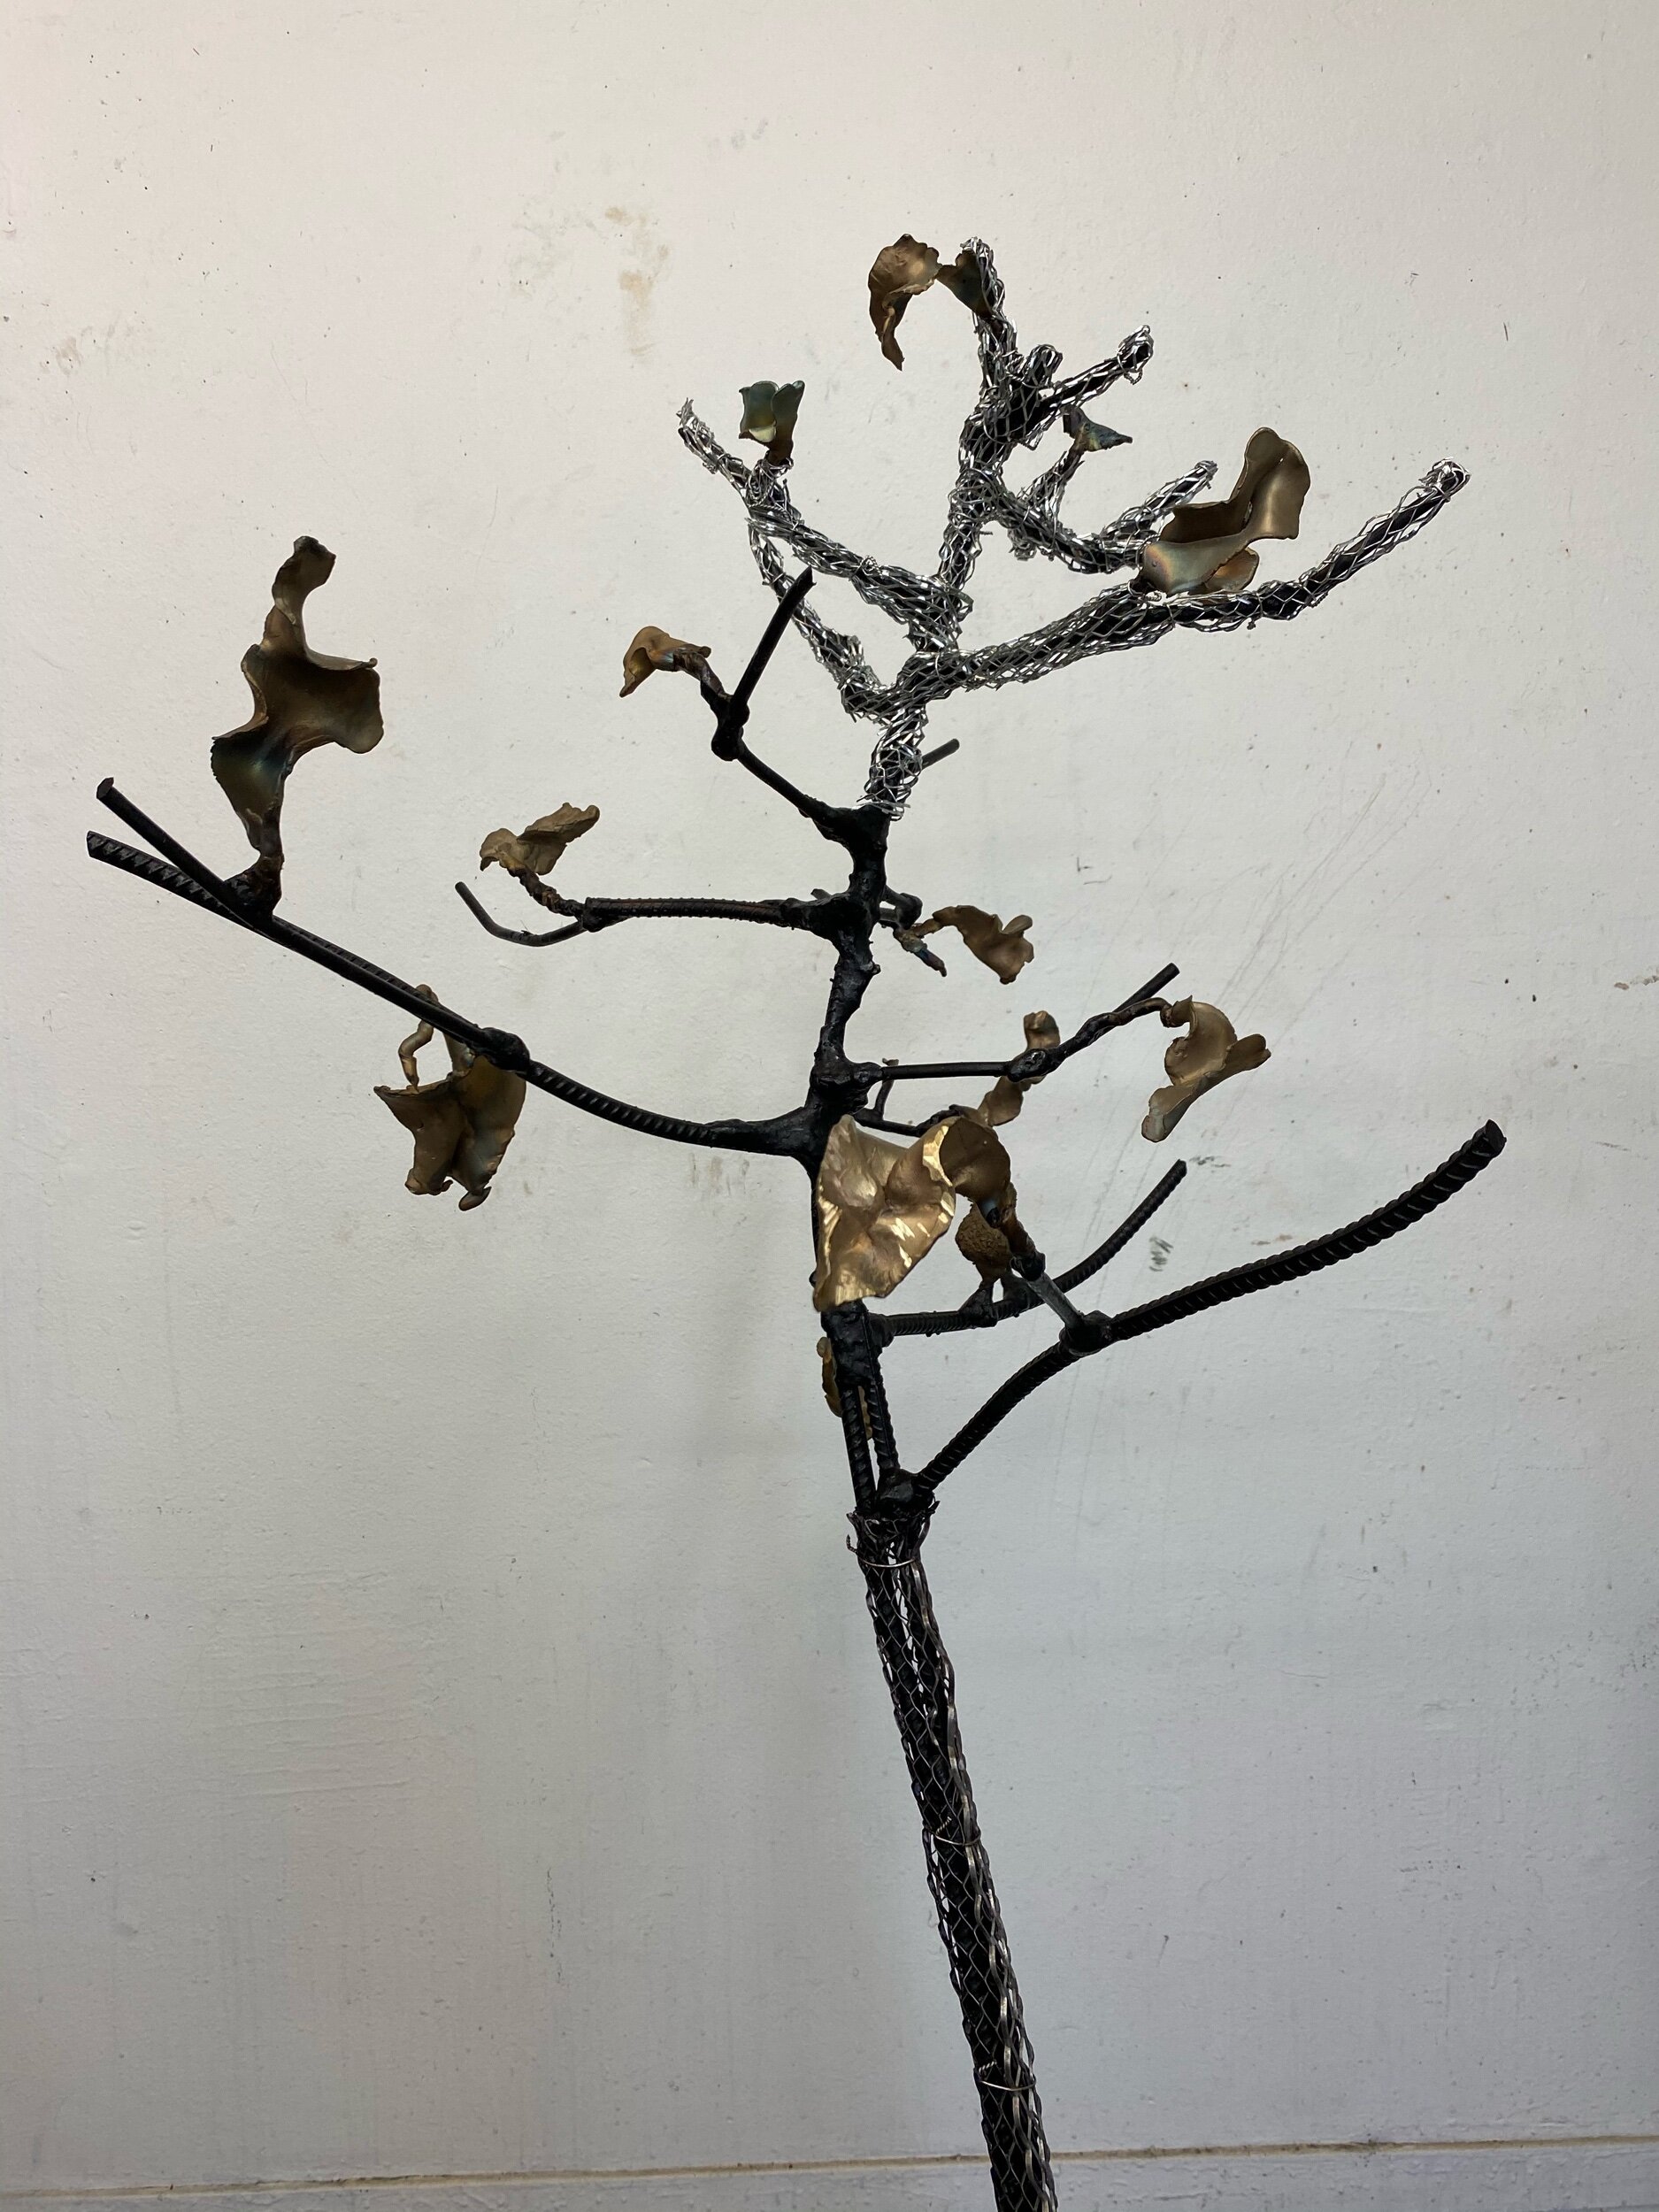
Moving Forward consists of two rectangular concrete curb fragments and two cast bronze roots, the latter with gold-leaf patinas. These objects are tethered like irregular beads strung on a wire of rusty rebar falling to the earth.

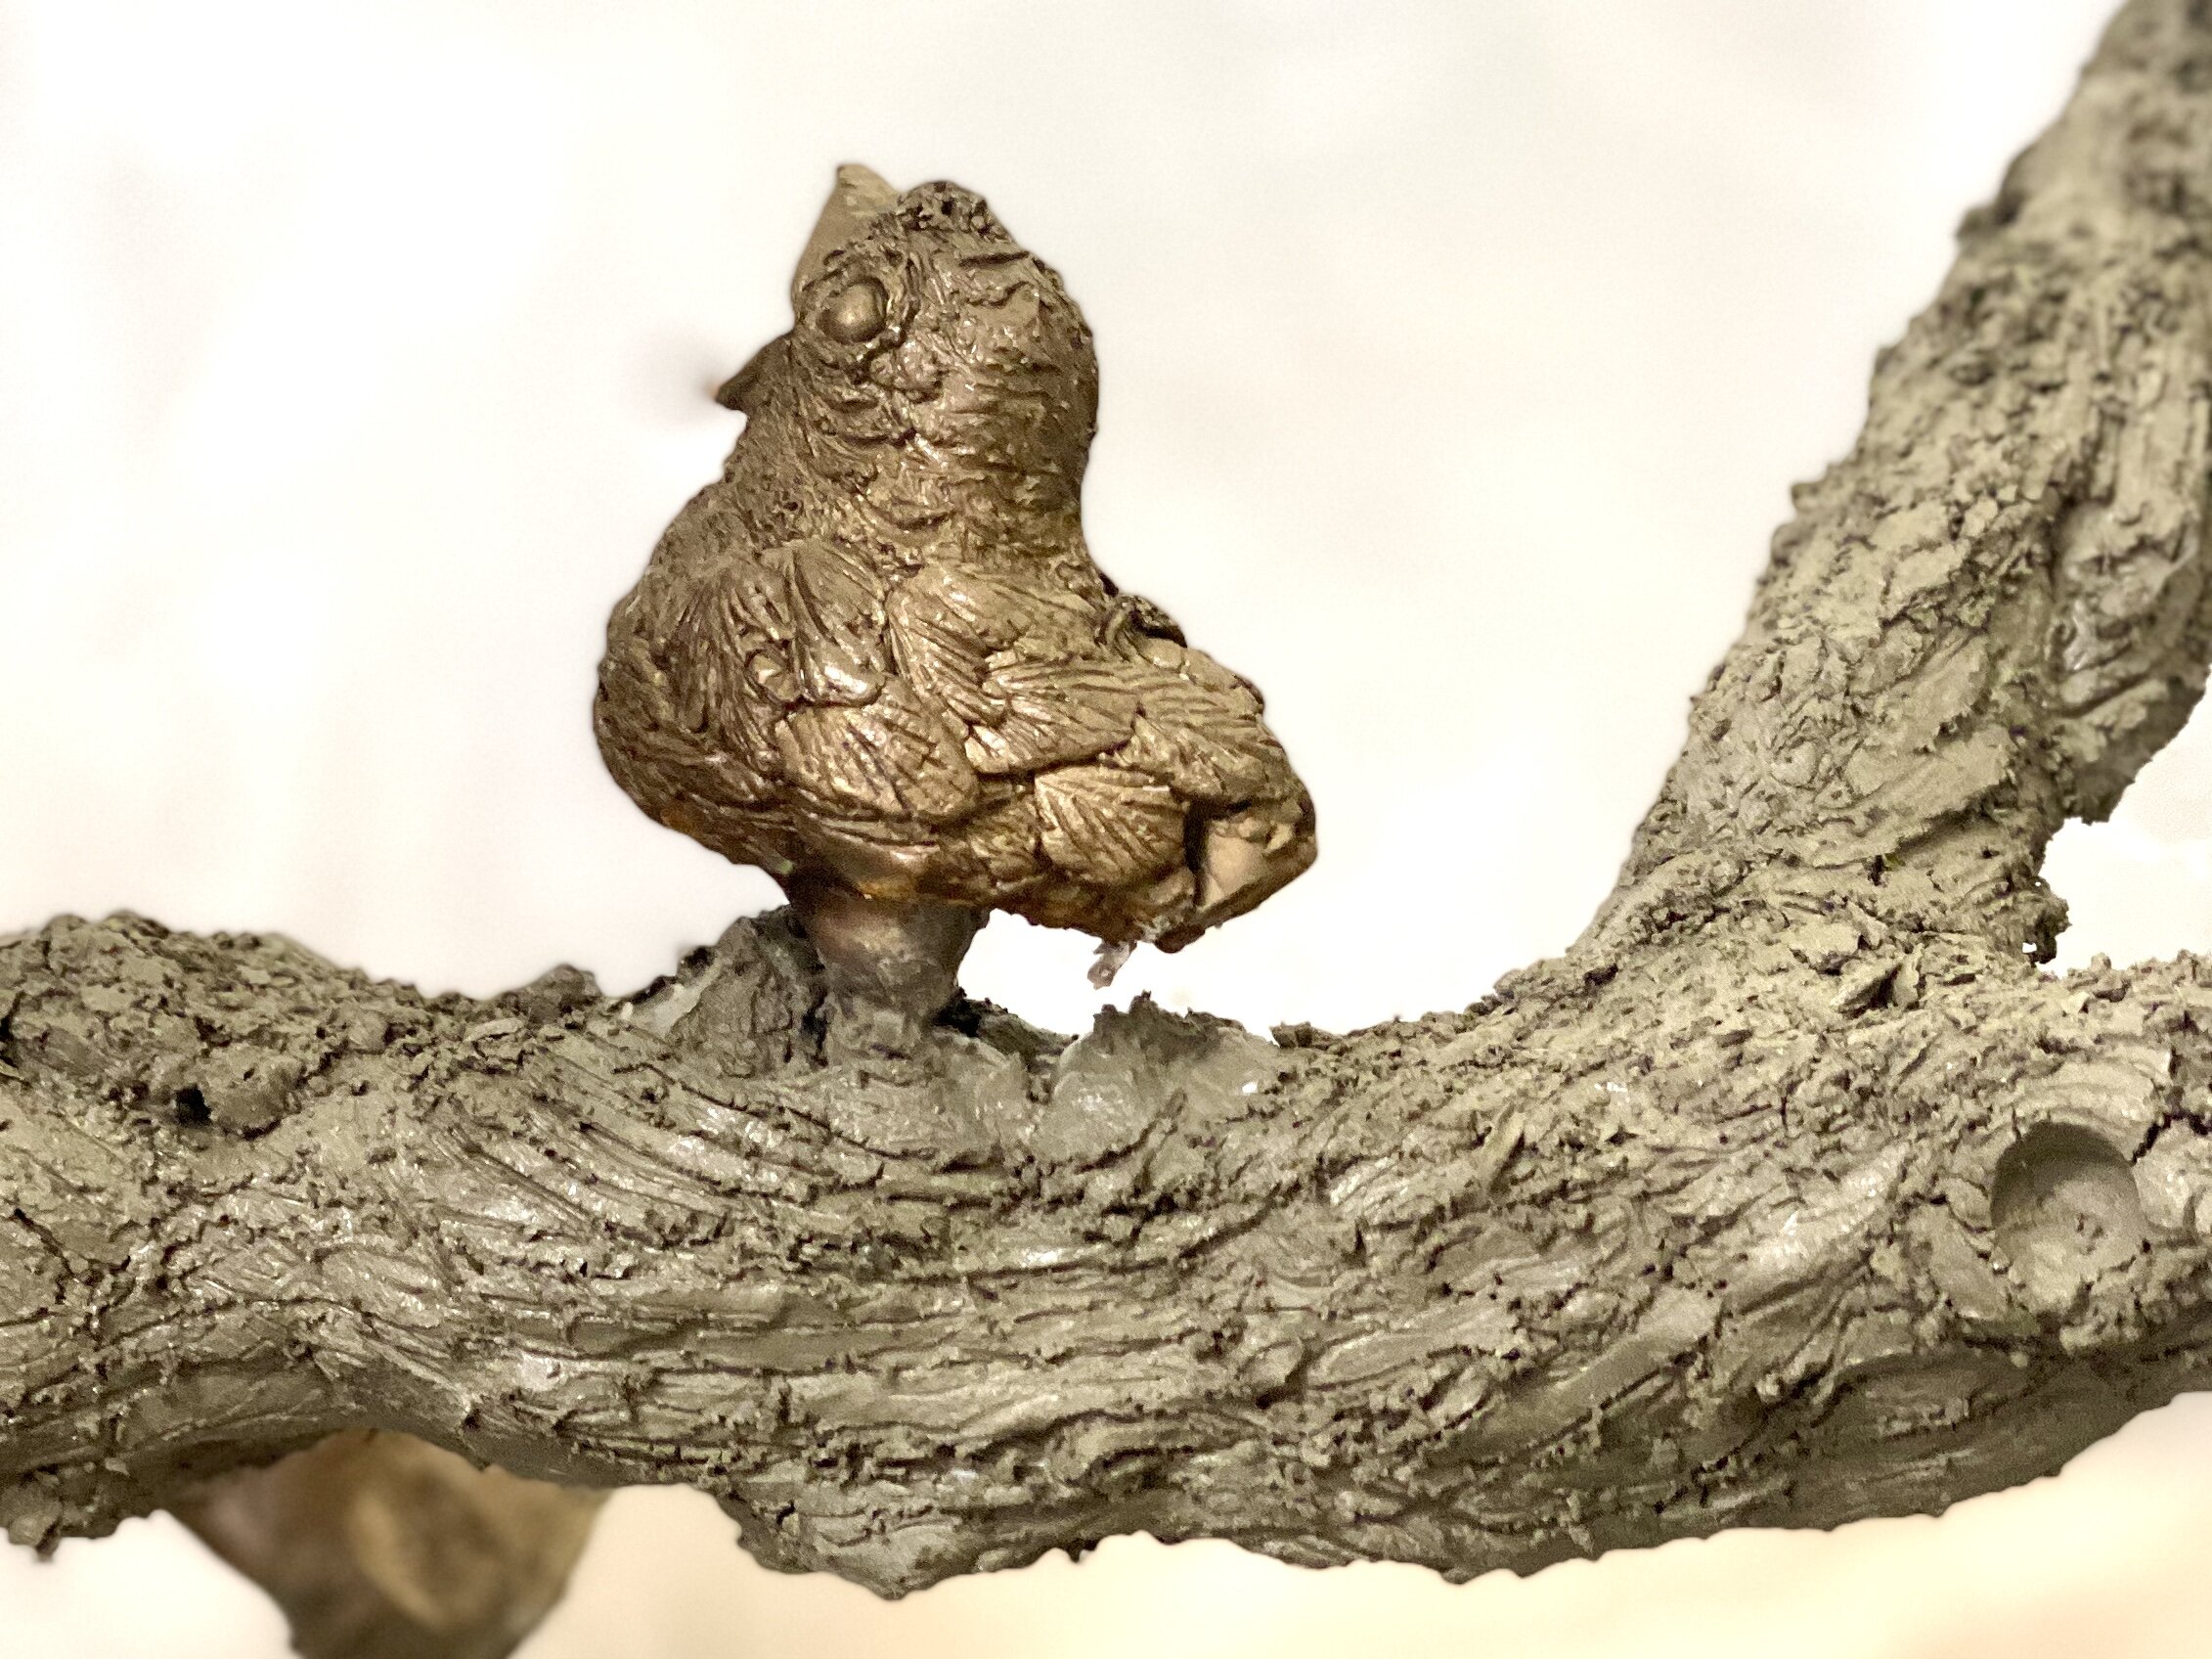
The fractured concrete and the more extensive root land at the forefront in a forward strutting anthropomorphic structure. Growing behind the long-necked bird-like form, a stem of rebar twice the creature's height reaches for sunlight. The meandering stem is counterbalanced with the smaller root in a lyrical passed sunflower shape.

The weighted composition invites viewers to reimagine the relationship between our engineered landscapes and ecological systems to support wildlife and forge a path toward a regenerative future.

Sapling #7 - lath, 1st coat and second coat. (Copy)

My daughter special requested this piece. She asked if I could make her a sapling. My response was I could try, but the pencil size steel limits how thin I can make the tree limbs. Long story short, the sapling grew old fast. After the first coat the sapling limbs we're no longer sapling thin.

Covered in lath

Covered in lath

Keeping an eye on my mix

Keeping an eye on my mix

The first coat - the bronze leaves are covered in green plastic to protect them.

The first coat - the bronze leaves are covered in green plastic to protect them.

First, I paint on the bonding liquid.

First, I paint on the bonding liquid.

The piece is now ready for coat number 2.

The piece is now ready for coat number 2.

Coat number 2 ✅

Coat number 2 ✅

Here is the image edited super light in order to show the texture.

Here is the image edited super light in order to show the texture.

More details

More details

Detail of upper branches

Detail of upper branches

A little more concrete need under the bird.

A little more concrete need under the bird.

Detail of trunk

Detail of trunk

The lower trunk and base.

The lower trunk and base.

The abundance of knots is evidence that this tree is the host of many insects and good bacteria. Bees and other insects use trees for nesting and receive antiviral properties from the fungus and bacteria that grow on the tree.

Sapling #6 - restore and lath

The only good thing about quarantine is it provides time to finish projects. I need to get my welding area cleared of these faux bois pieces.

Today I am starting back on the faux bois sapling. It has bronze leaves and 1 bronze bird. It is a special request for my daughter Sage. I started it two years ago and had exhibitions that came up that interfered with my completion. Oops-

She is now engaged to be married during the pandemic June 12, 2020. This is little sapling will now for both Sage and Cameron.

I put protective coverings over the bronze pieces.

I put protective coverings over the bronze pieces.

My assistant Tobi is ready to help.- sarcasm

My assistant Tobi is ready to help.- sarcasm

Here I am painting restore on the steel. Restore prevents it from rusting.

Here I am painting restore on the steel. Restore prevents it from rusting.

When you pour it is pink, it turns purple on the steel.

When you pour it is pink, it turns purple on the steel.

purple and bubbles.

purple and bubbles.

After the restore dried I started attaching the lath

After the restore dried I started attaching the lath

The lath th is sharp like a razor blade.wearing protective arm wear, I cut strips of the lath and attach it to the steel with stainless steel wire with airplane safety pliers. The lath can not wiggle. The concrete liquifies with movement so the lath has to be tight and firm.

Sapling #7 - lath, 1st coat and second coat.

My daughter special requested this piece. She asked if I could make her a sapling. My response was I could try, but the pencil size steel limits how thin I can make the tree limbs. Long story short, the sapling grew old fast. After the first coat the sapling limbs we're no longer sapling thin.

Covered in lath

Covered in lath

Keeping an eye on my mix

Keeping an eye on my mix

The first coat - the bronze leaves are covered in green plastic to protect them.

The first coat - the bronze leaves are covered in green plastic to protect them.

First, I paint on the bonding liquid.

First, I paint on the bonding liquid.

The piece is now ready for coat number 2.

The piece is now ready for coat number 2.

Coat number 2 ✅

Coat number 2 ✅

Here is the image edited super light in order to show the texture.

Here is the image edited super light in order to show the texture.

More details

More details

Detail of upper branches

Detail of upper branches

A little more concrete need under the bird.

A little more concrete need under the bird.

Detail of trunk

Detail of trunk

The lower trunk and base.

The lower trunk and base.

The abundance of knots is evidence that this tree is the host of many insects and good bacteria. Bees and other insects use trees for nesting and receive antiviral properties from the fungus and bacteria that grow on the tree.

“Score” #16 making it safe


January 11, 2018

This winter has had many events. All good events that have distracted me from working on this piece.

Today, I get back to work. 

Step 1- Right now, I am welding on it in my garage home studio. However, I will need to be able to get it into the doors at my Glassell studio when it is completed. The widest door opening is 34” maximum. I can go wider, but the depth will have to be within 34”.

My second concern is stability. Right now, it is stable and balances on its own, even with the wooden violin in the proper position. The energy of the music will project primarily forward. Since it is steel and concrete, it will be very heavy and has to balanced, even if accidentally pushed from any side. So, before I can do anything else, I have to widen the base in order to make it safe.

It is raining today, so I will cut a bunch of random lengths, grind the ends to a point inside. When it stops raining, I will take them outside where I bend them.

IMAGE.JPG

Rebar cut a variety of lengths.  


FullSizeRender.jpg

On a grinding wheel I grind both ends of each piece into a point.


IMAGE.JPG

I use this brace that is attached to the utility pole behind my garage to bend my rebar.  Sometimes I have the put all my weight on it to bend the  bar.  

I stick the rebar through the hole and bend it a little and keep sliding the bar and bending until I get a curve I like.  

IMAGE.JPG
IMAGE.JPG

And some times I take it out and stick the other end through and then bend it again.  


FullSizeRender.jpg
FullSizeRender.jpg

These are ar ready thank go.  


trying different ways to create a strong base  

trying different ways to create a strong base  

I use magnets to hold the rebar so I can stand back and look. These pieces are for stability but they can’t look like they ar for stability. If the position of the rebar works then I weld a tac to hold it so that I can then look at it without the red magnets. If I still like it I finish welding the two pieces securely.   

IMAGE.JPG

The red magnet holds the rebar so I can step back.  

FullSizeRender.jpg

These pieces are within the 34” and will keep the sculpture from falling forward if it is pushed from the back or from the weight I will be adding to the front. 


FullSizeRender.jpg

I am feeling uncertain about what I am doing so I am going to stop for now so that I can look at it tomorrow with a fresh eye.


“ Score” #12 armature/fingers to hold the violin.

IMG_6562.JPG

Here is a pattern I made to Help me gauge how big each finger section should be. 


IMG_6564.JPG

Here I have tacked the first and second joints.  

Once I decide if I like the placement of each joint then I will strengthen the welds.   

FullSizeRender.jpg

The fingers on both hands seem to be ok. Hopefully when the lath and concrete are added I will still be happy. 

“Score” post #10 right arm

I have attached the right upper and forearm, hopefully in the right place. I am welding the armature for the concrete part of the sculpture. Attached to this armature will be the metal lath that the concrete rest on and the additional wire that will extend outside of the Concrete showing the energy of the music created by the violinist. I see the violinist as a pedestal for the sculpture. A very specific pedestal. 

FullSizeRender.jpg

Right arm and torso

FullSizeRender.jpg

front view 

FullSizeRender.jpg

View or right side

FullSizeRender.jpg

View from back  

FullSizeRender.jpg

Left side  


the bayling wire head head is a stand in. It was laying in my studio.