Things are now going smoothly maybe too smoothly. All the work I did this summer is paying off.
Your Custom Text Here
Things are now going smoothly maybe too smoothly. All the work I did this summer is paying off.

Close up of support system
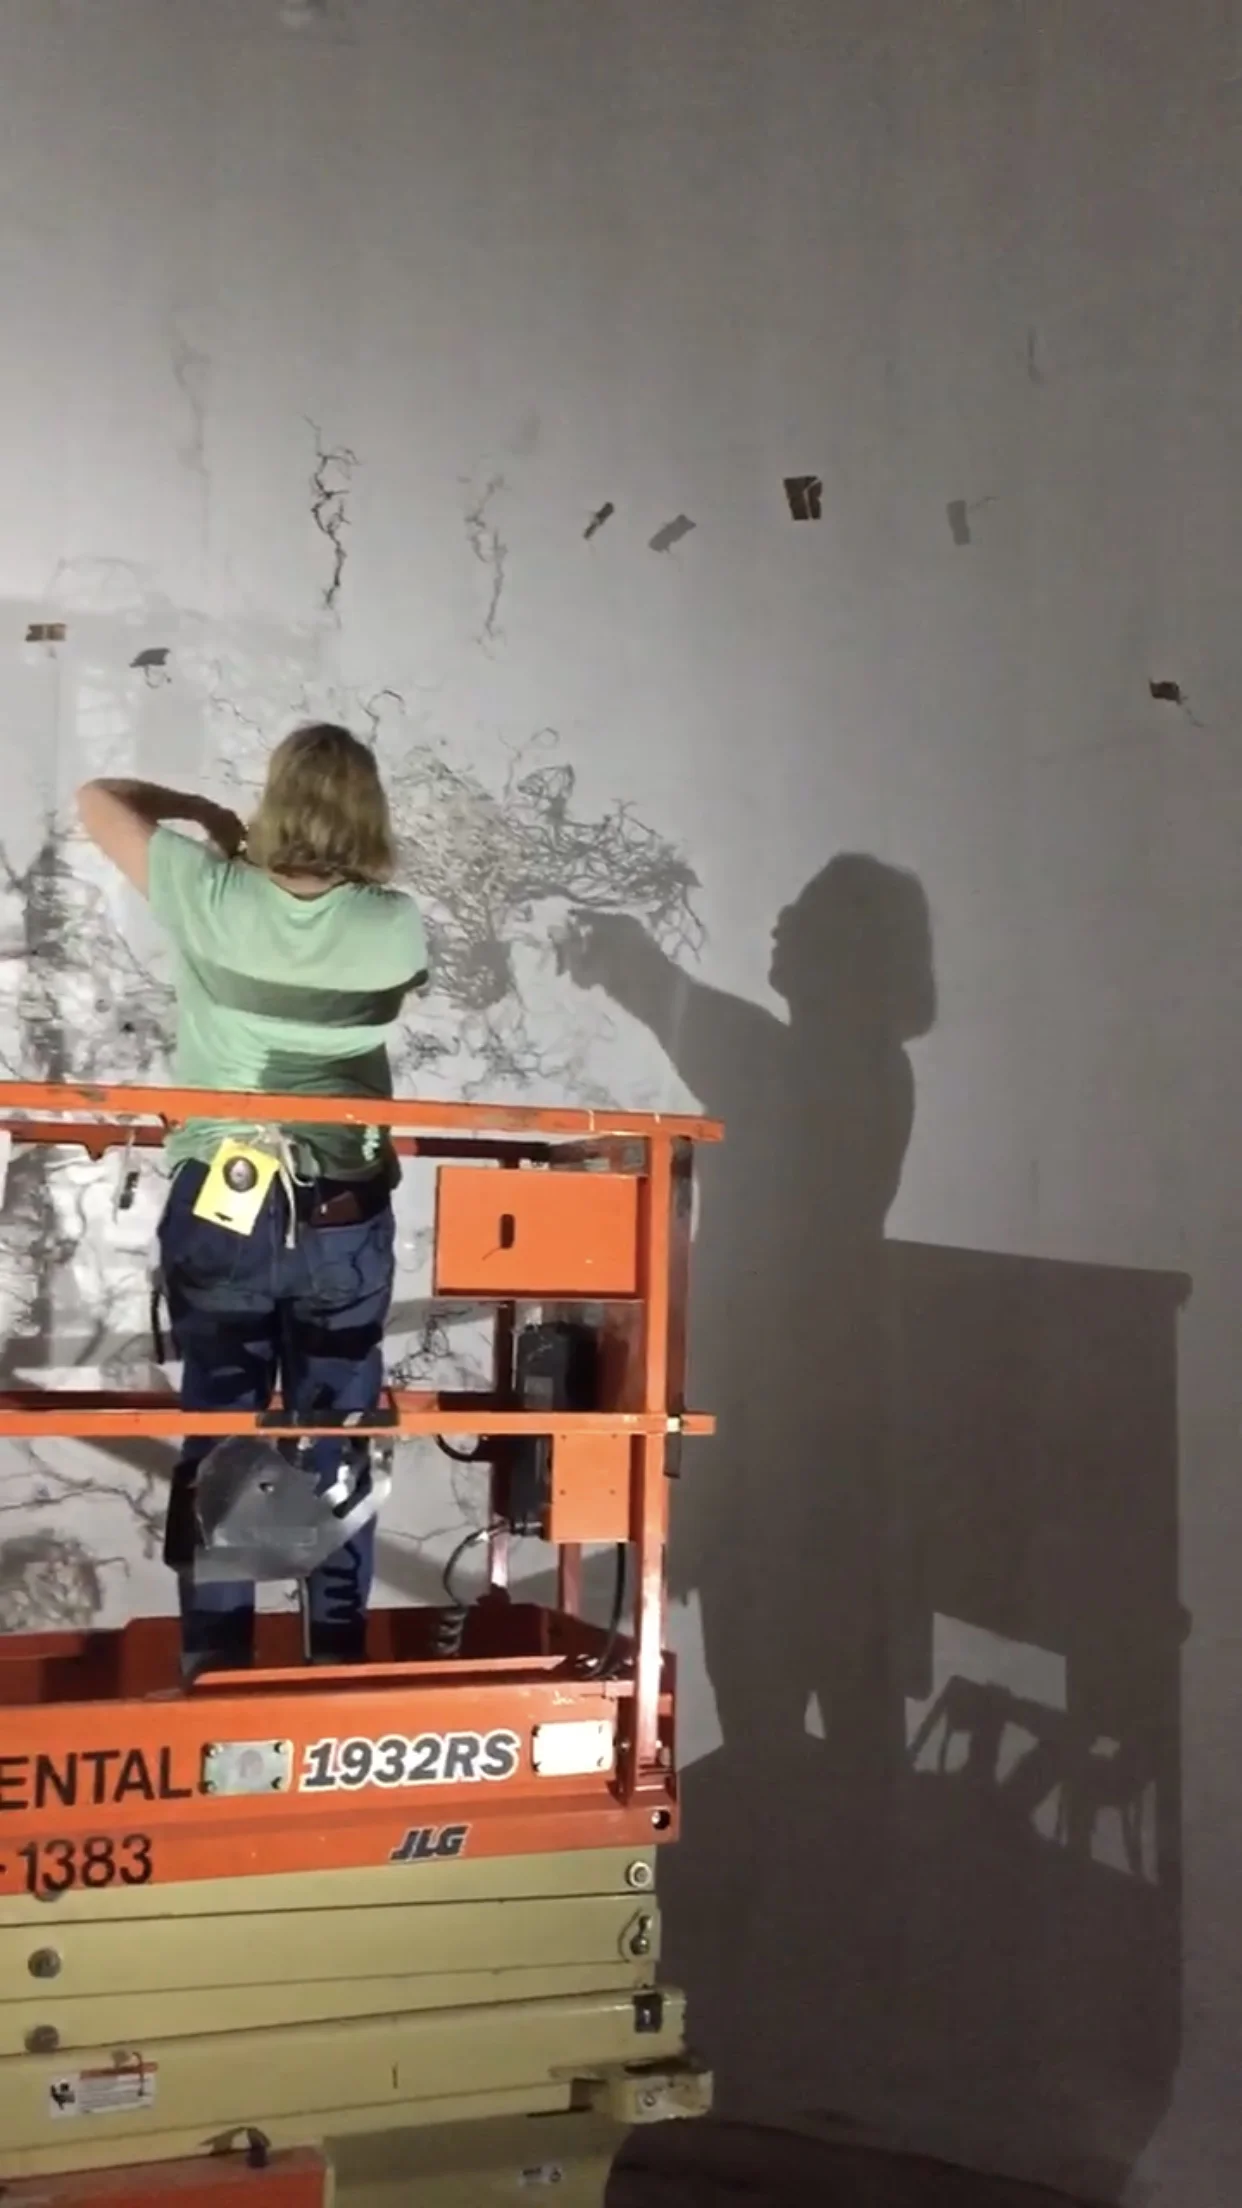
The moment I got off the scissor lift and looked up at my support system, I realized I had made a big mistake. I should have painted them white. The black stood out too much on the white walls. I could not sleep that night trying to decide if I should repaint them... It was not easy, but I spent the next half day painting the system 19’ in the air white.
I think it was worth it, the support system is much less intrusive.
I hung from the support system 8 fishing tackle swivels with 25 lb filament attached to each swivel. Four of the swivels are 36” apart 18” from the wall. At these distances the pieces will not touch each other or the wall. Everything should move independently. These are for the big pieces. The other swivels are for smaller pieces and are spaced randomly. I am guesstimating where I want these. Tomorrow I will start hanging work.
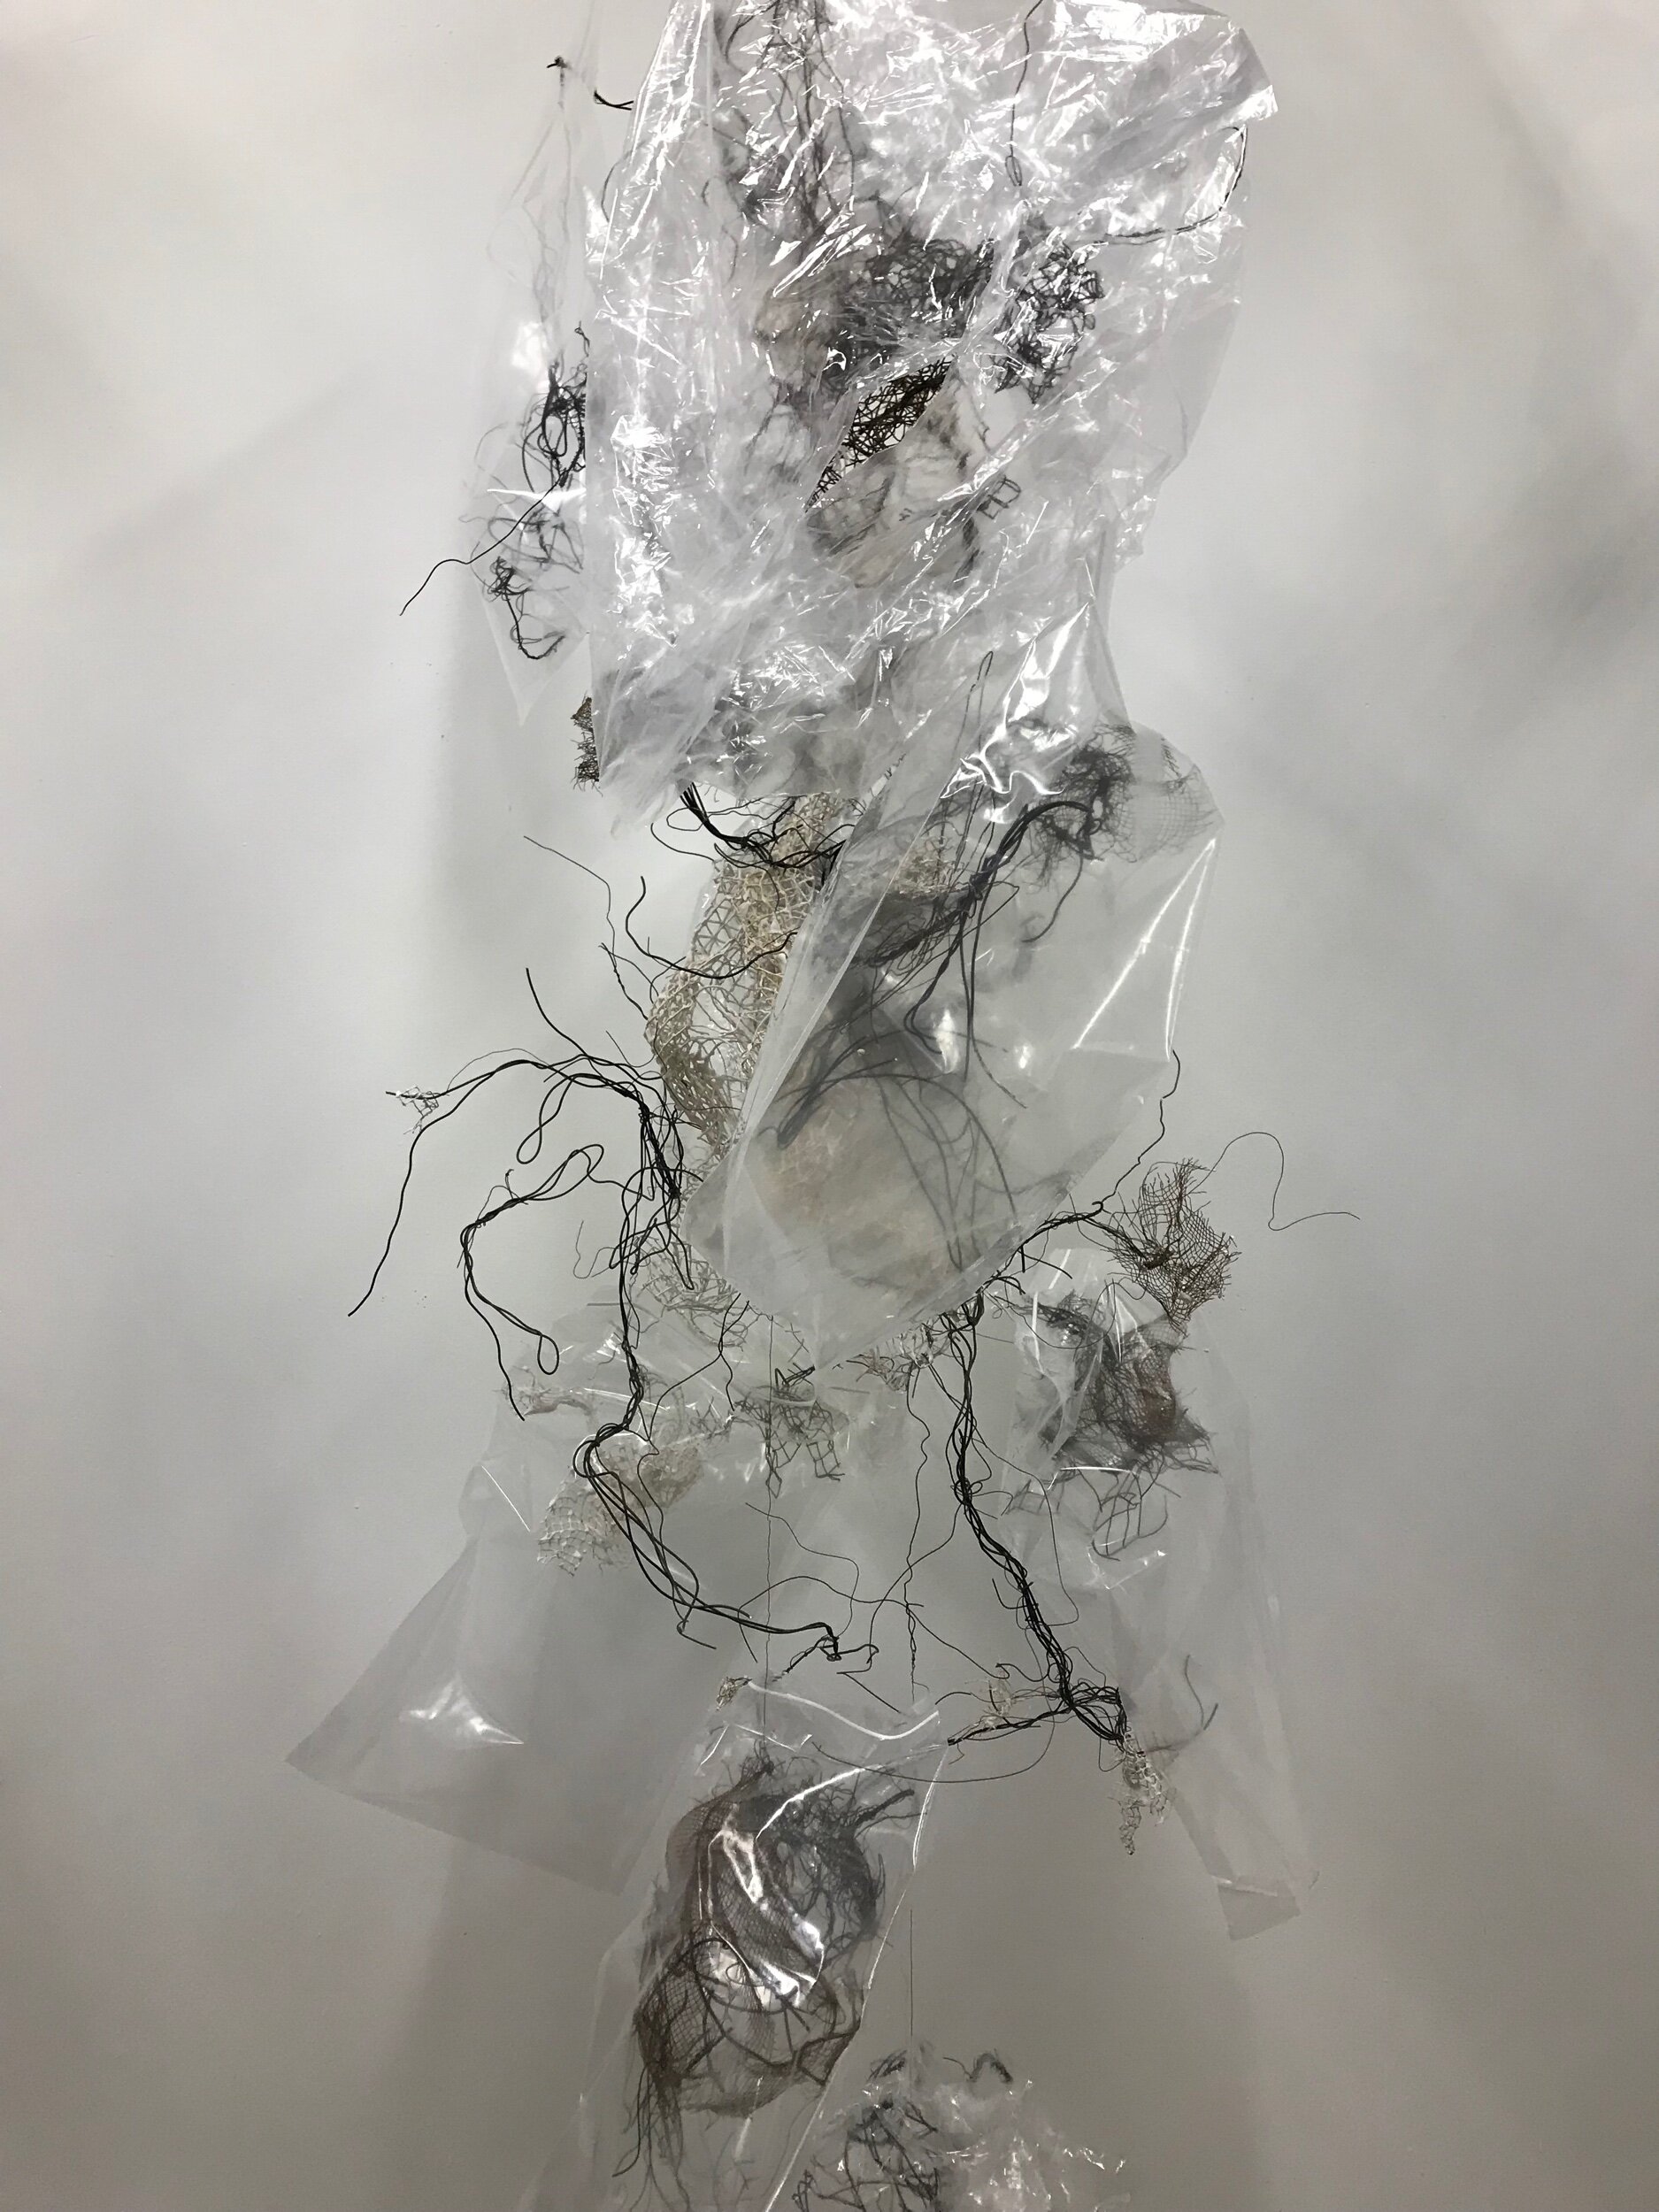
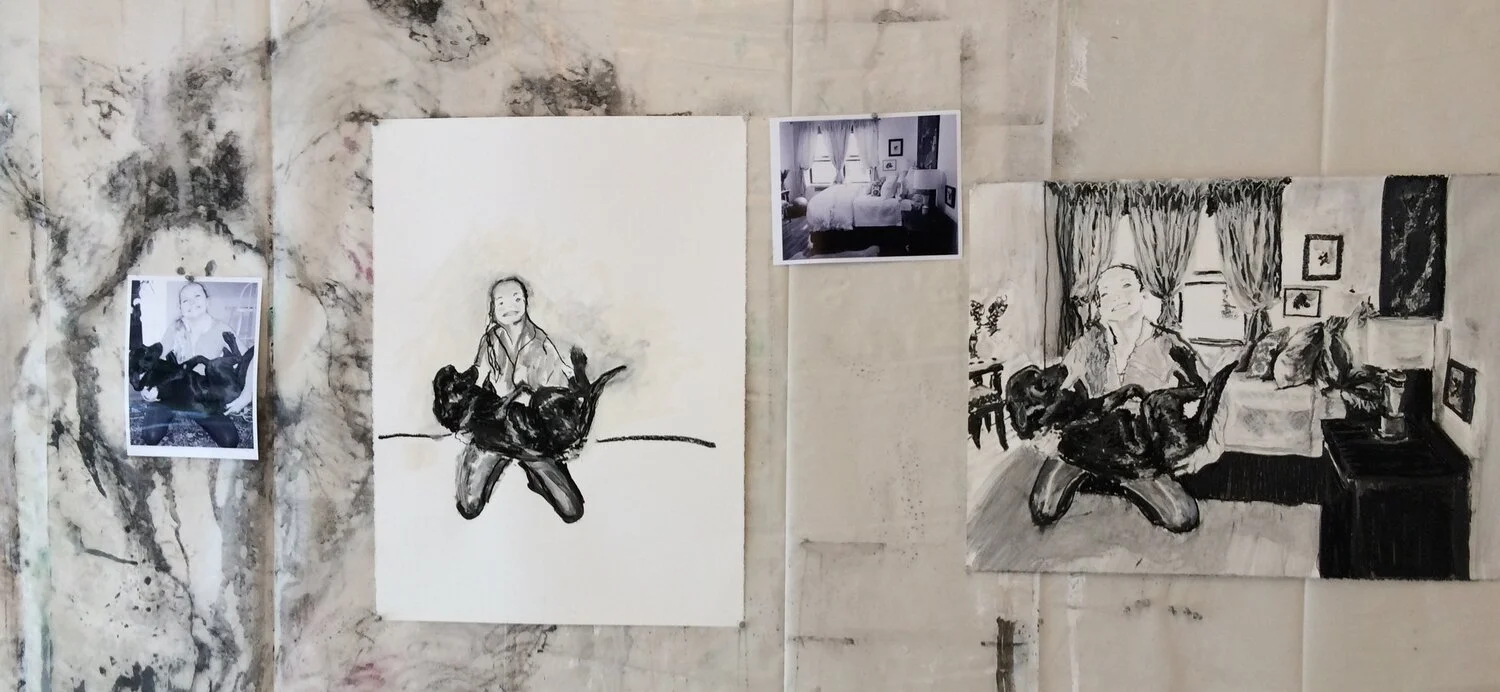
Each small element bagged separately making bouquet of bee cocoons
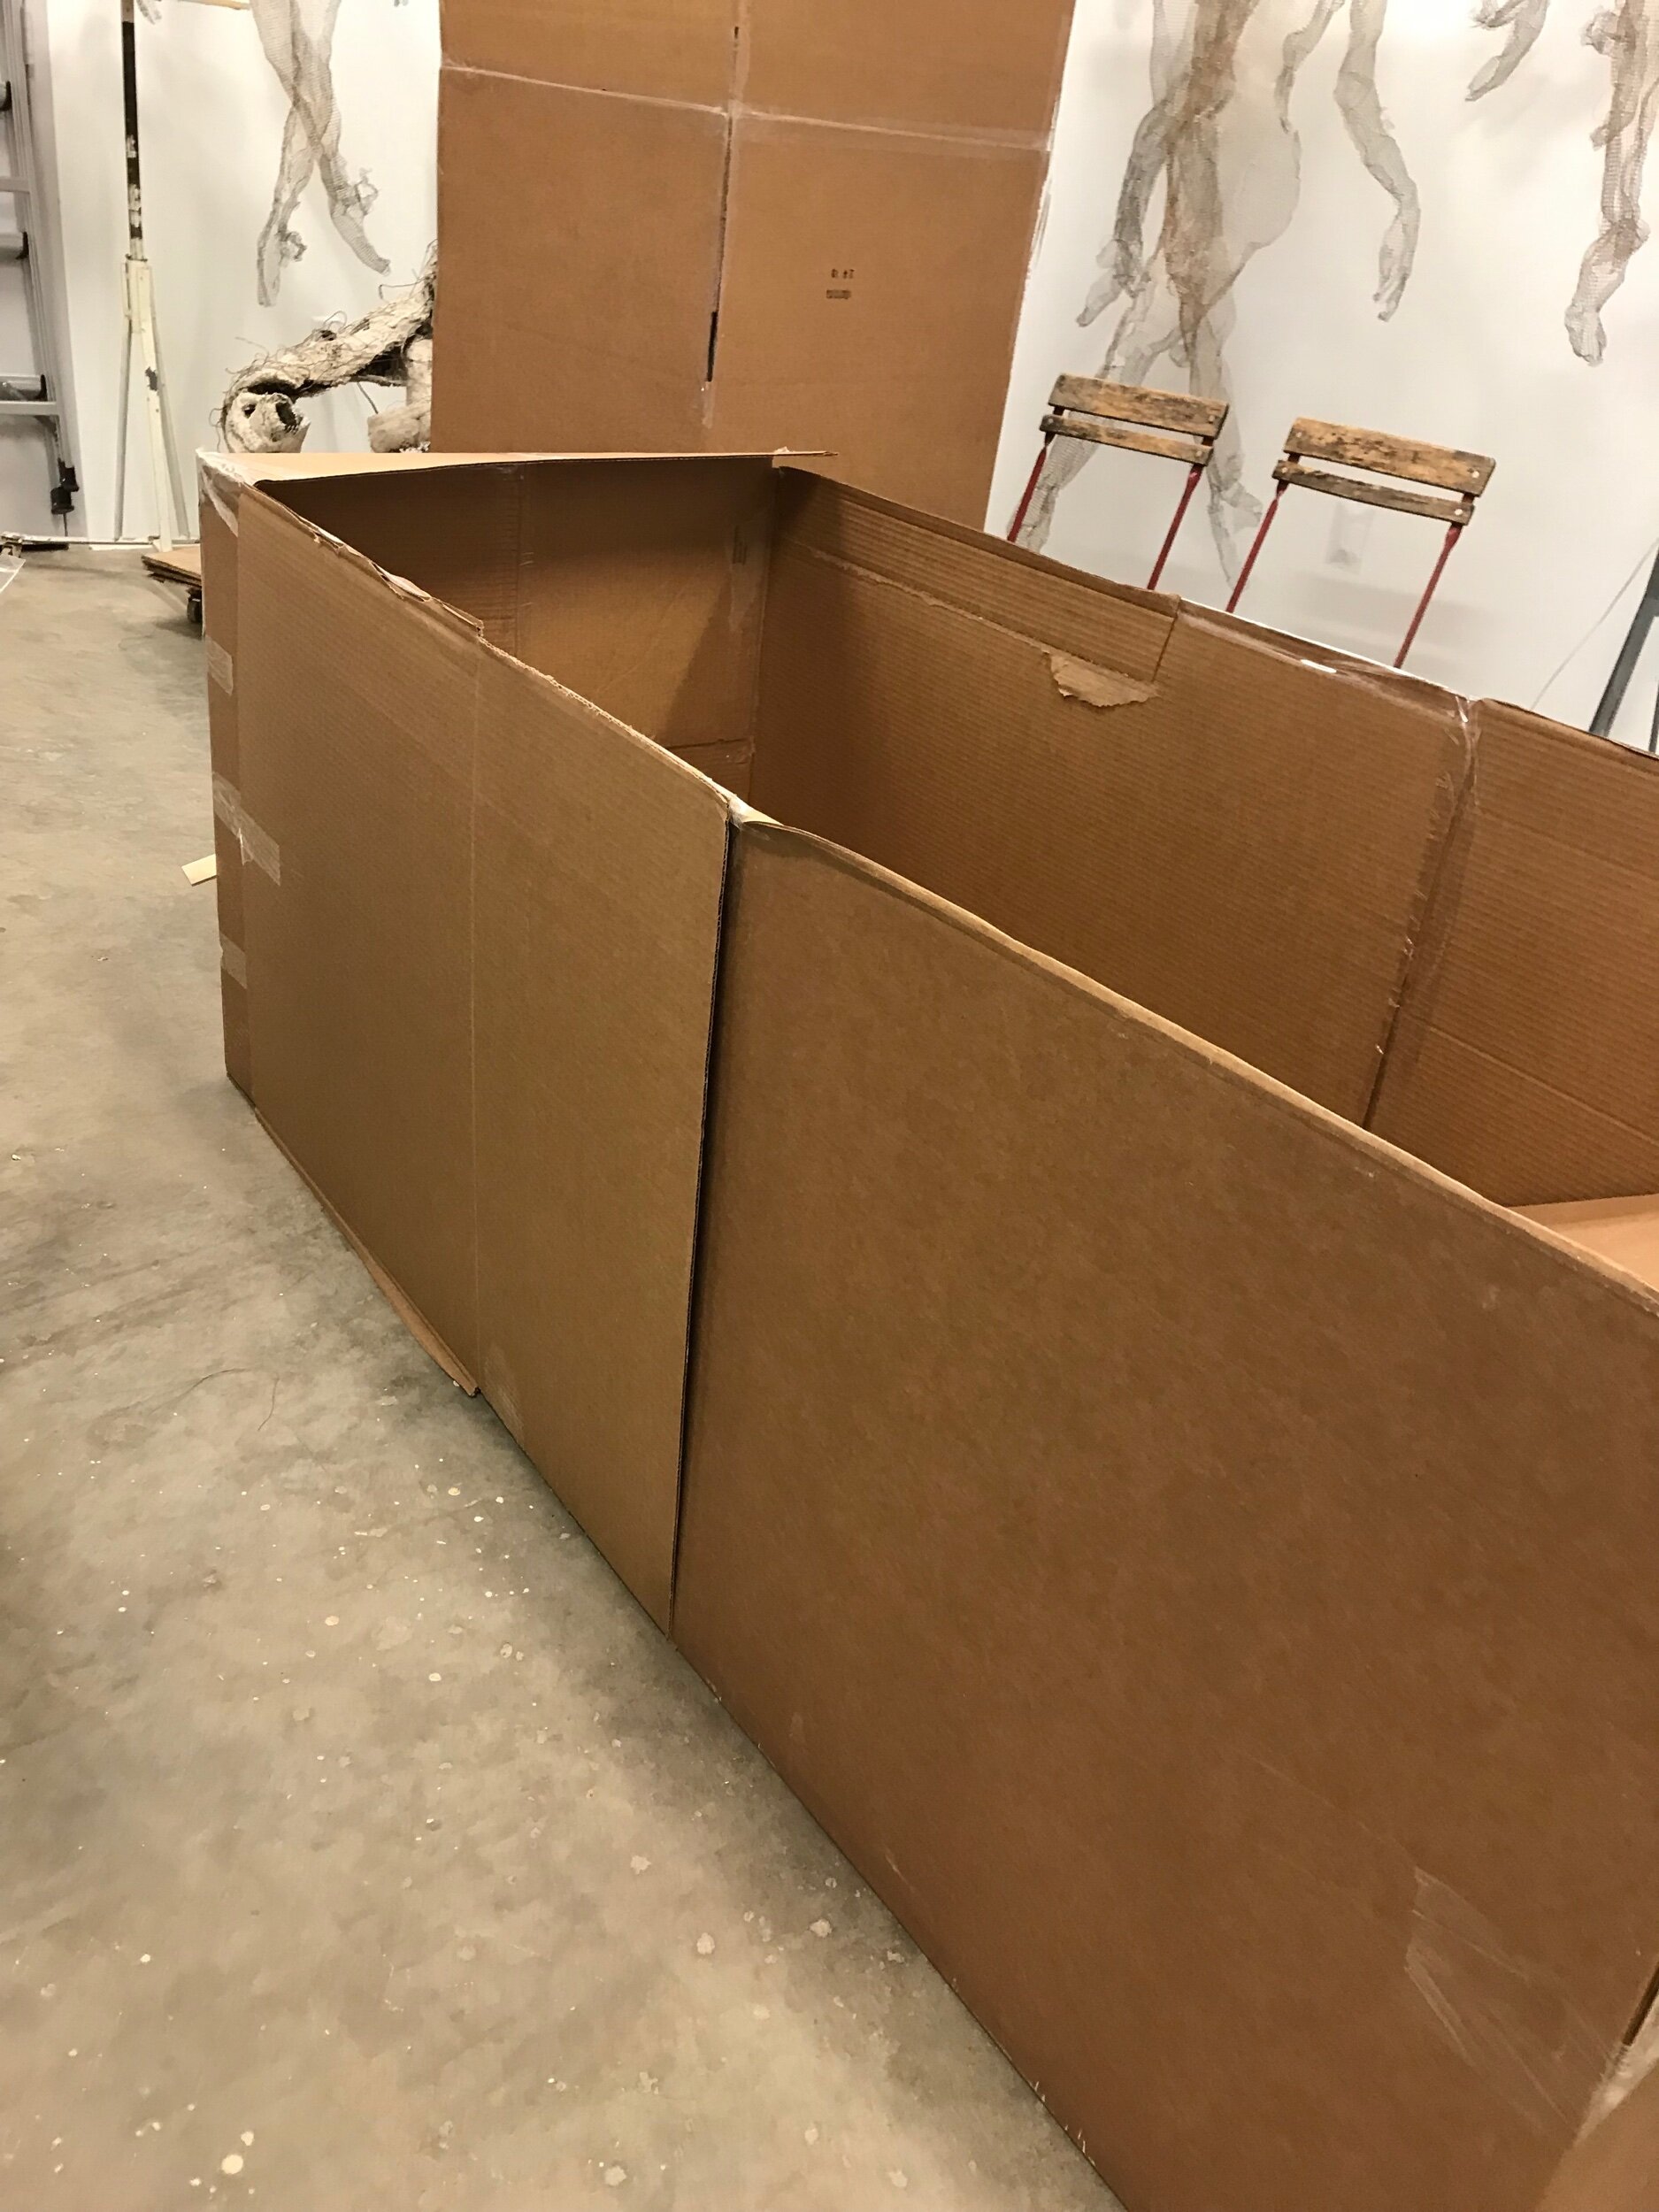
Making my own wardrobe style boxes.
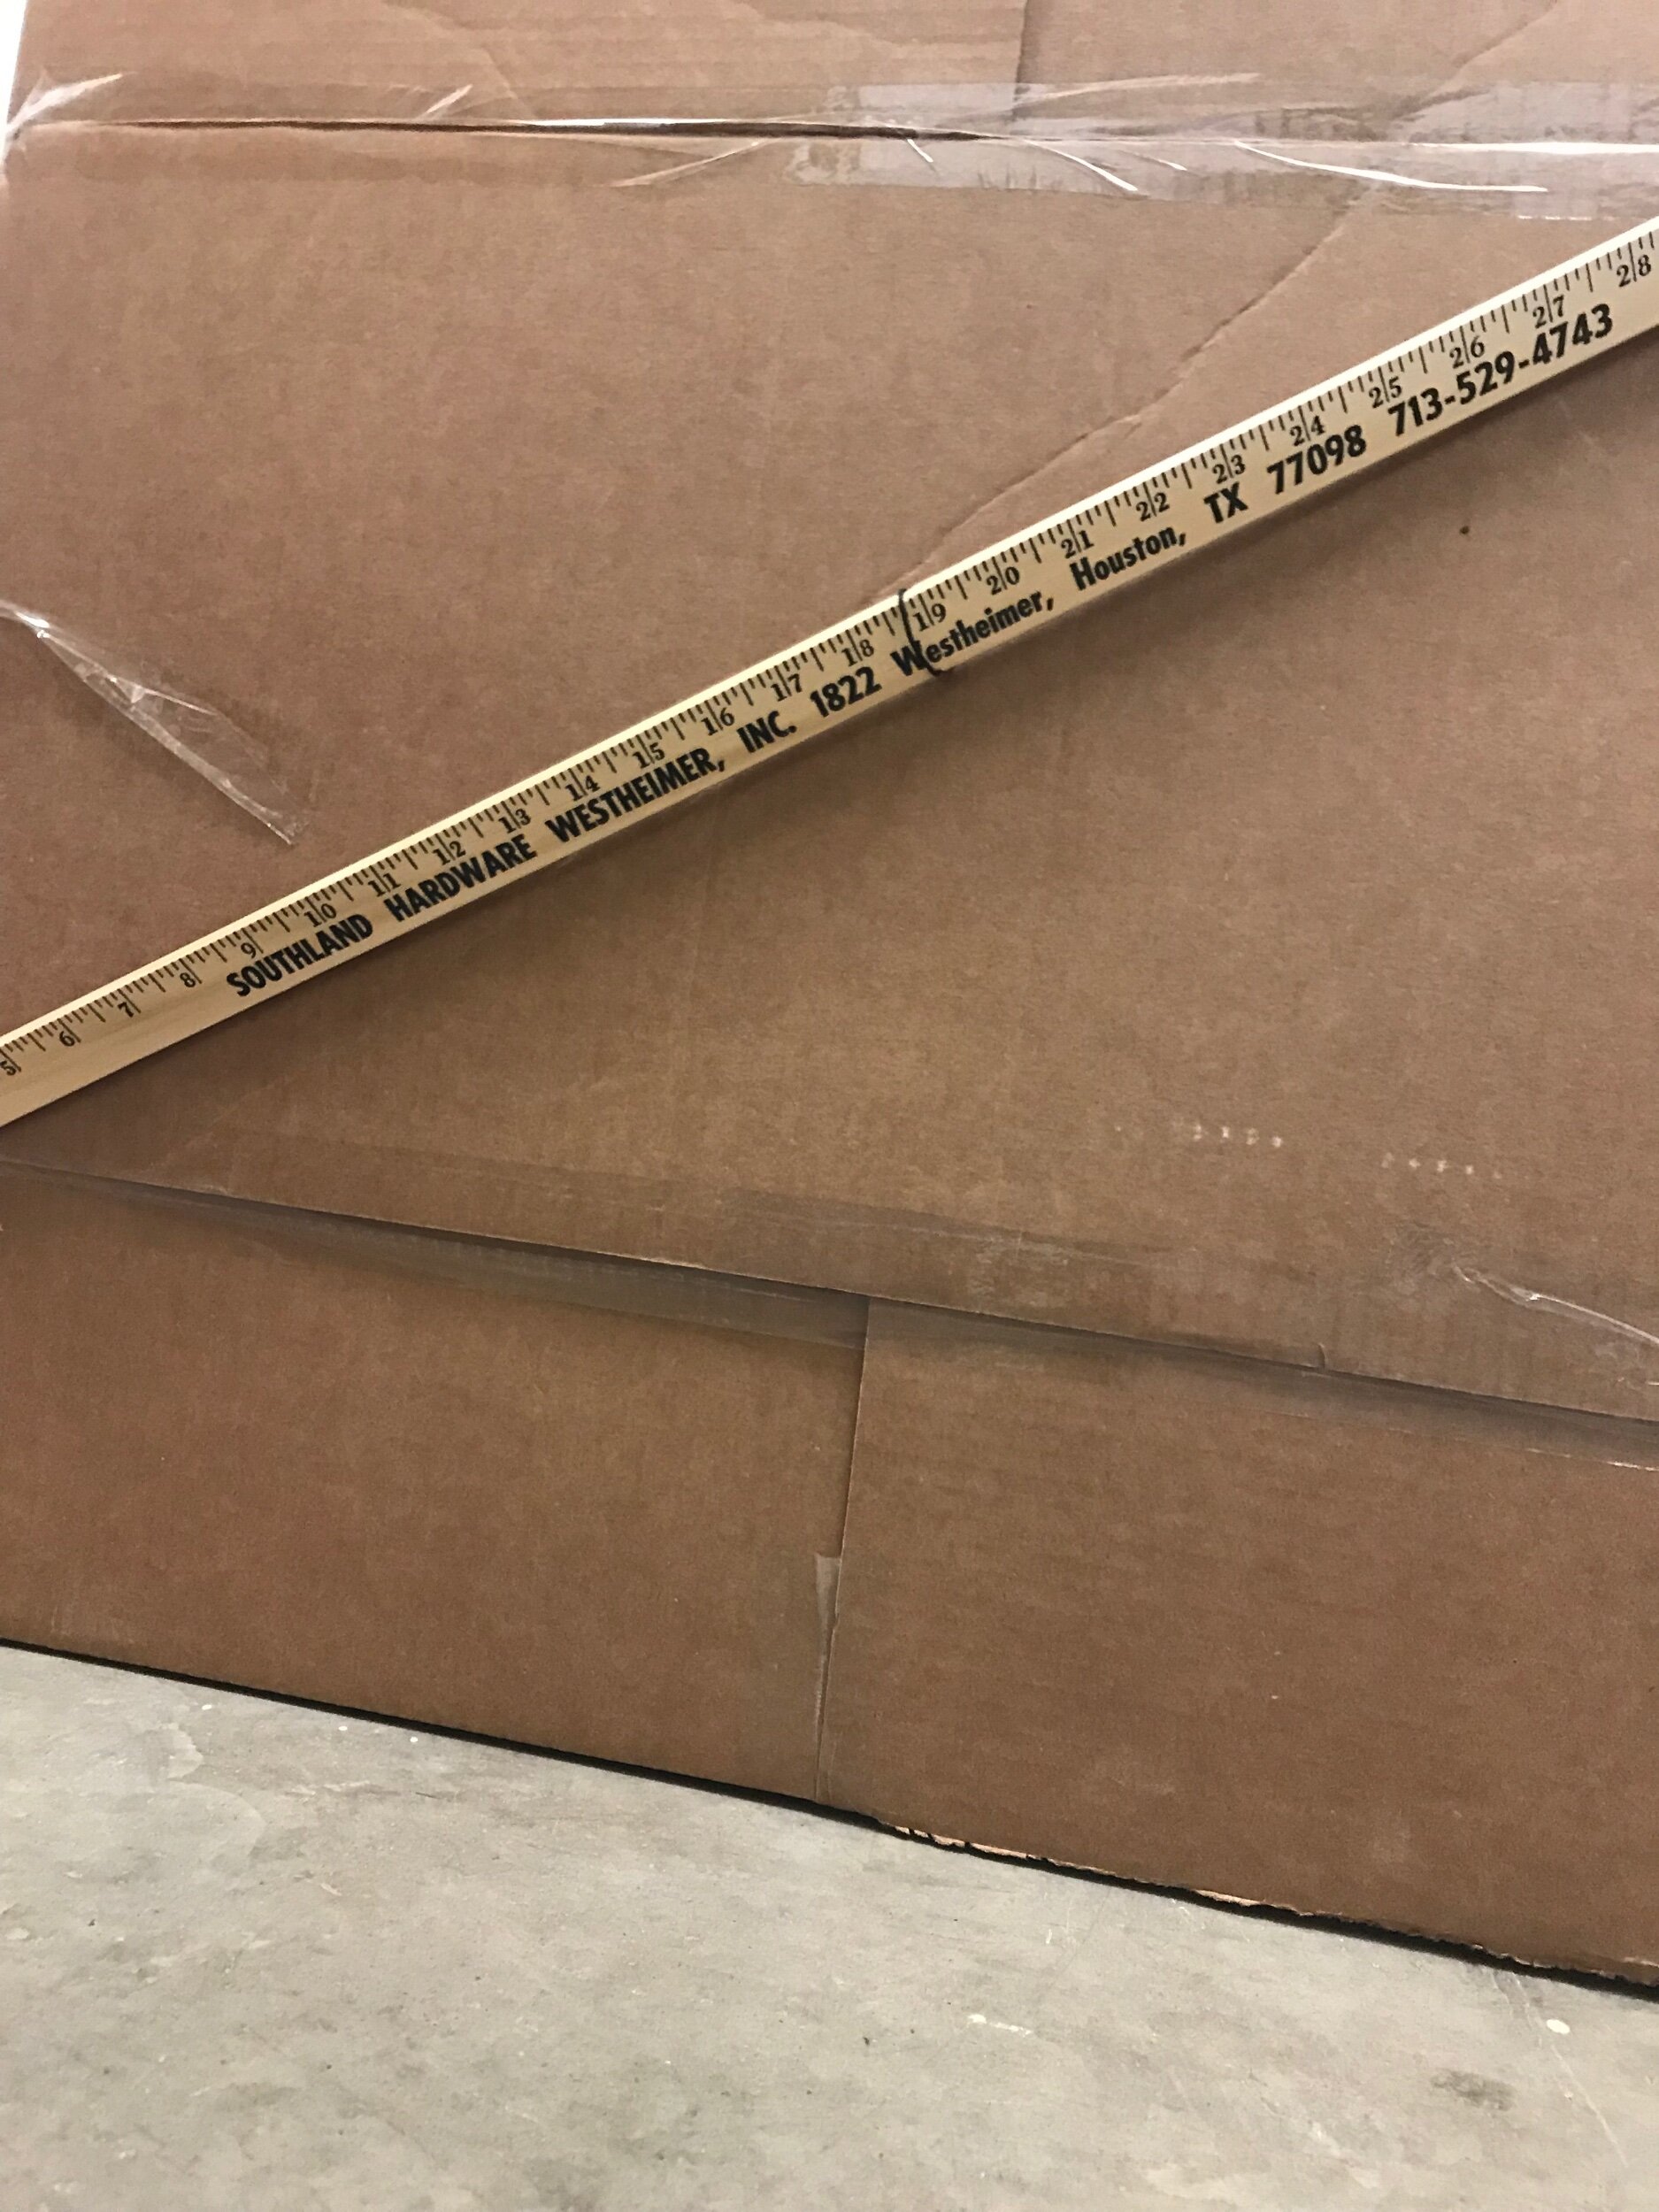
My pieces hang from the top of the boxes. I needed something to support the top of the box. Southland hardware yard sticks were the cheapest thing I could find. I think they will work.
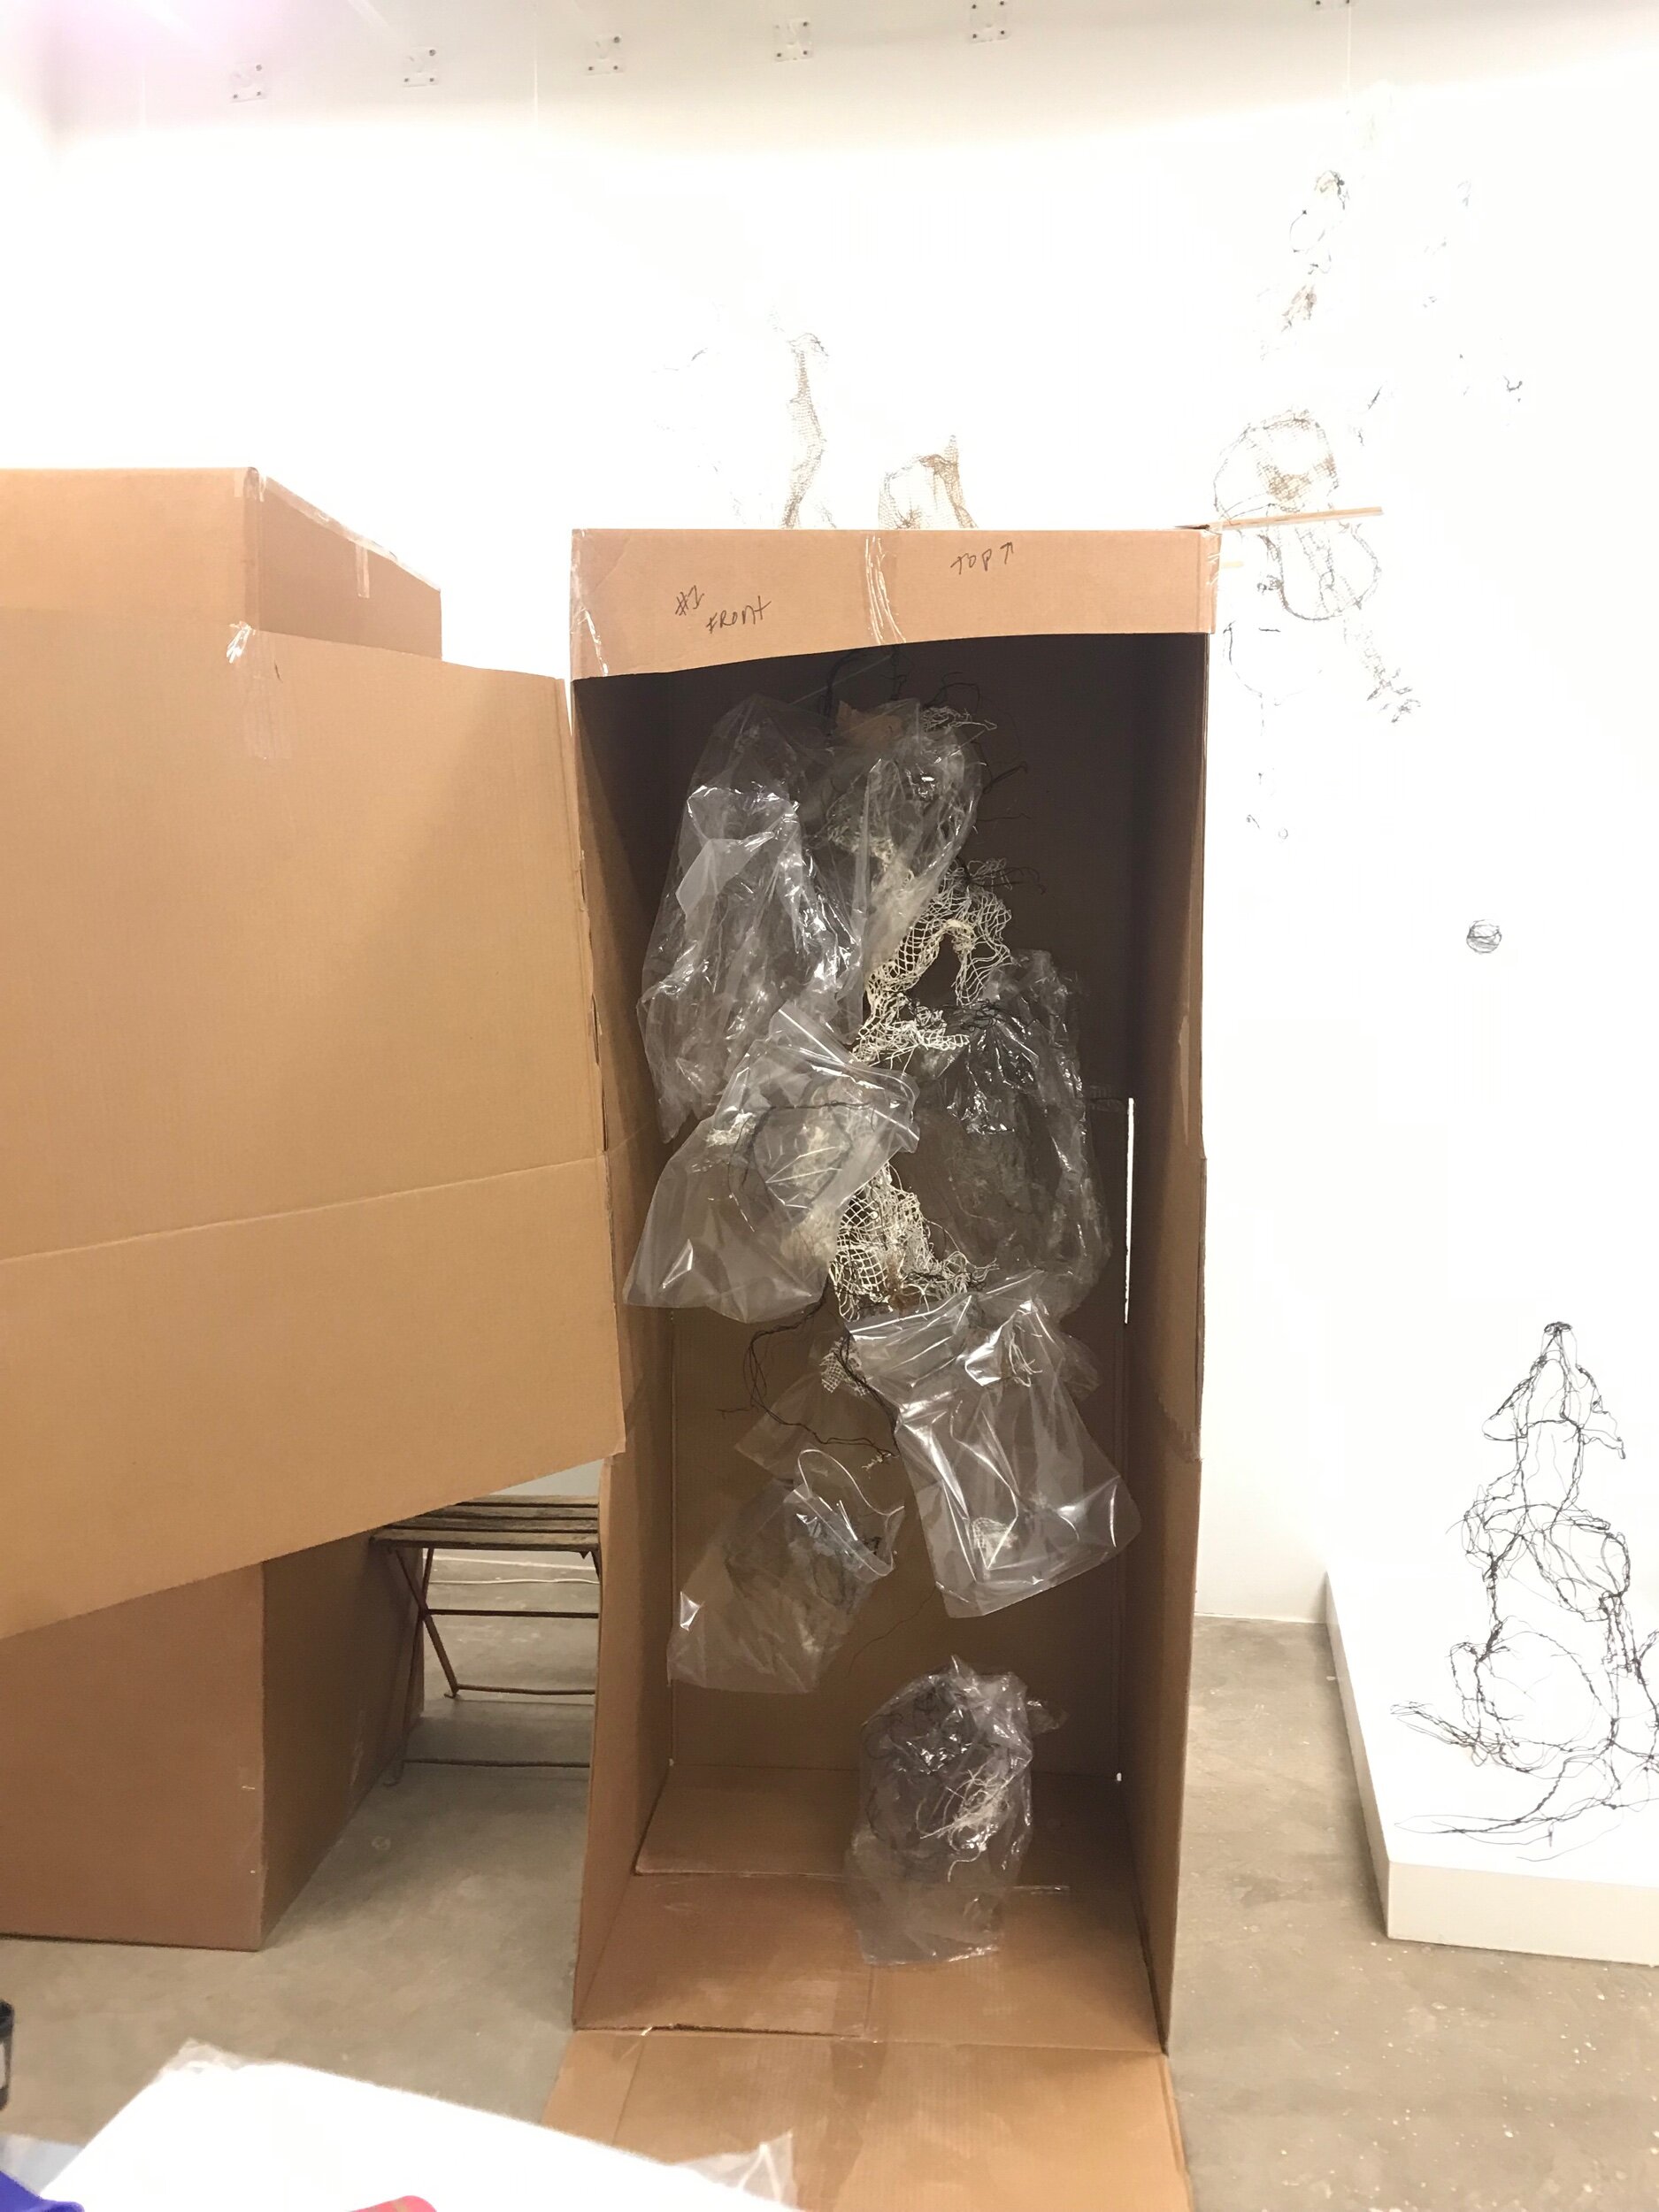
My sculpture wardrobe boxes have doors.
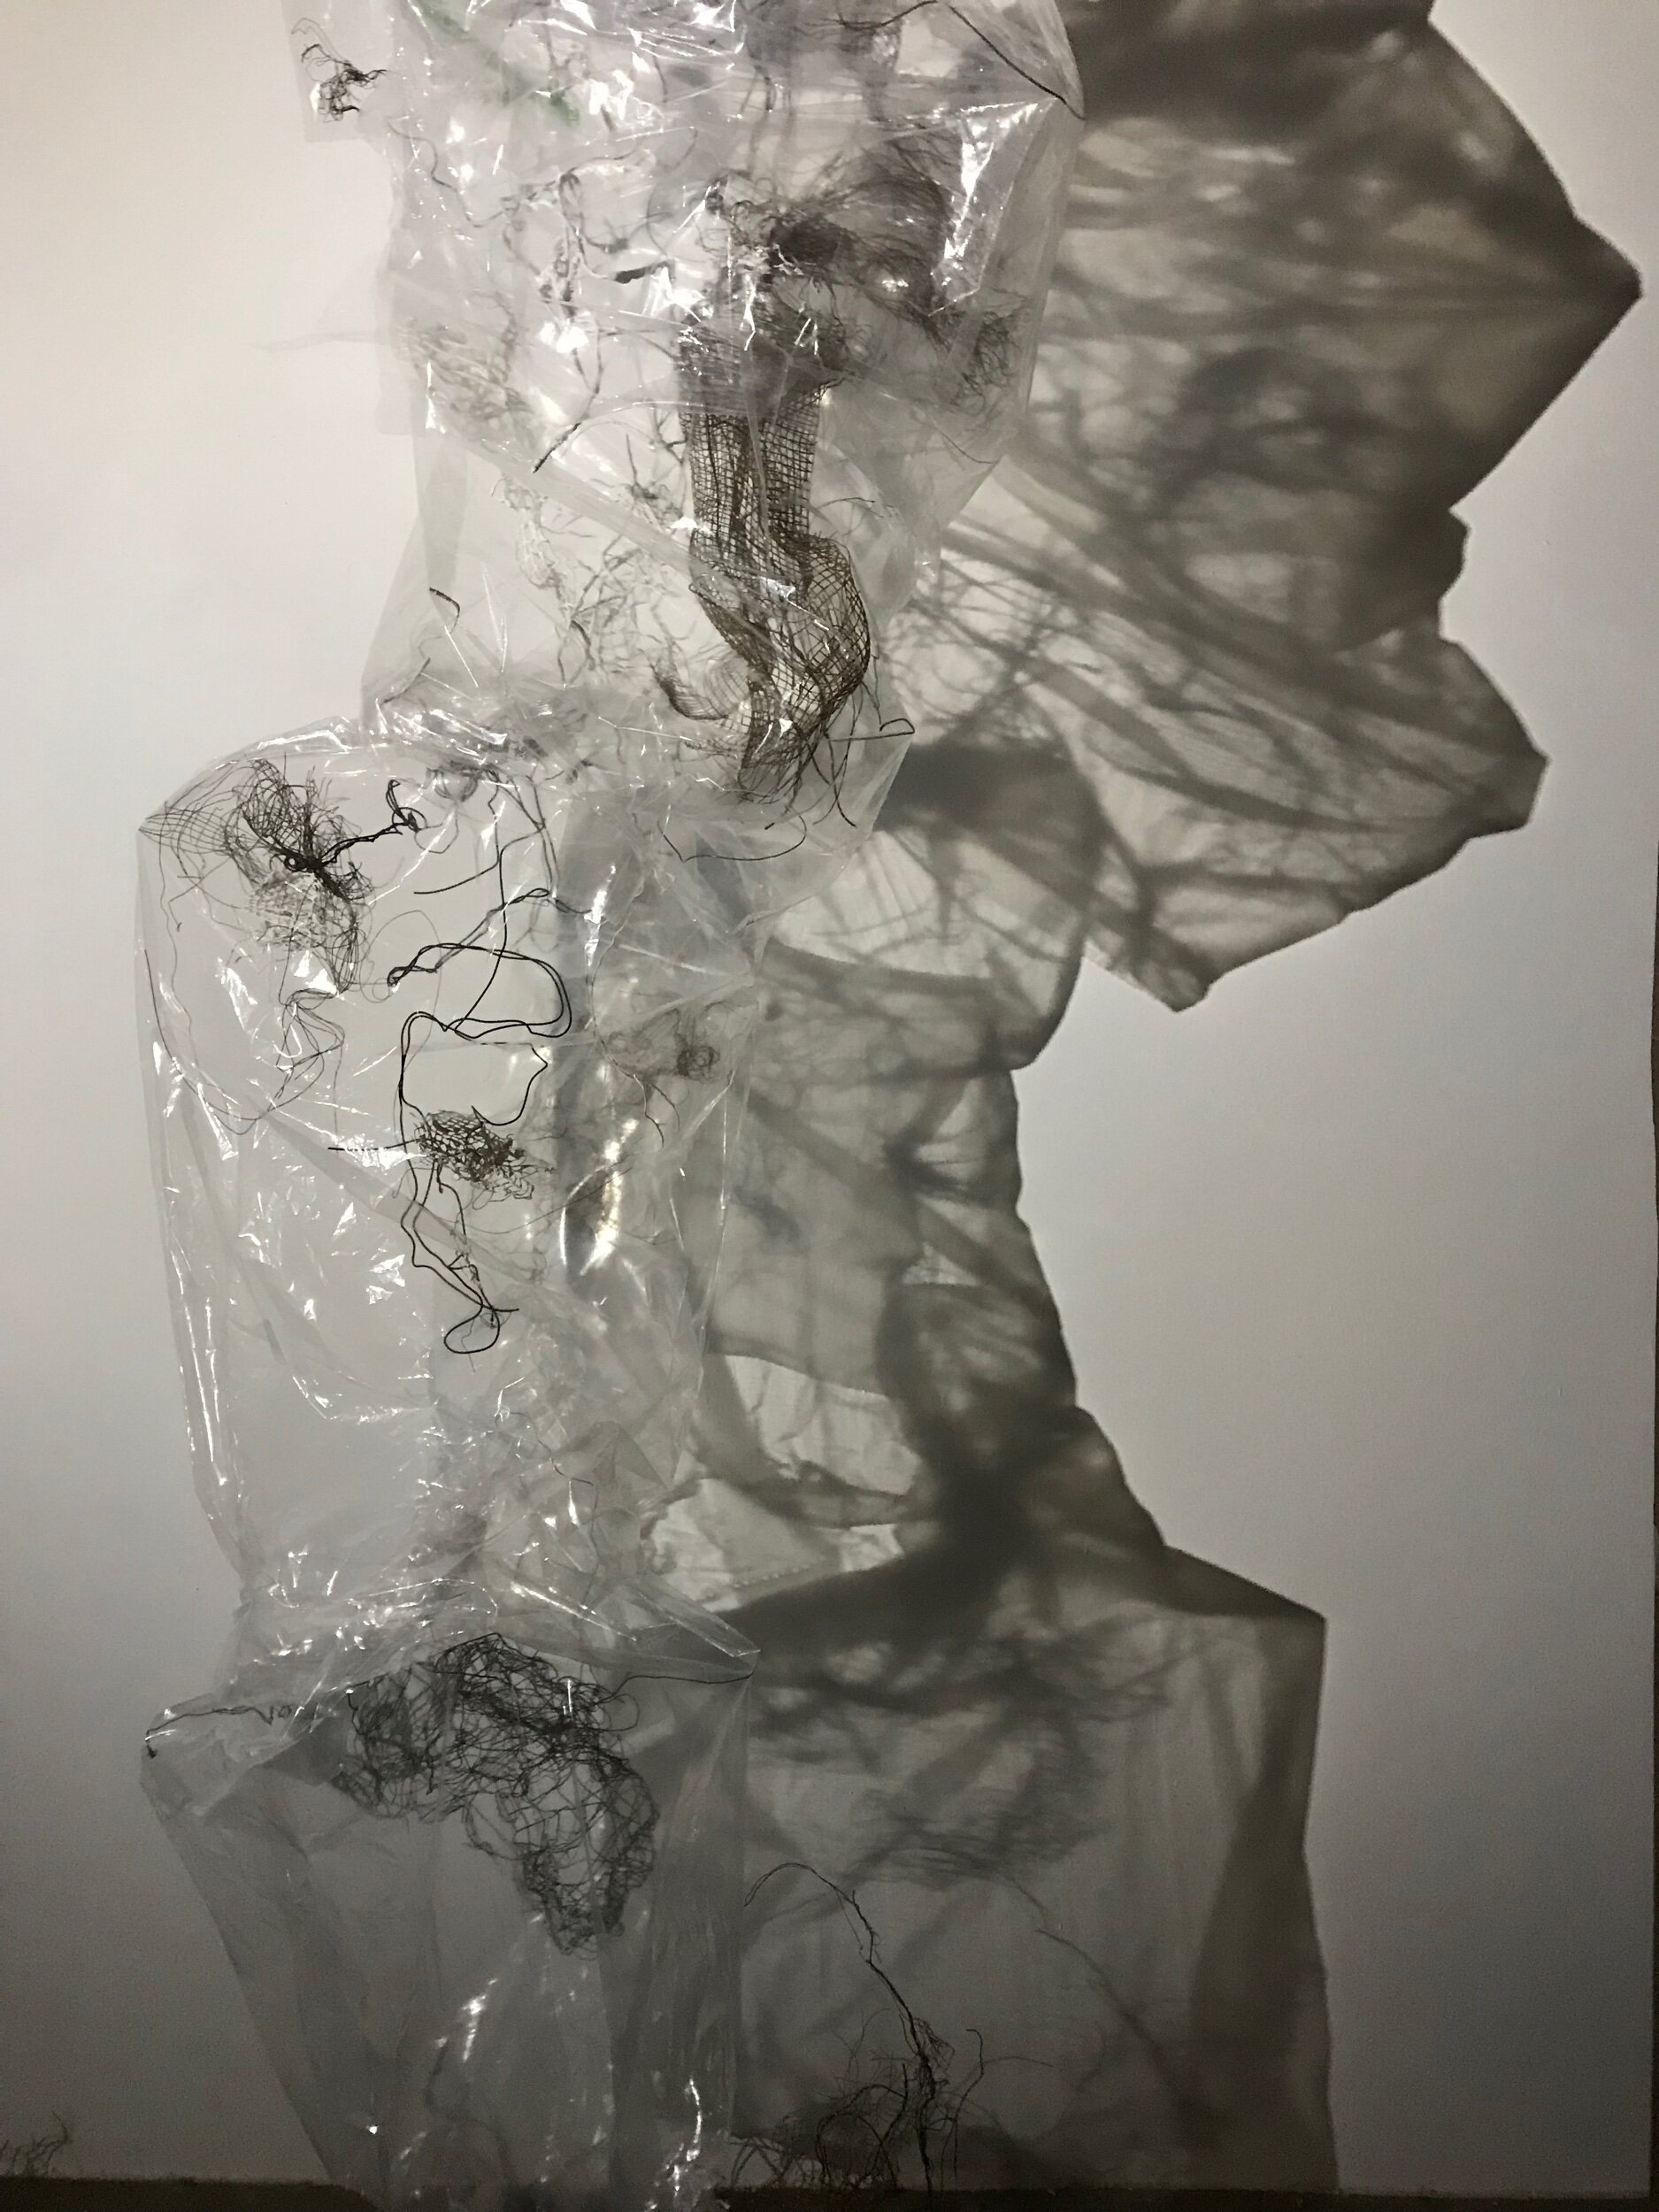
The pieces in bags make awesome amnion shadows
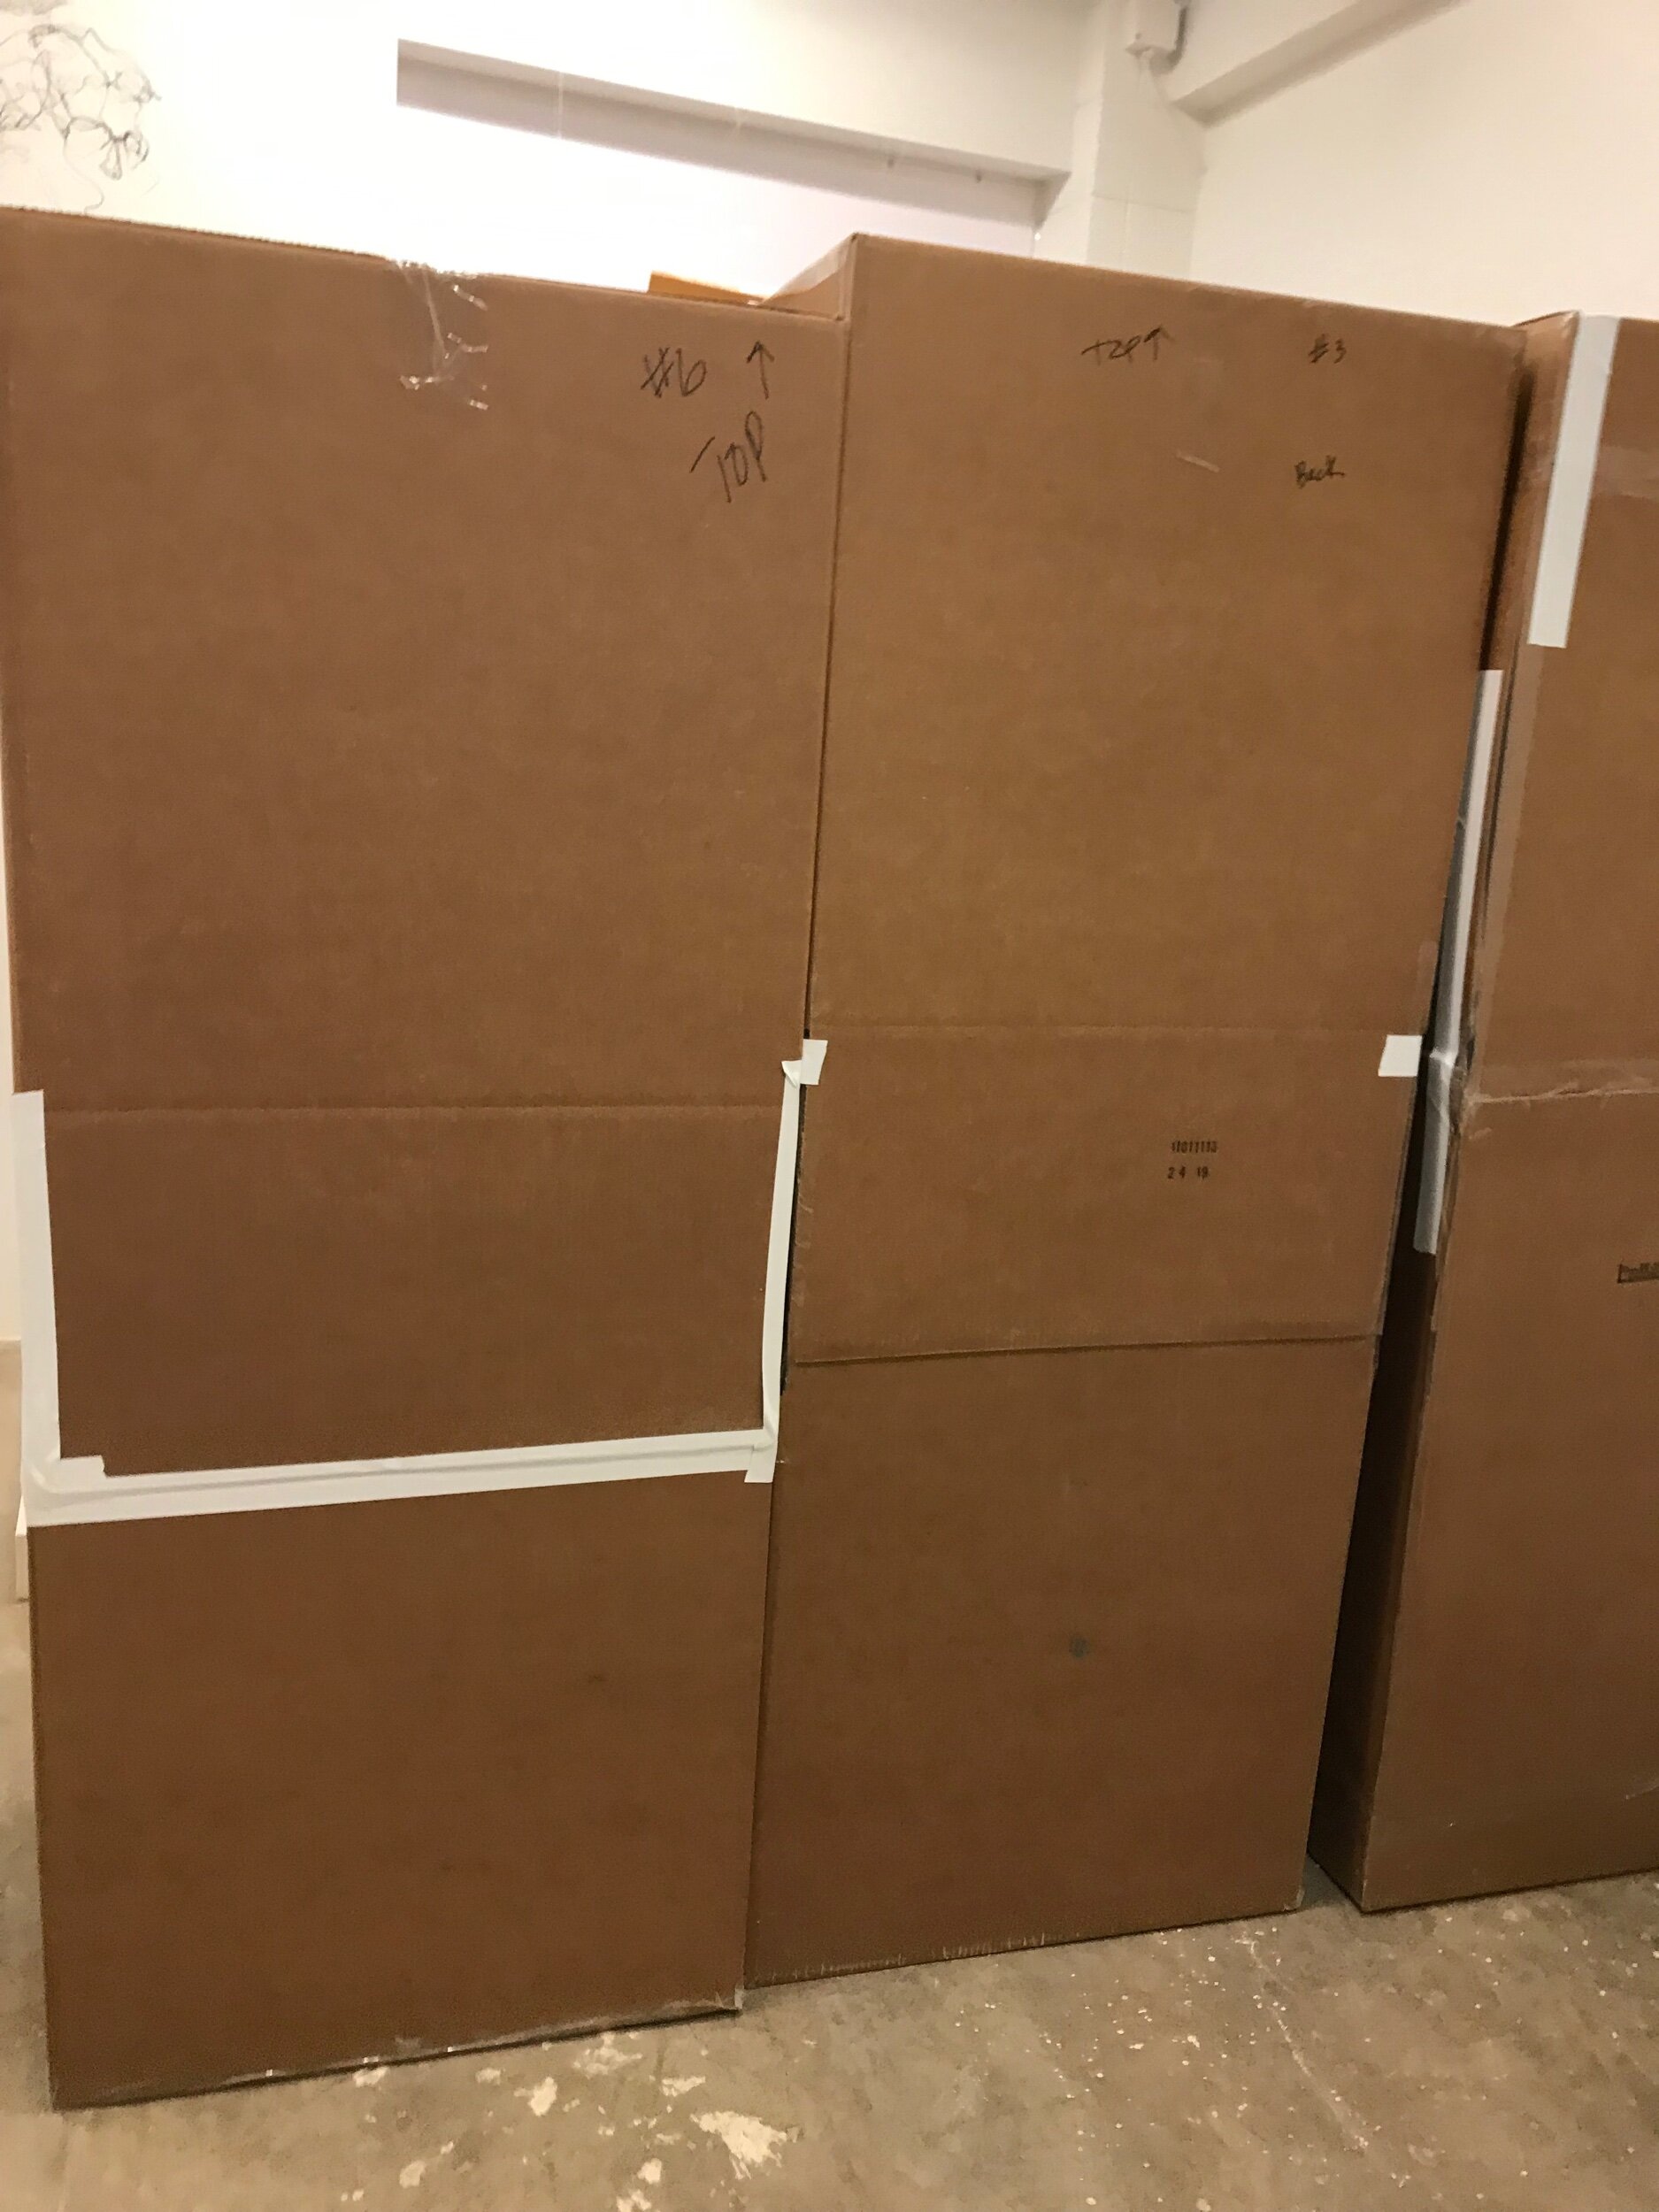
7 boxes ready to go.
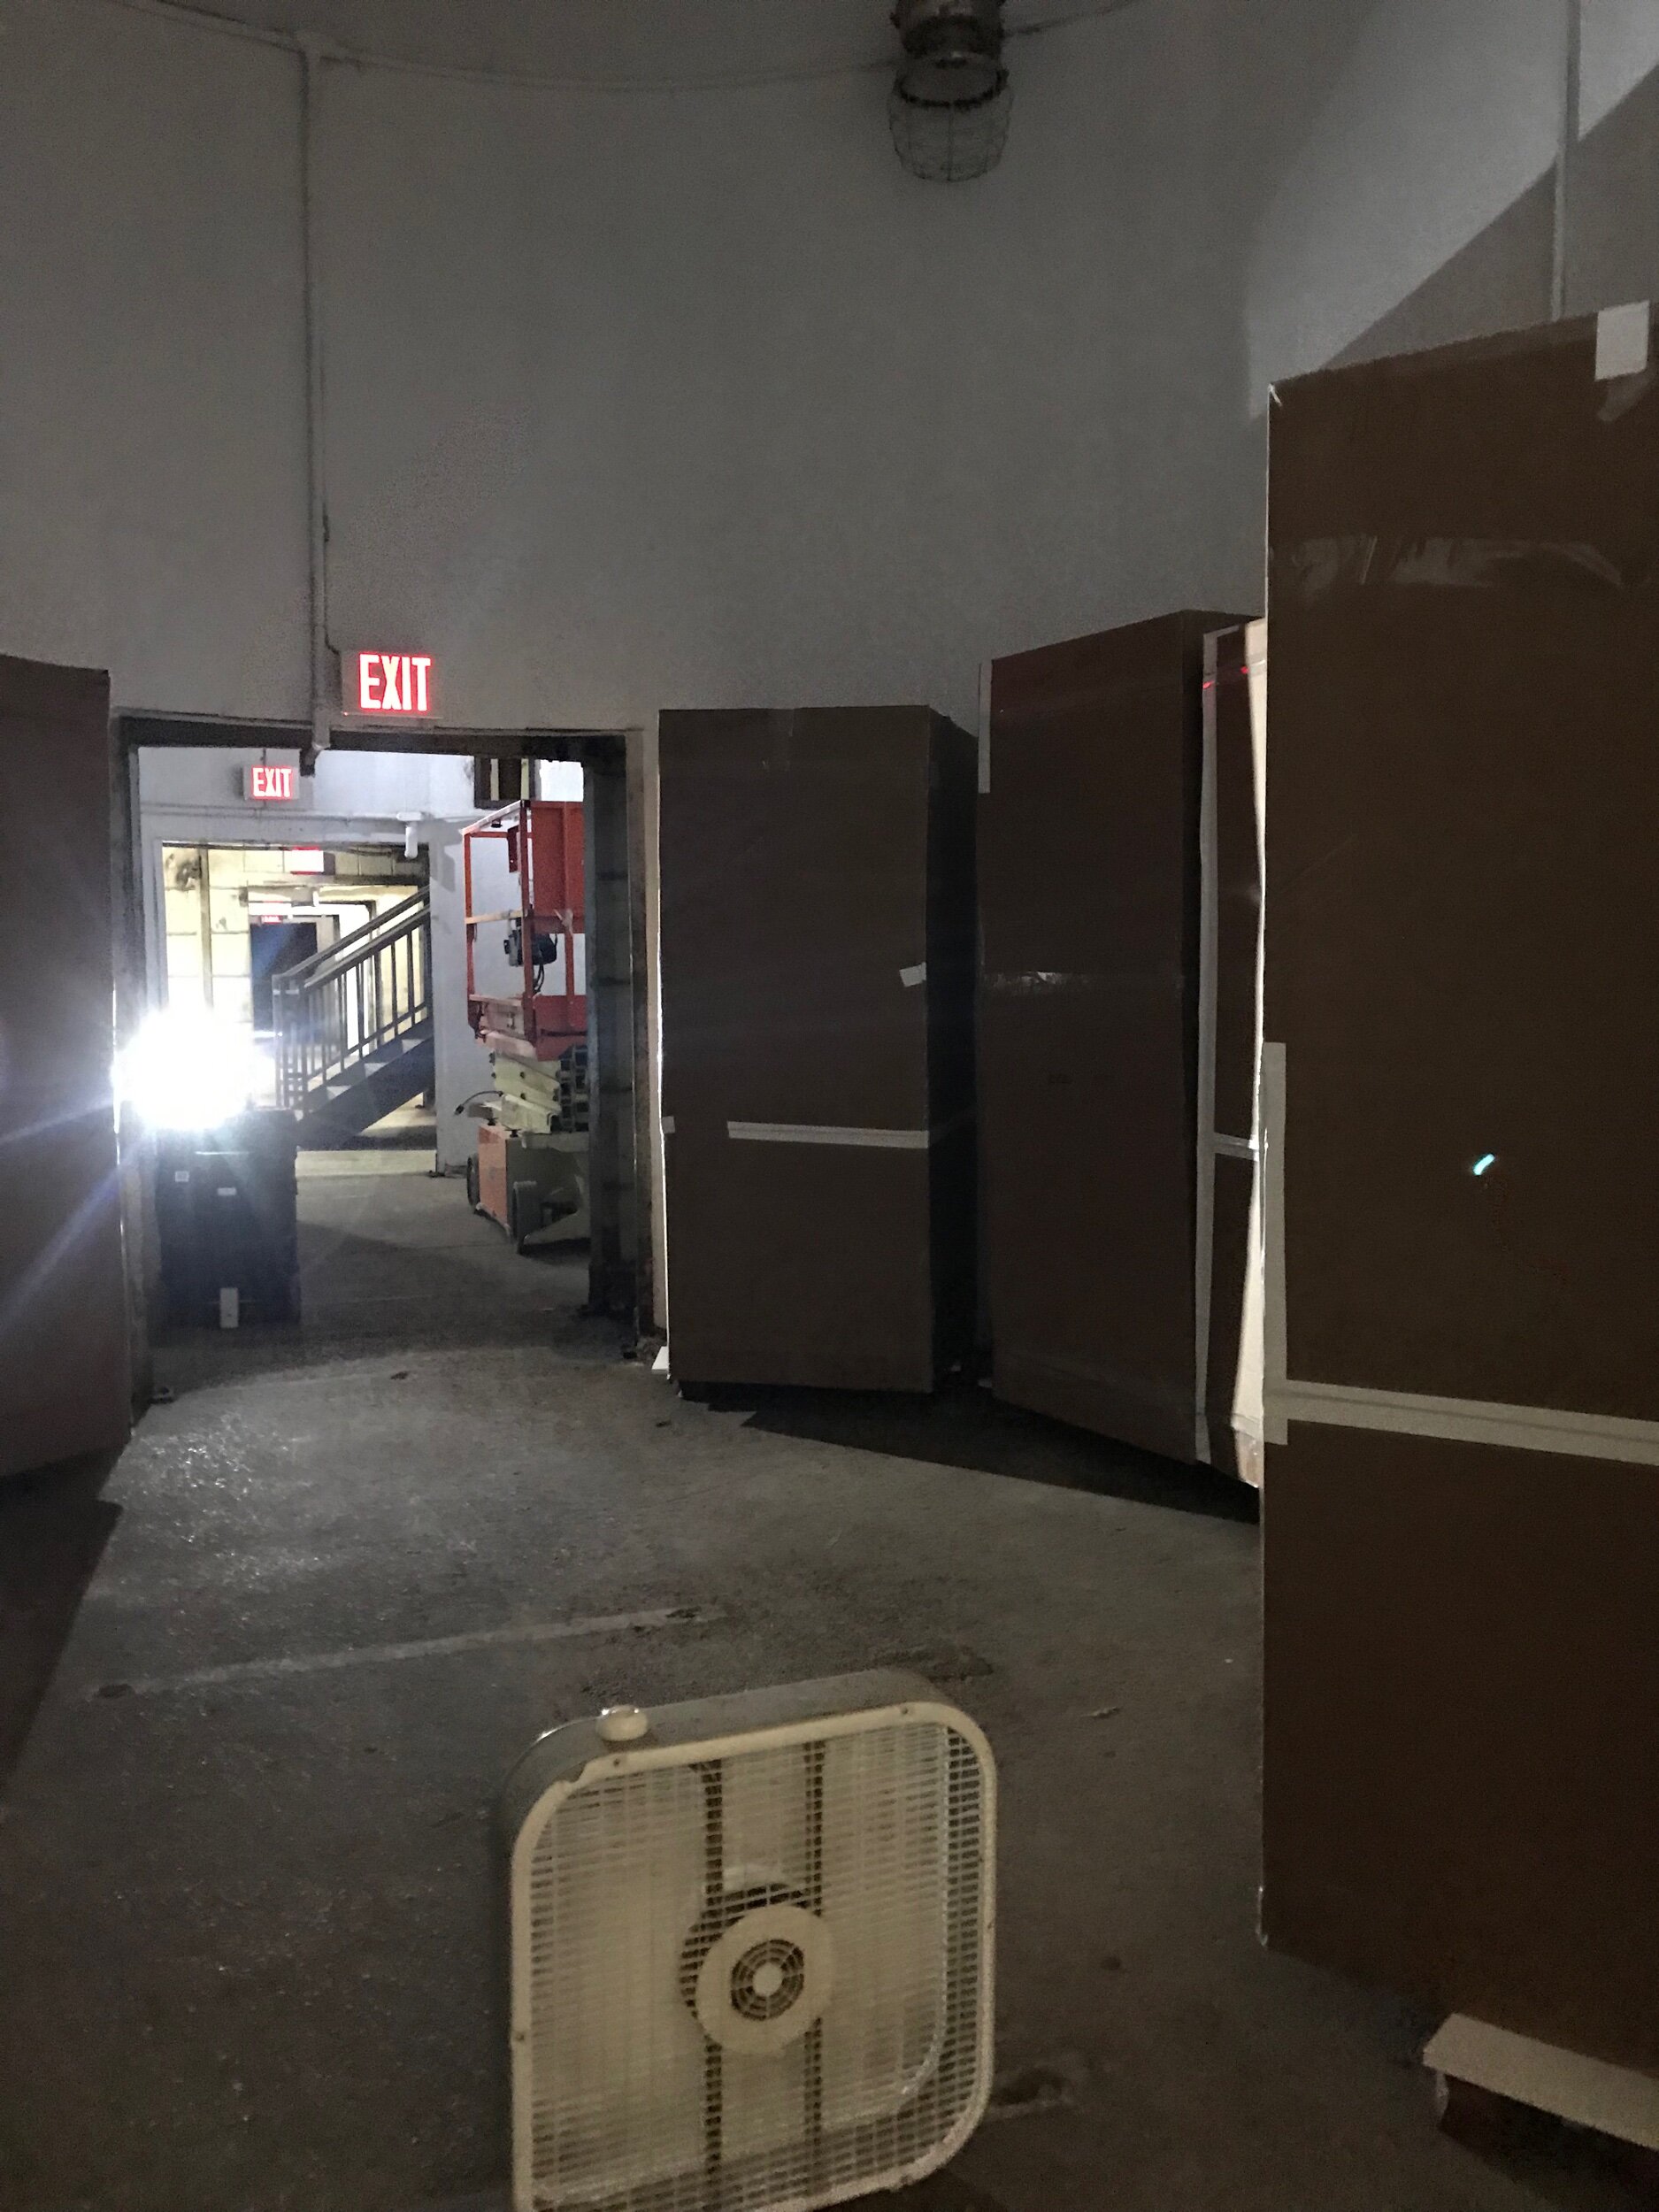

View from inside looking out.
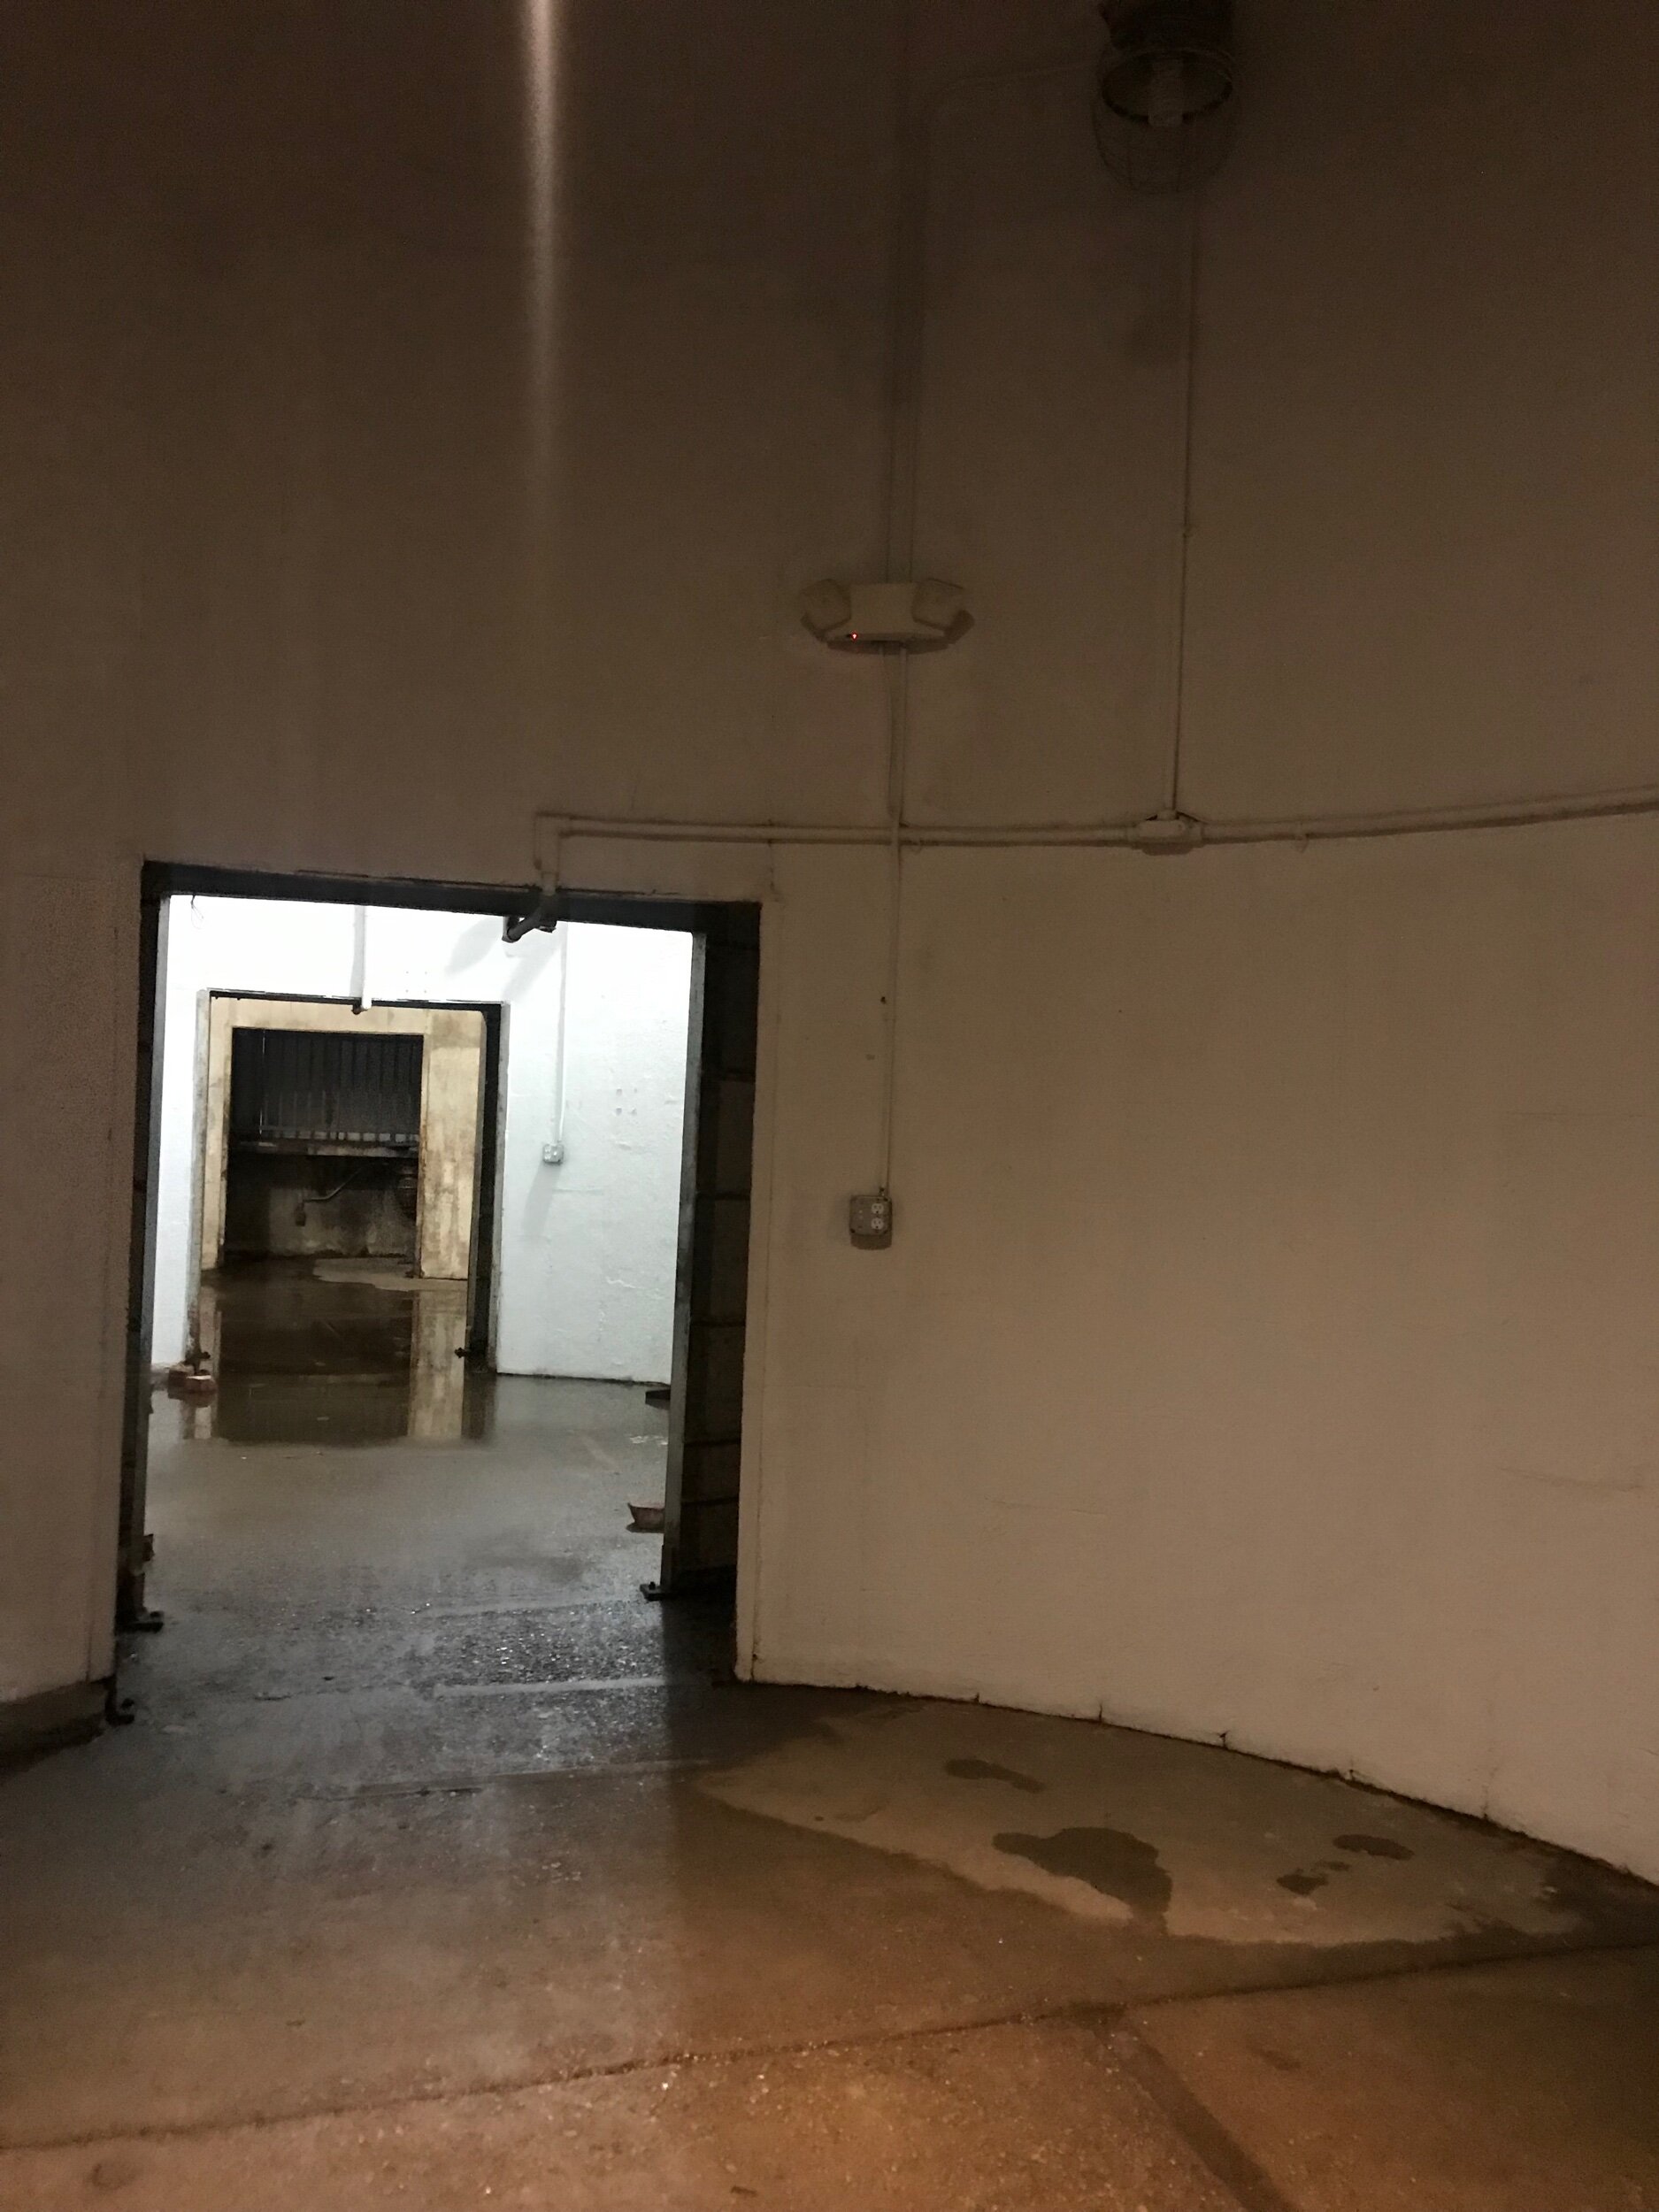
Looking north through another entrance.
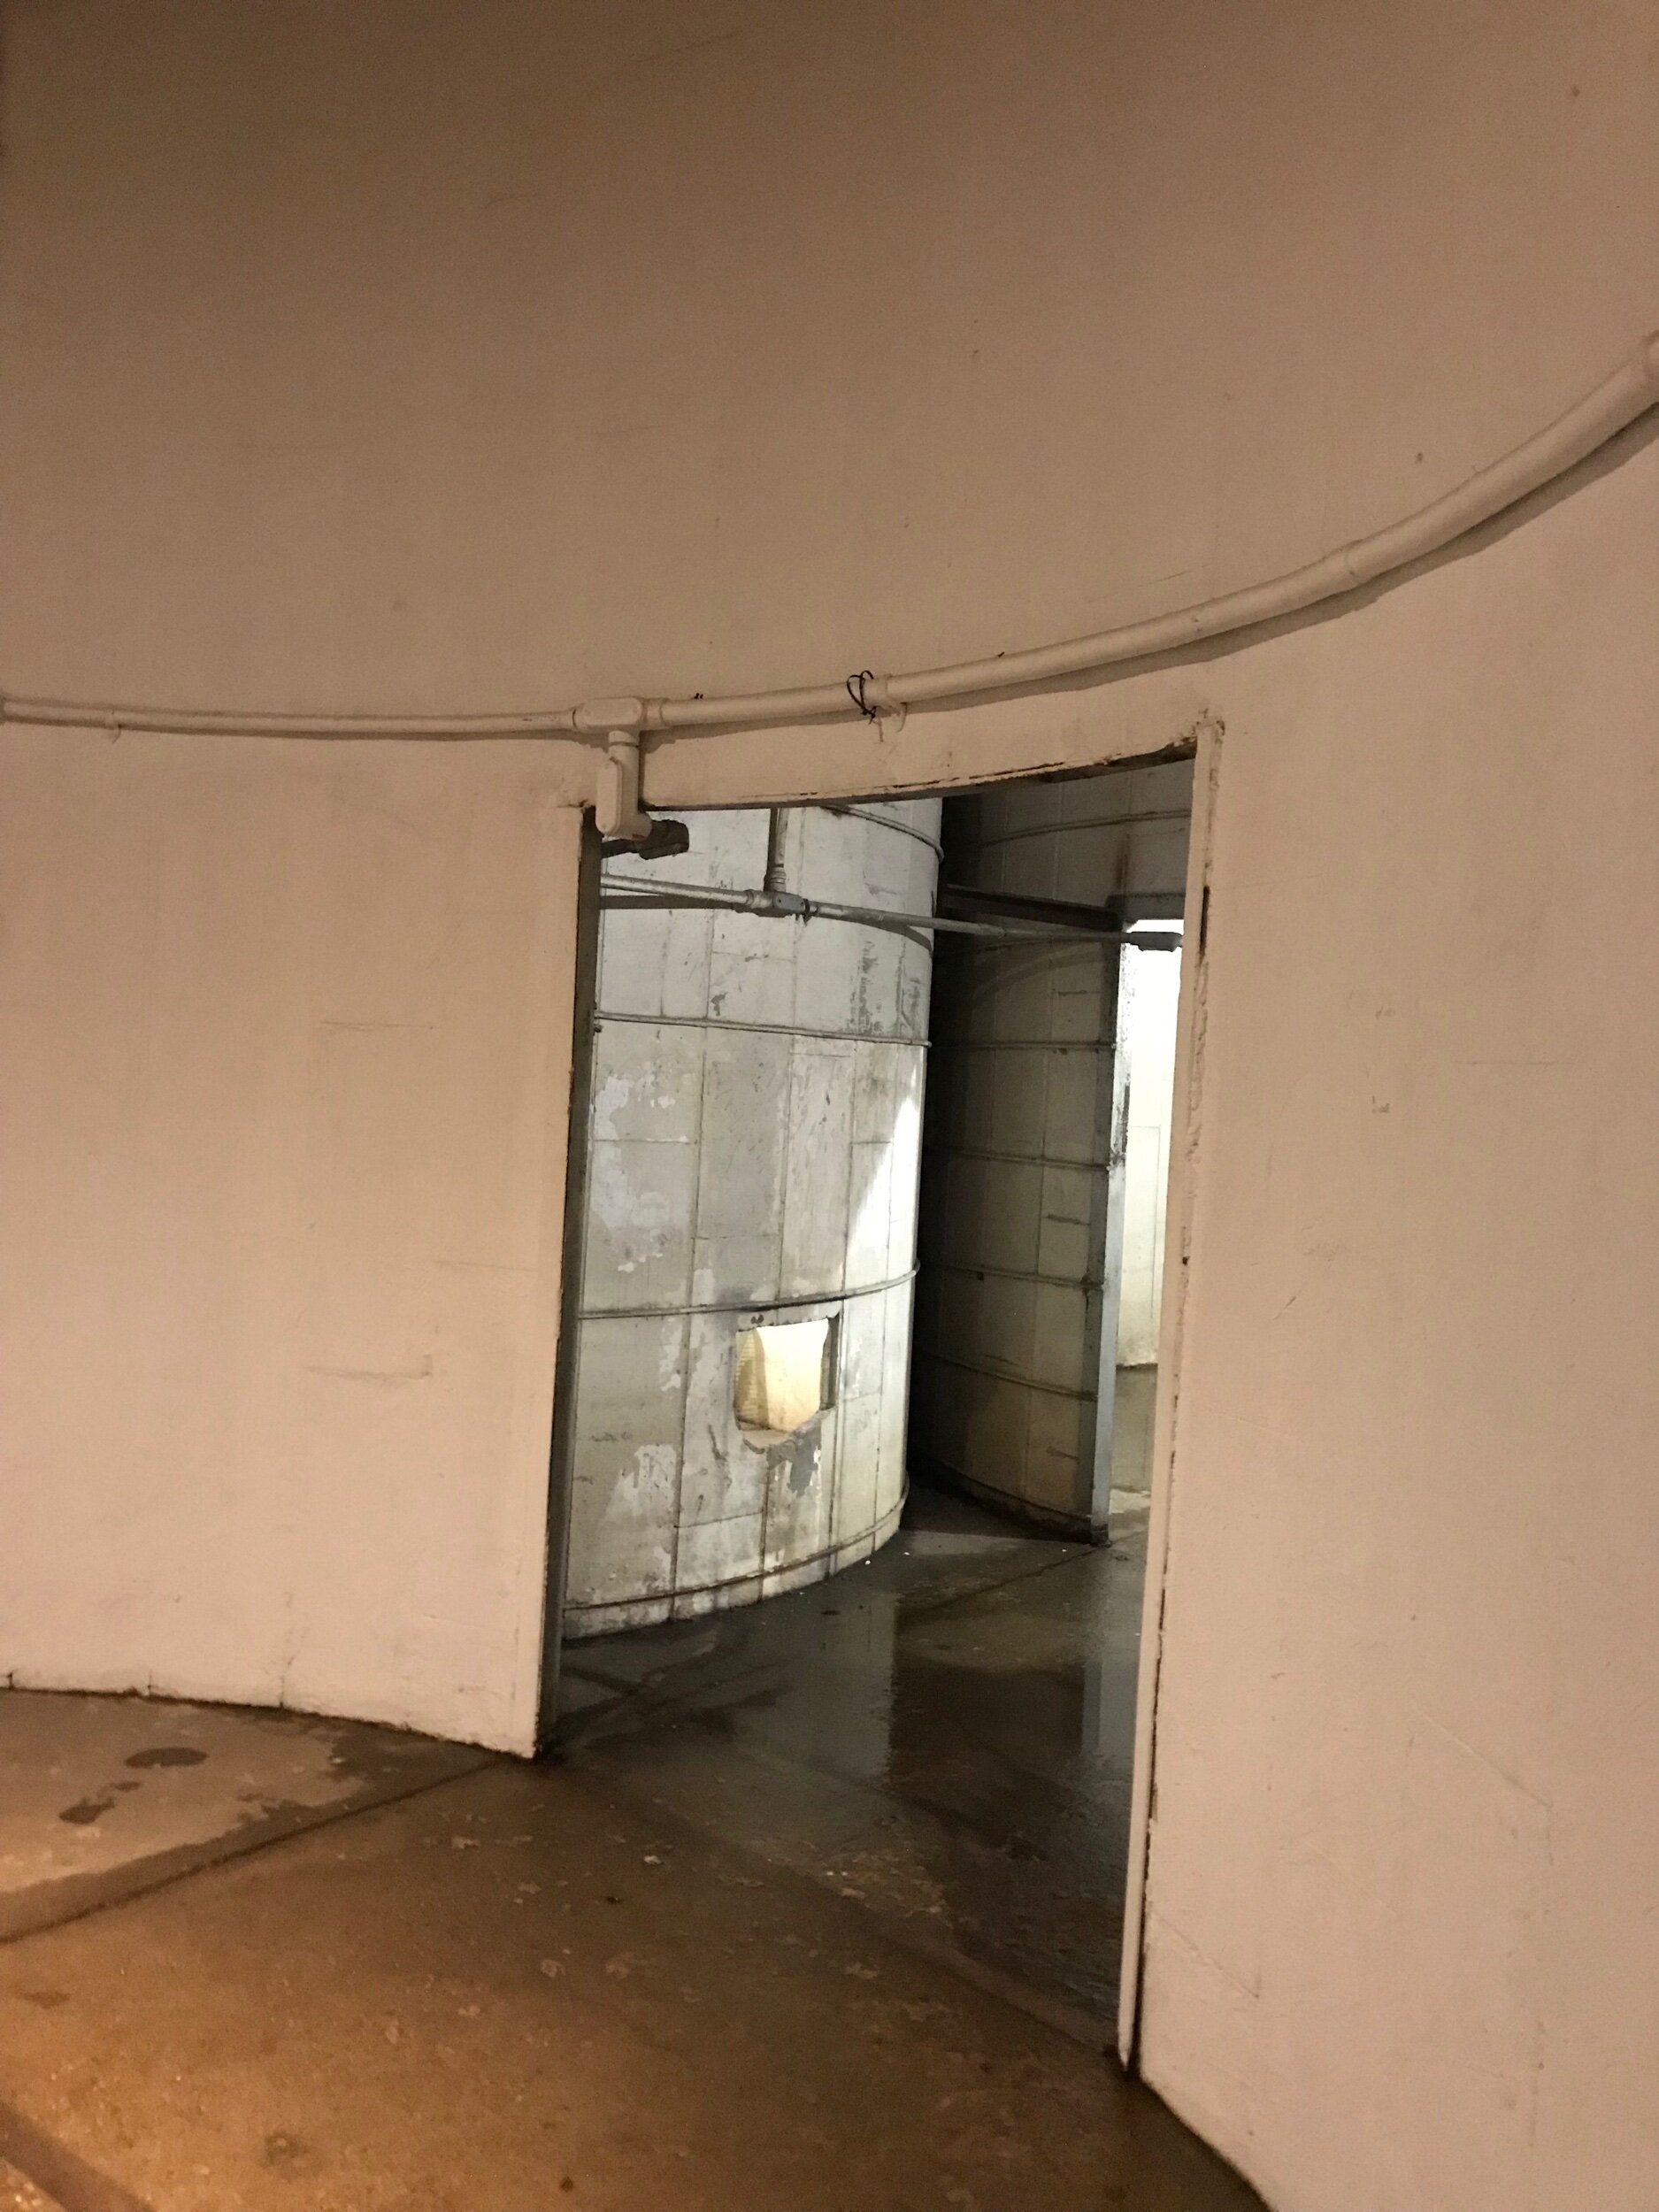
The blank walls and openings
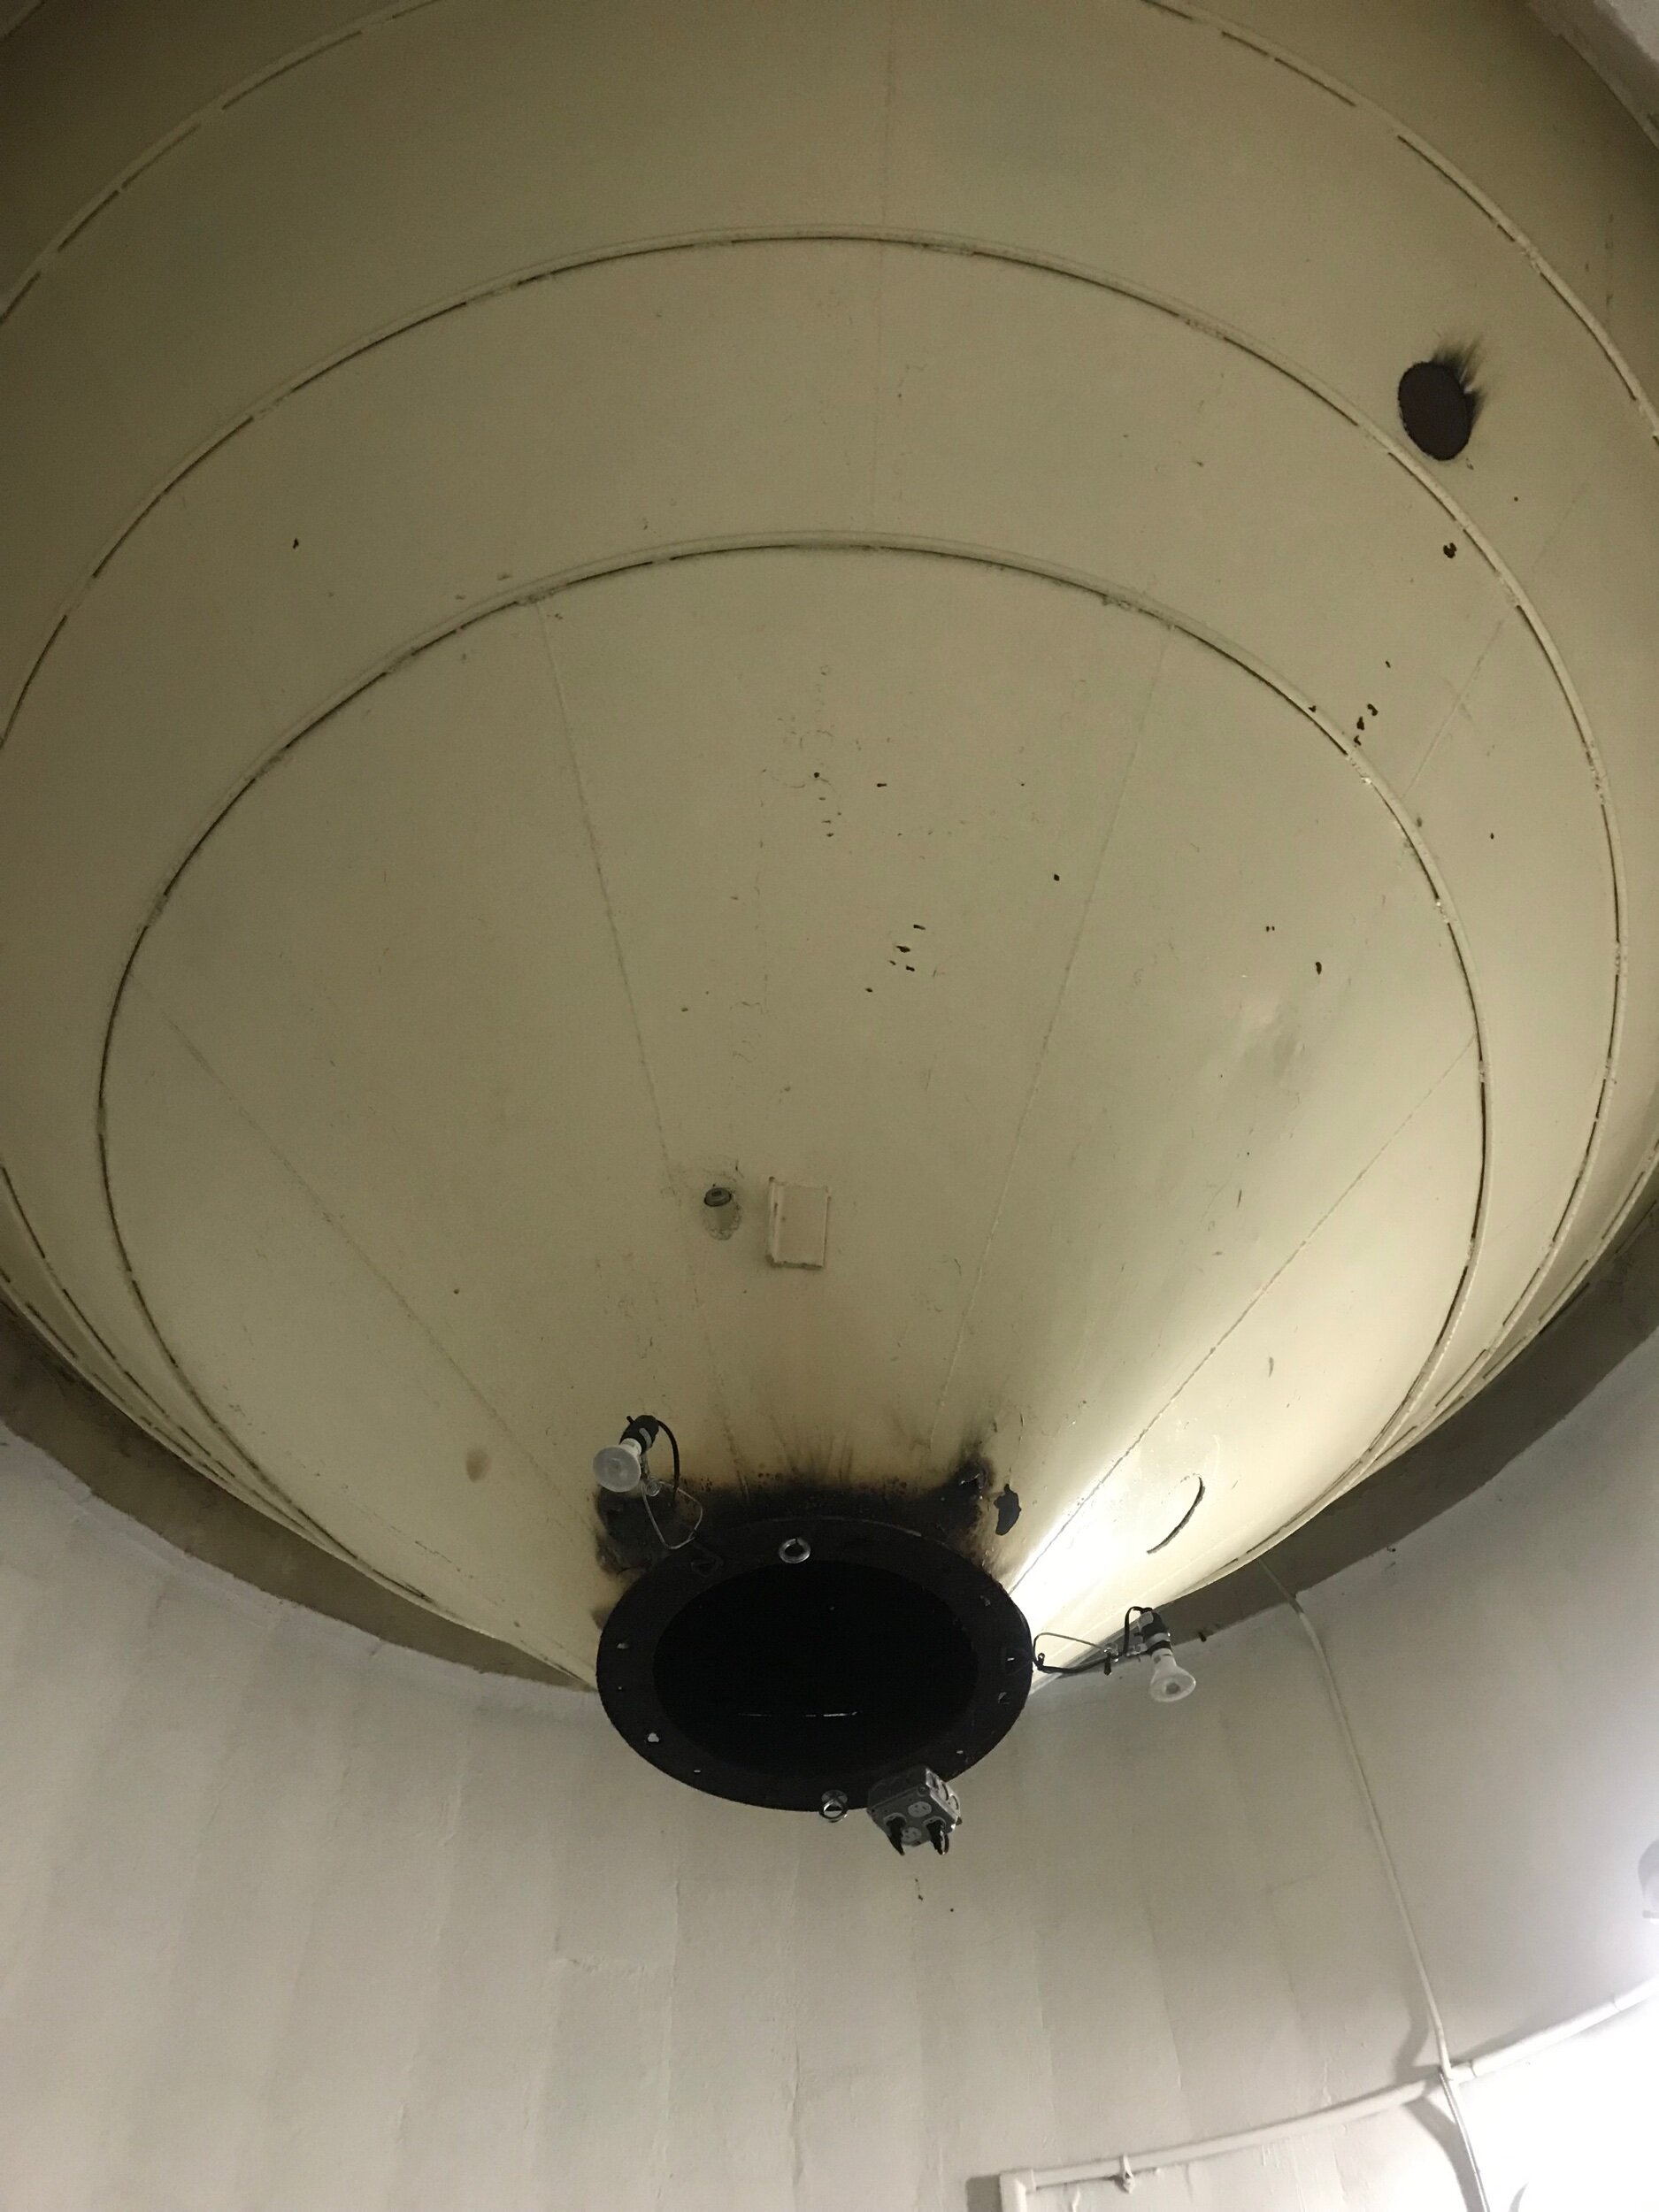
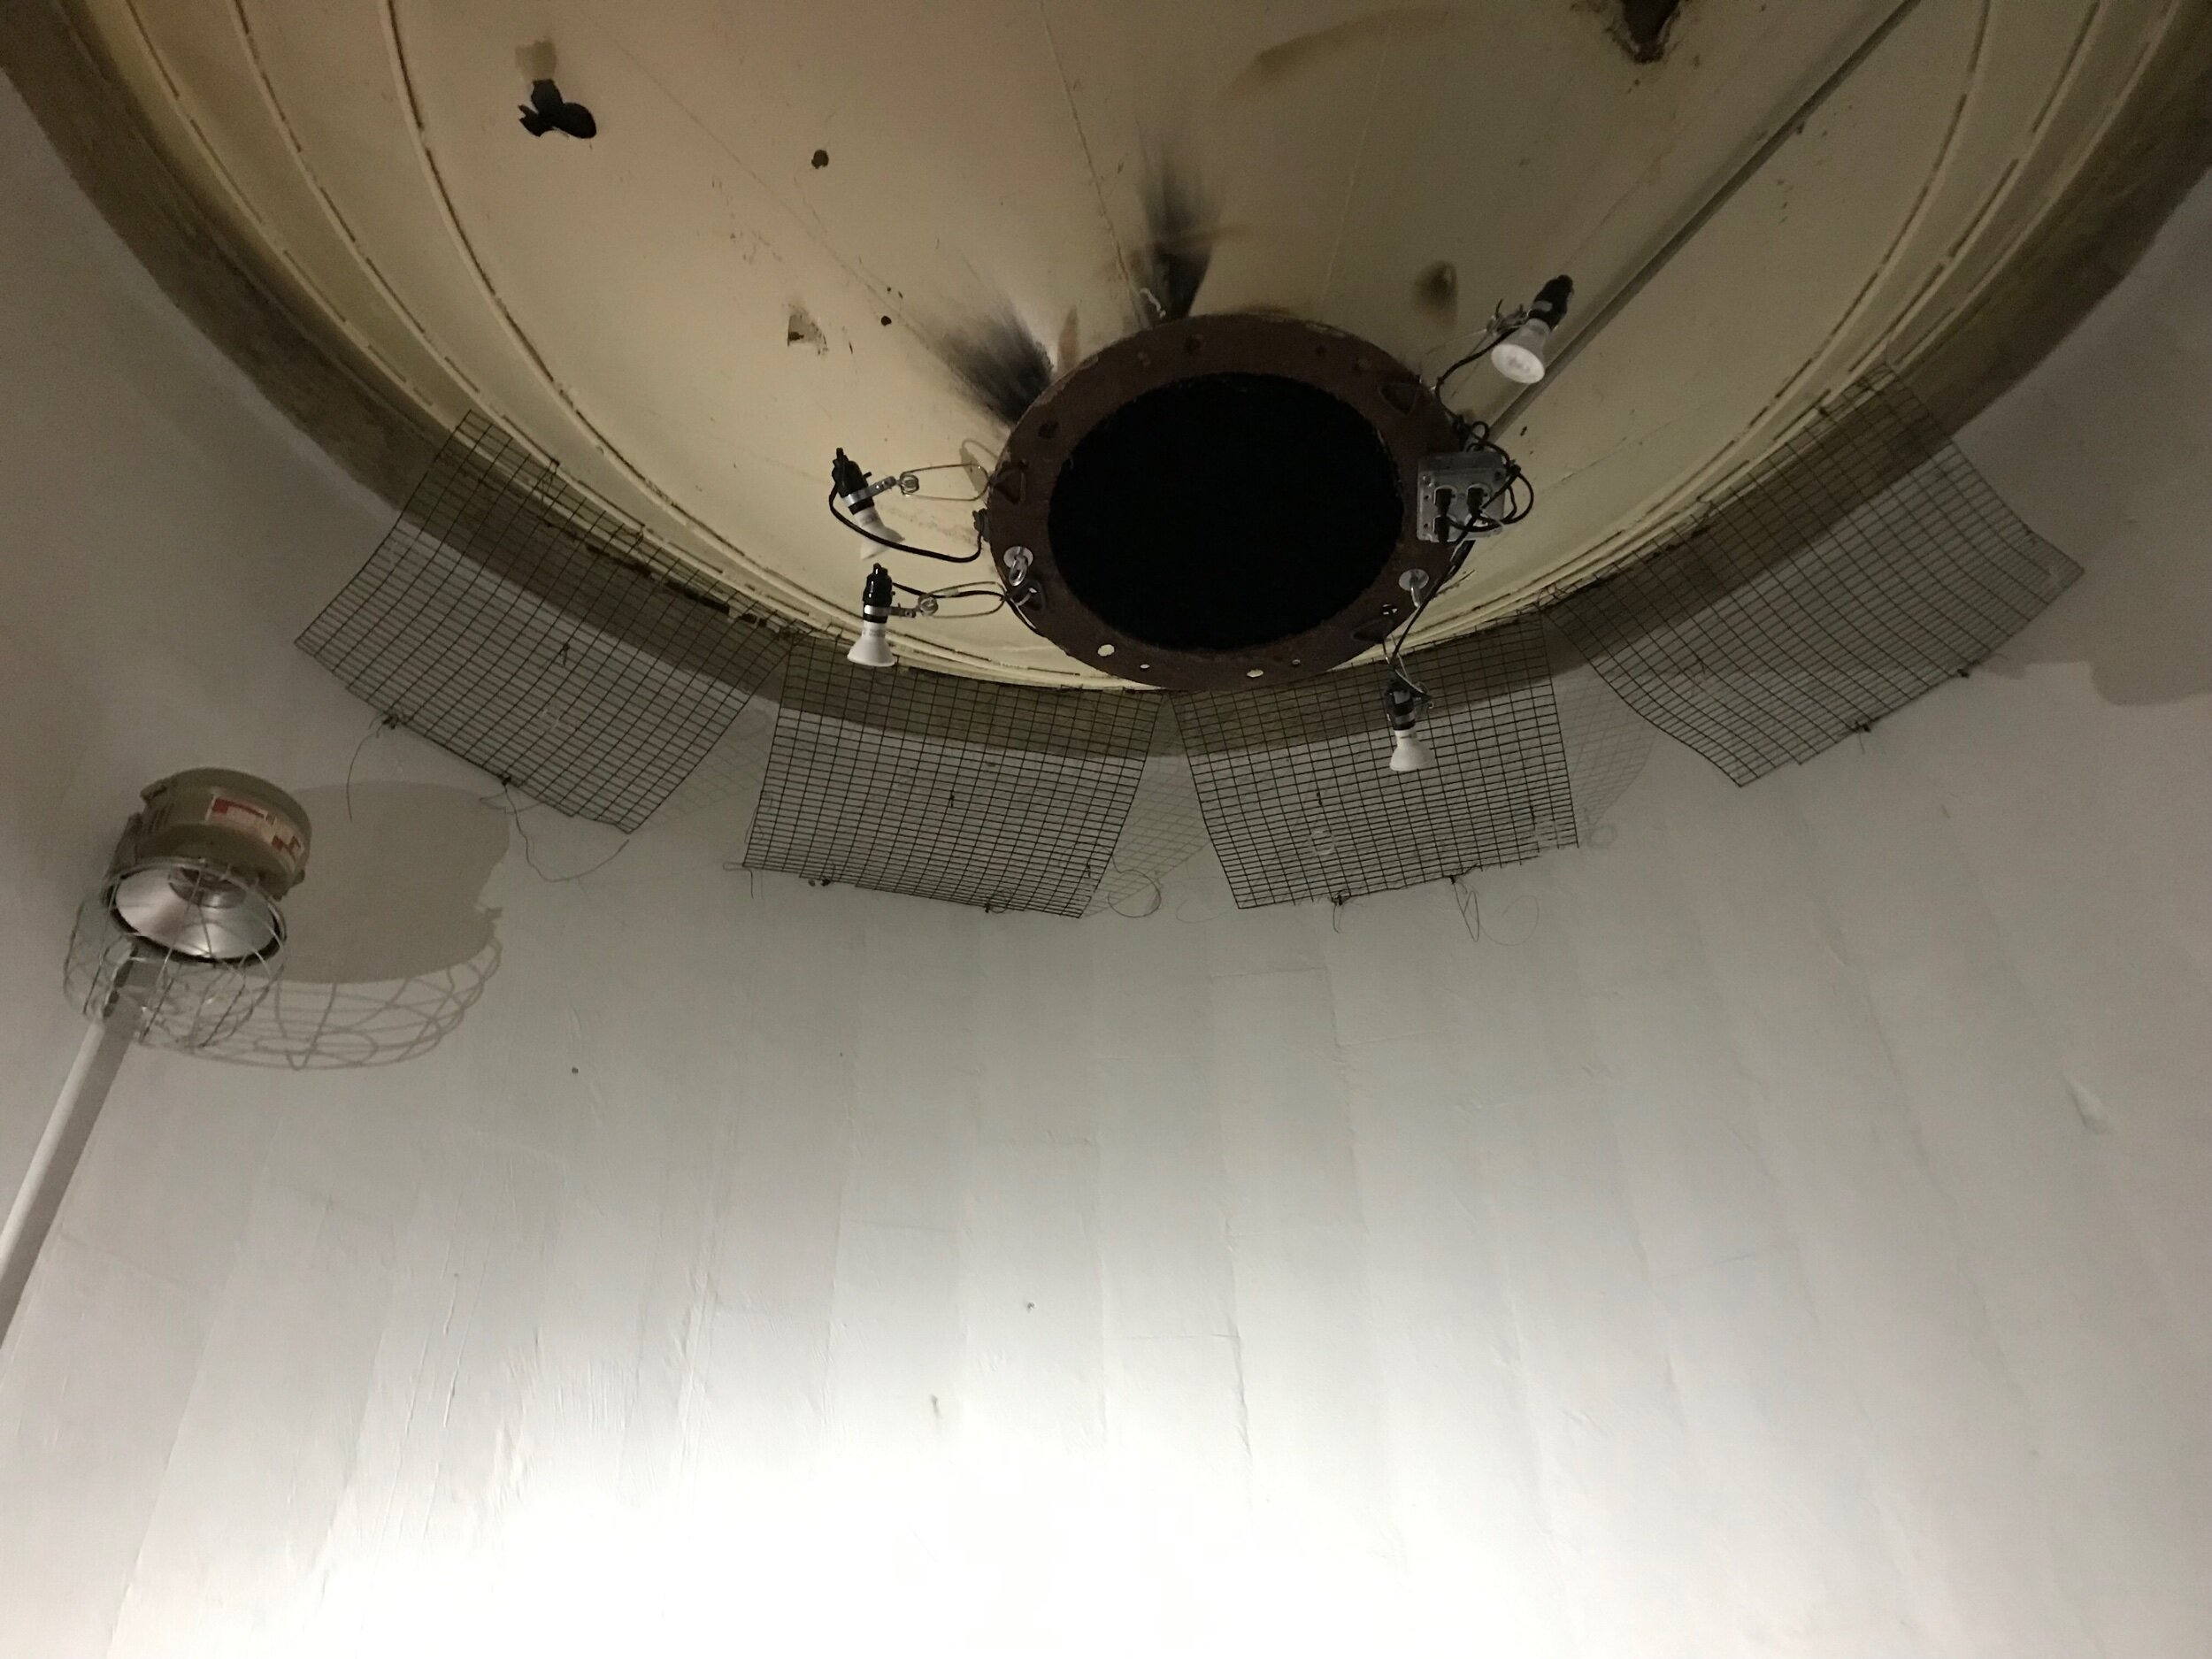
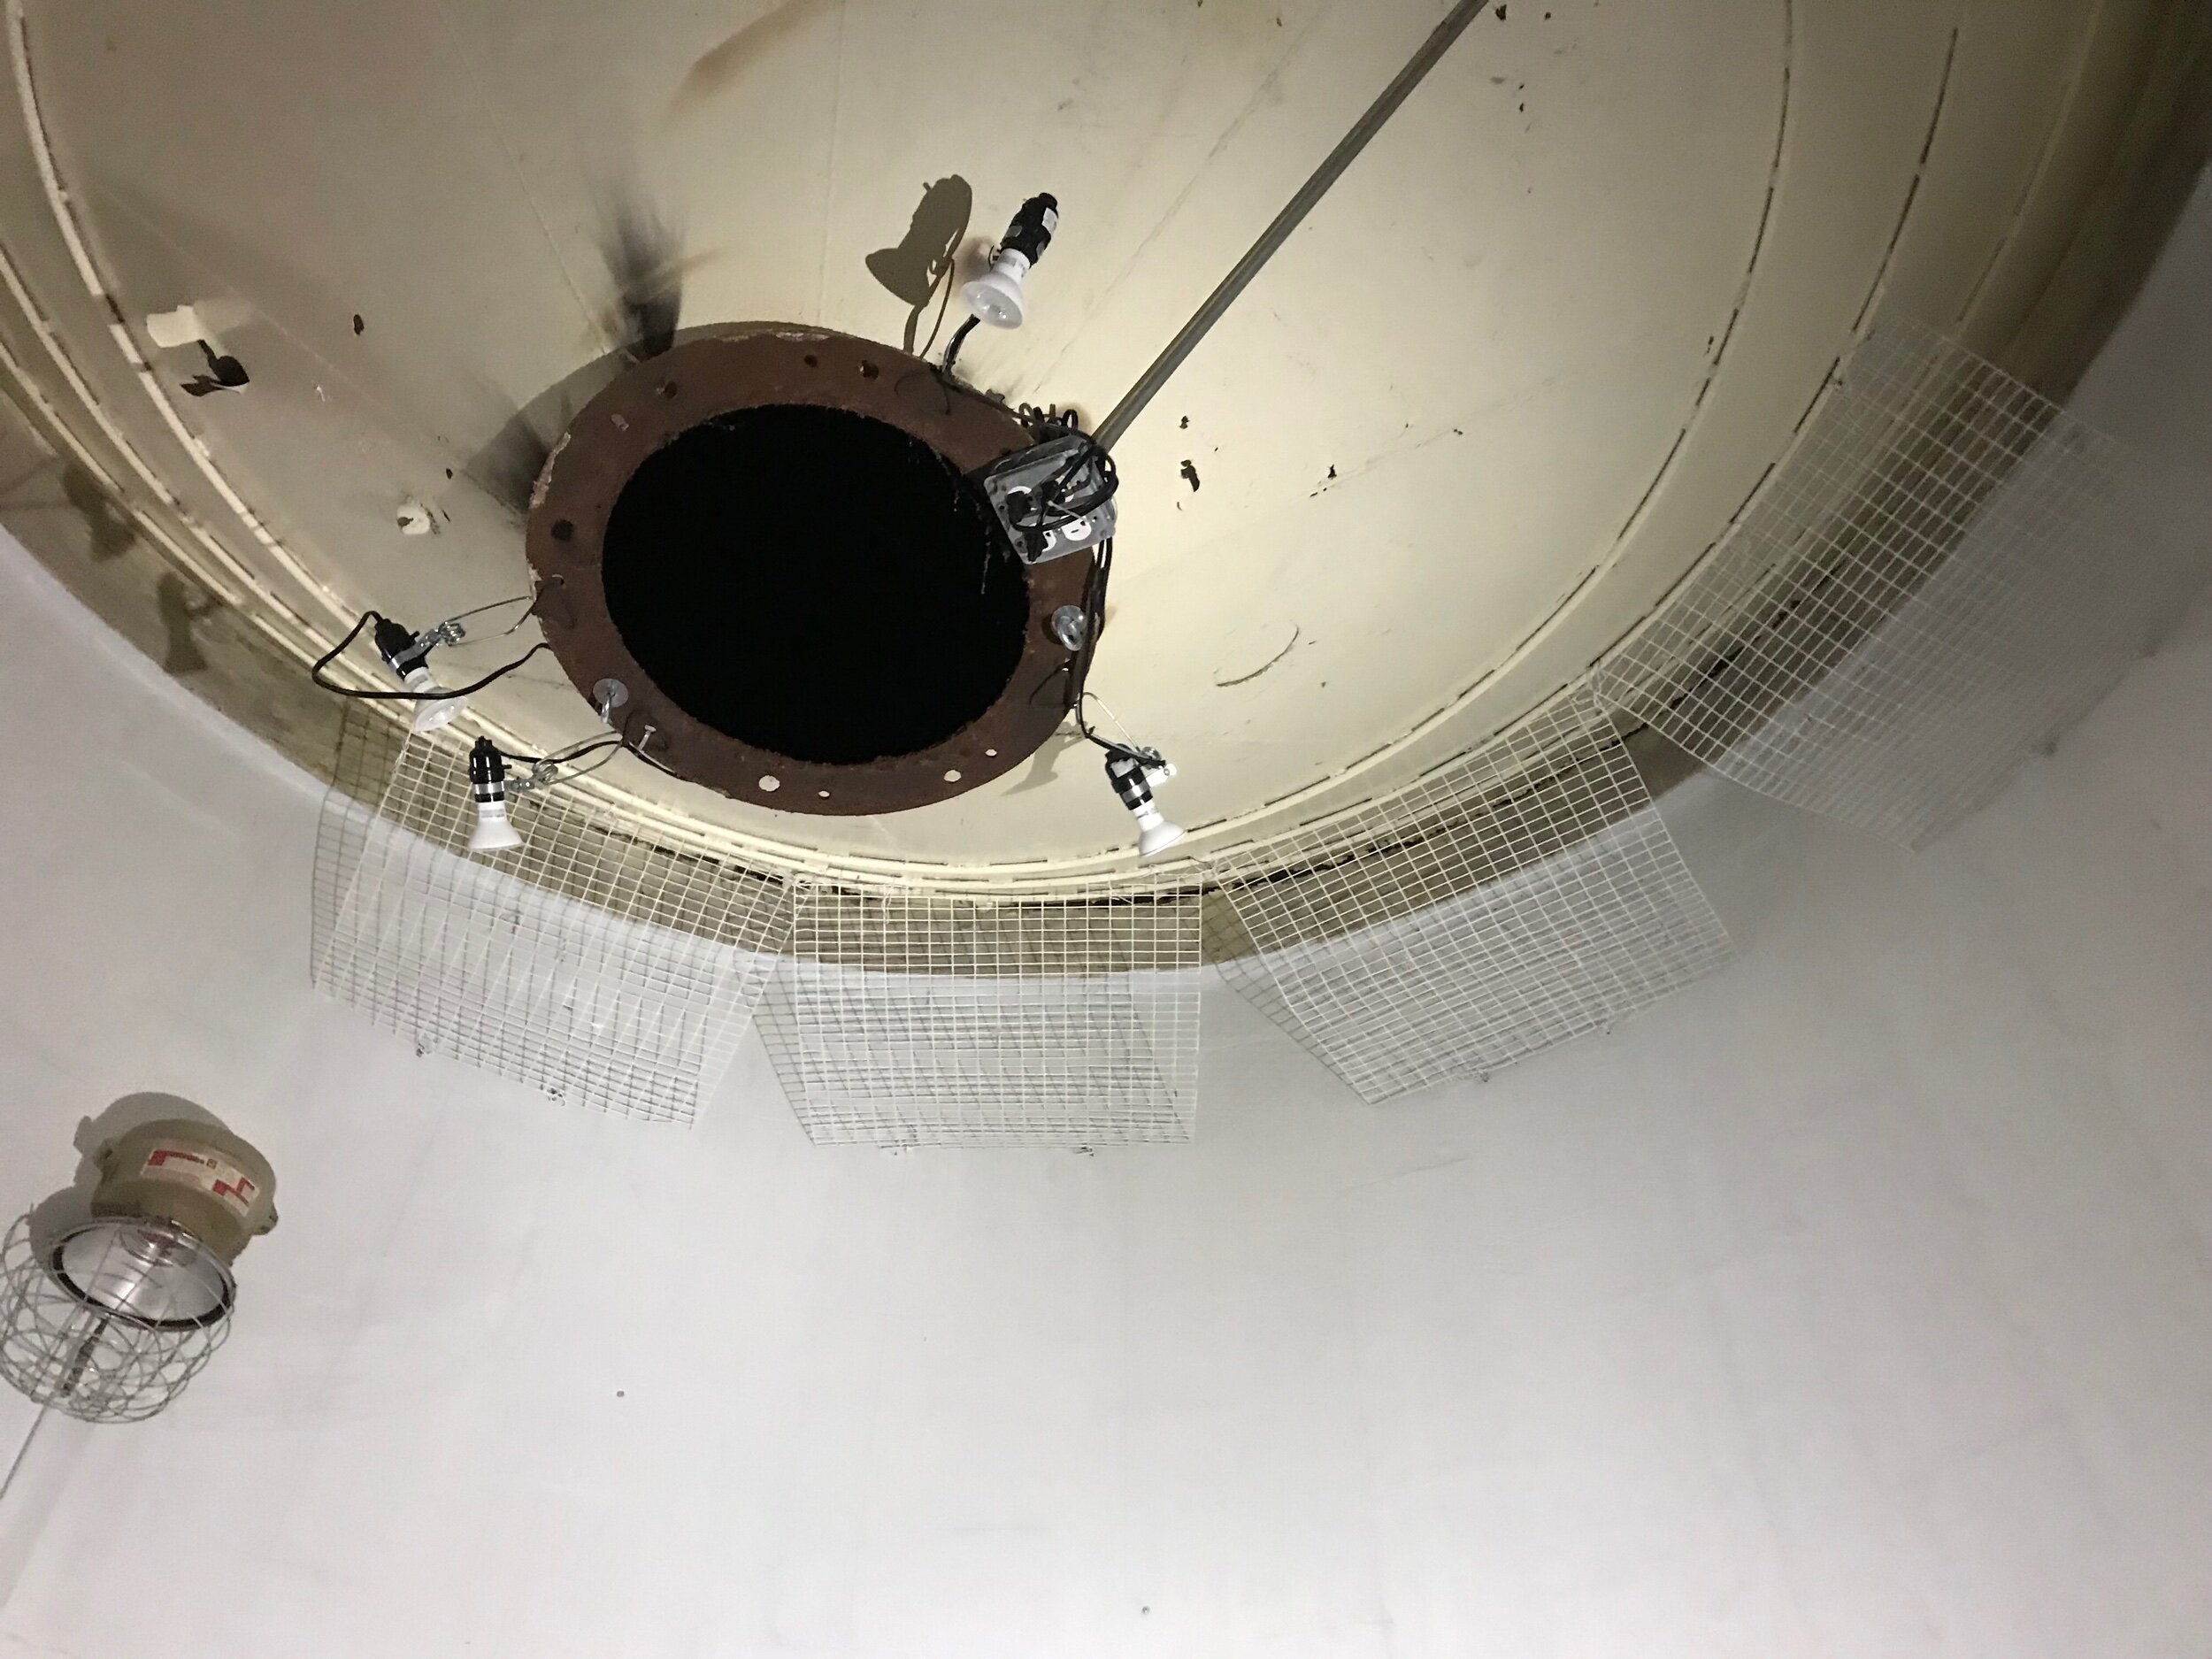
Can you imagine how many tons of rice dropped through this funnel? The gallery lighting is attached to the mouth. It is right in the center of the space. I am not sure I like the central placement.
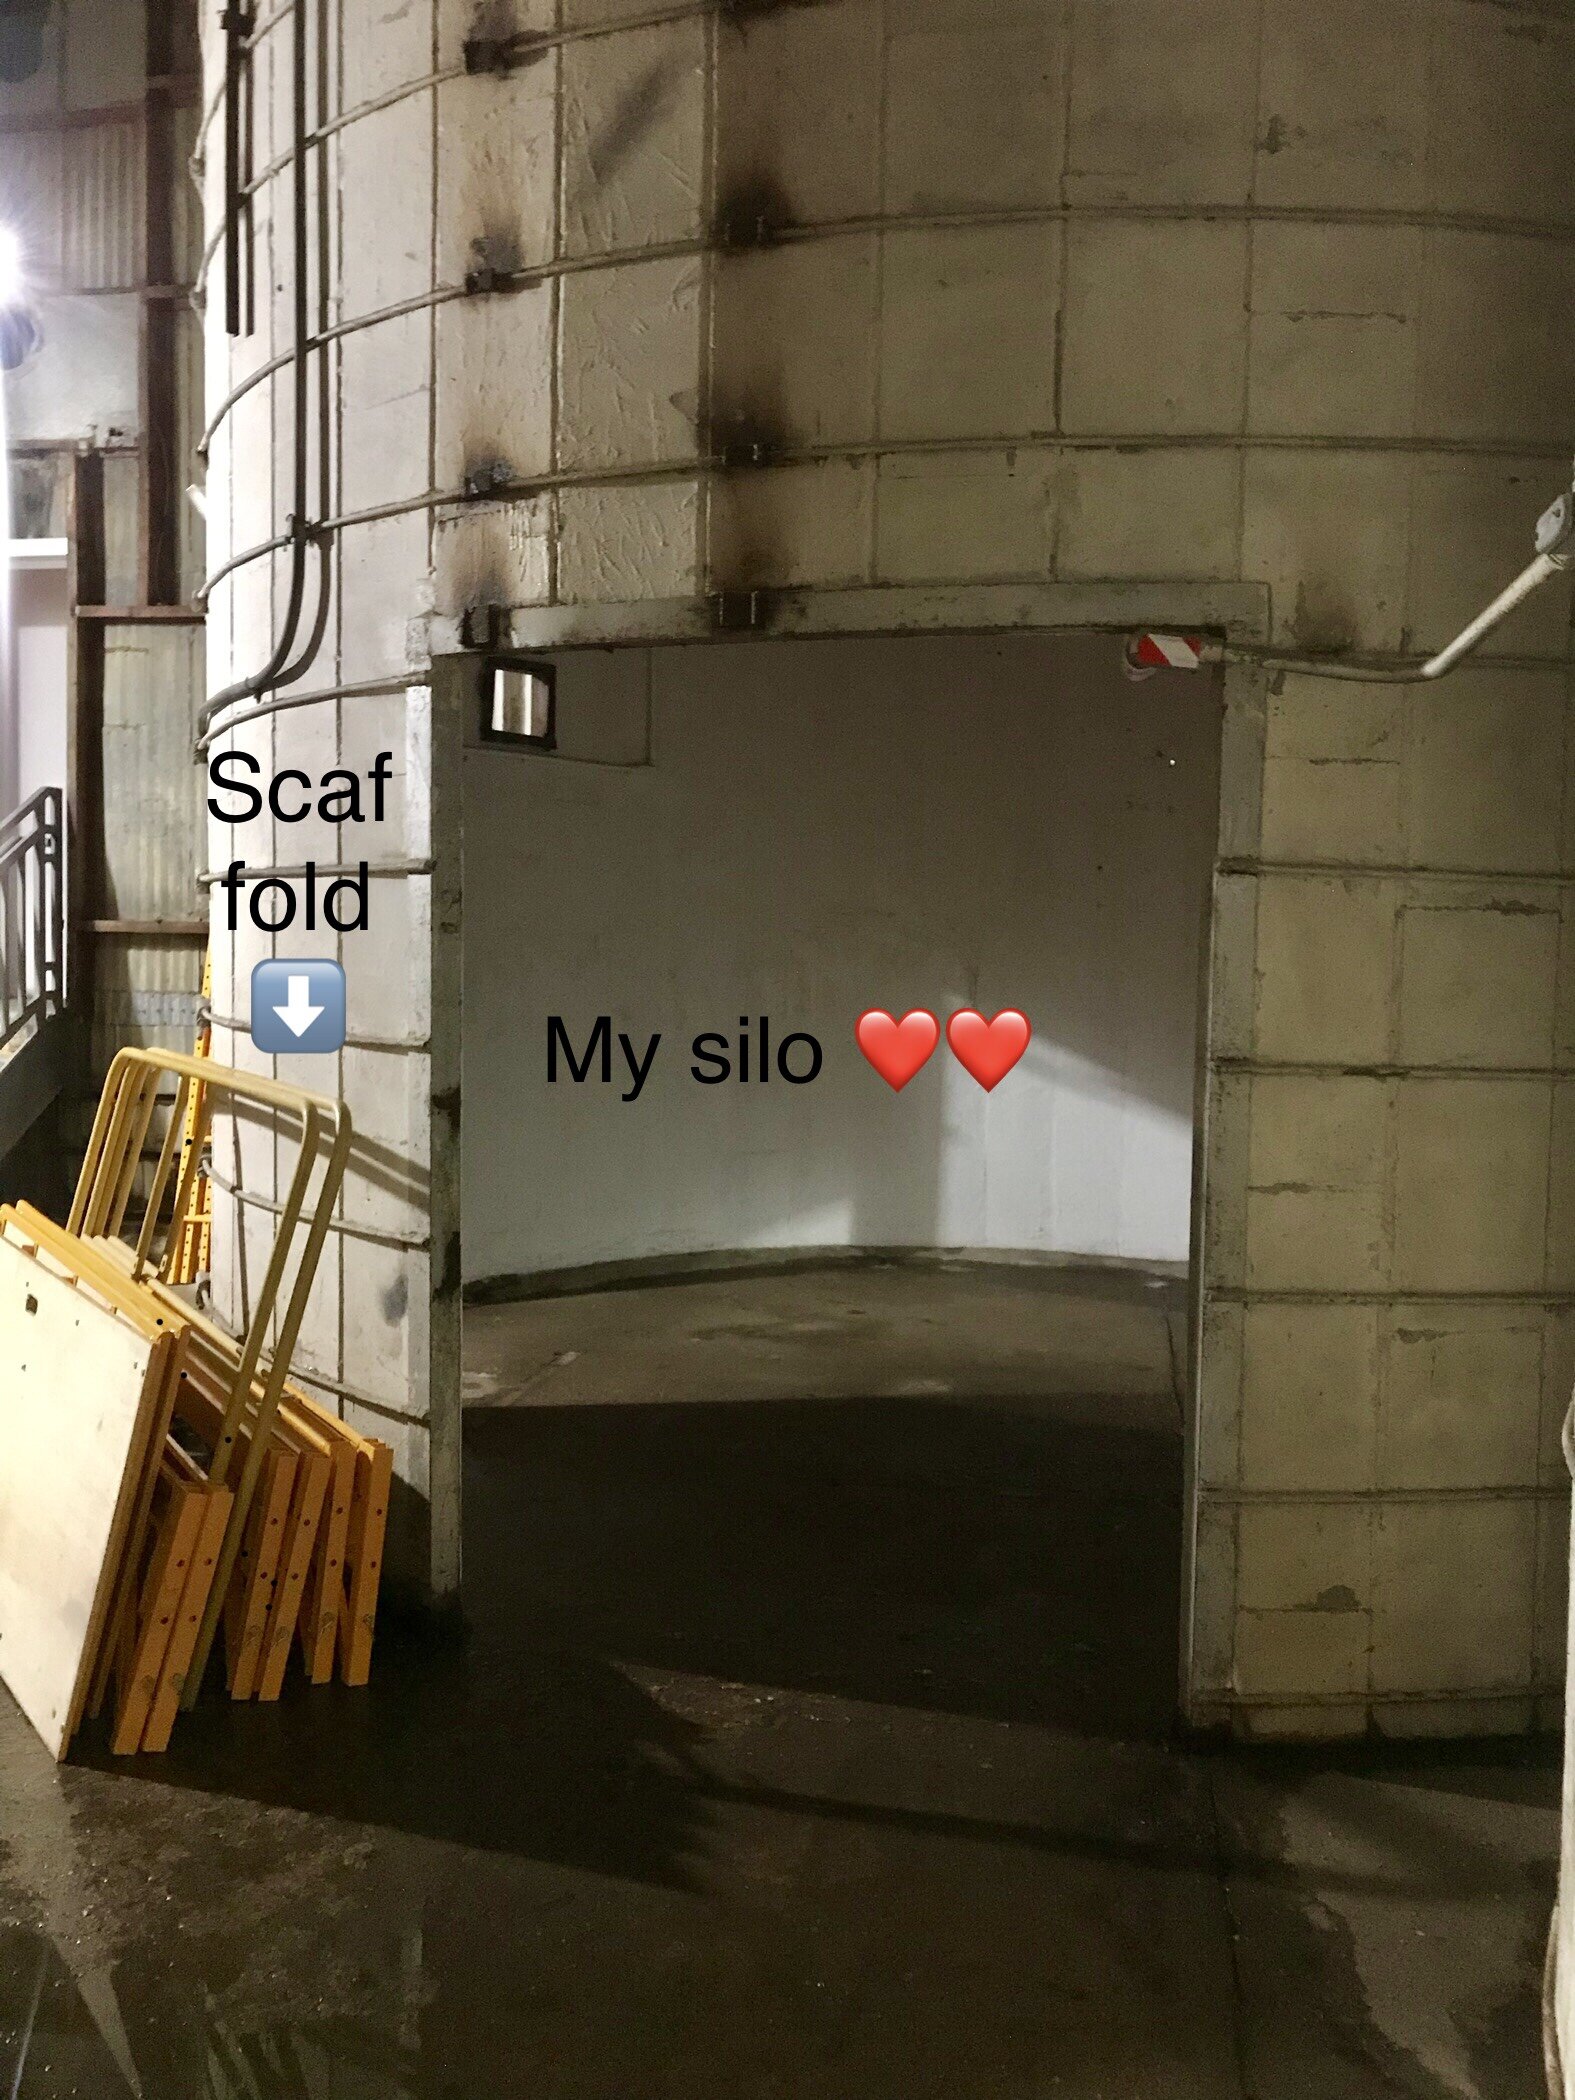
Day two - view from the silo to the east.
Day 2- the scaffold and installers arrived, but the safety pins did not. Unfortunately, the funnel, or shoot hanging down in the middle of the space, is very awkward
Day 3- scaffold-
After sleeping on it, I am going to return the scaffold and rent a scissor lift. An awkward 3 level scaffold is just not safe enough for me.
Lighting- I was able to play with the lighting that is installed; it is too central for my piece. Luckily I bought a clamp on fixture with a twenty-five foot cord and ran it around the space to a place I think I like. I won’t know until some work is up. It does look hopeful.
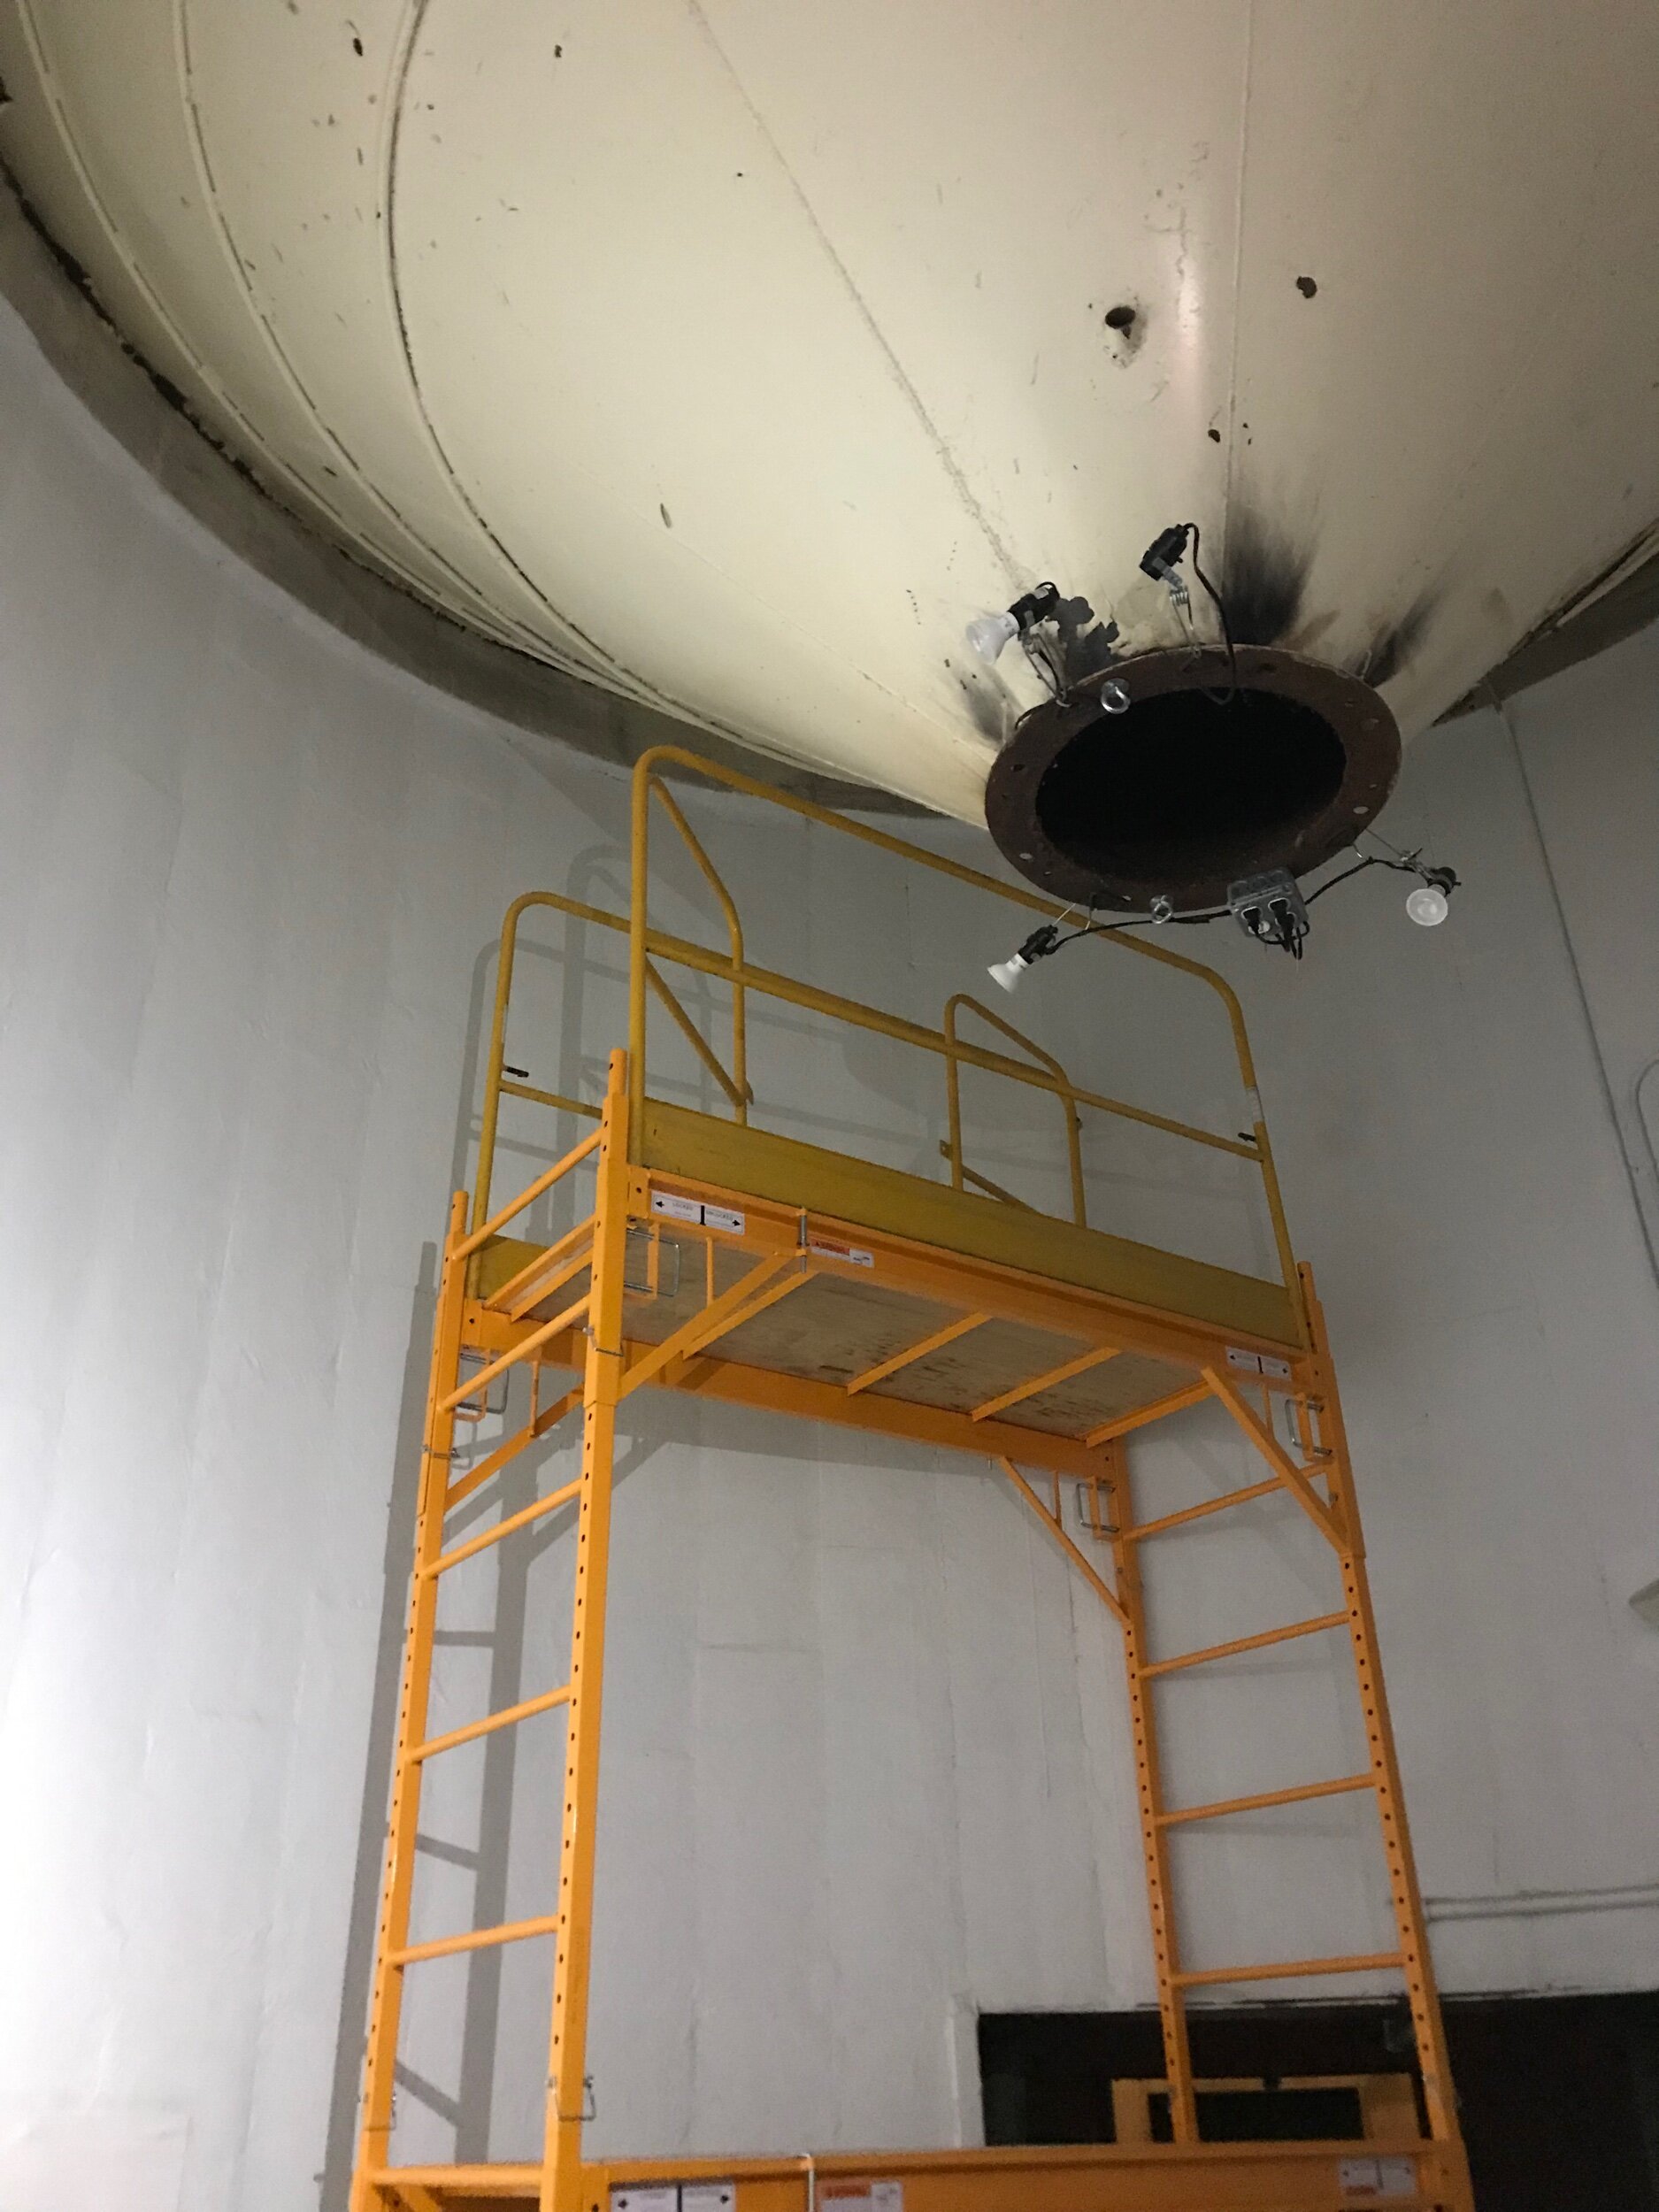
Awkward scaffold and grain shoot

Lighting from the side.
The lighting in the center was not my preference. Lucky for me I happen to have a clamp light fixture which is consistent with the gallery lighting. My fixture has a 25’ cord and there is a place to clamp it right where I think I will like it. I have temporarily wired it in place. I can test it once I get my work delivered.