Since last November I have been dropping hints to Houston Chronicle writer Molly Glentzer to write a native bee article. Earlier this week she called to talk about native bees. Some of the information I talk about when I talk about bees is alarming. She asked if I knew a locacal native bee athaurity, I did not. She said she could find one.
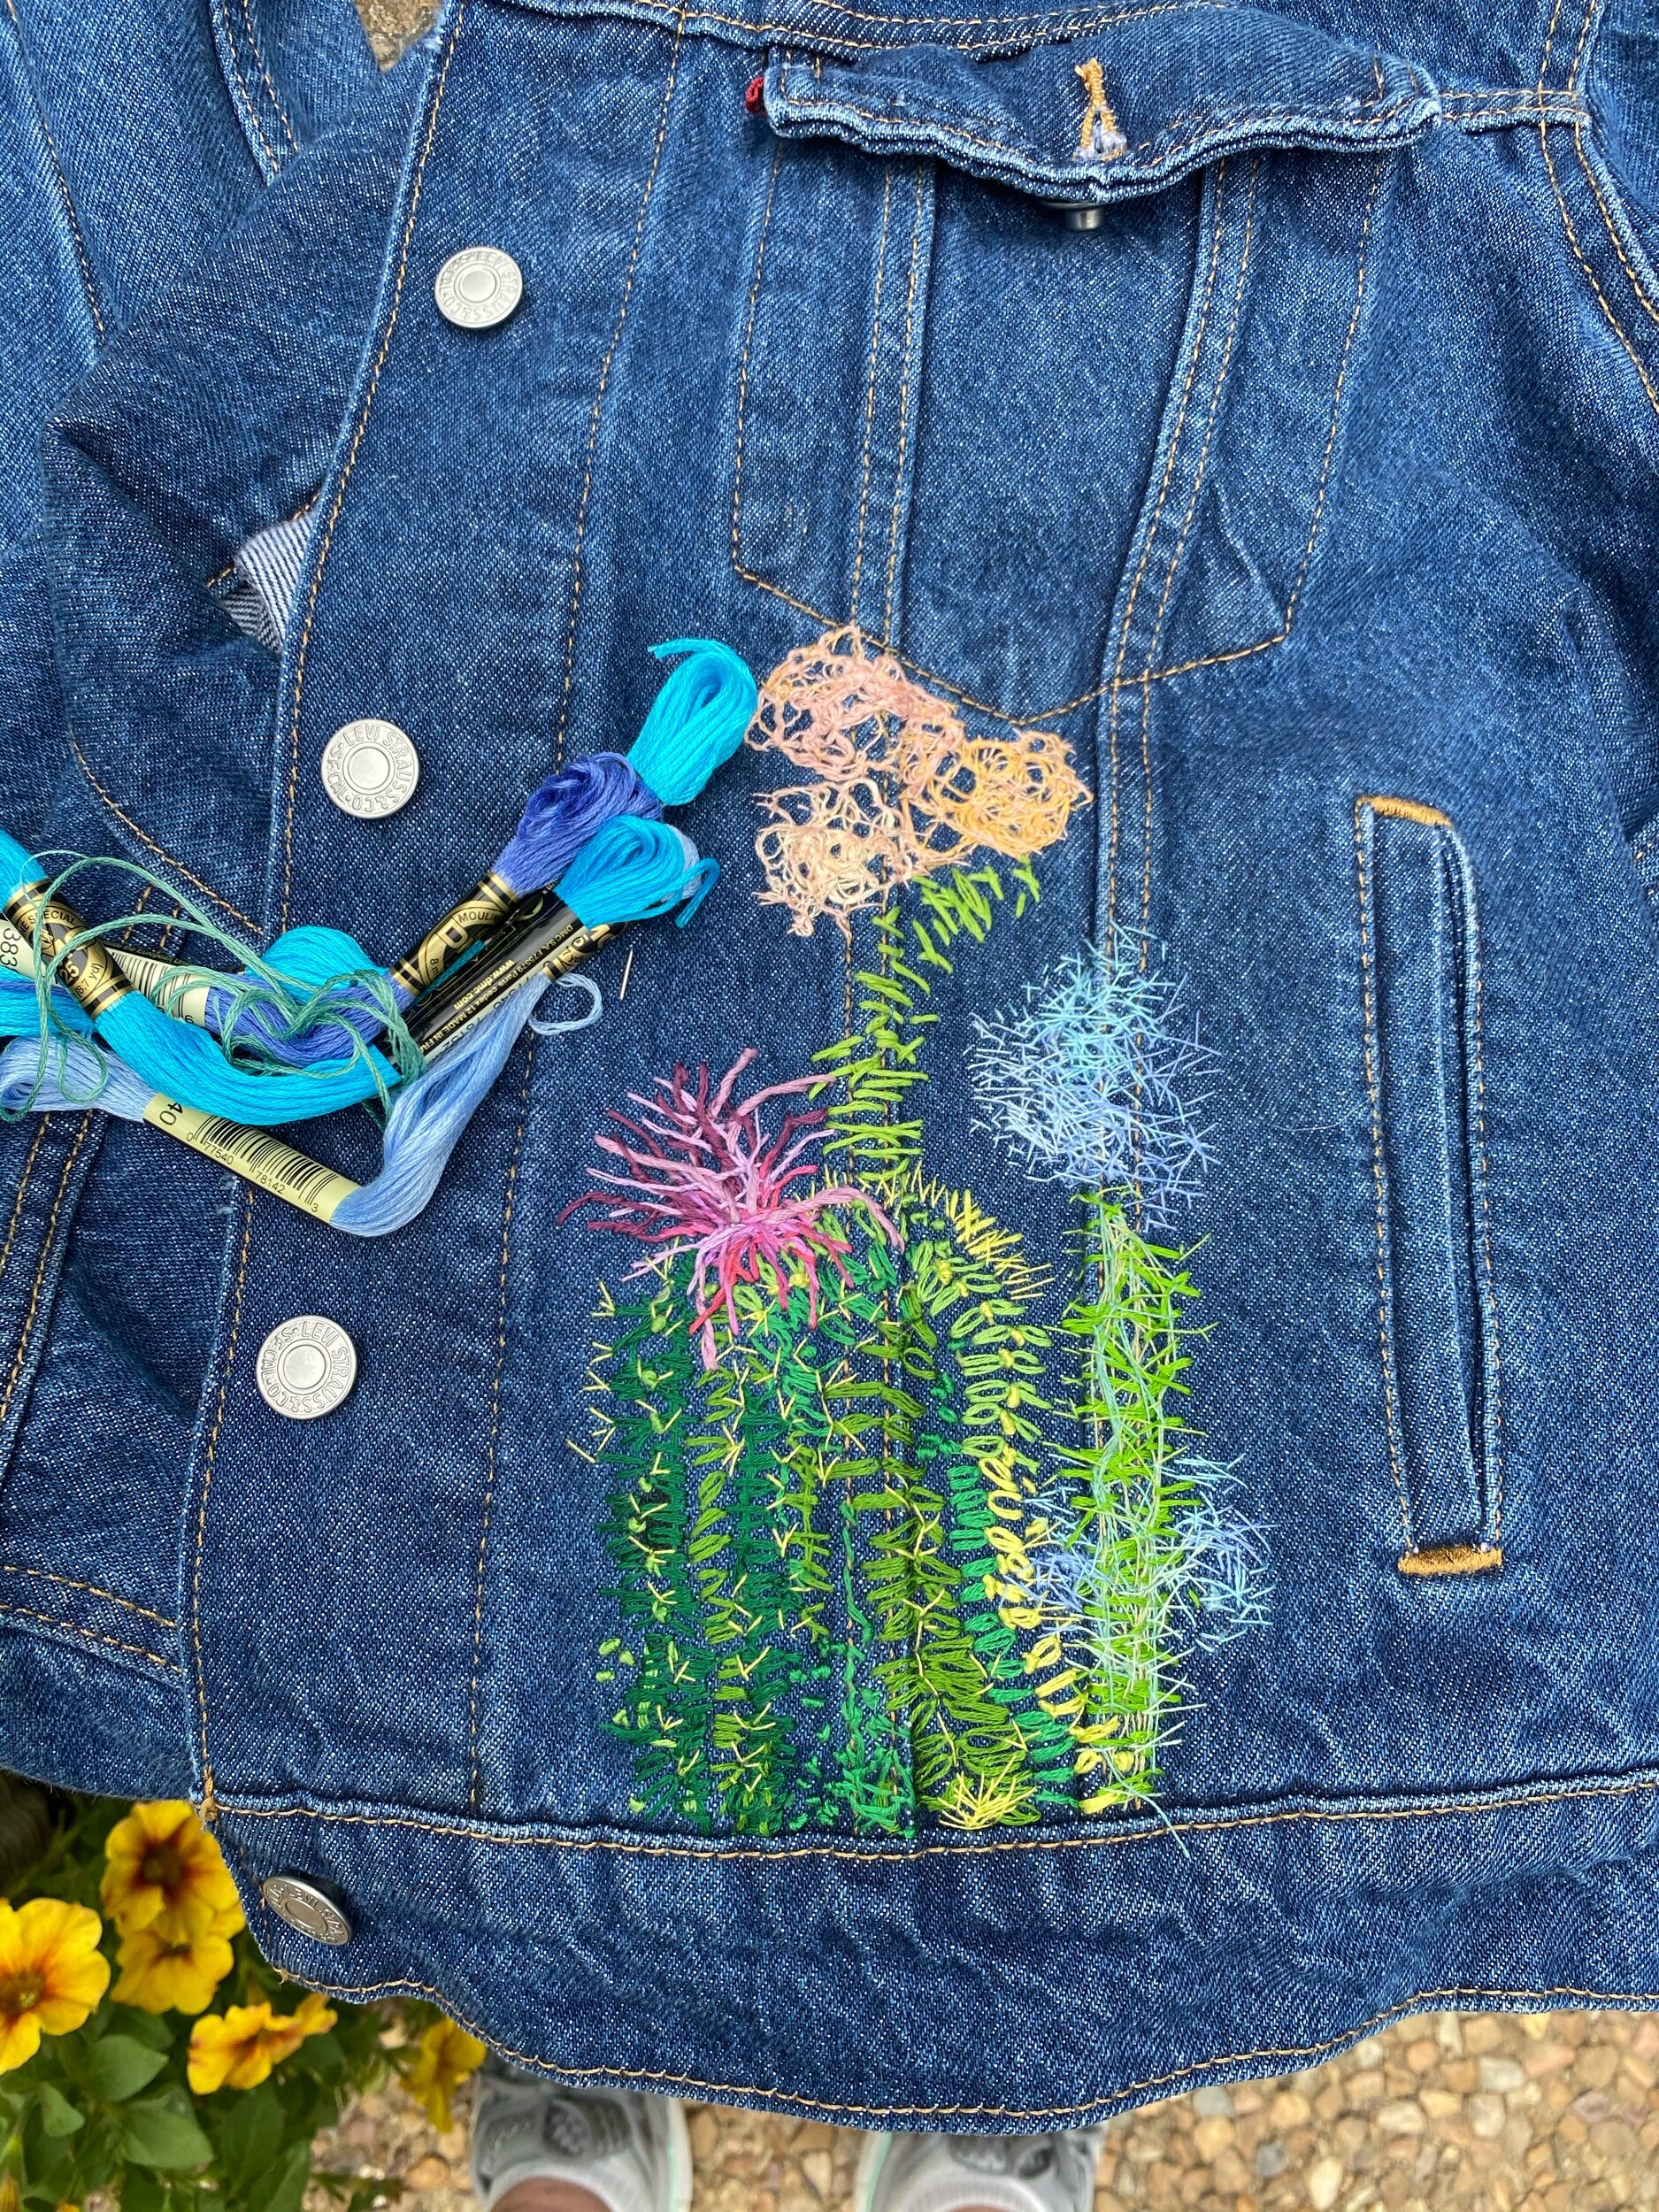
Here article came out today. Sadly she did not mention my bee art activism but the native bee specialist confirmed everything I have been saying. And yes It is alarming. Knowledge is power. - plant native non hybrid plants, blue, purple, yellow and white primarily. Starting the conversation with art activism.
her awesome article is below.
https://www.houstonchronicle.com/life/gardening/article/Your-Houston-garden-needs-native-bees-15287310.php