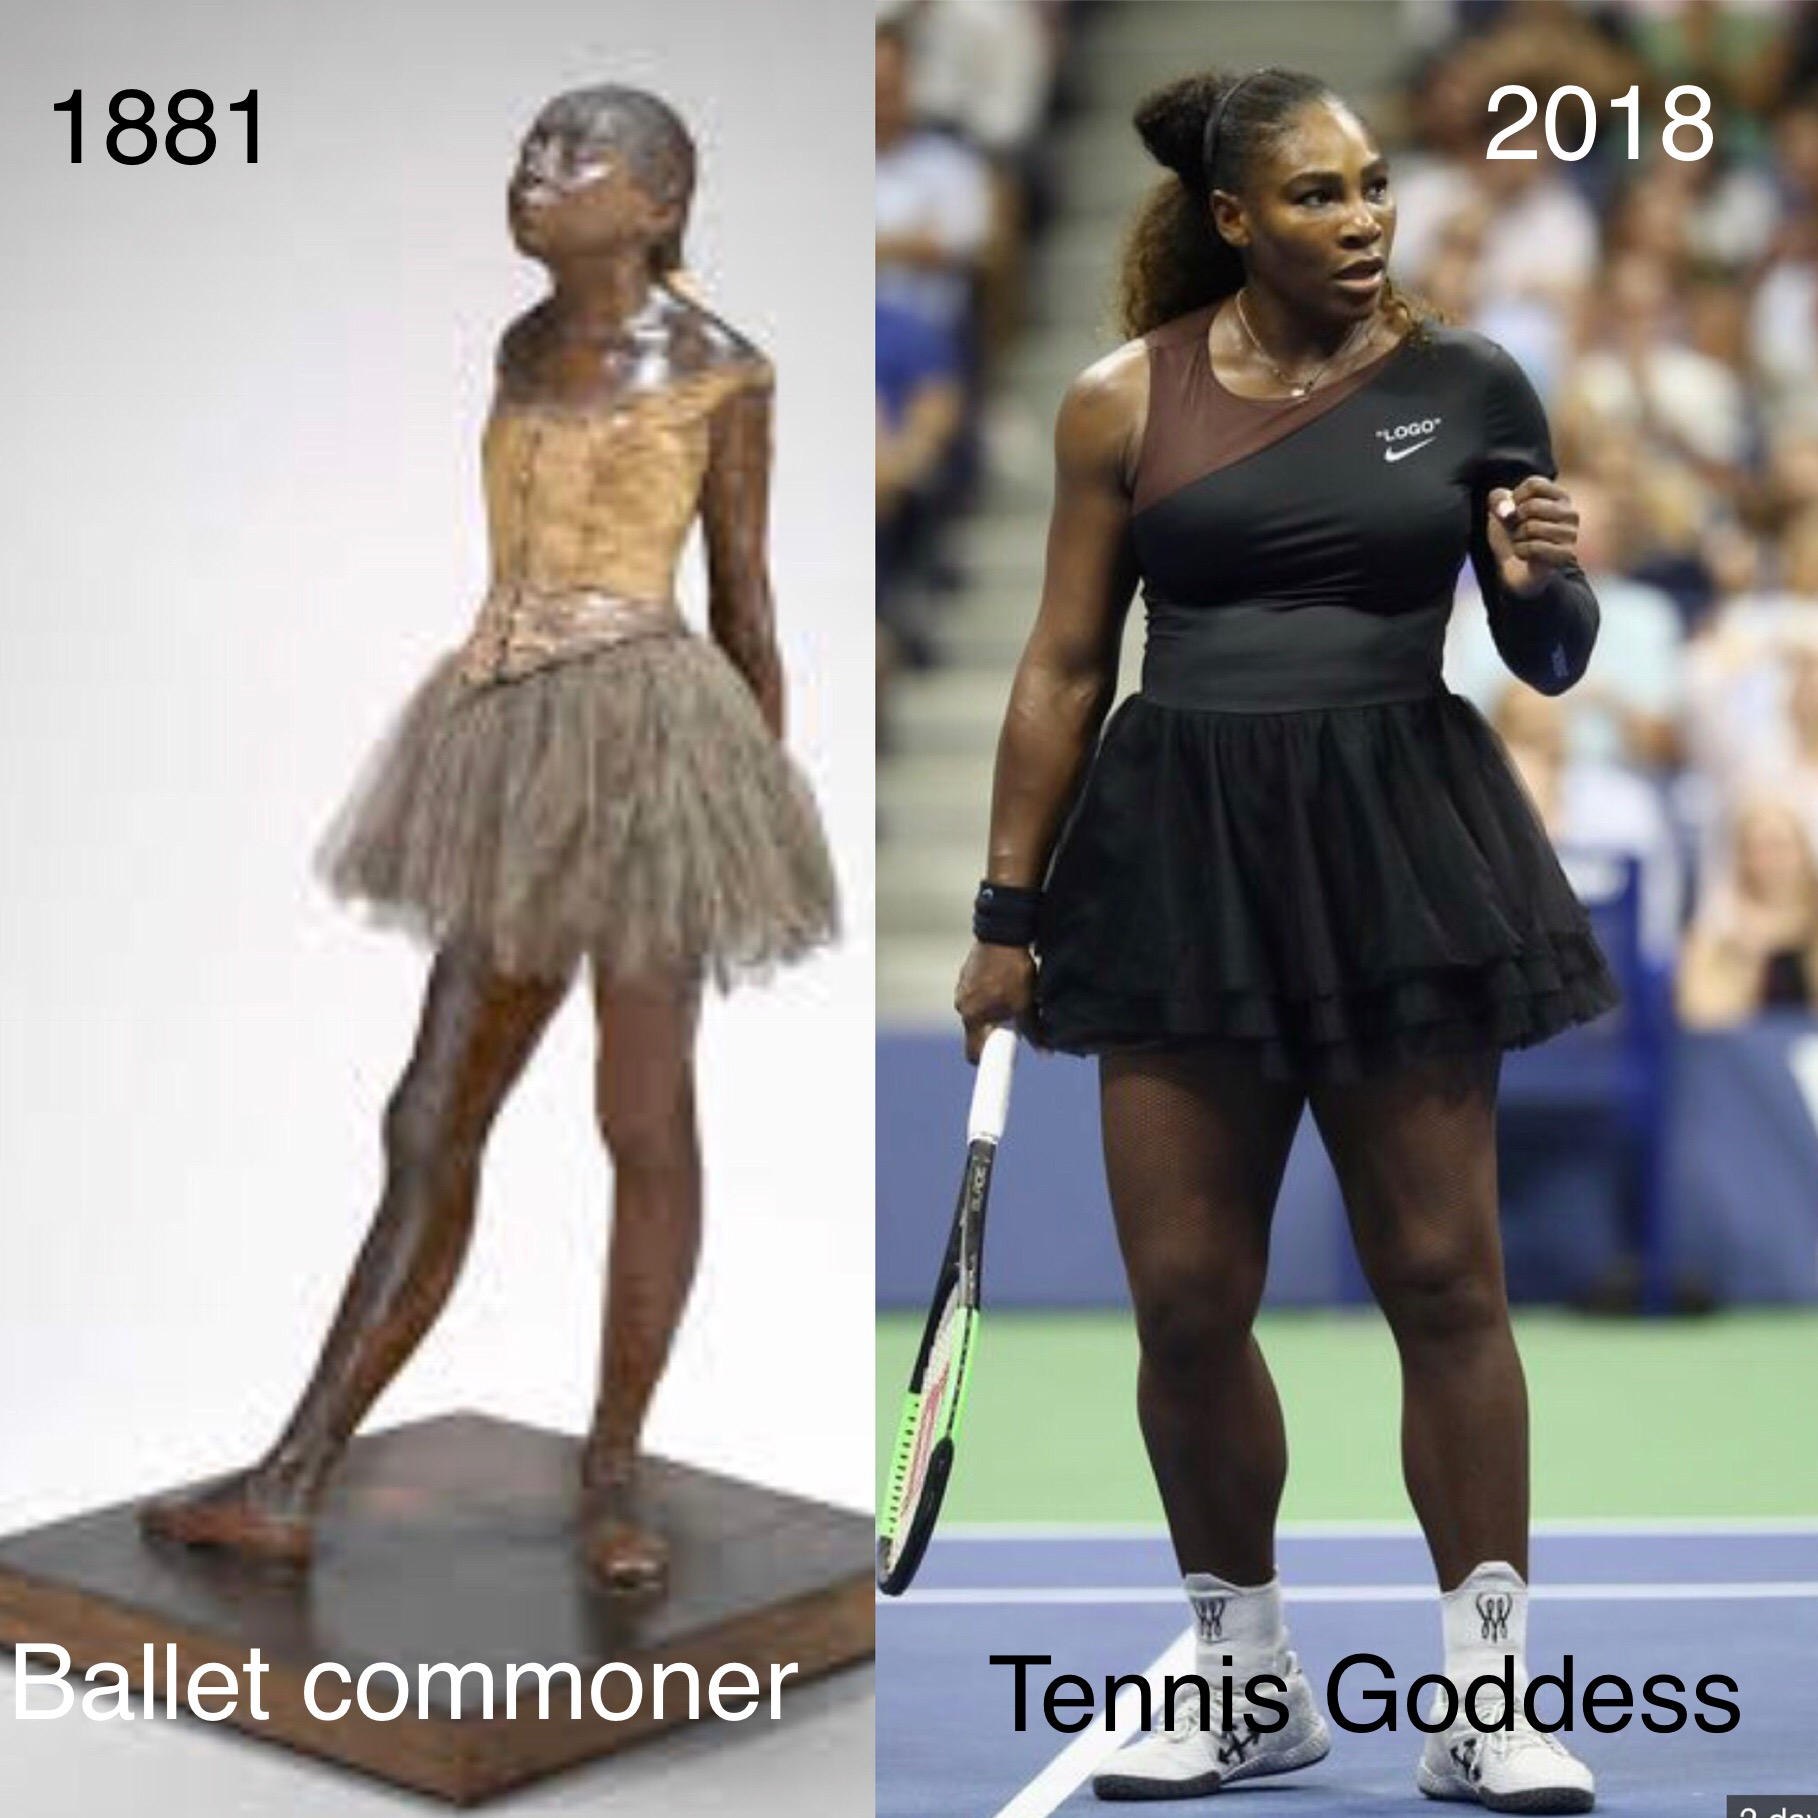
Three things that I love are sculpture, dance and tennis. And if that is not enough, one of my sports heroes, after having her first baby, is in a tutu at the US Open tennis Tournament. My heart is singing and bubbling over.
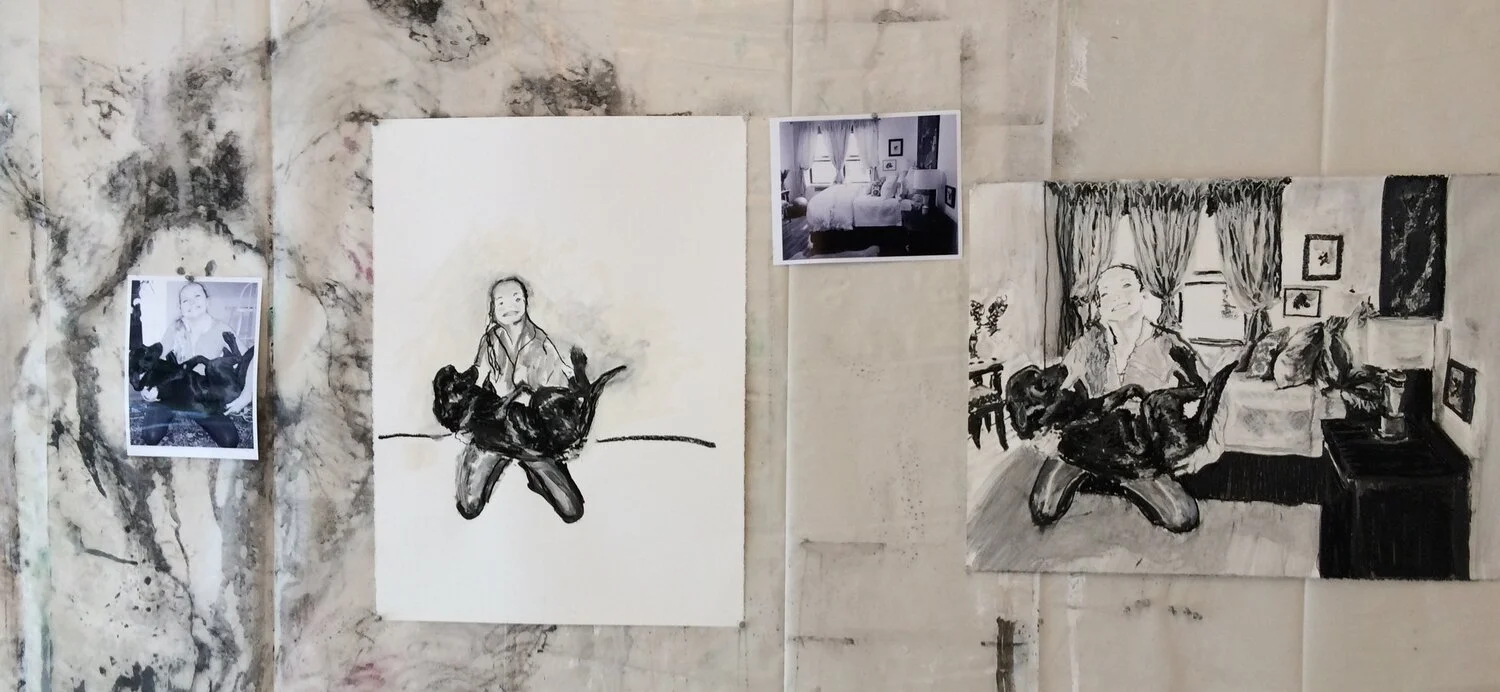
I may have to make a bronze Serena in a found object tutu. It won’t be the first tutu I have ever made. 🤗 And it won’t be the first sculpture I have done that was inspired by Serena.
Below is a little back story on “the little Dance”
“Edgar Degas created a sensation when he presented his Little Dancersculpture at the Impressionist exhibition in Paris in 1881. His intention was to portray a young girl who dreamed of having an “illustrious life” in ballet, but who also kept “her identity as a girl from the streets of Paris.”
The public, accustomed to sculptures that showcased idealized women in marble, was outraged that Degas’s work depicted such a common subject—a young dancer drawn from everyday life and whose attitude reflected nothing goddess-like or heroic. Moreover, instead of chiseling her nobly in marble, he had rendered her in beeswax and found objects. In the face of rampant public disapproval, Degas removed the sculpture from display and stored it in a closet, where it resided in anonymity for the next four decades until financier Paul Mellon acquired the original wax sculpture in 1956 and gifted it to the National Gallery of Art in 1985.” -
ByAmy Henderson
smithsonian.com
November 4, 2014
Read more: https://www.smithsonianmag.com/smithsonian-institution/true-story-little-ballerina-who-influenced-degas-little-dancer-180953201/#6te5BSIJRy3wVyYX.99
Give the gift of Smithsonian magazine for only $12! http://bit.ly/1cGUiGv
Follow us: @SmithsonianMag on Twitter
Read more: https://www.smithsonianmag.com/smithsonian-institution/true-story-little-ballerina-who-influenced-degas-little-dancer-180953201/#6te5BSIJRy3wVyYX.99
Give the gift of Smithsonian magazine for only $12! http://bit.ly/1cGUiGv
Follow us: @SmithsonianMag on Twitter