Finally, I feel like I can make some progress. Step one is to make a structure that I can hang my sculptures from. The gallery owners are trying to preserve the space in its original condition, and ask the artists to deface the silo as little as possible when installing our work. Normally I use acrylic hangers that I designed to hold the pieces. Each bracket takes four anchors. I feel like that is too much destruction to the silo. Instead, I decide to buy some black 14 gauge wire fencing, 20 feet X 36”. The silo funnel has metal bands tack welded to it. The middle metal band is 31” from the wall. I cut the fencing in 31” pieces. I cut one end in a concave shape and the other end convex. The convex end will rest on top of the metal band and the concave end will be supported by two screws in the cinderblock wall. This is 19‘ high, and I feel pretty good that my screw holes will only be minimally defacing the silo.

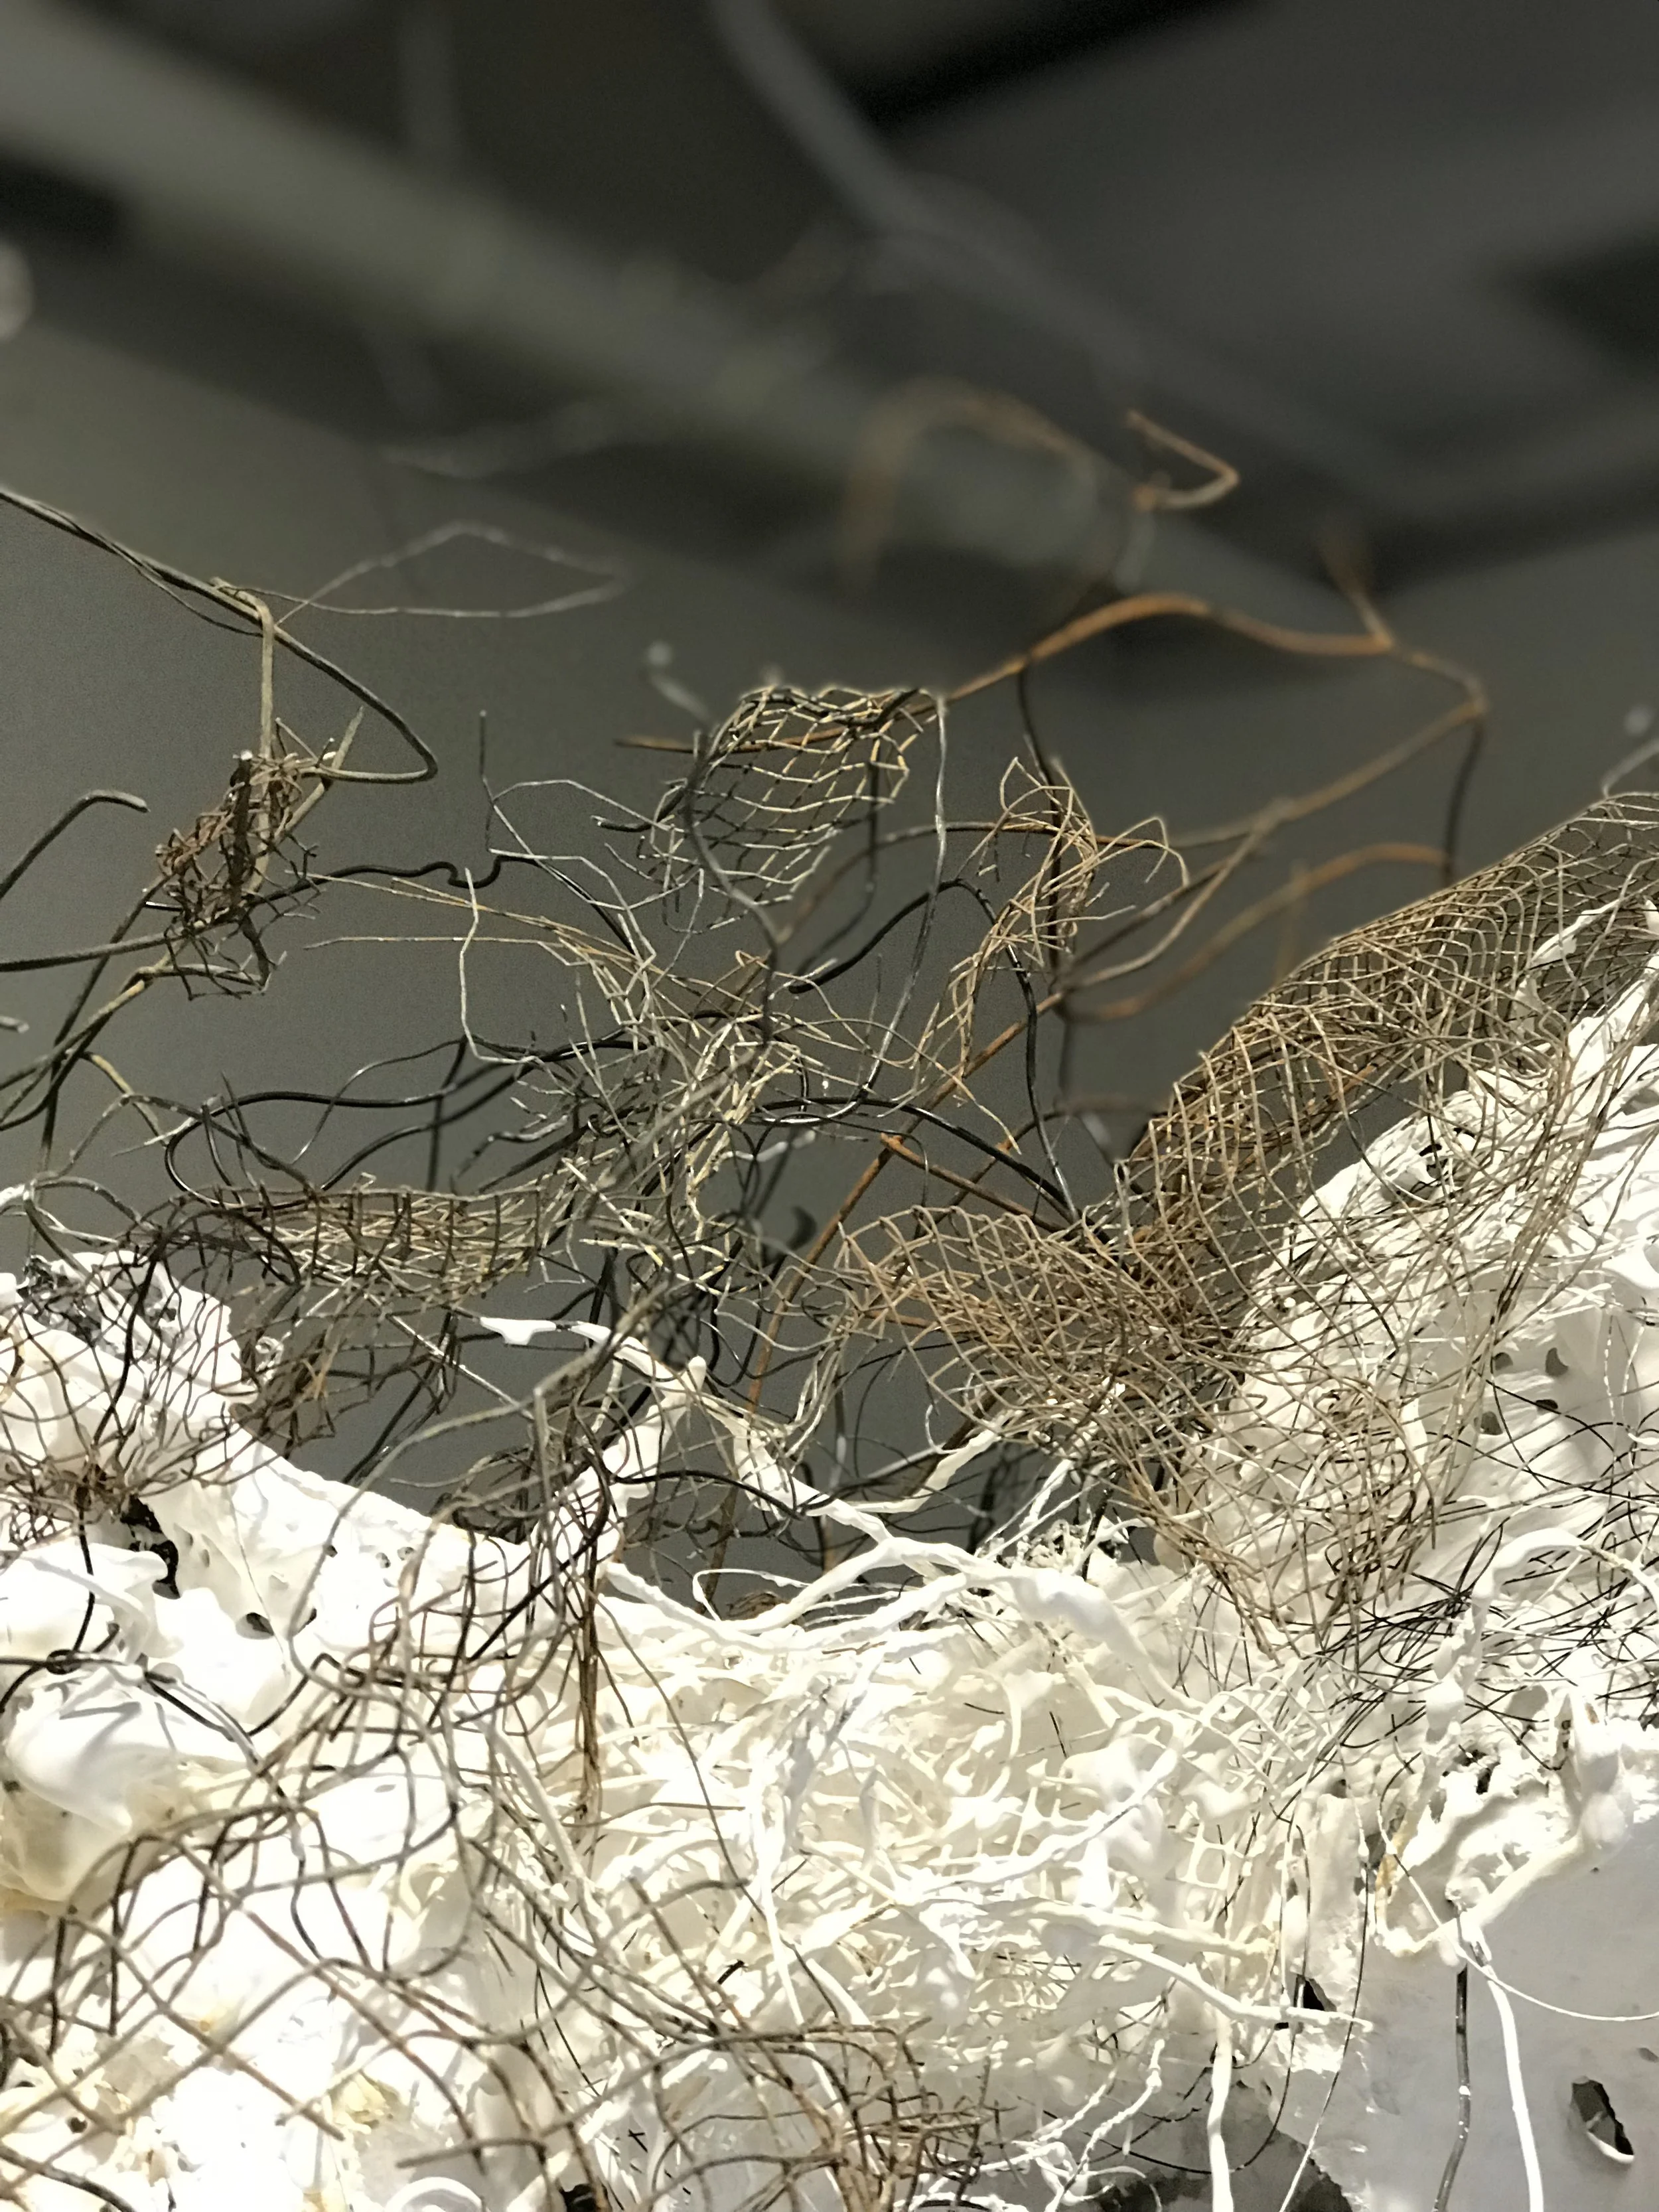
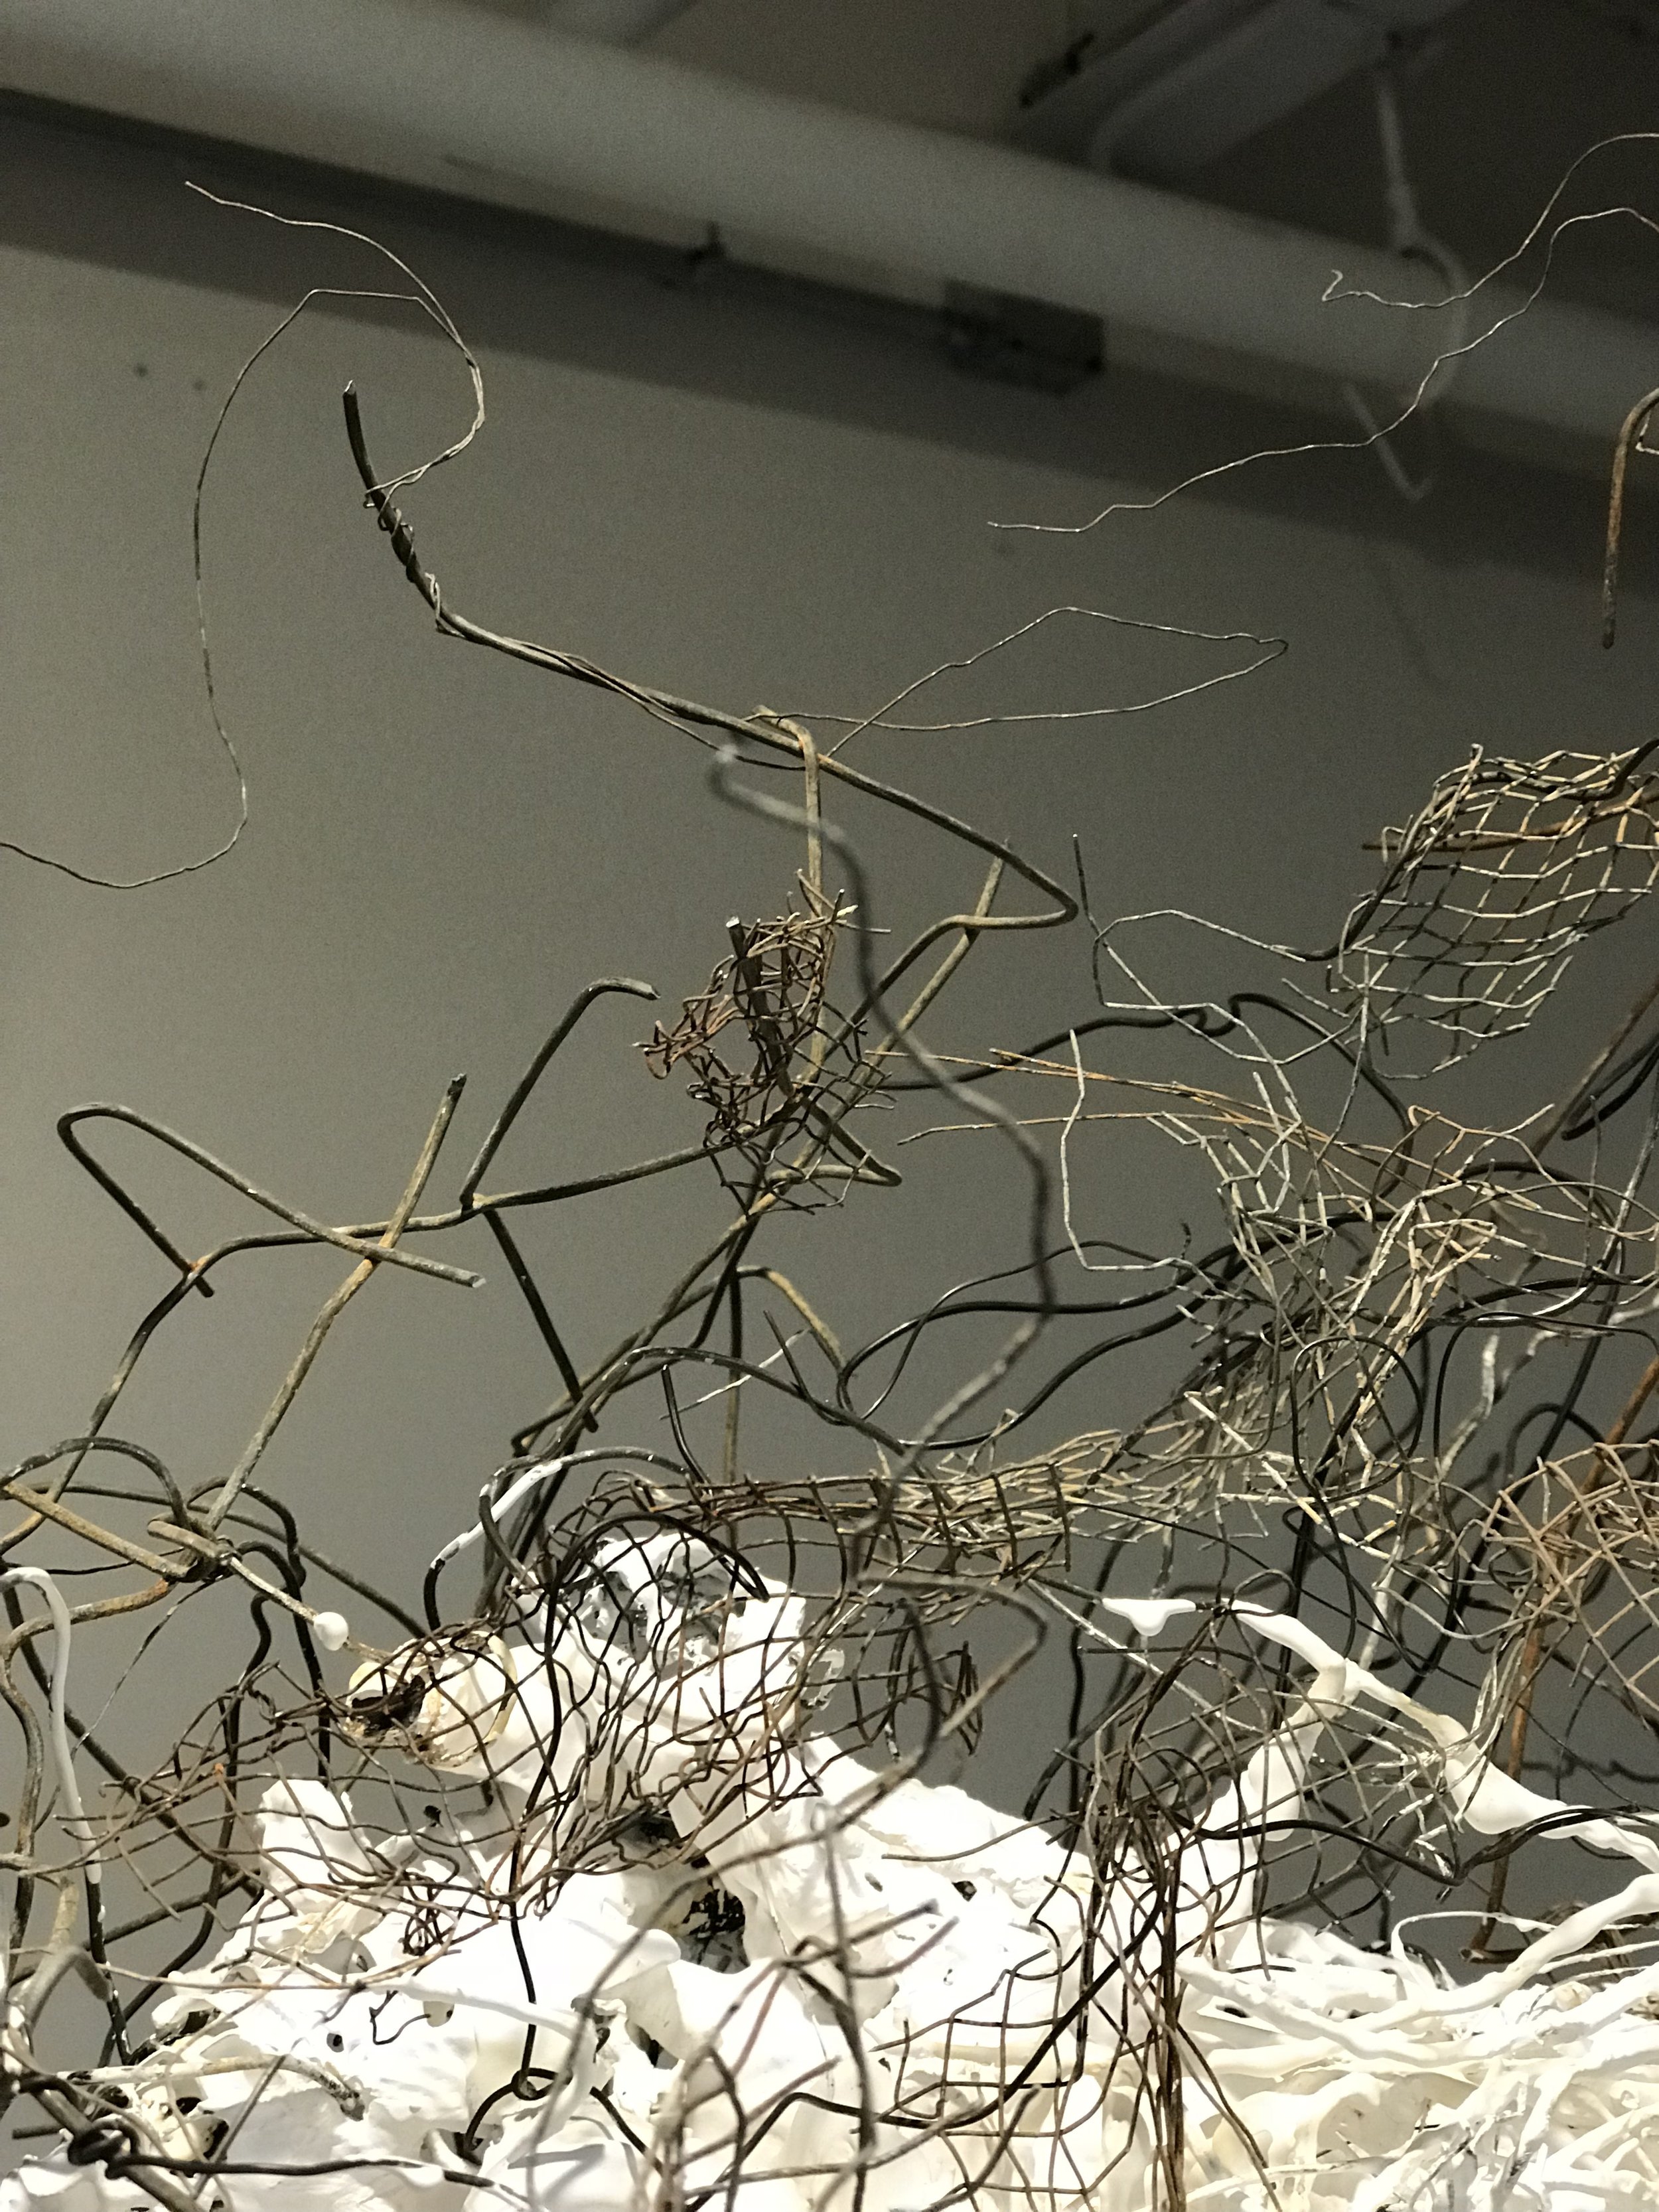
Close up of support system
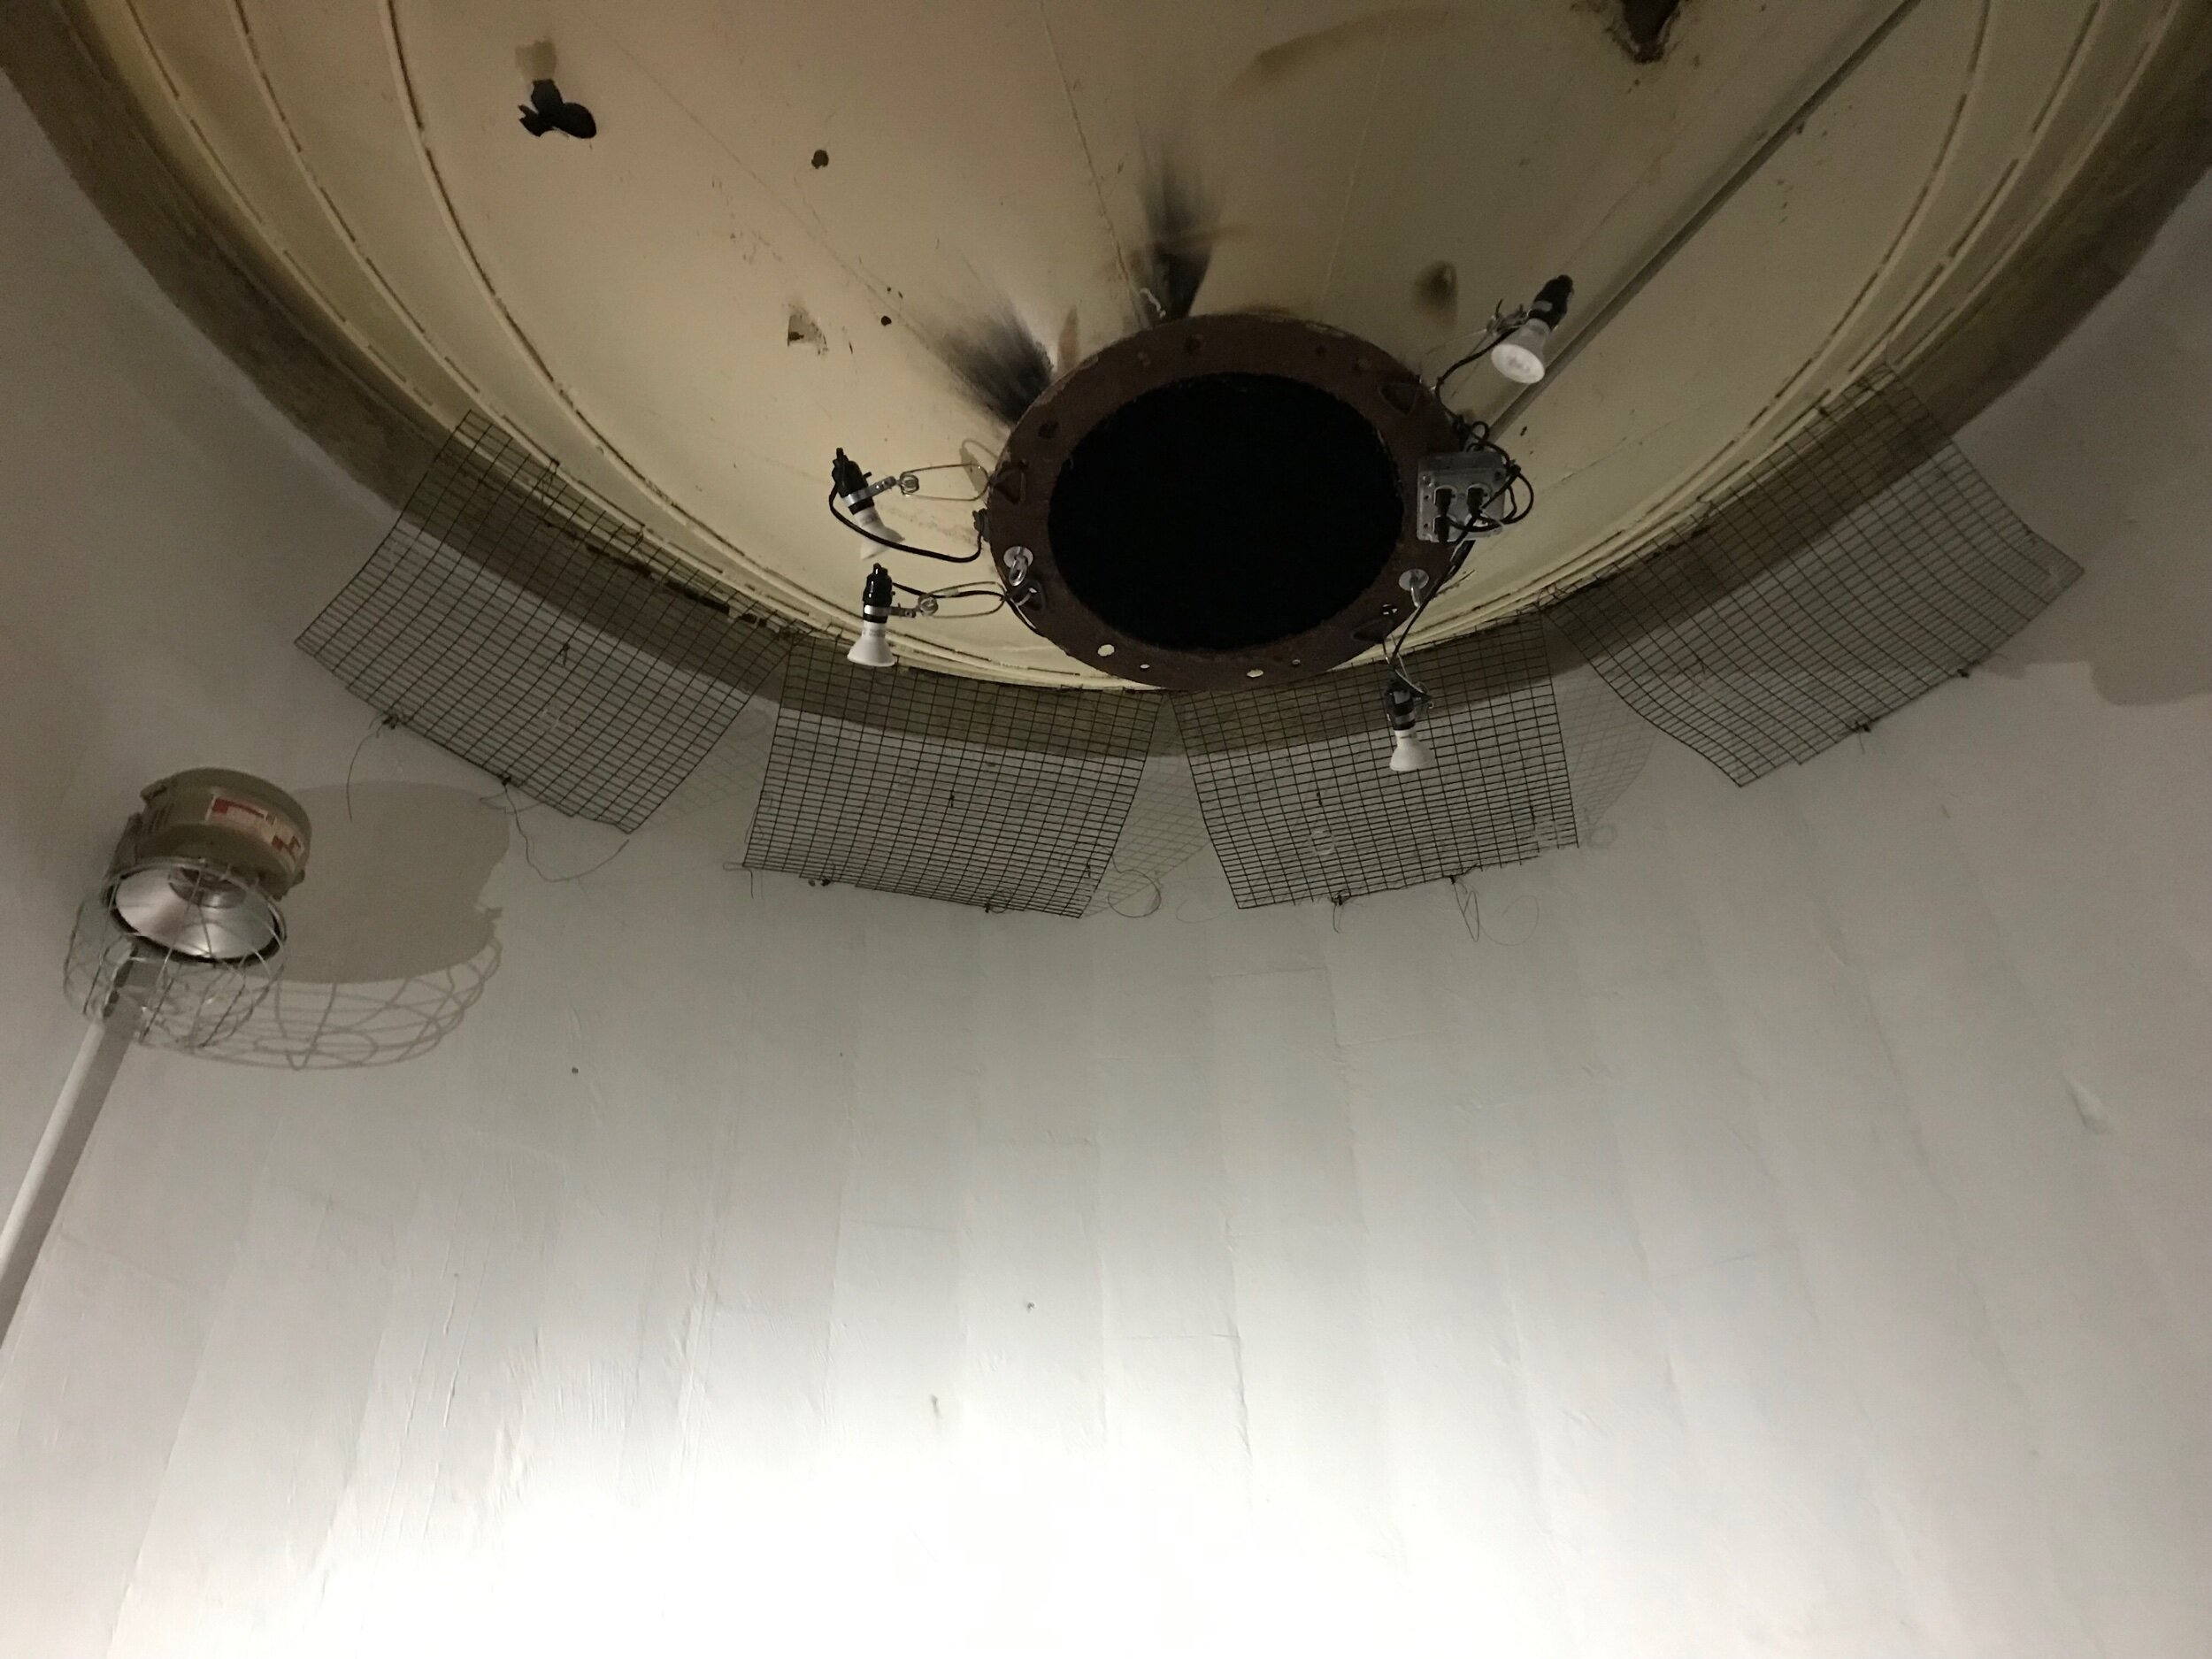
The moment I got off the scissor lift and looked up at my support system, I realized I had made a big mistake. I should have painted them white. The black stood out too much on the white walls. I could not sleep that night trying to decide if I should repaint them... It was not easy, but I spent the next half day painting the system 19’ in the air white.
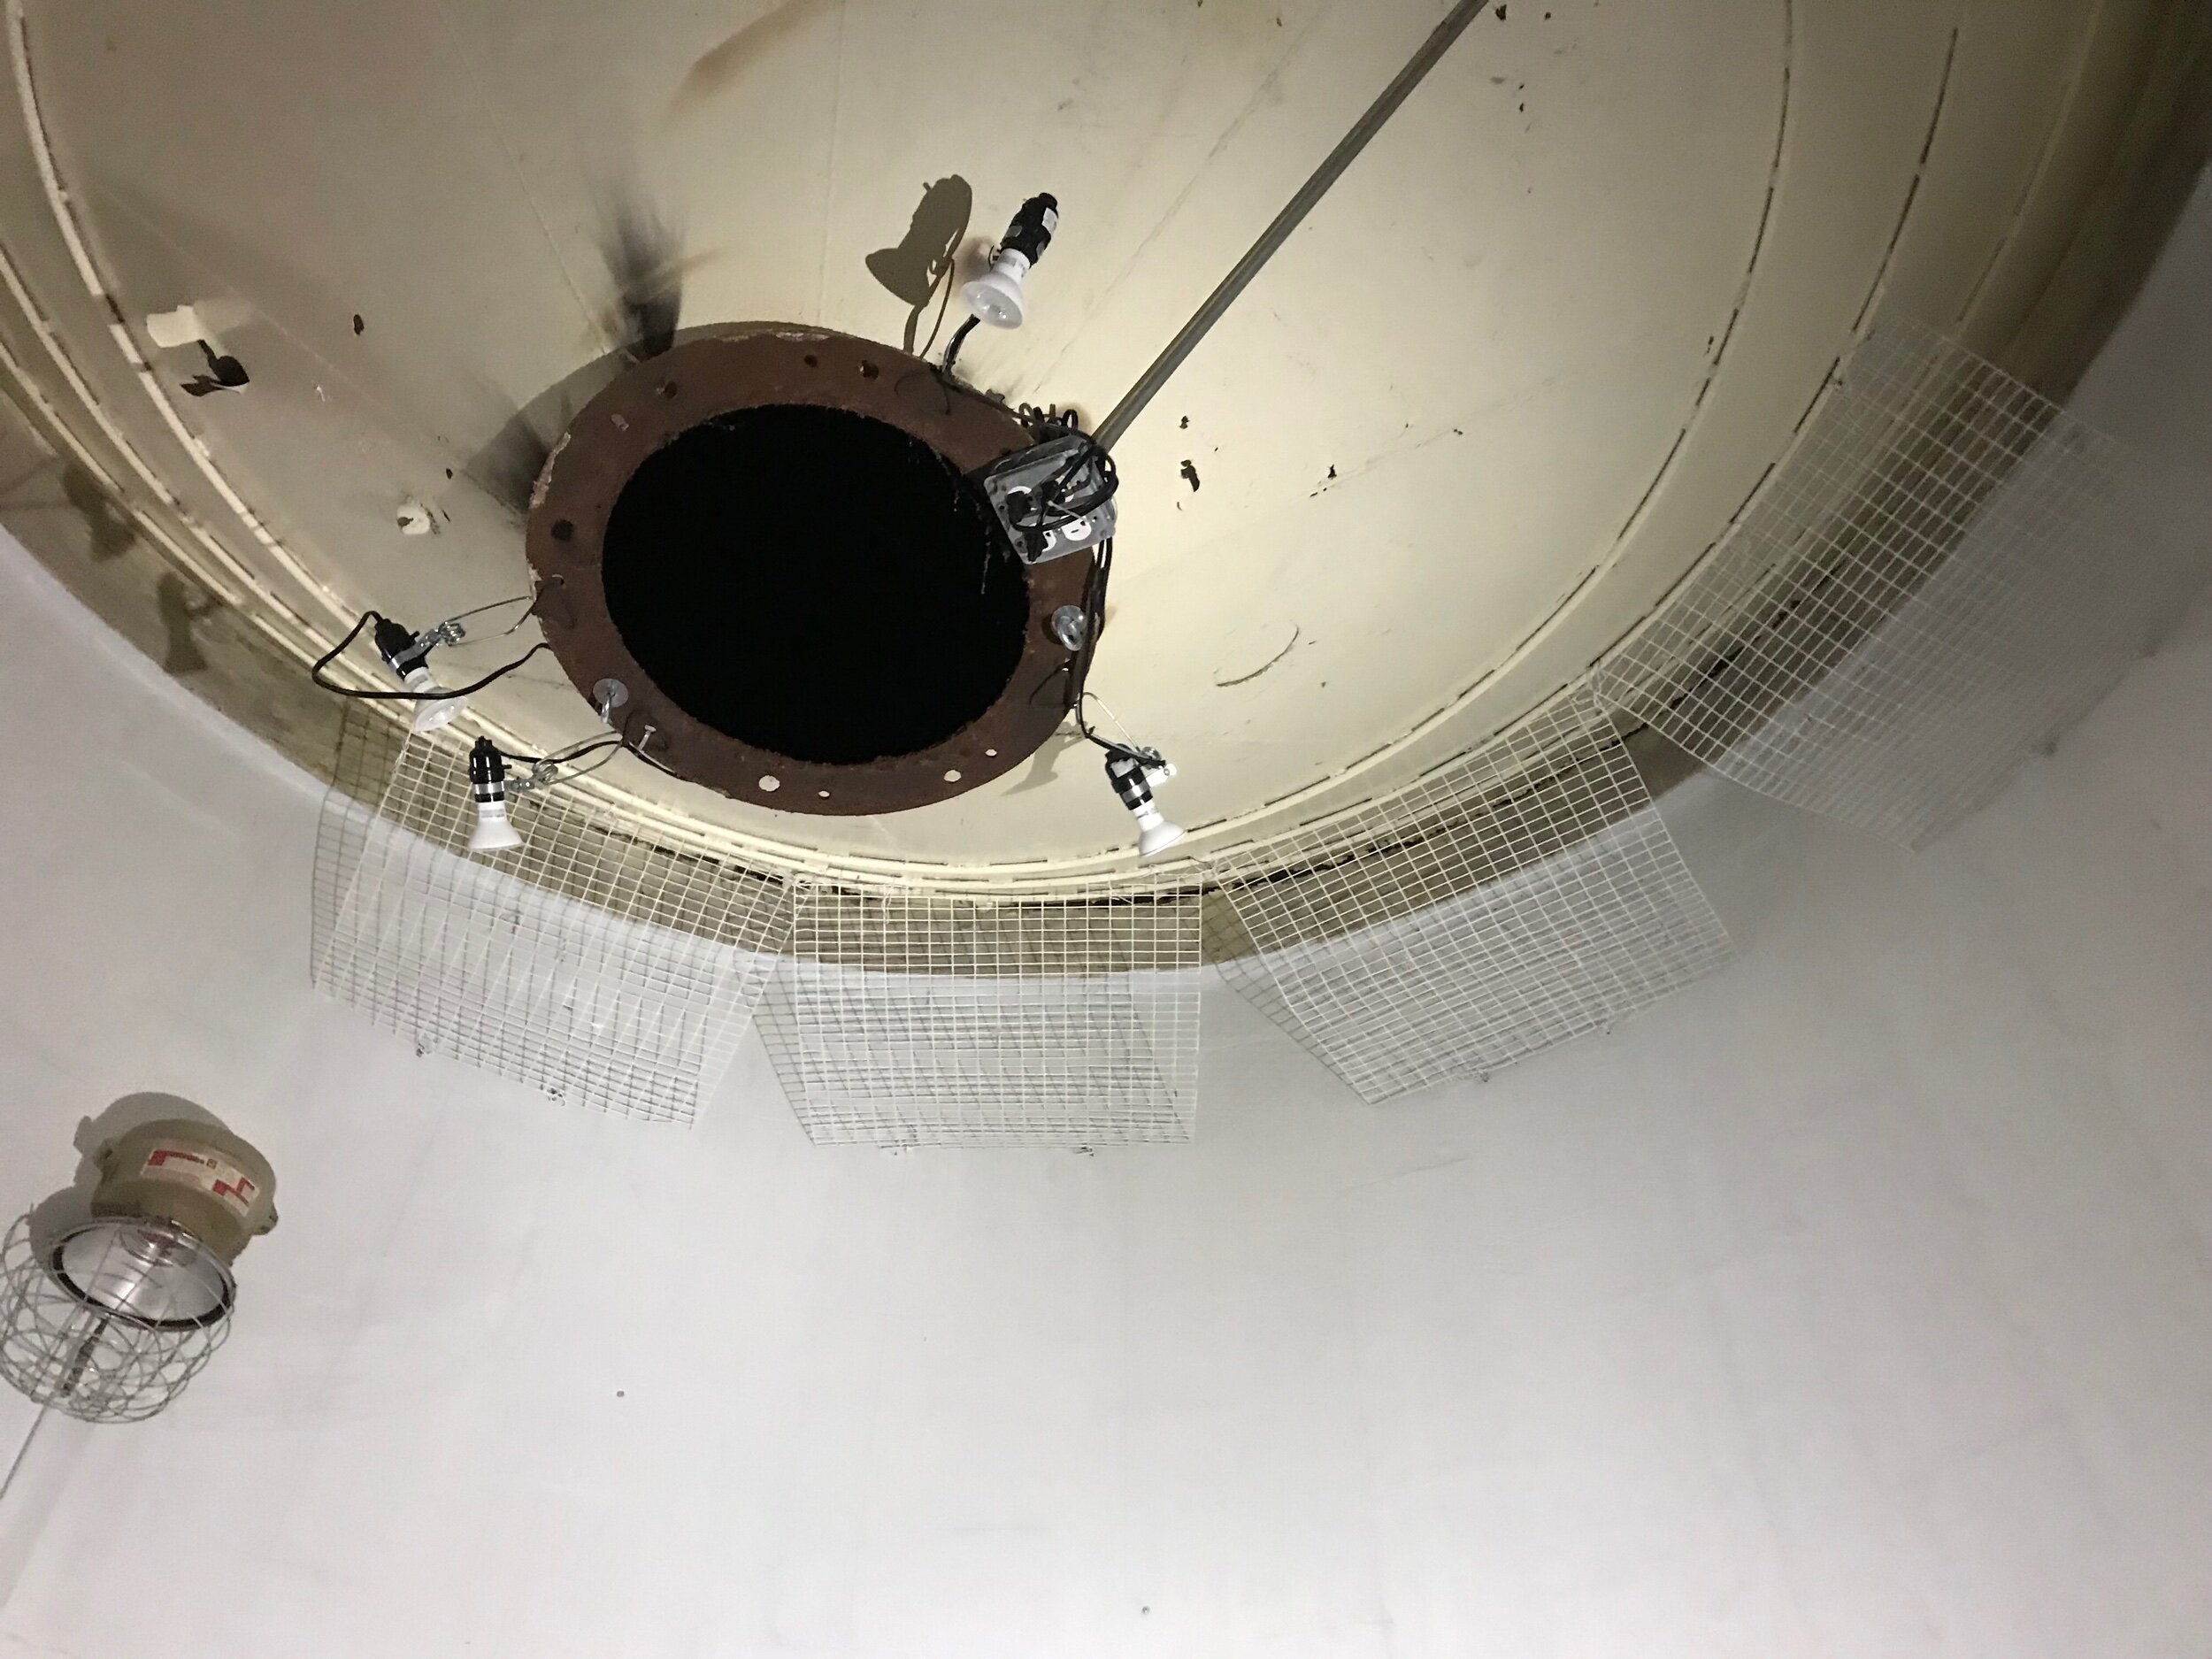
I think it was worth it, the support system is much less intrusive.
I hung from the support system 8 fishing tackle swivels with 25 lb filament attached to each swivel. Four of the swivels are 36” apart 18” from the wall. At these distances the pieces will not touch each other or the wall. Everything should move independently. These are for the big pieces. The other swivels are for smaller pieces and are spaced randomly. I am guesstimating where I want these. Tomorrow I will start hanging work.