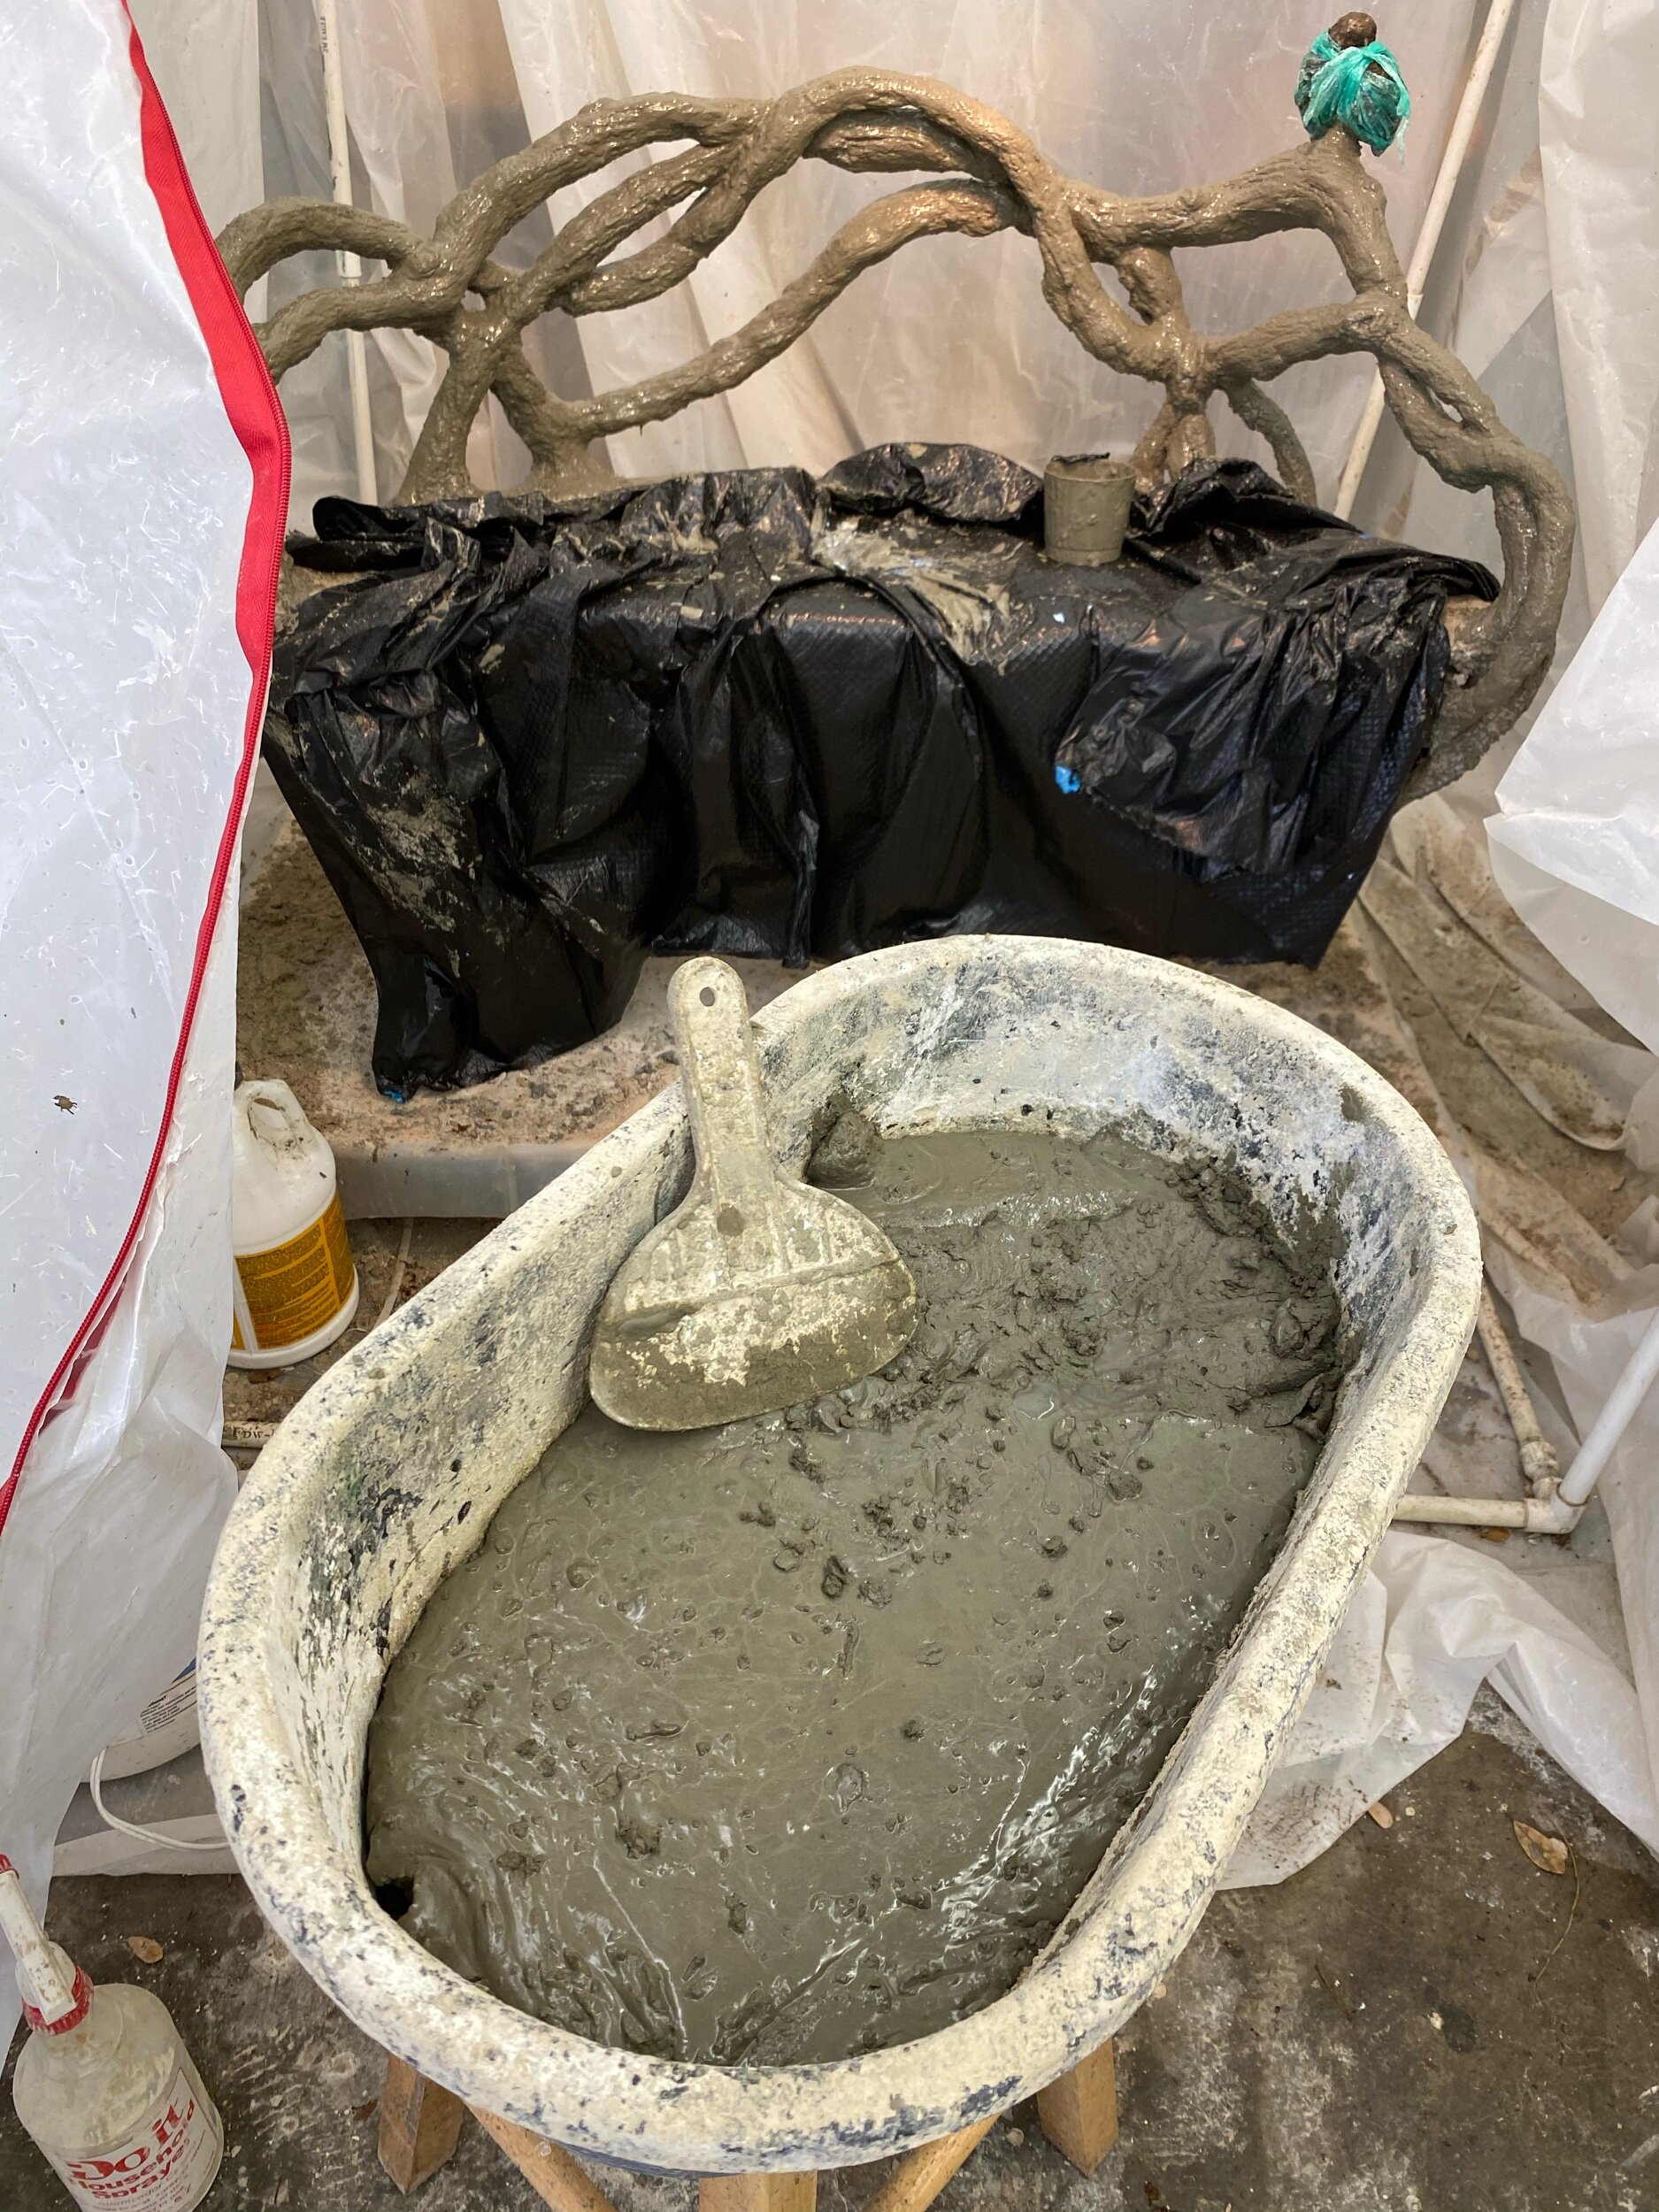
Today I poured 30 lbs. of white concrete and 29.5 lbs. of grey Portland for the seat. In the mix was .5 lbs. of the ashes of Robert Ira Travis, my dad. He was born on December 10, 1927 he passed away March 24, 2018. When I measured out the ashes thIs small metal piece was in his ashes. I think it must have been part of one of his four hip replacements or two knee replacements. It was like finding the toy in a box of cracker jacks. I think Griffin and Alex will enjoy it embedded in their piece.

Bolt, name and ashes of R.I. Travis.
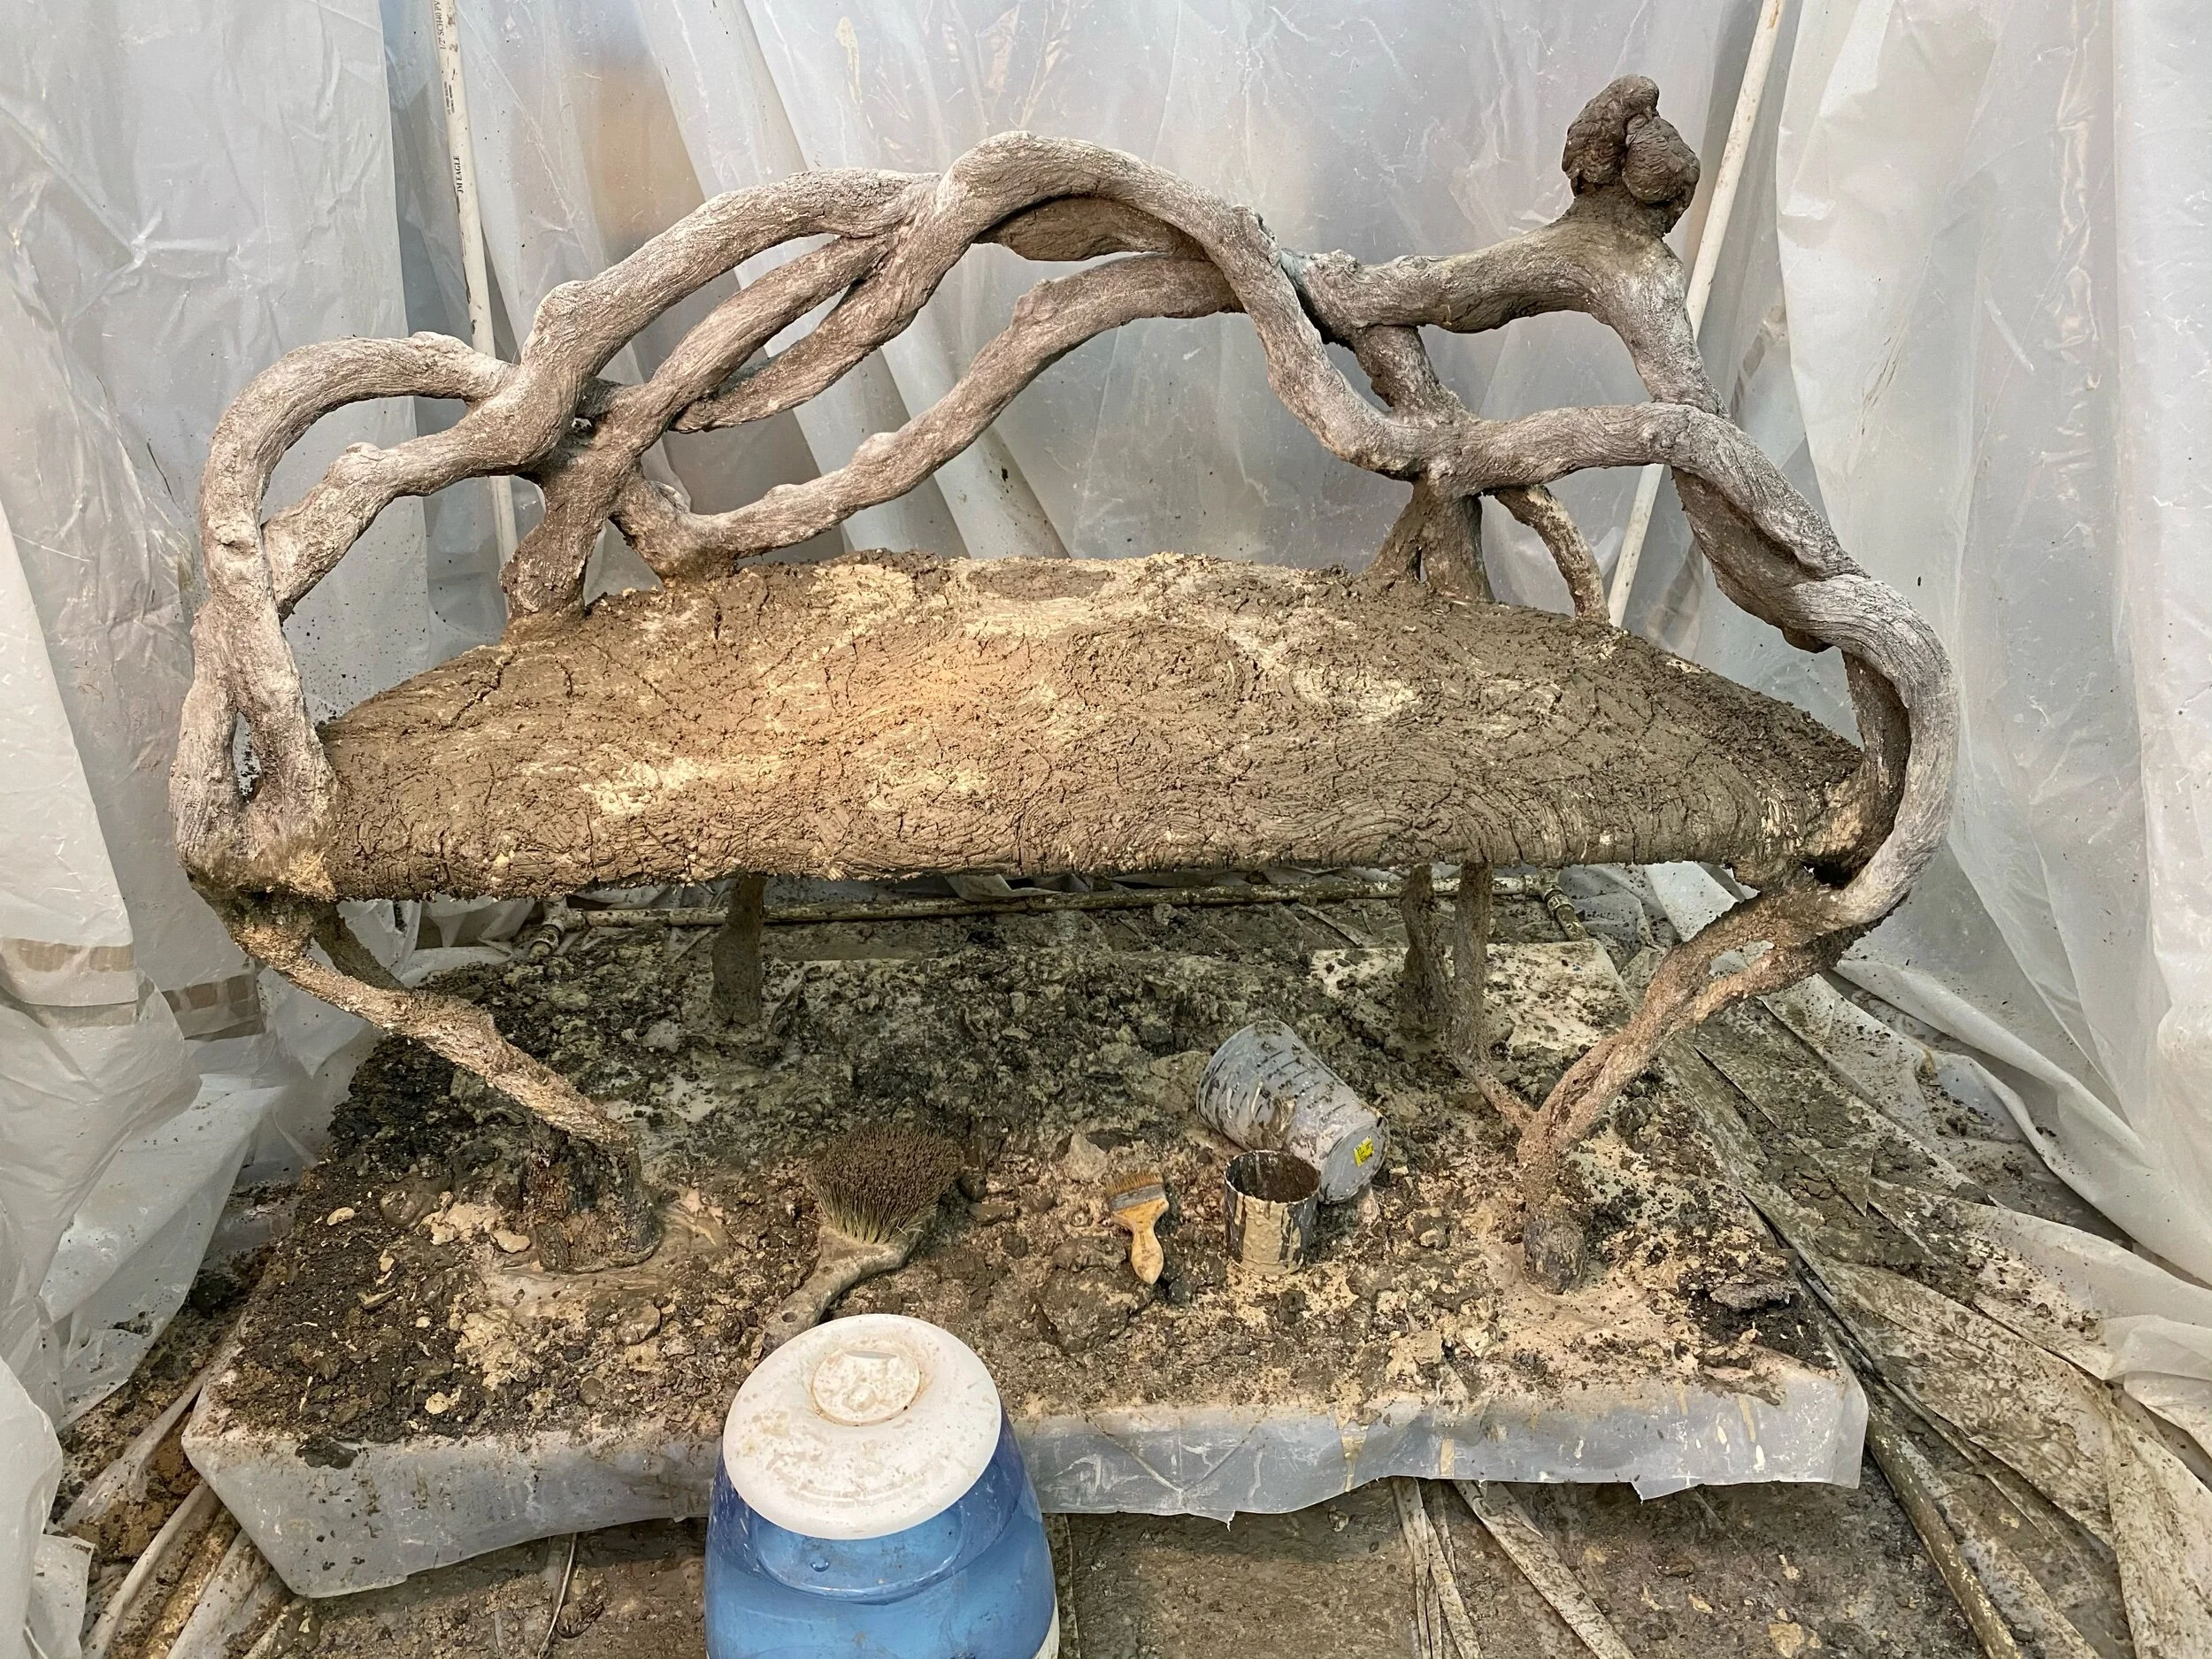
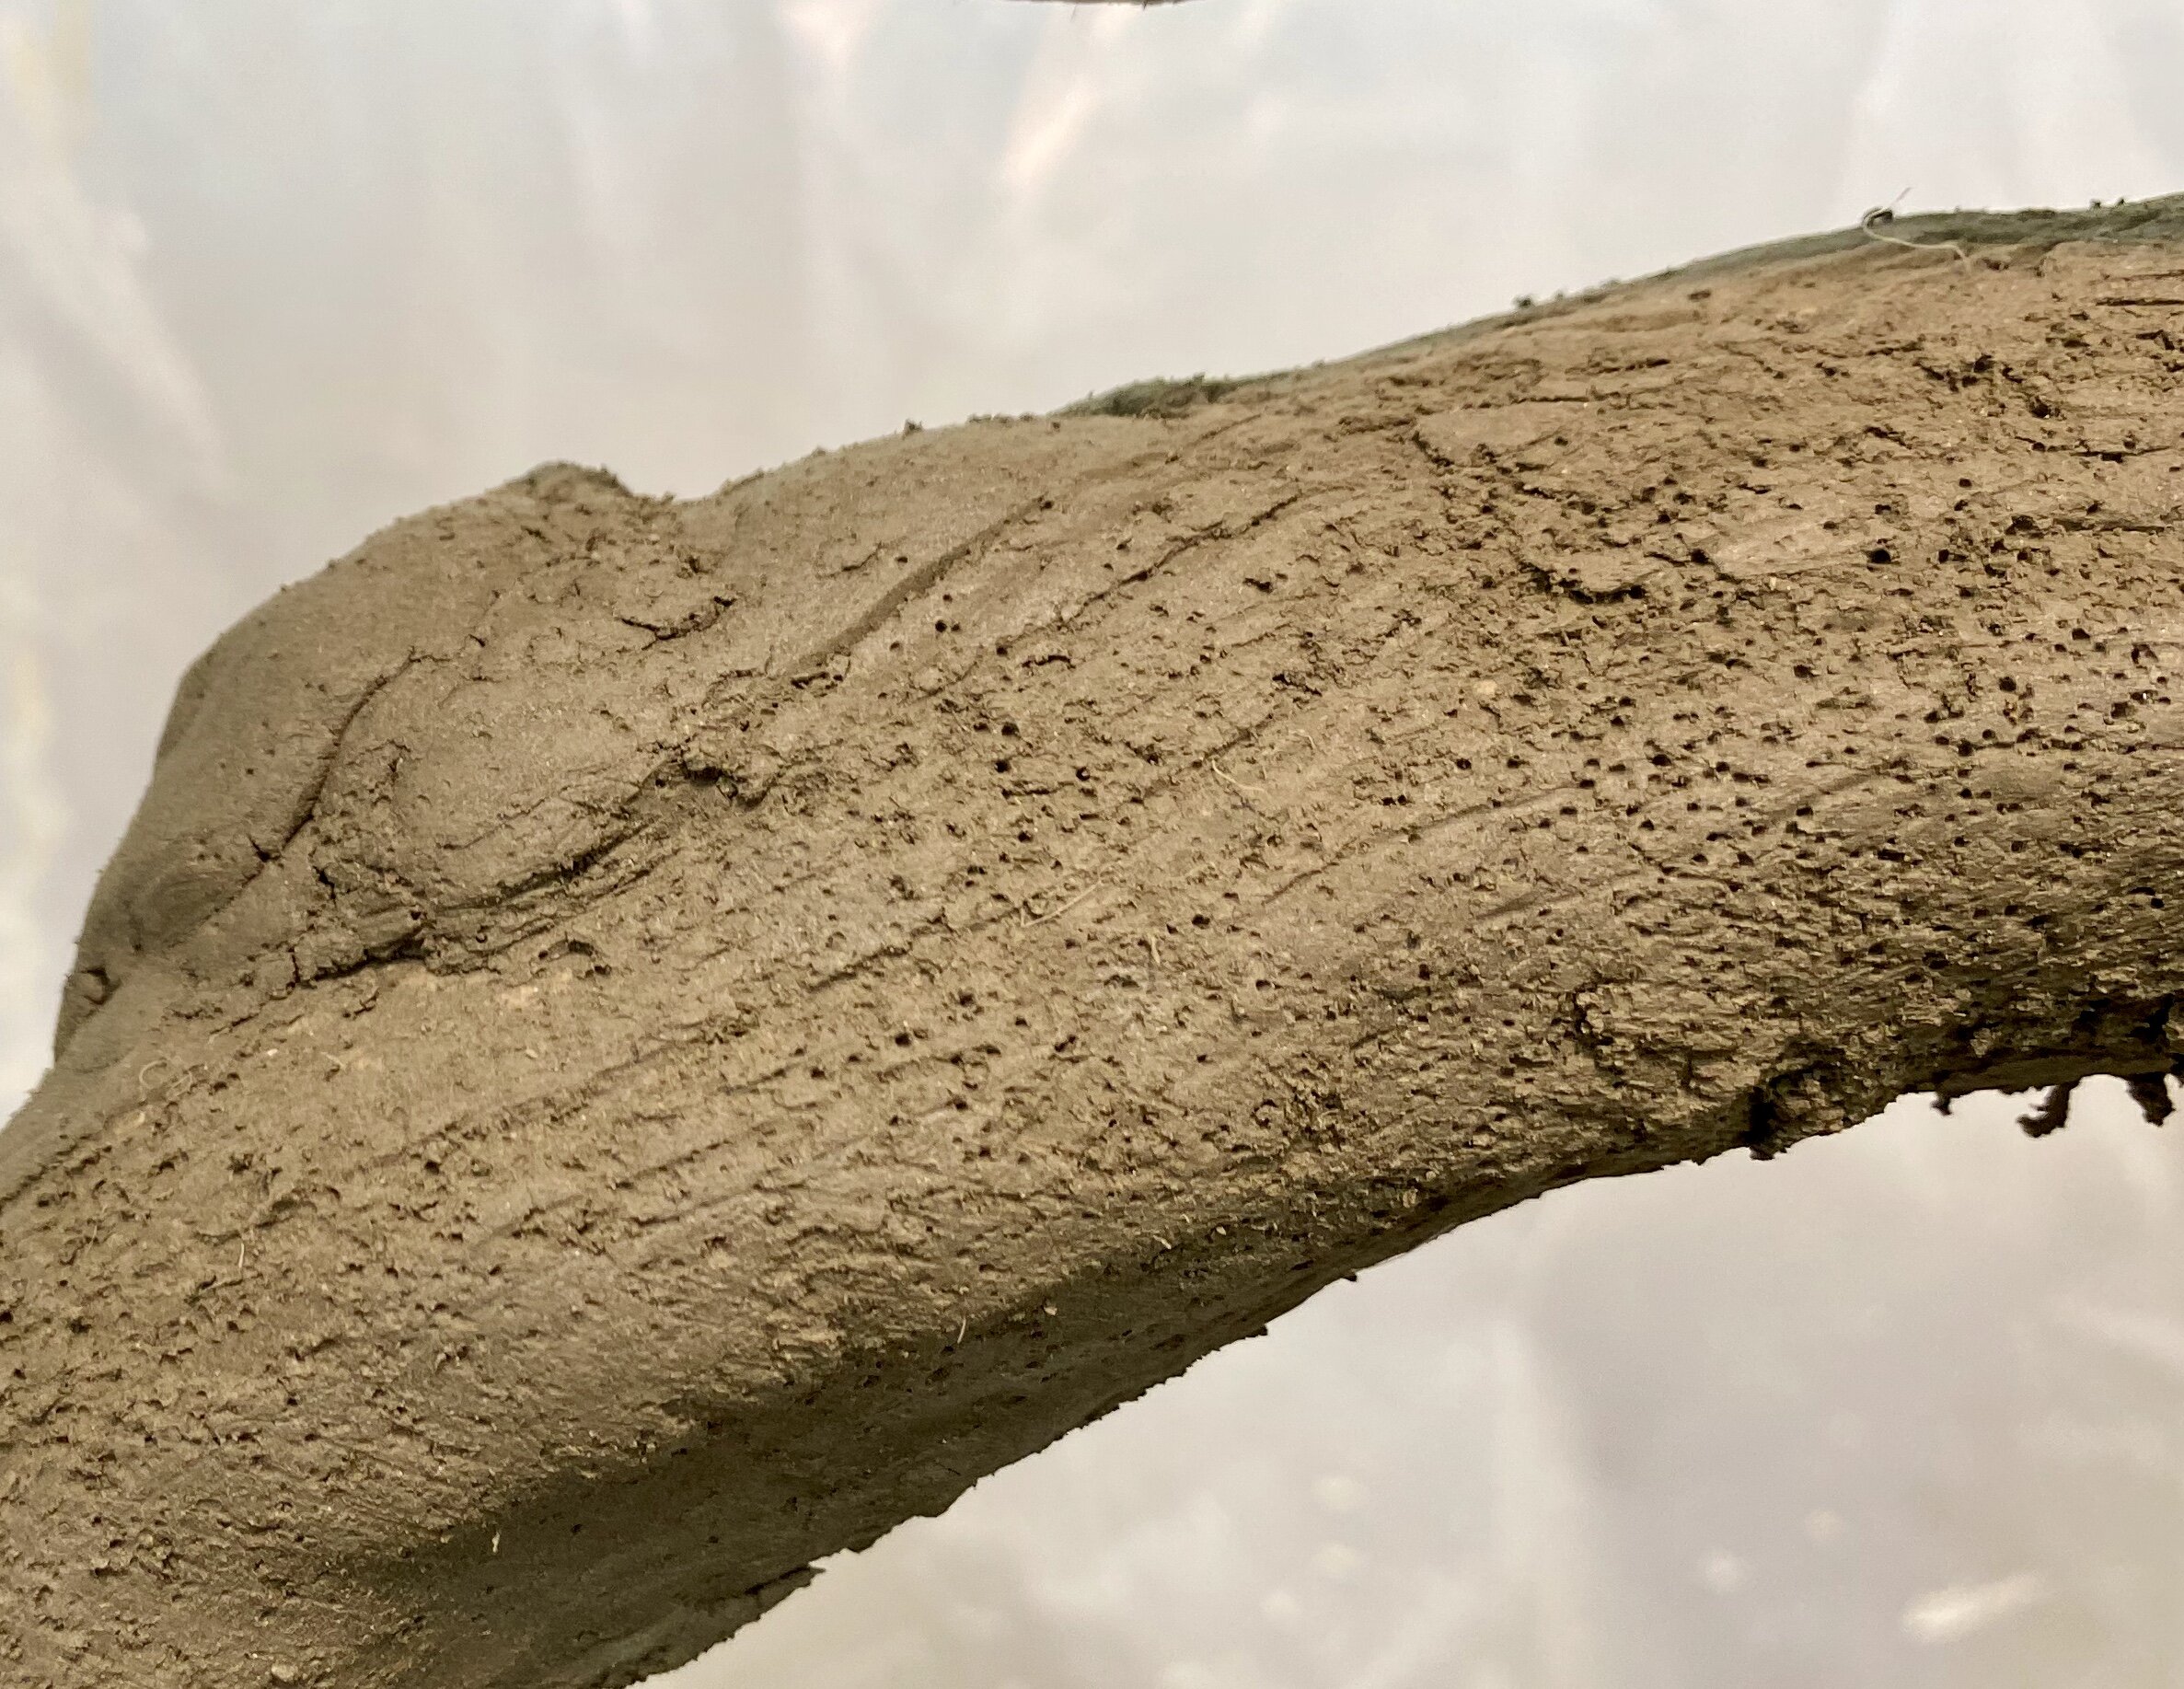
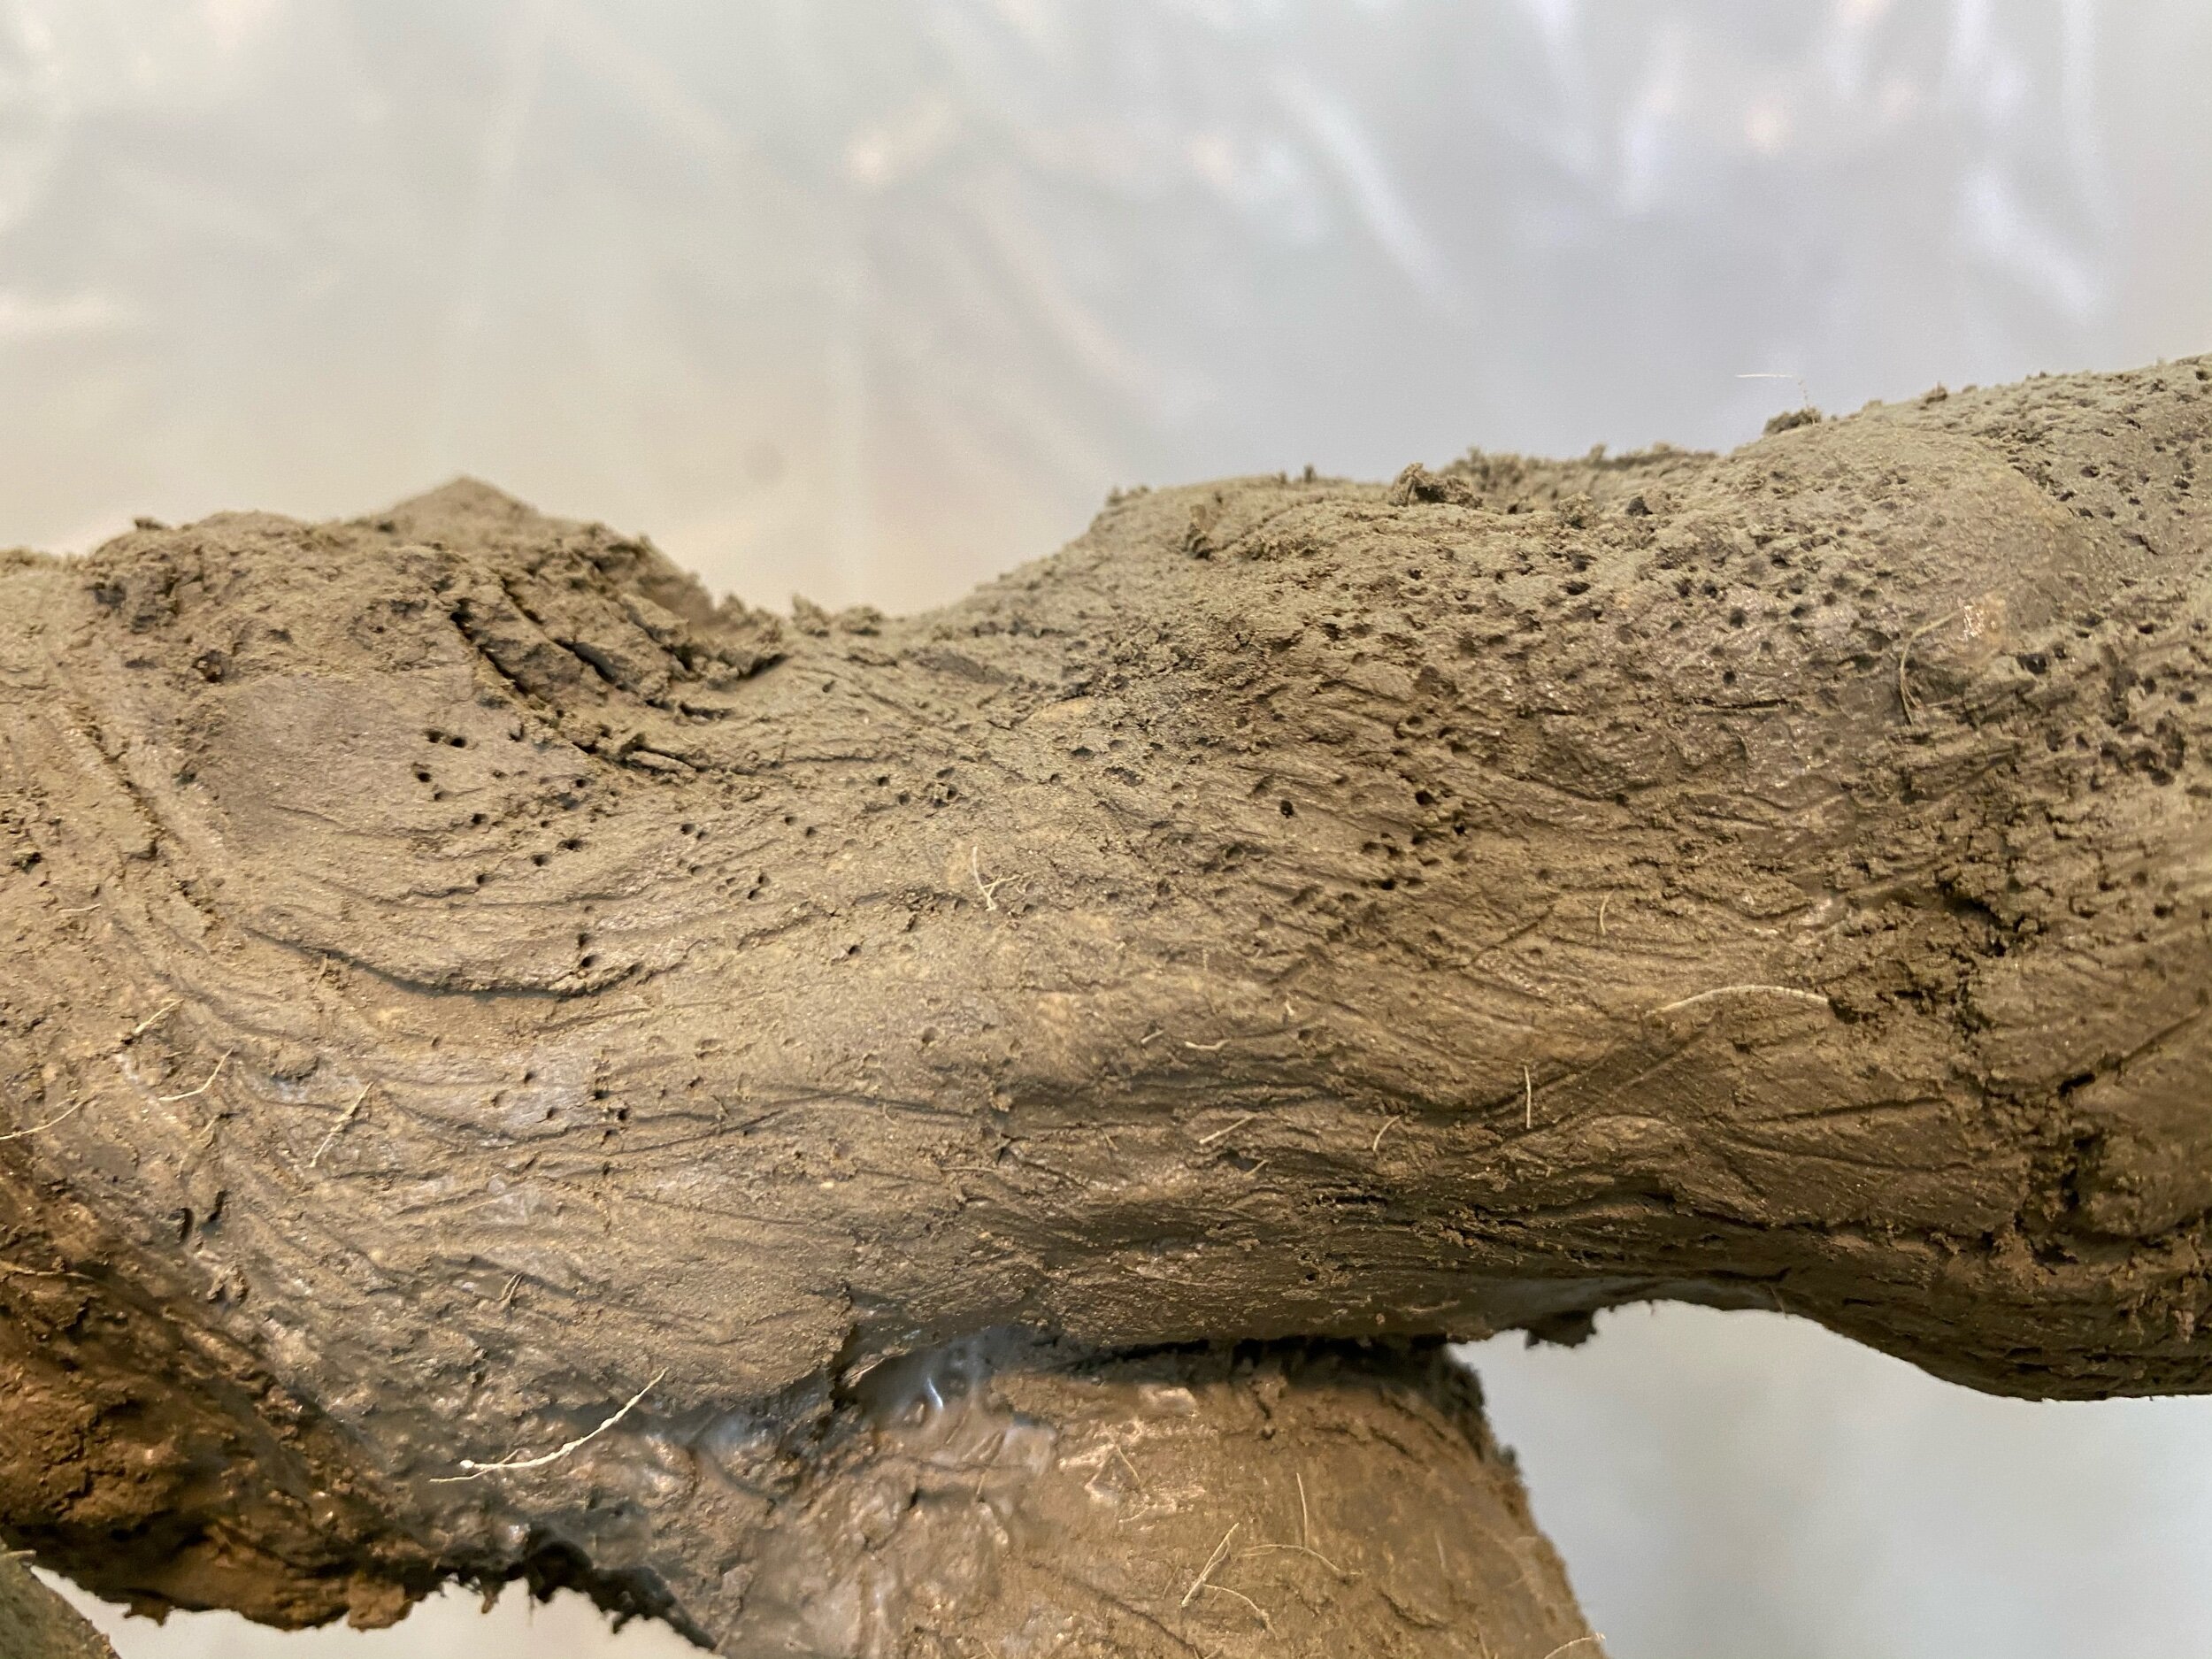
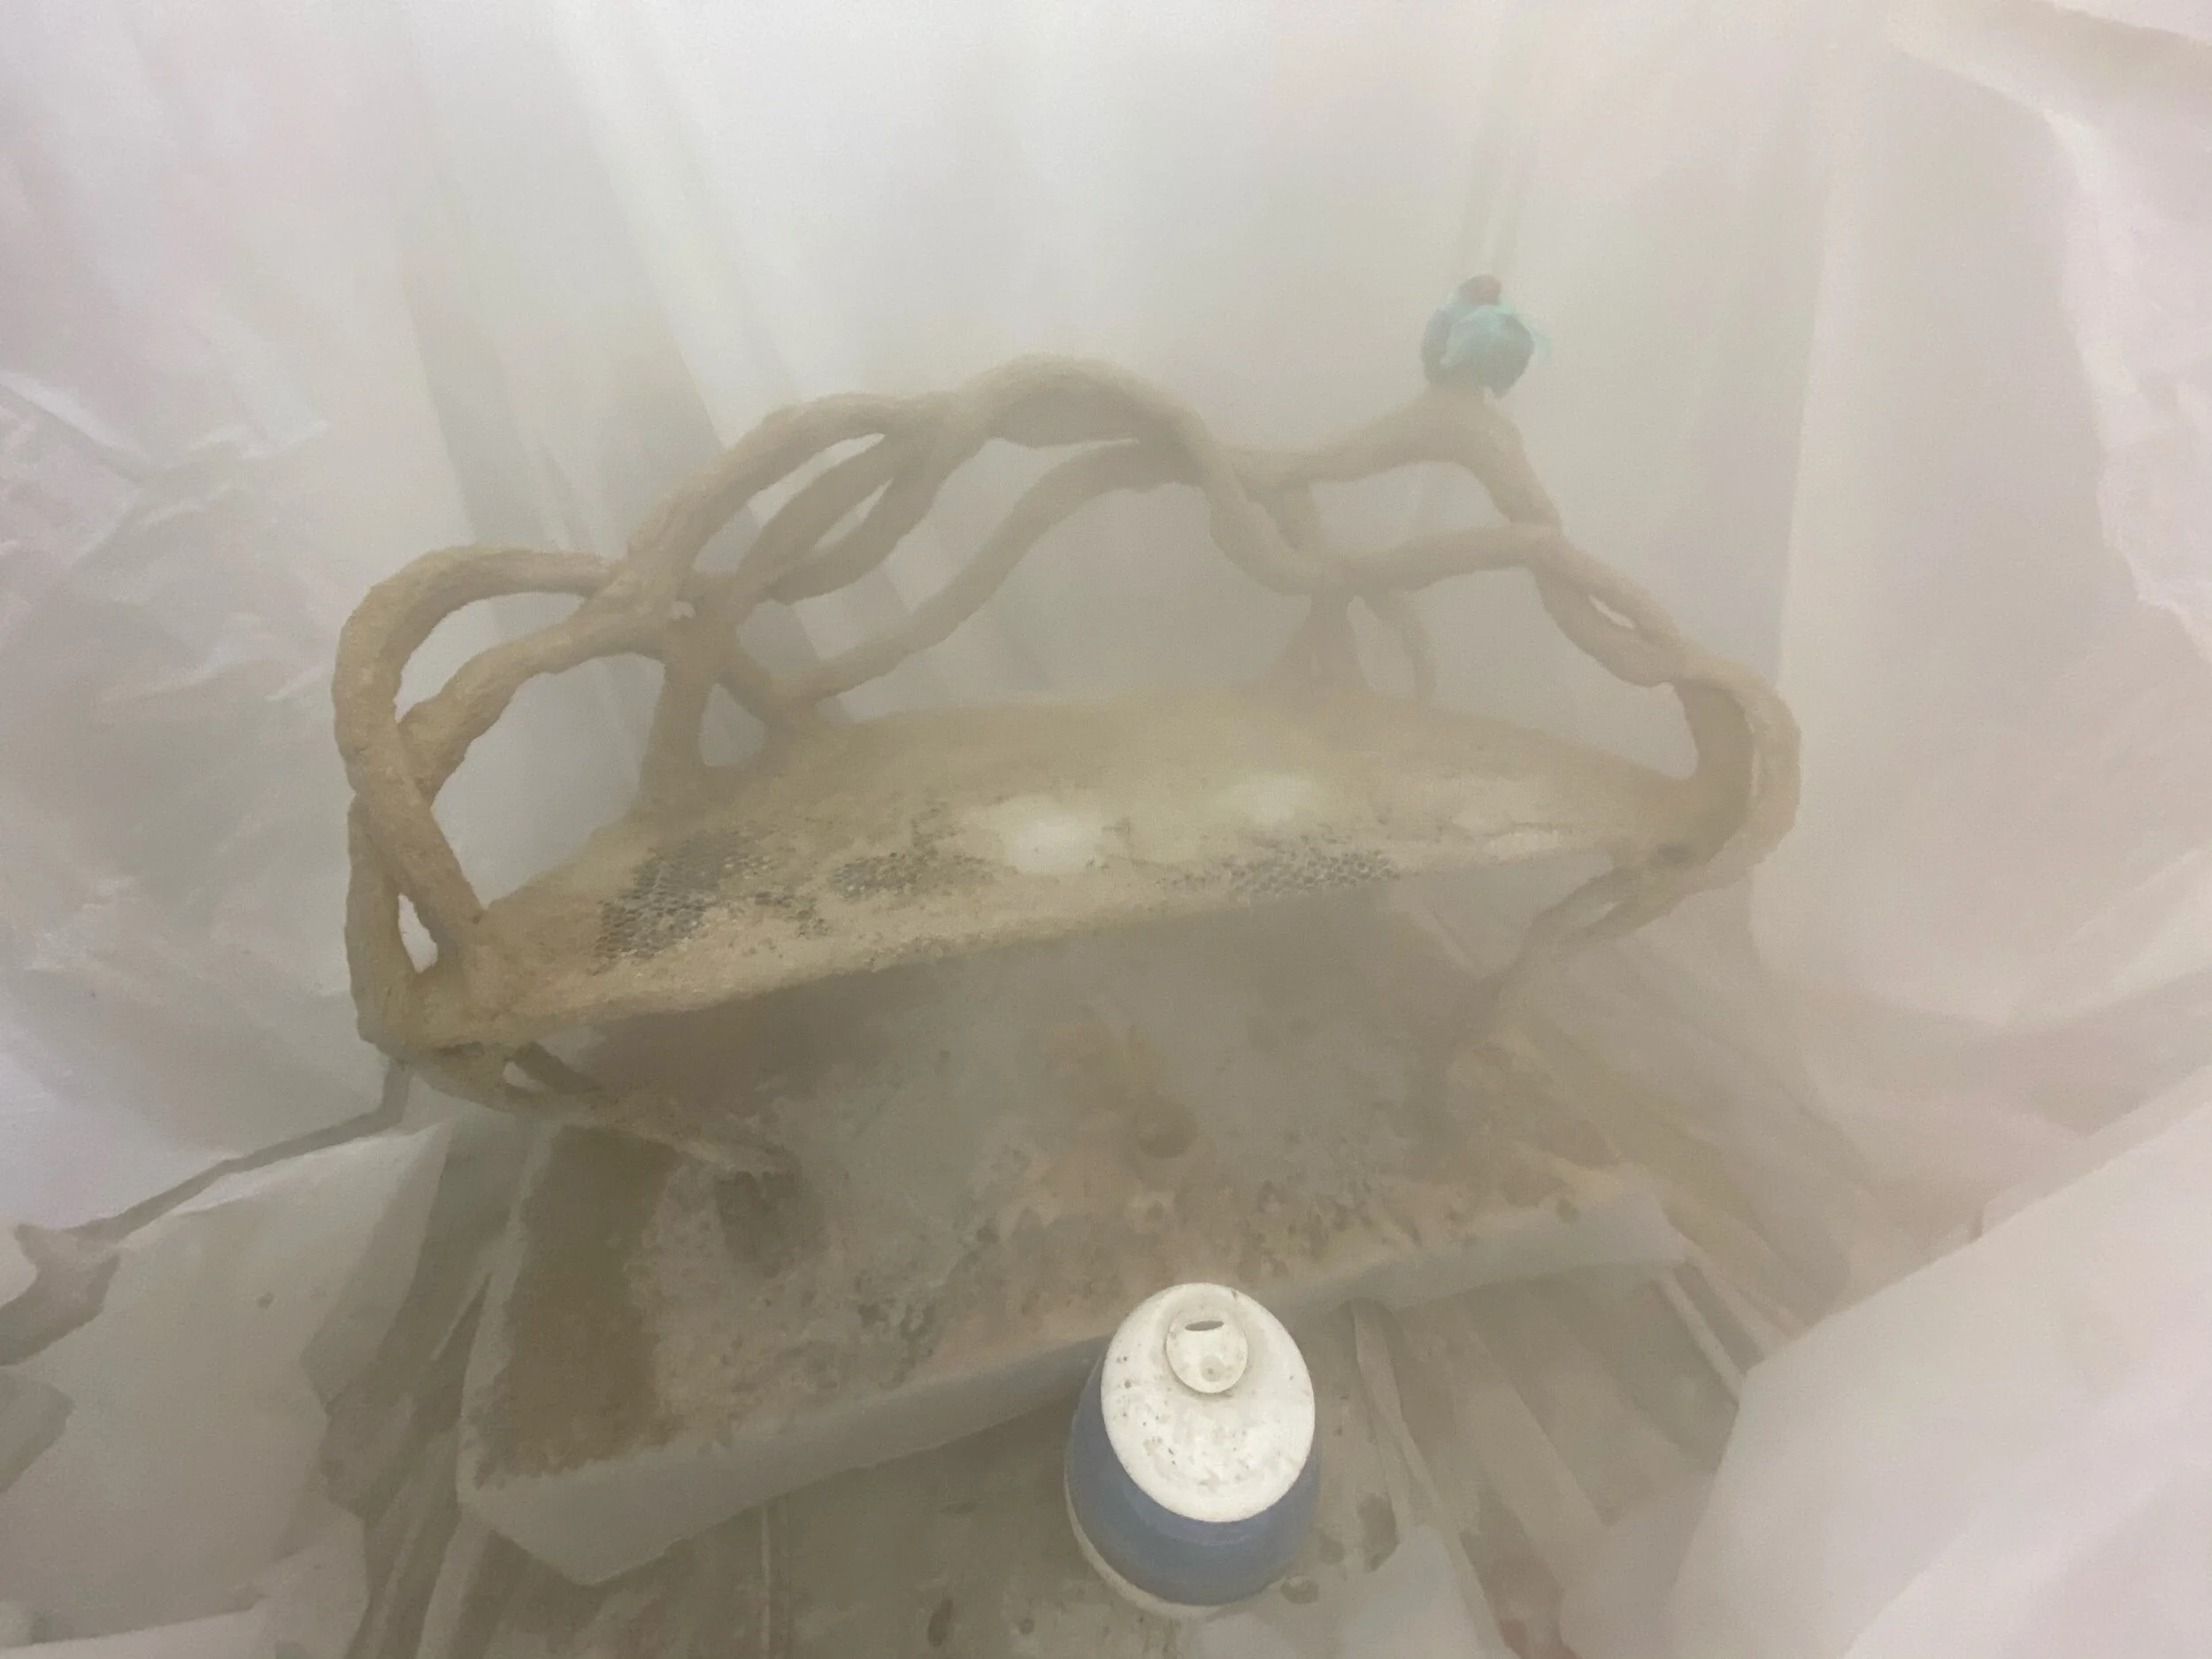
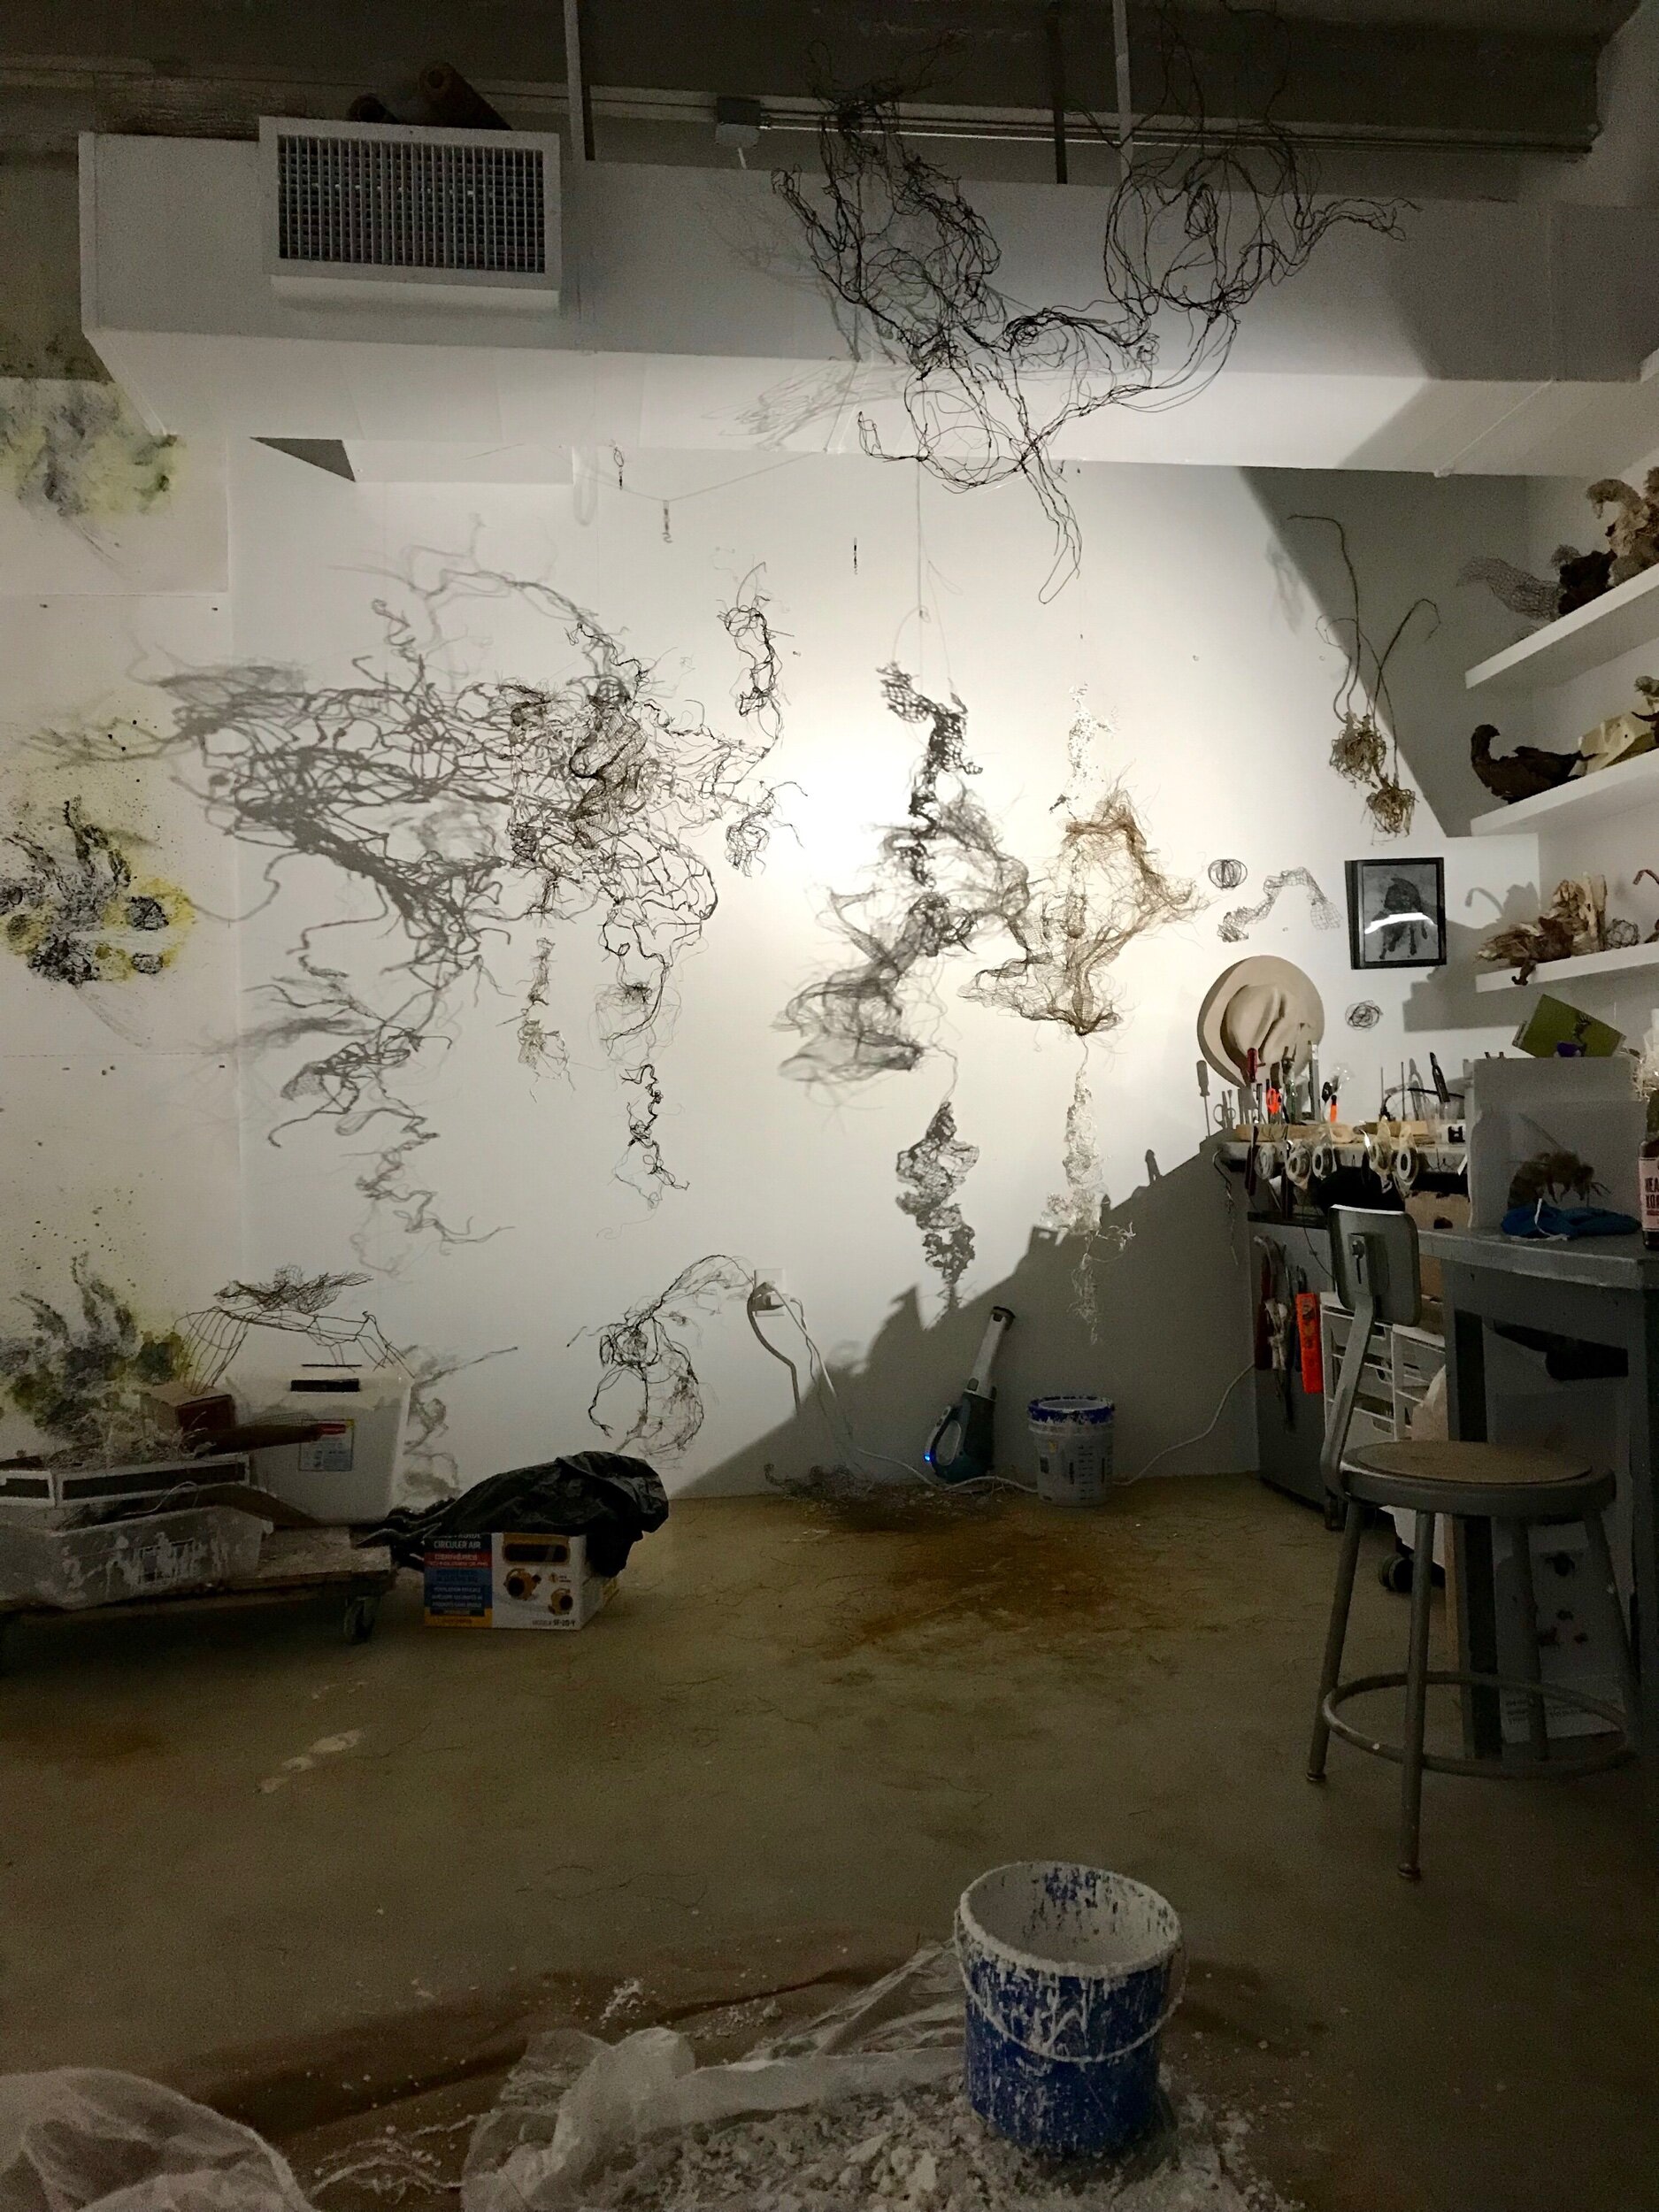
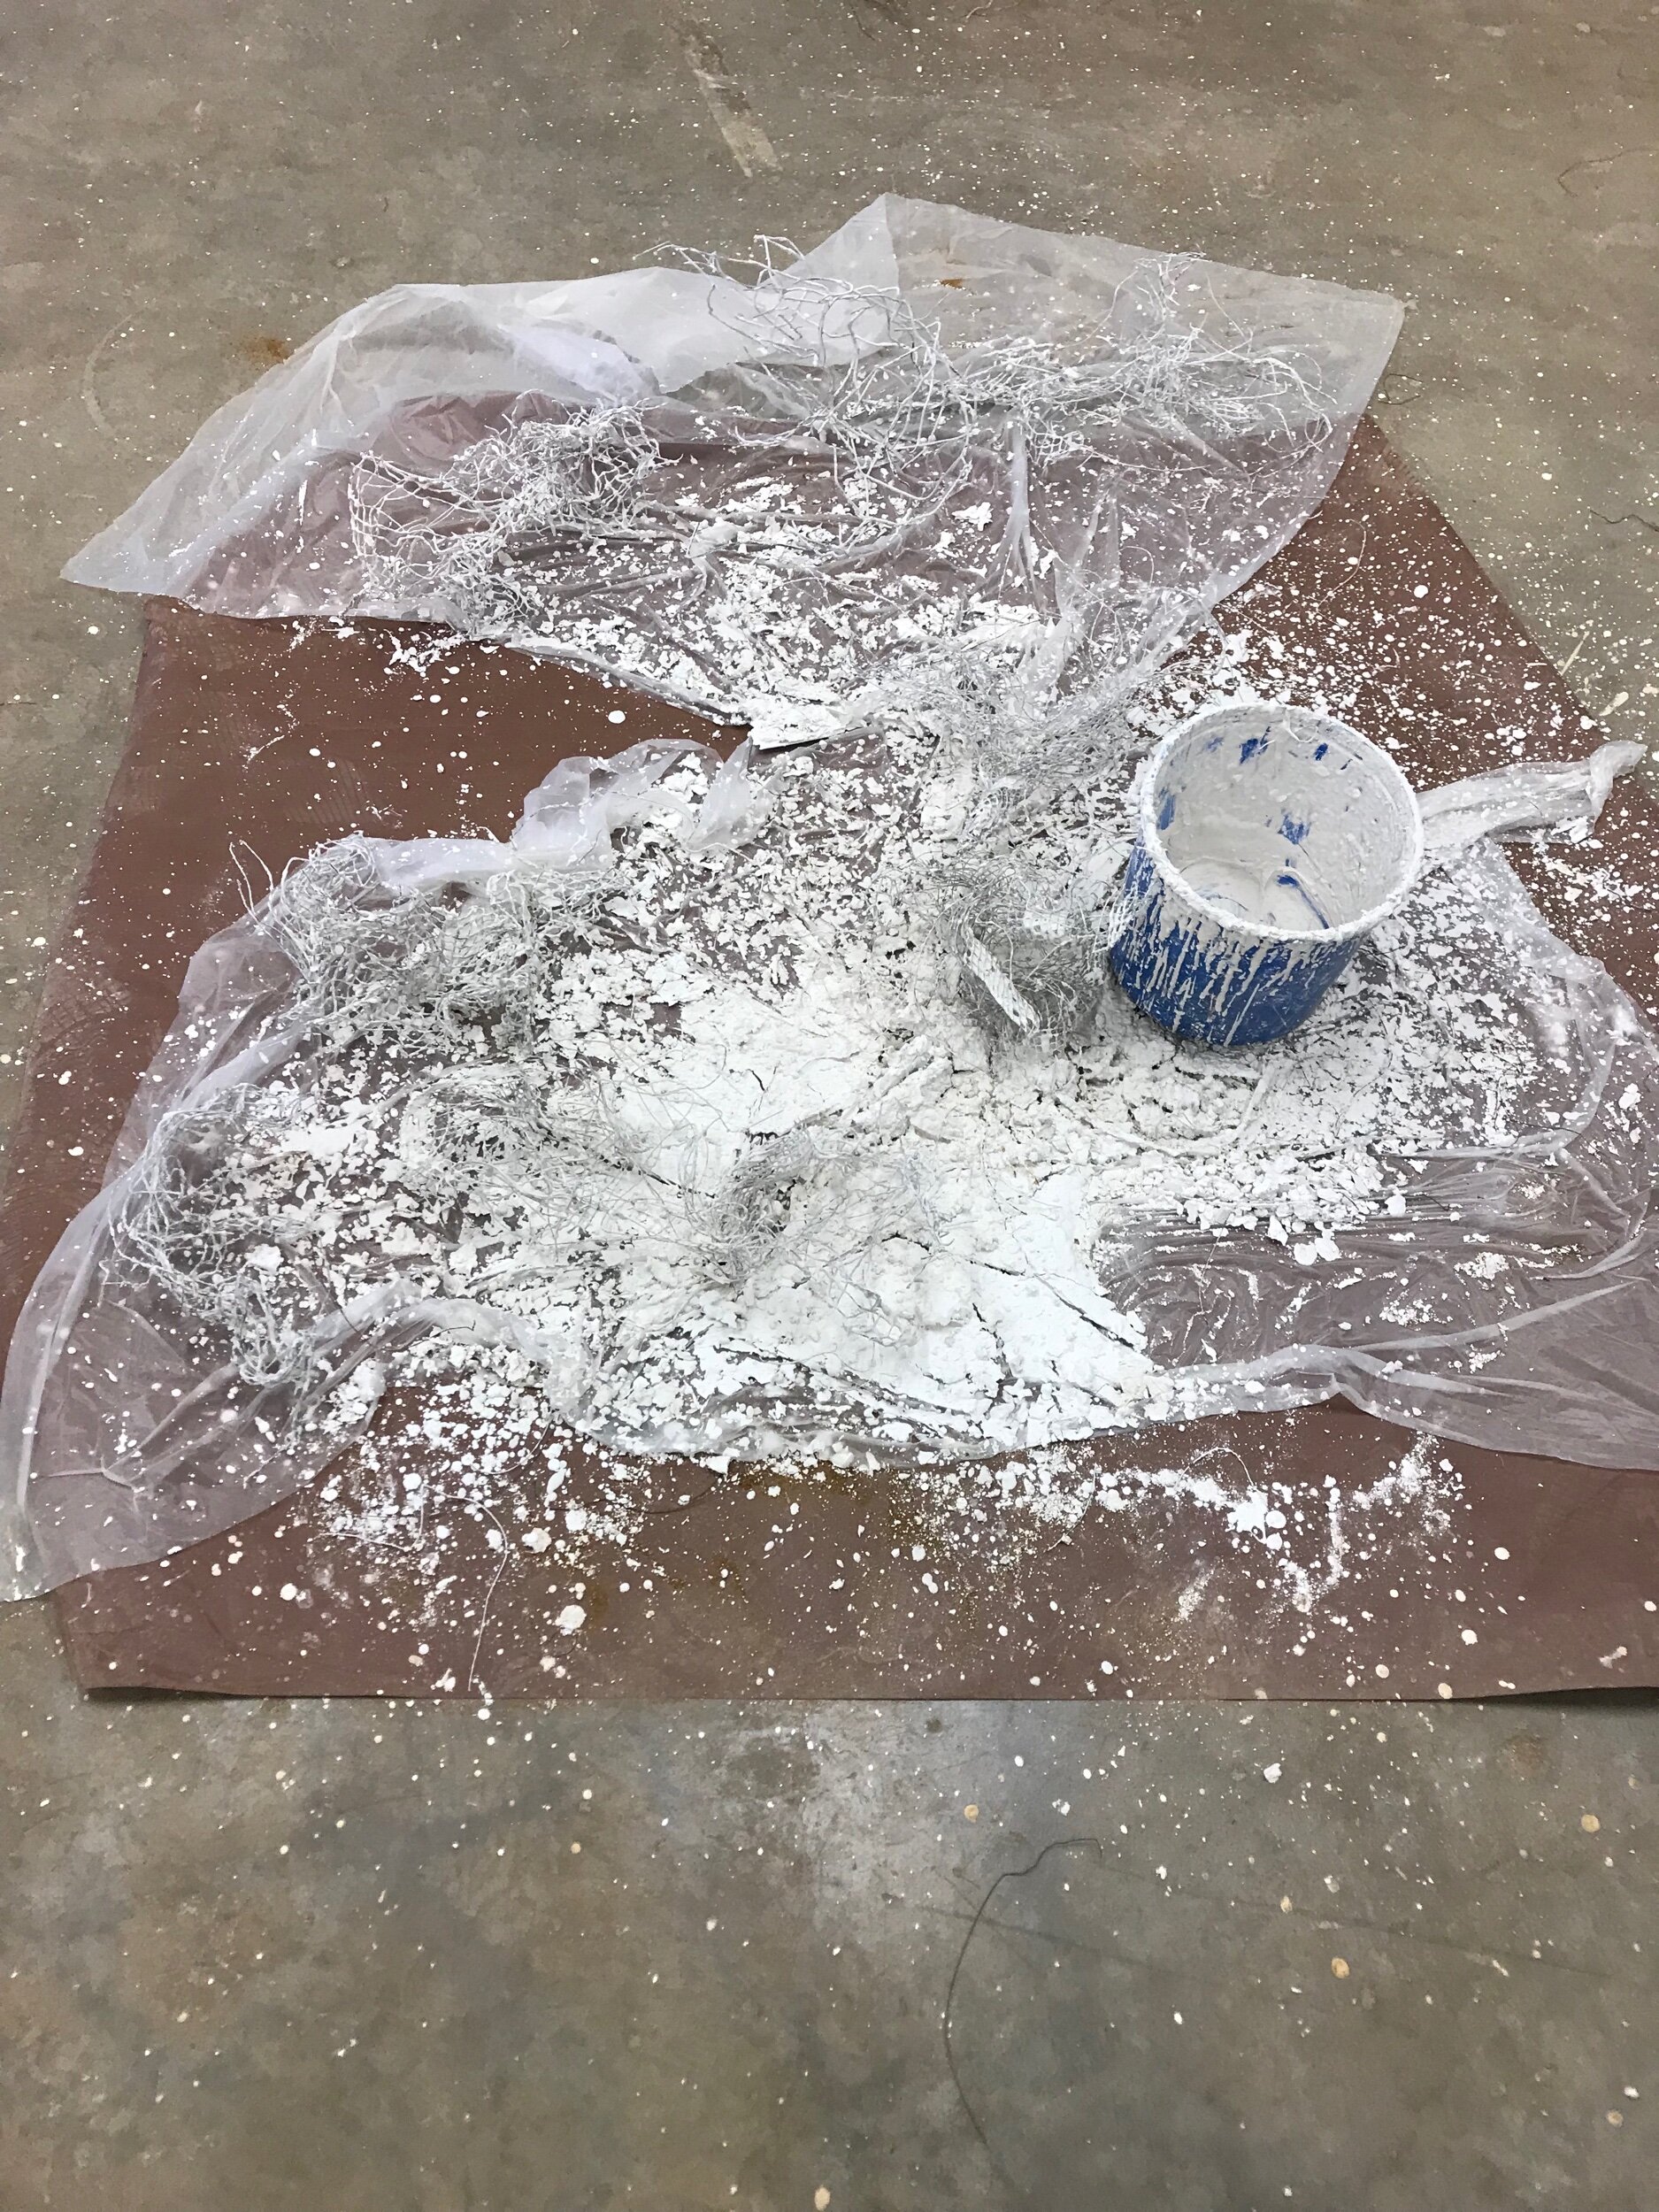
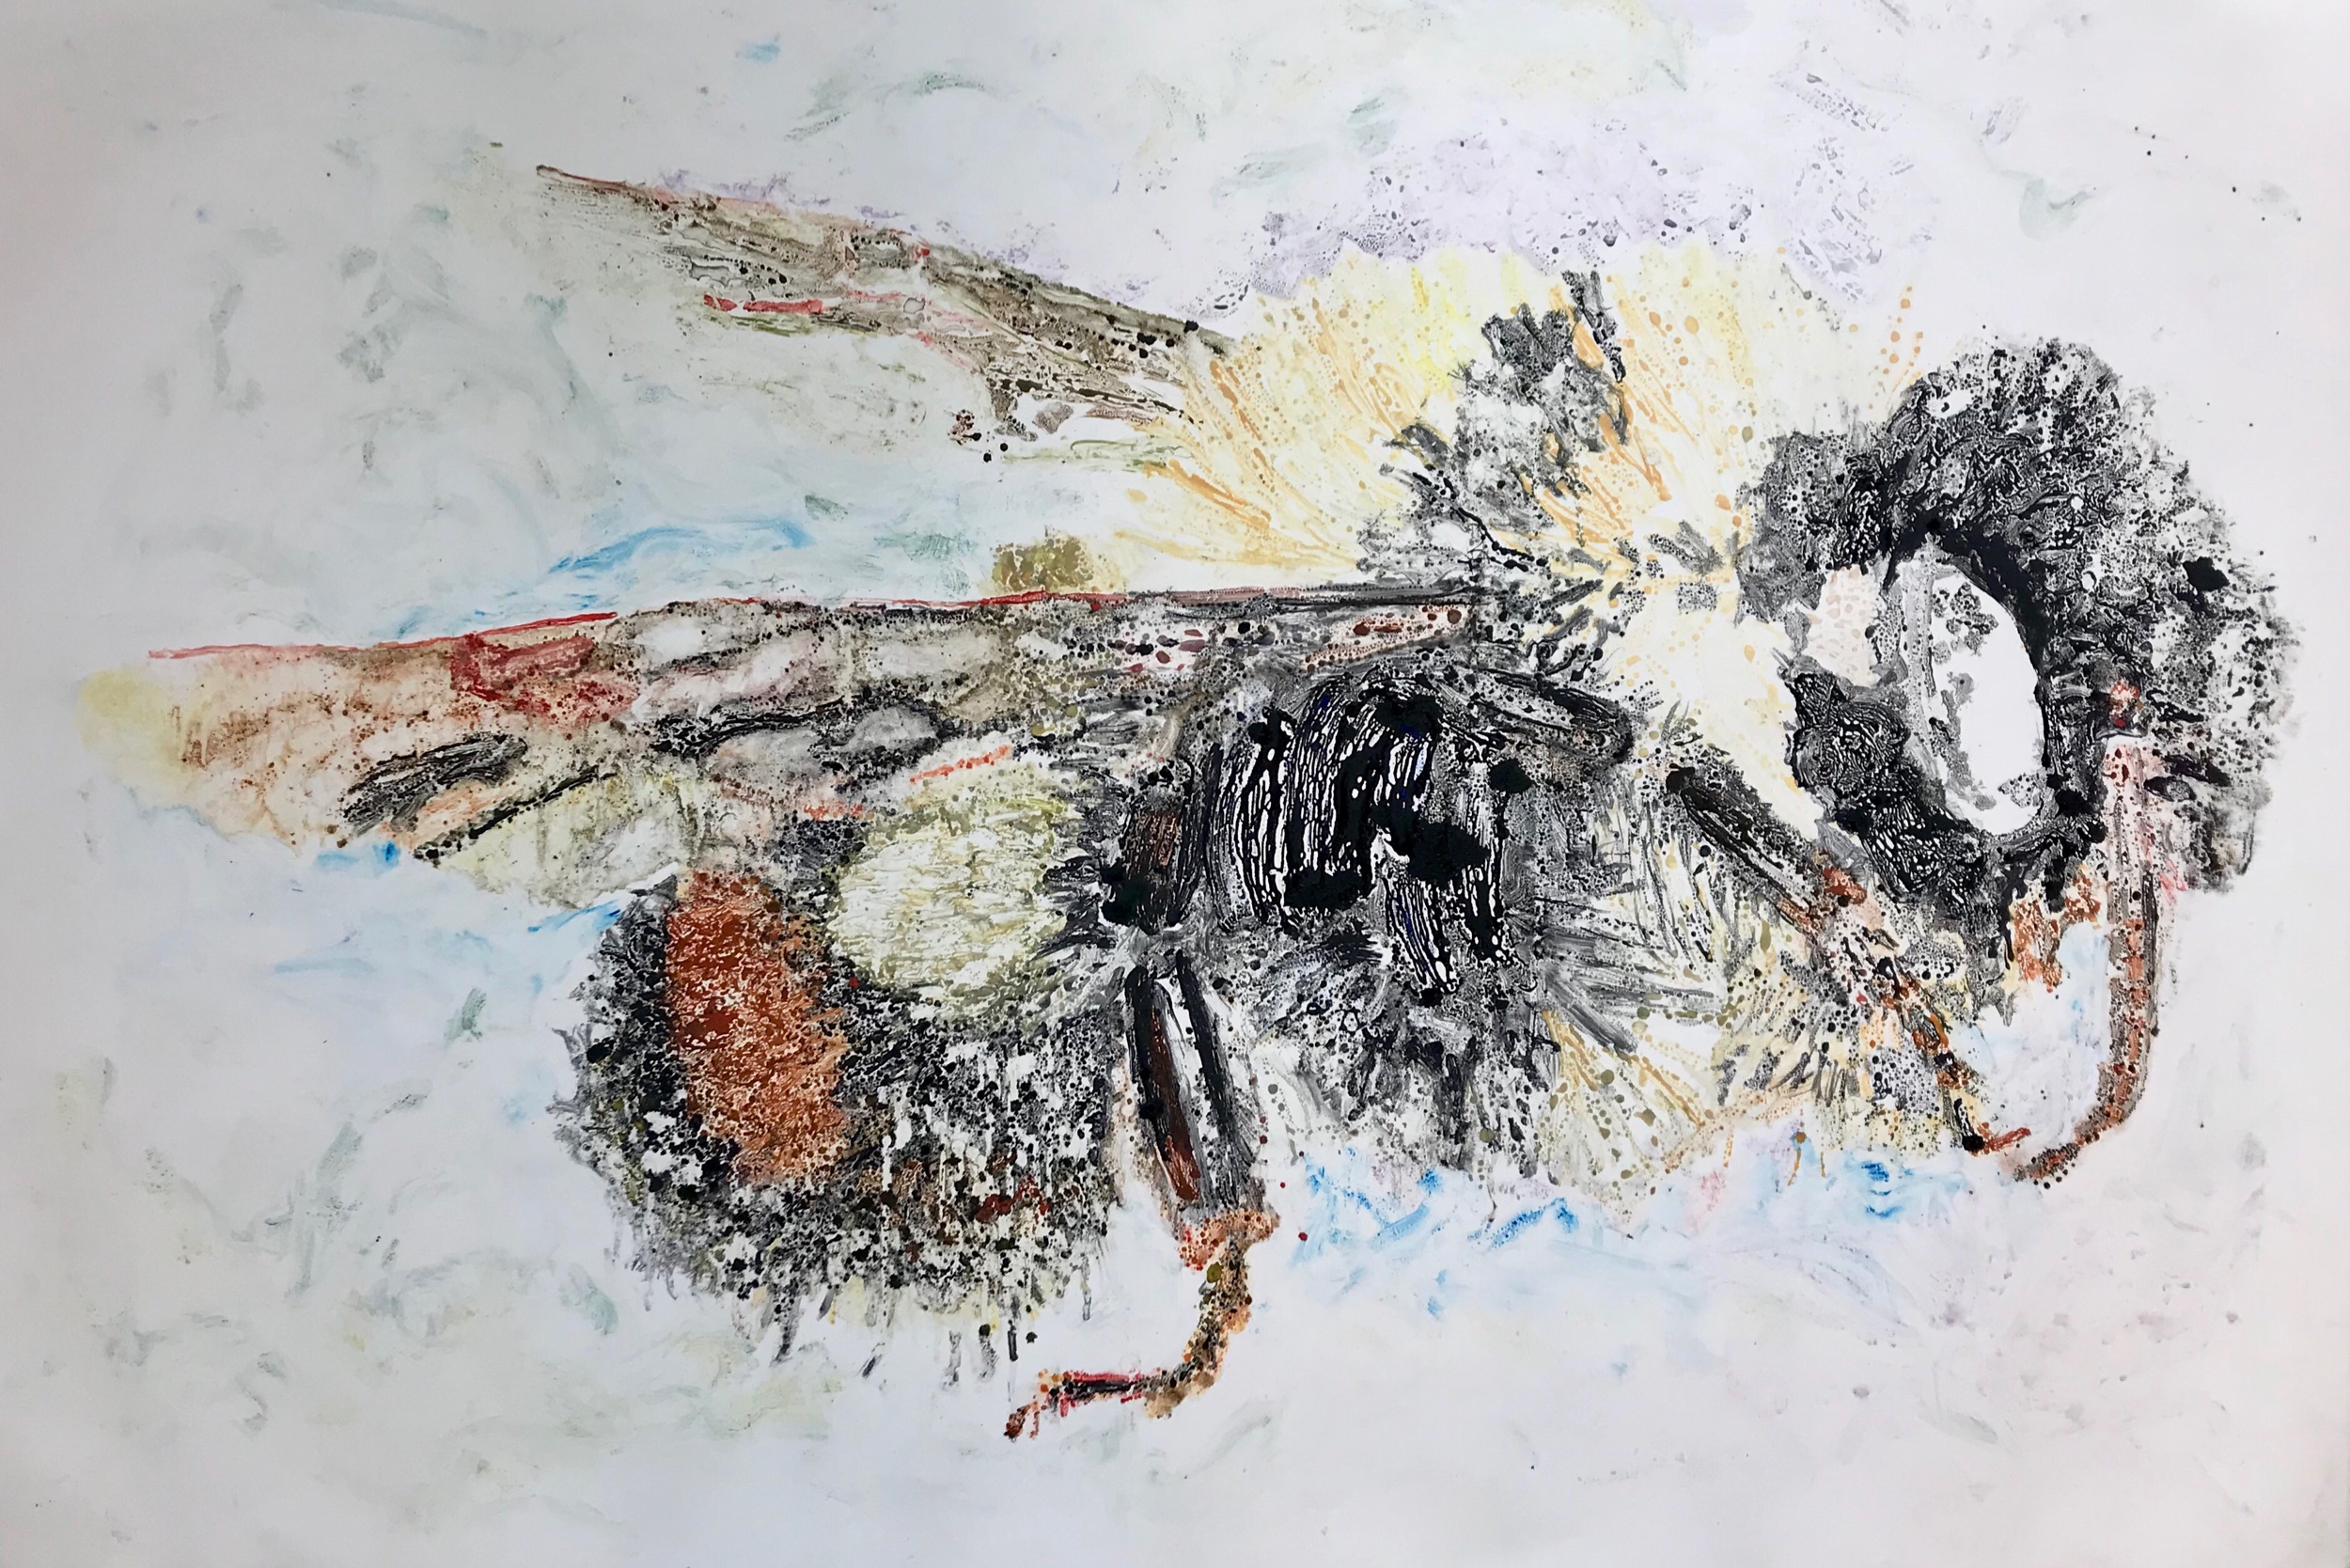
I used the white concrete to create motion in the old wood.

I went a little crazy
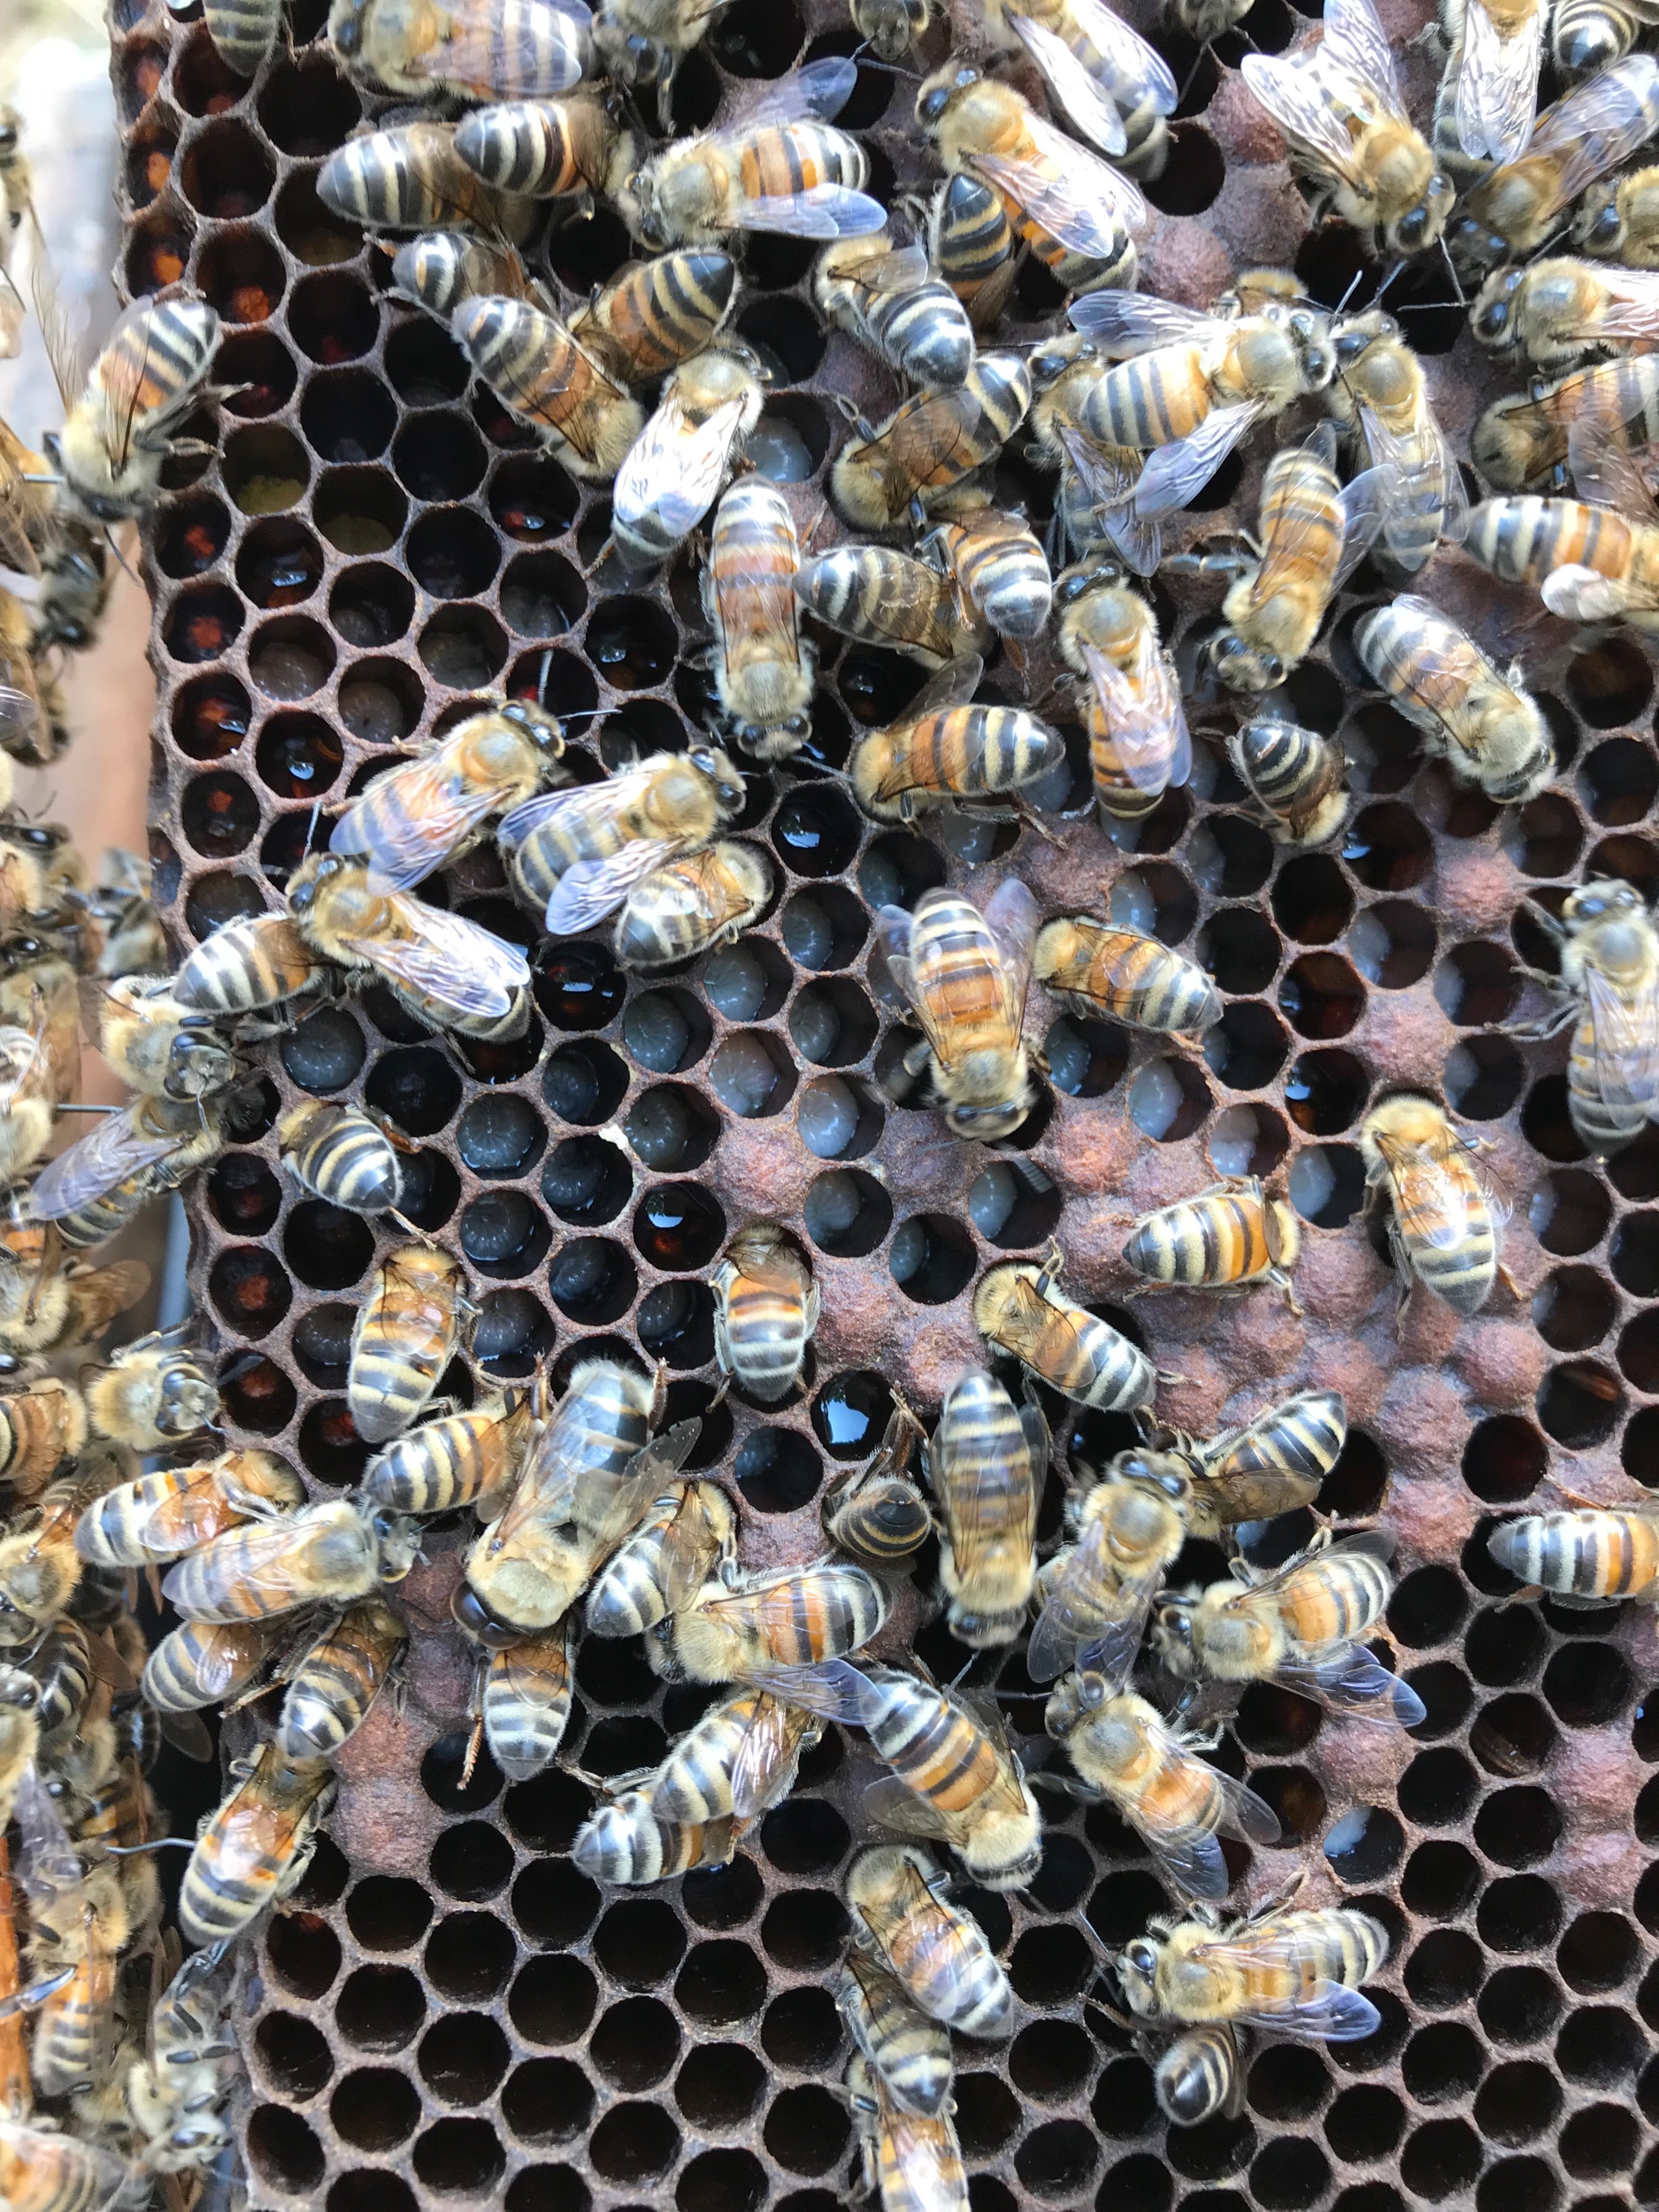
The seat has lots of rings from burls in the plank. Griffin and Alex love bugs and mushrooms (the fruit of fungi) both of which cause burls. The seat of their bench is riddled with big burls.
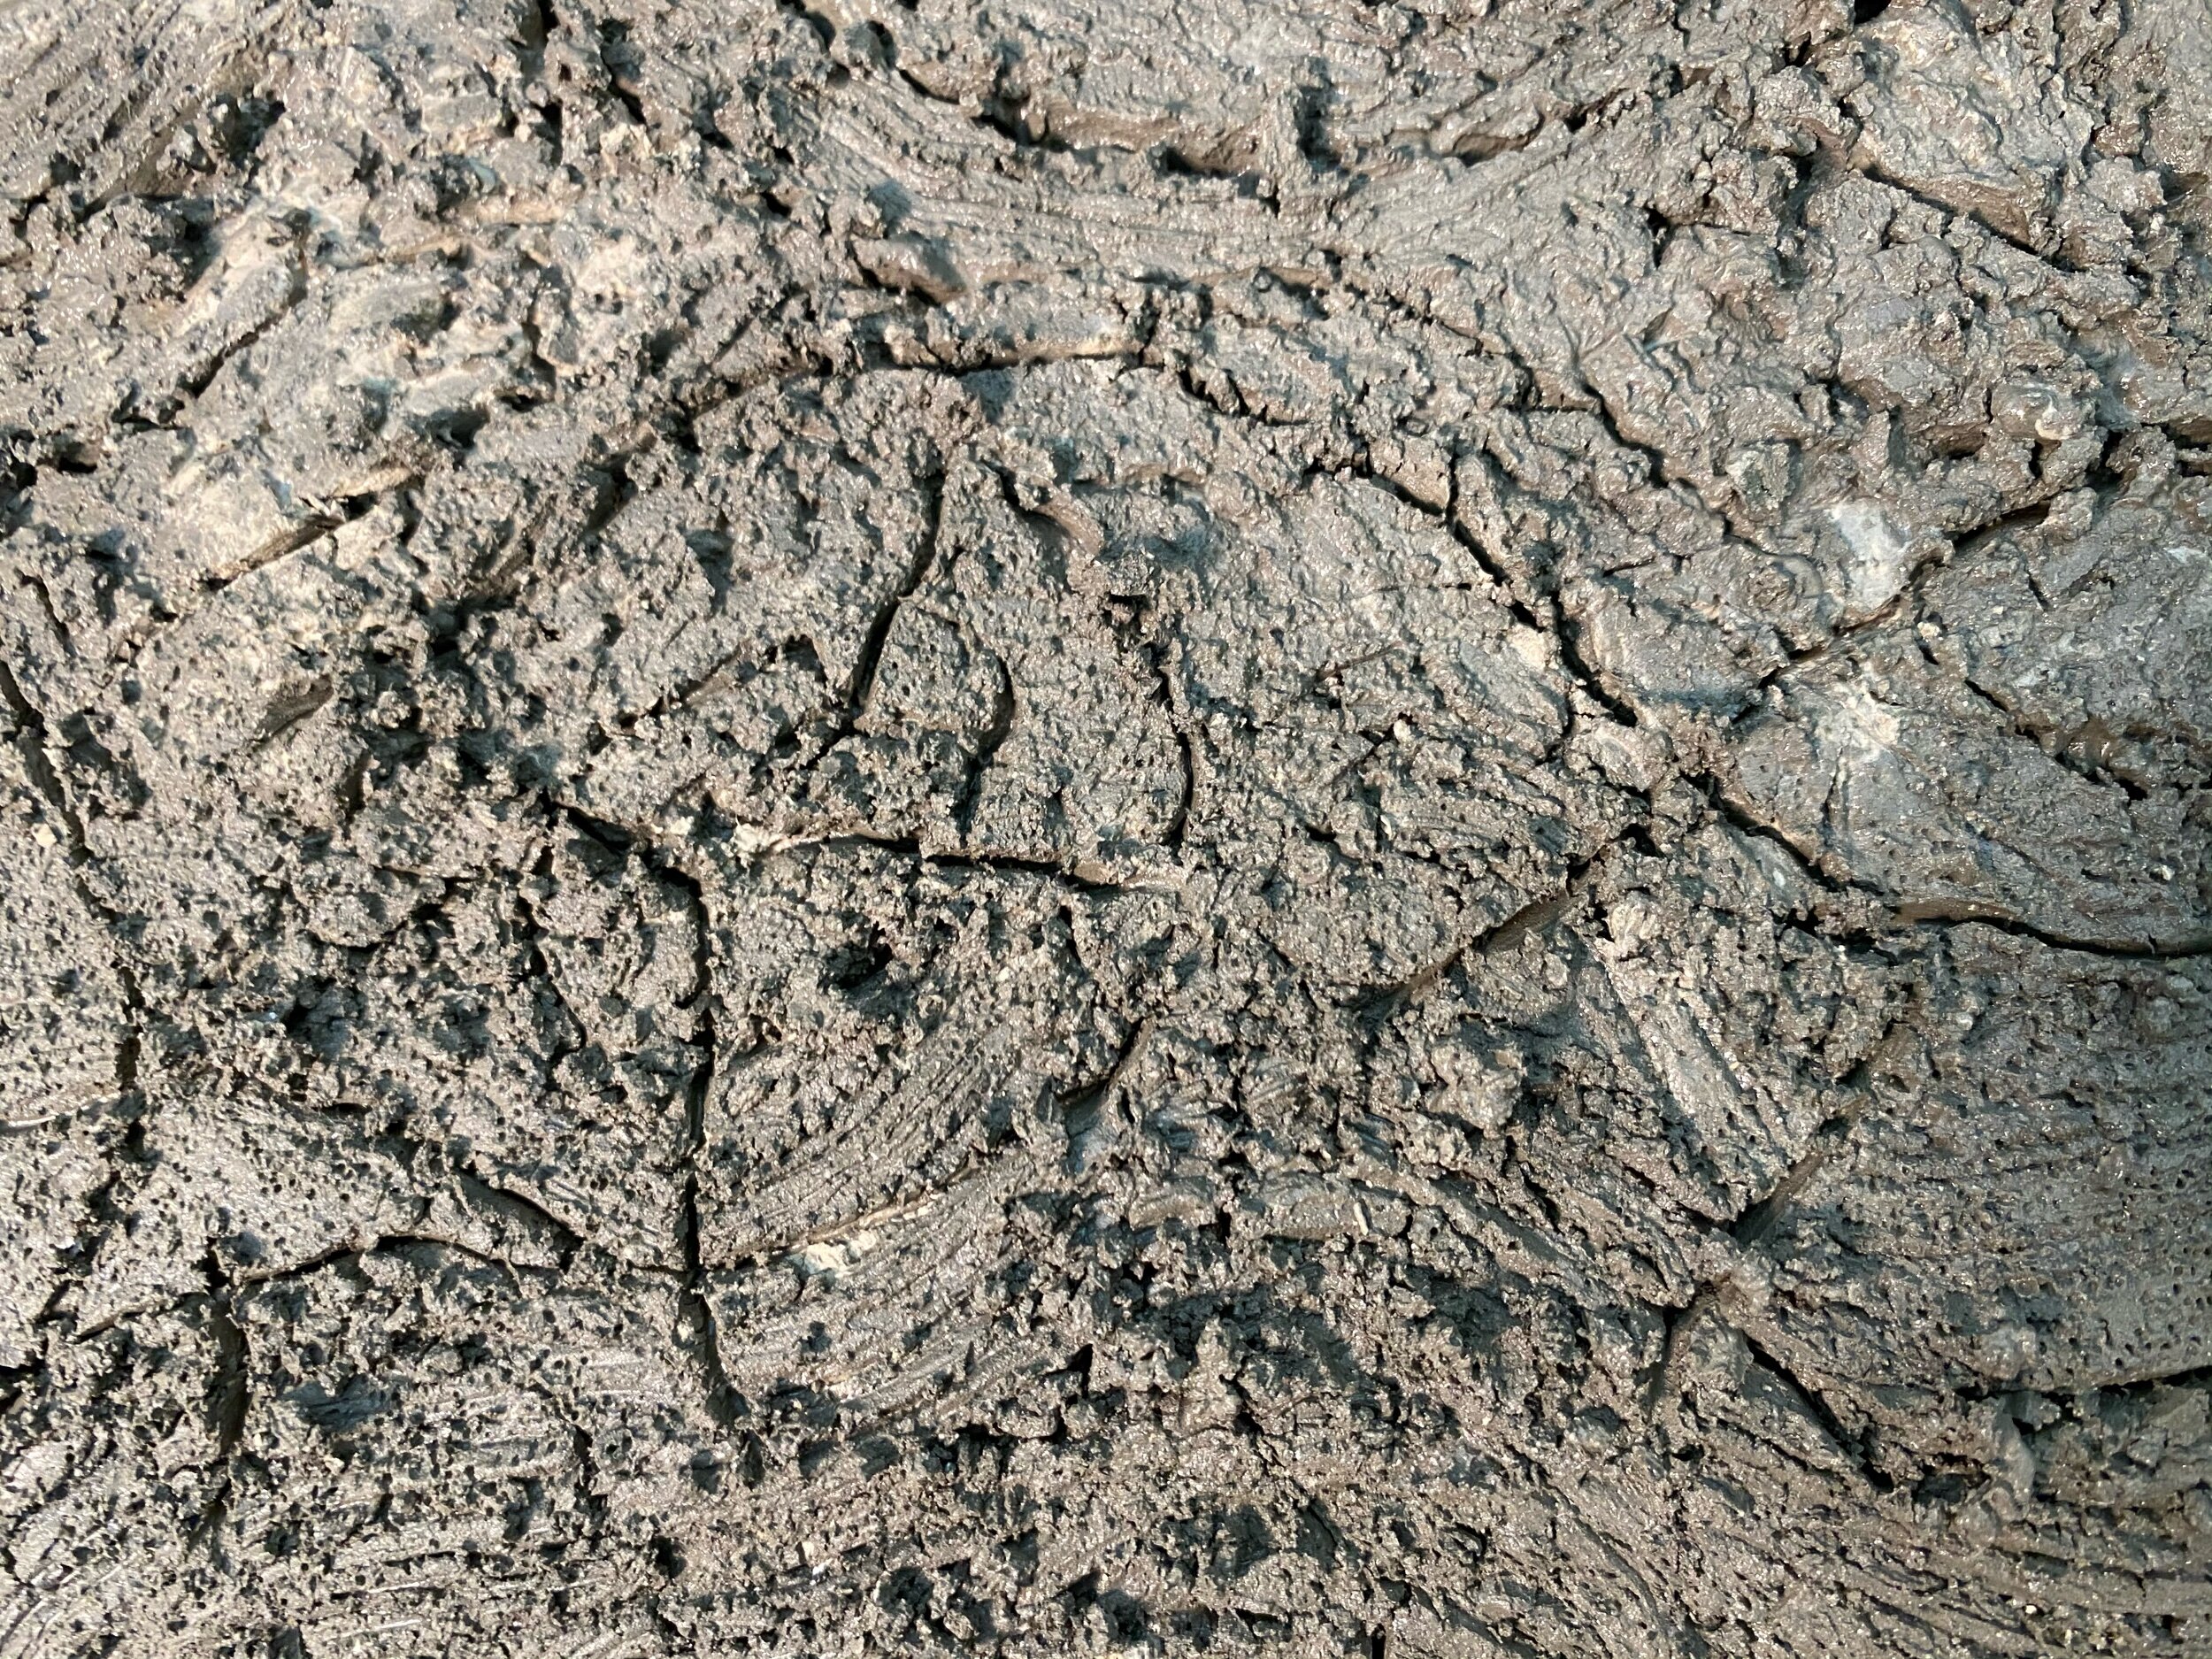
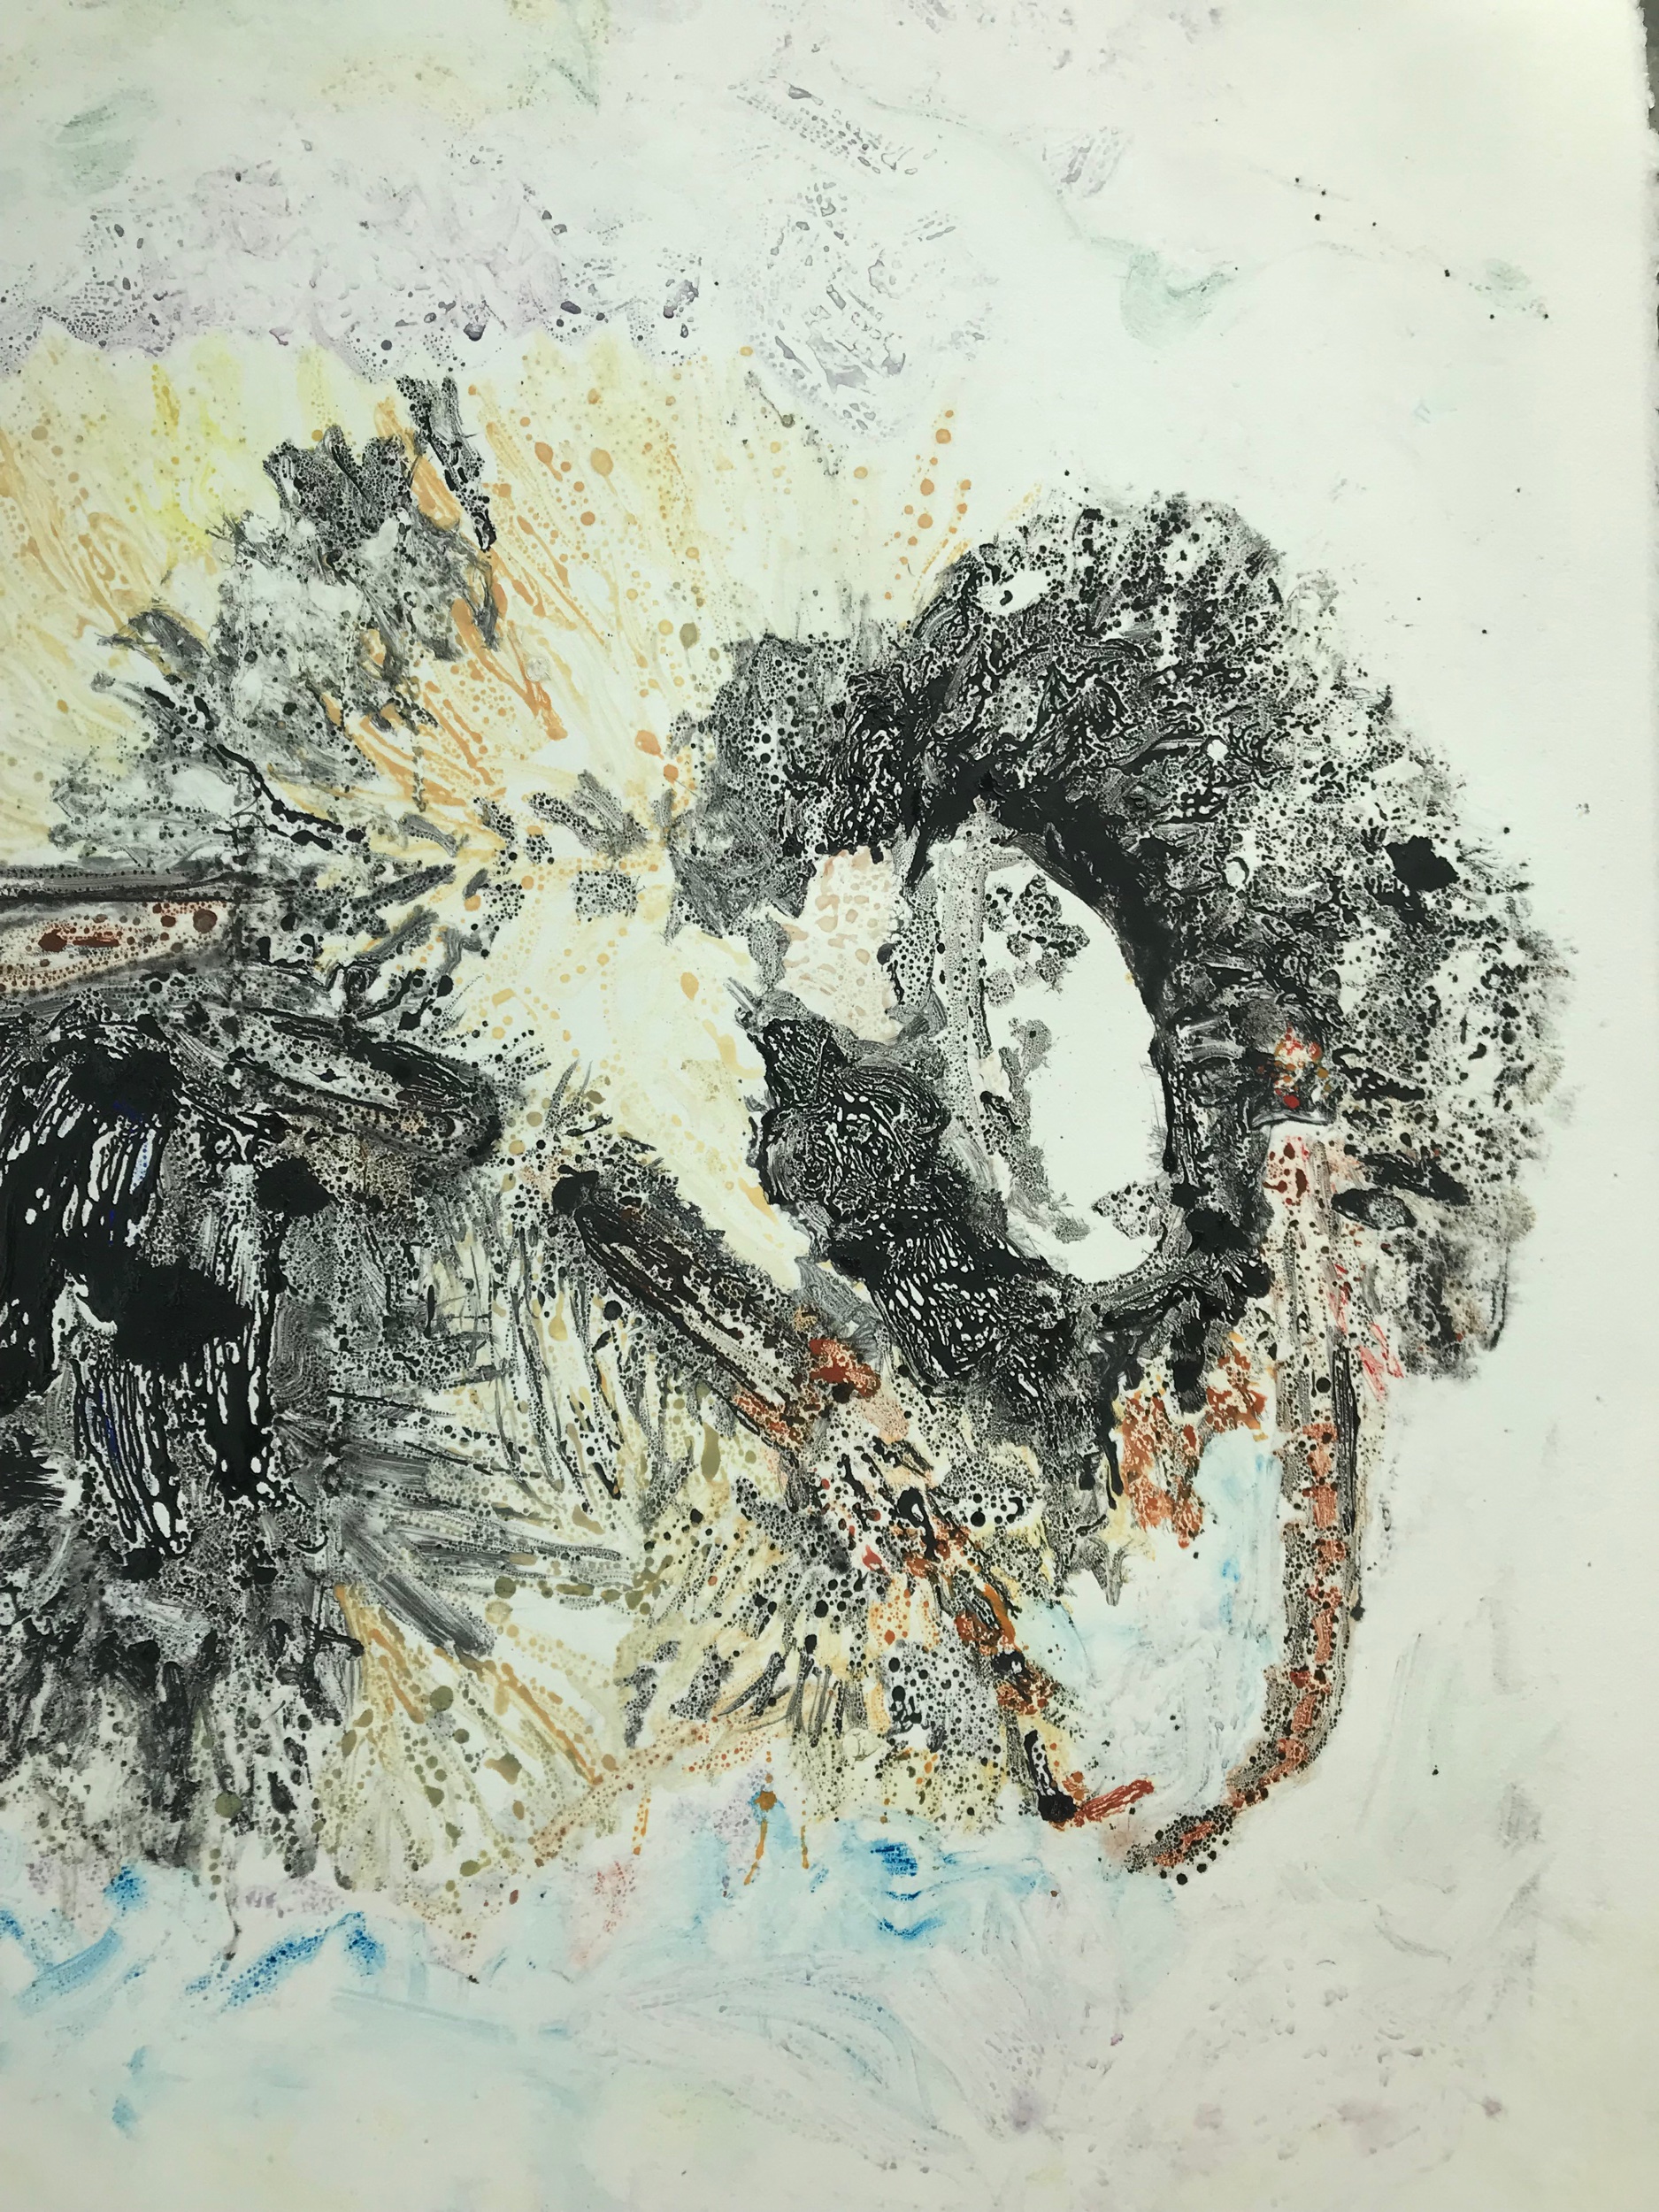
A sweet knot with some severe old wood cracks.
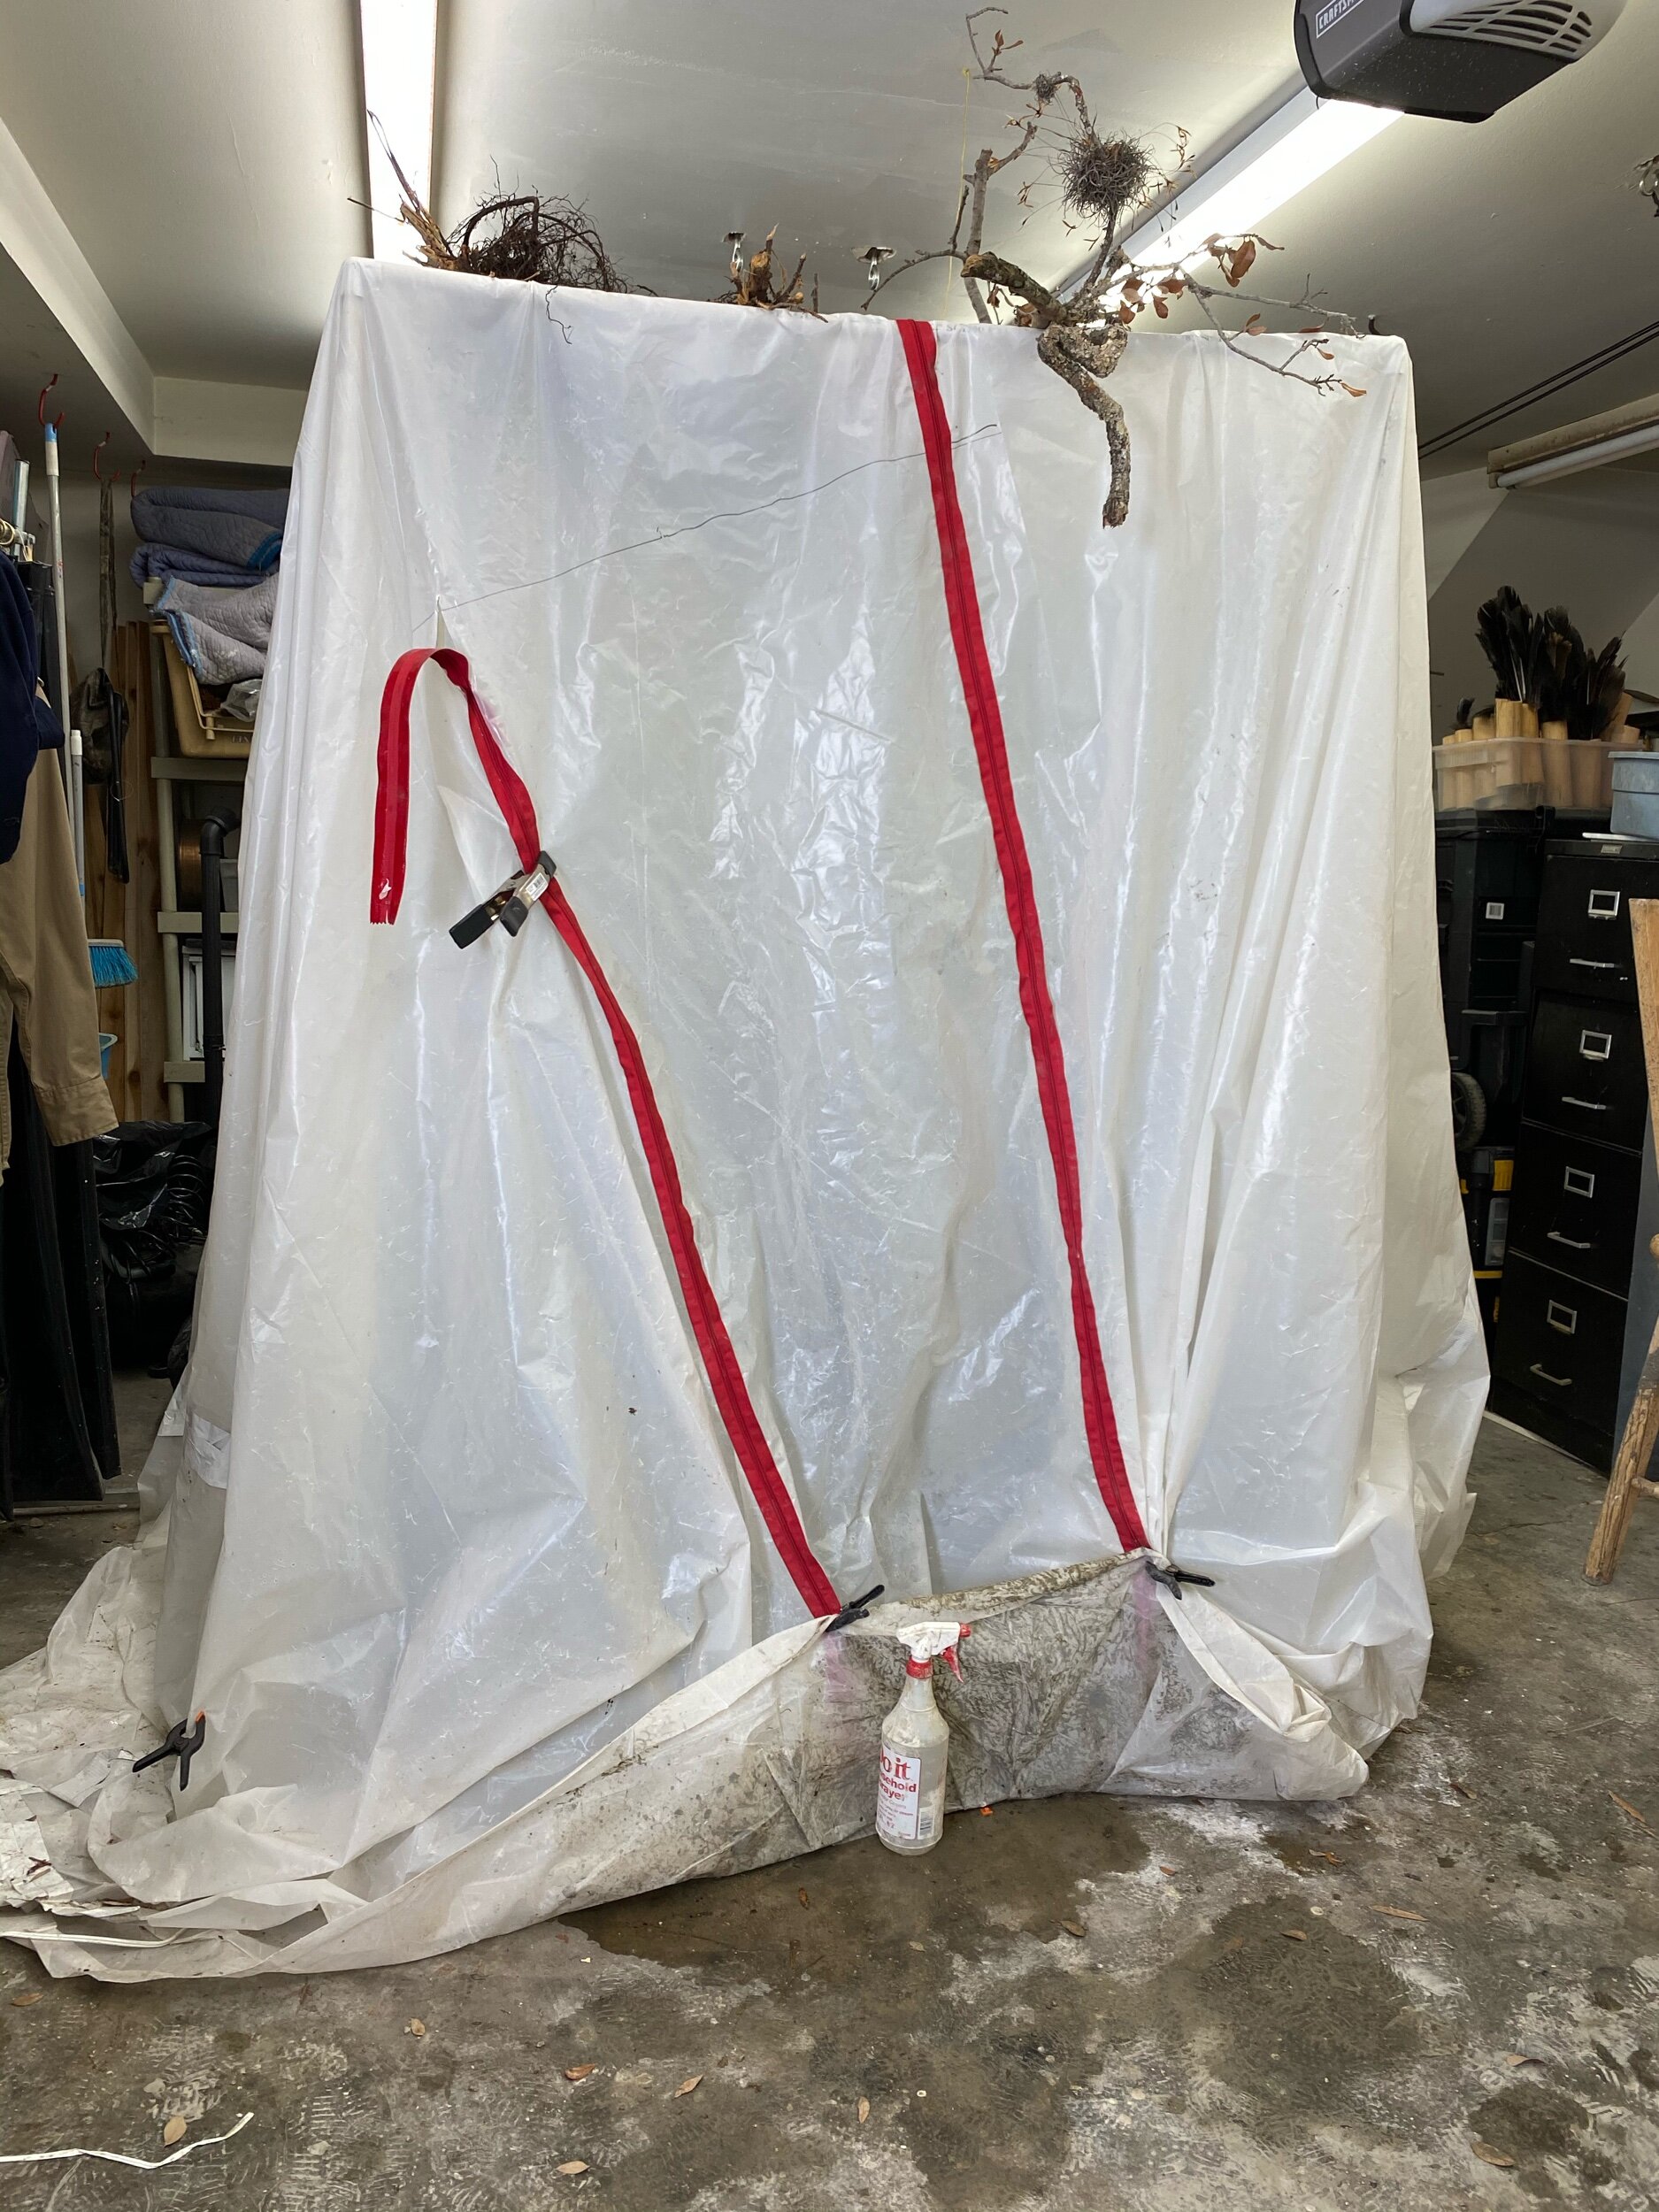
Once the piece hydrates for 5 days I will take a sander and smooth down the seat.


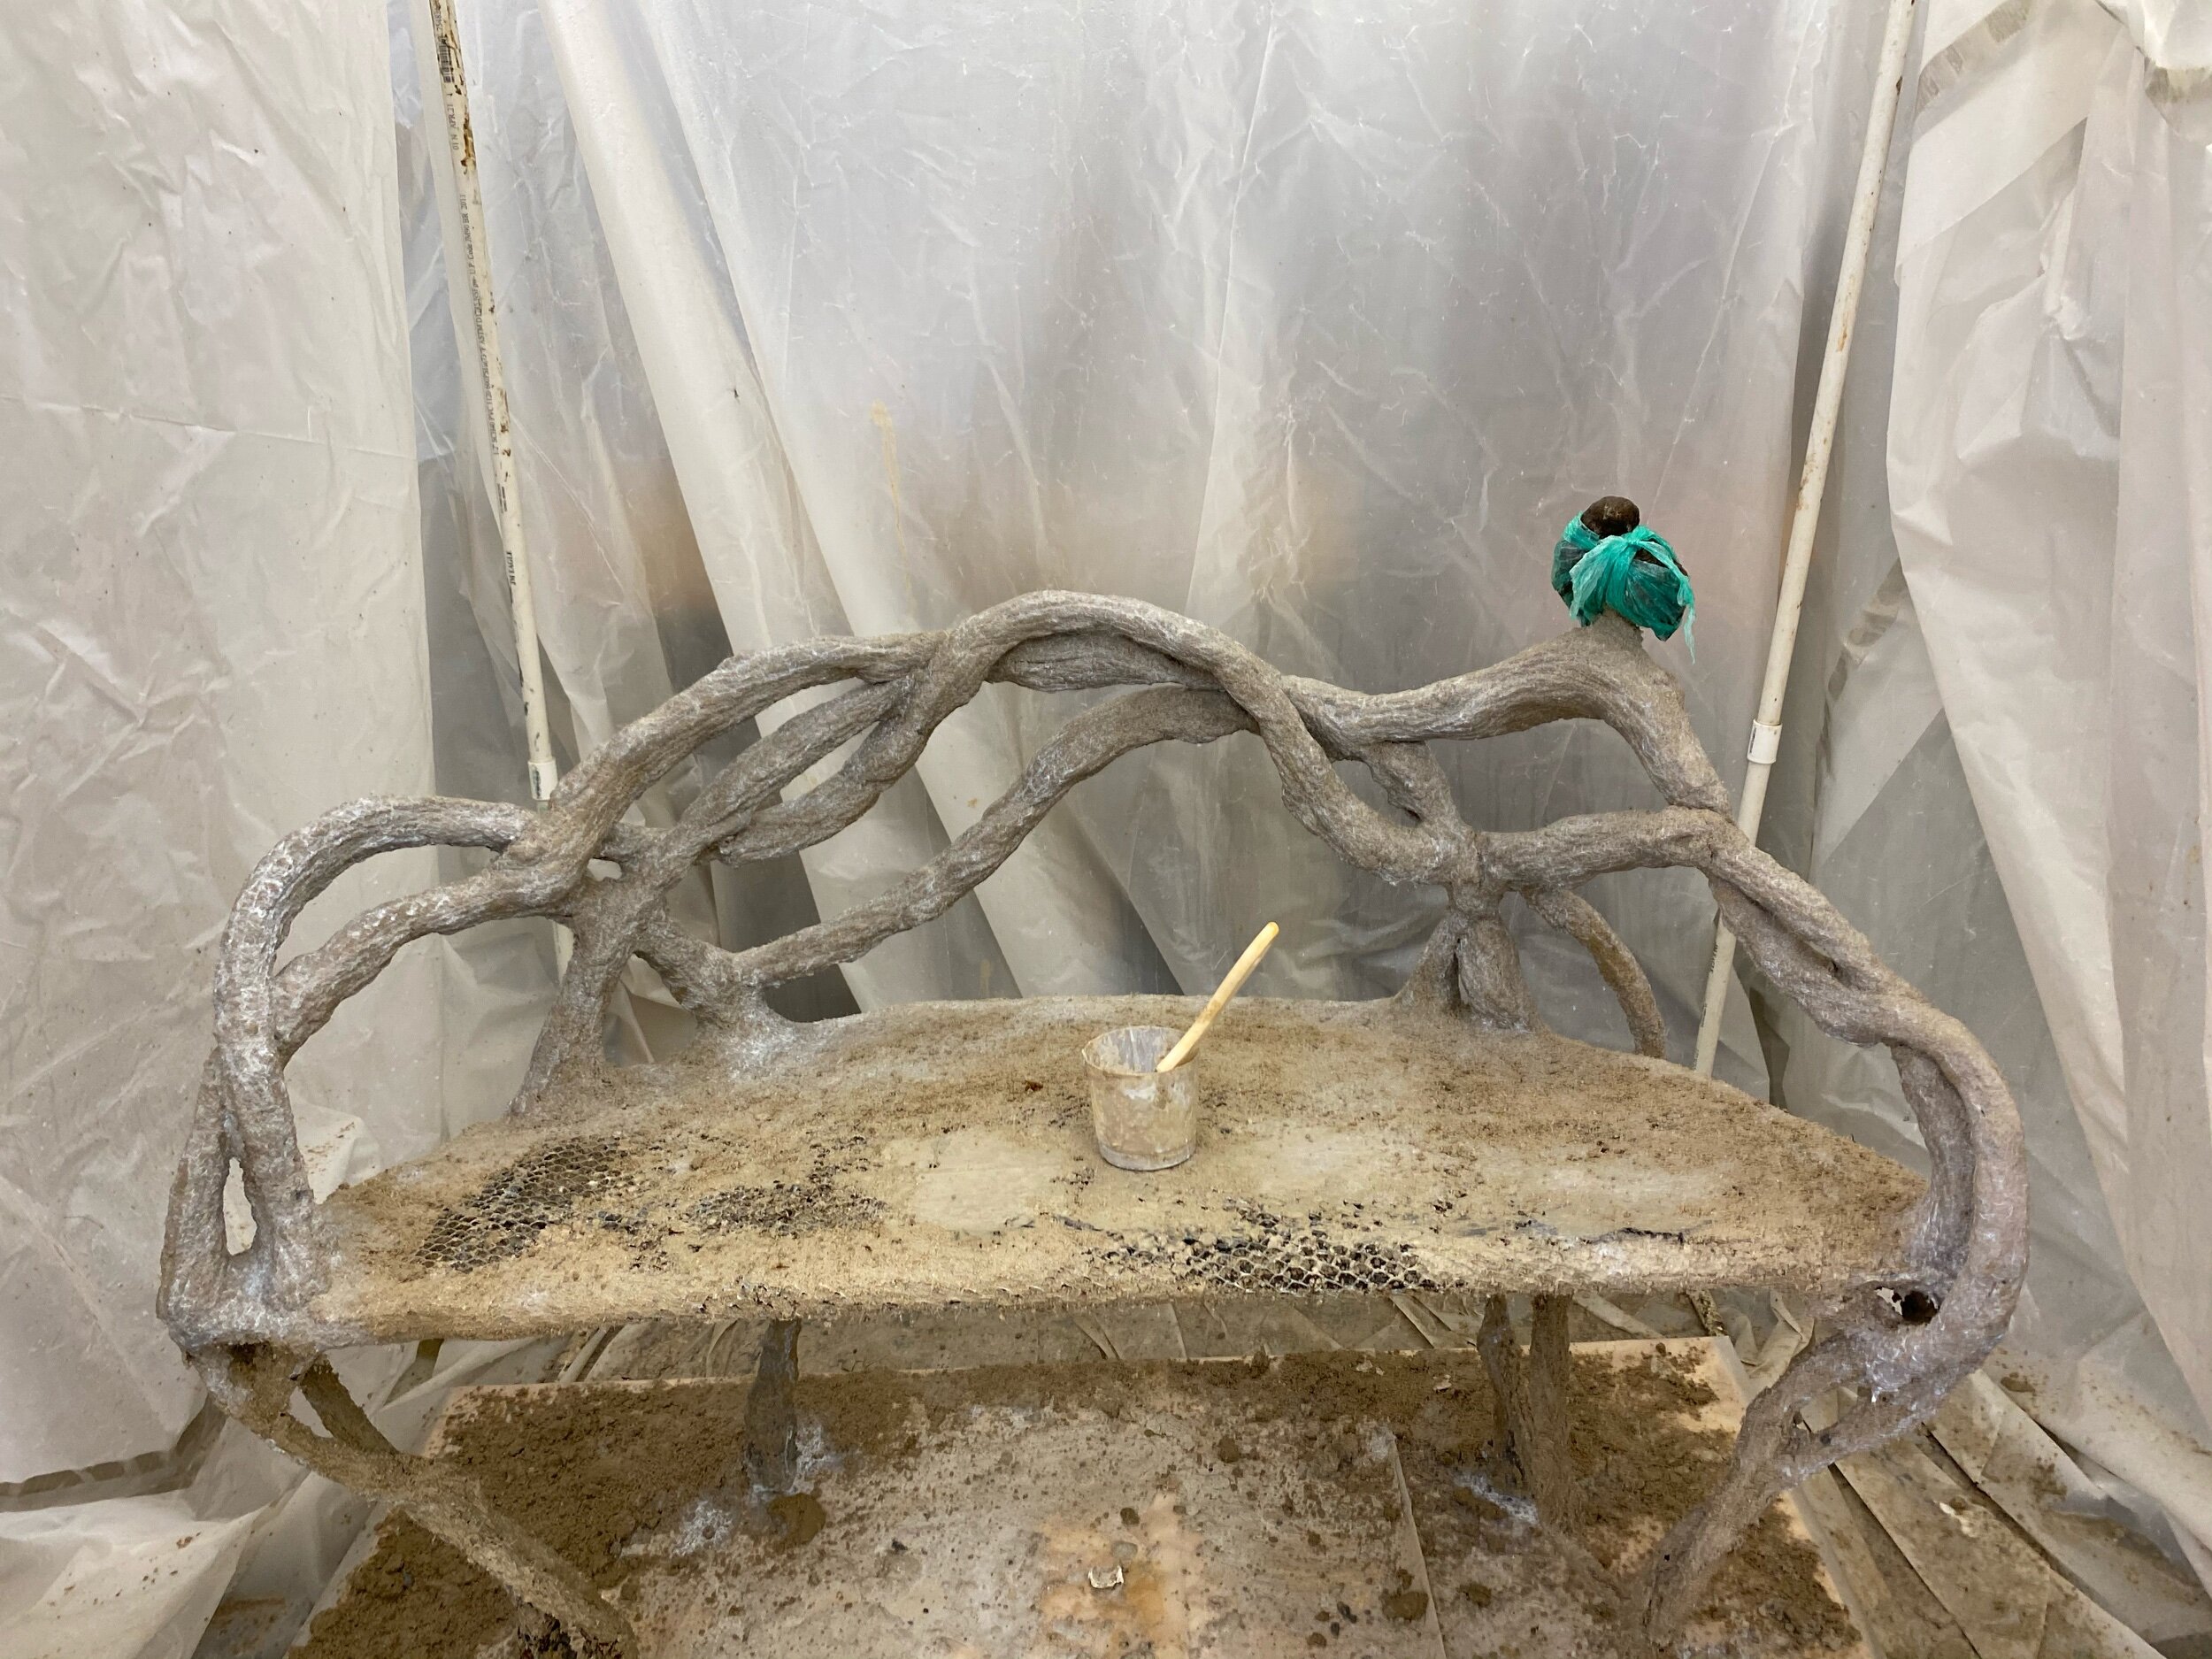
I gave the birds a knot to perch on.

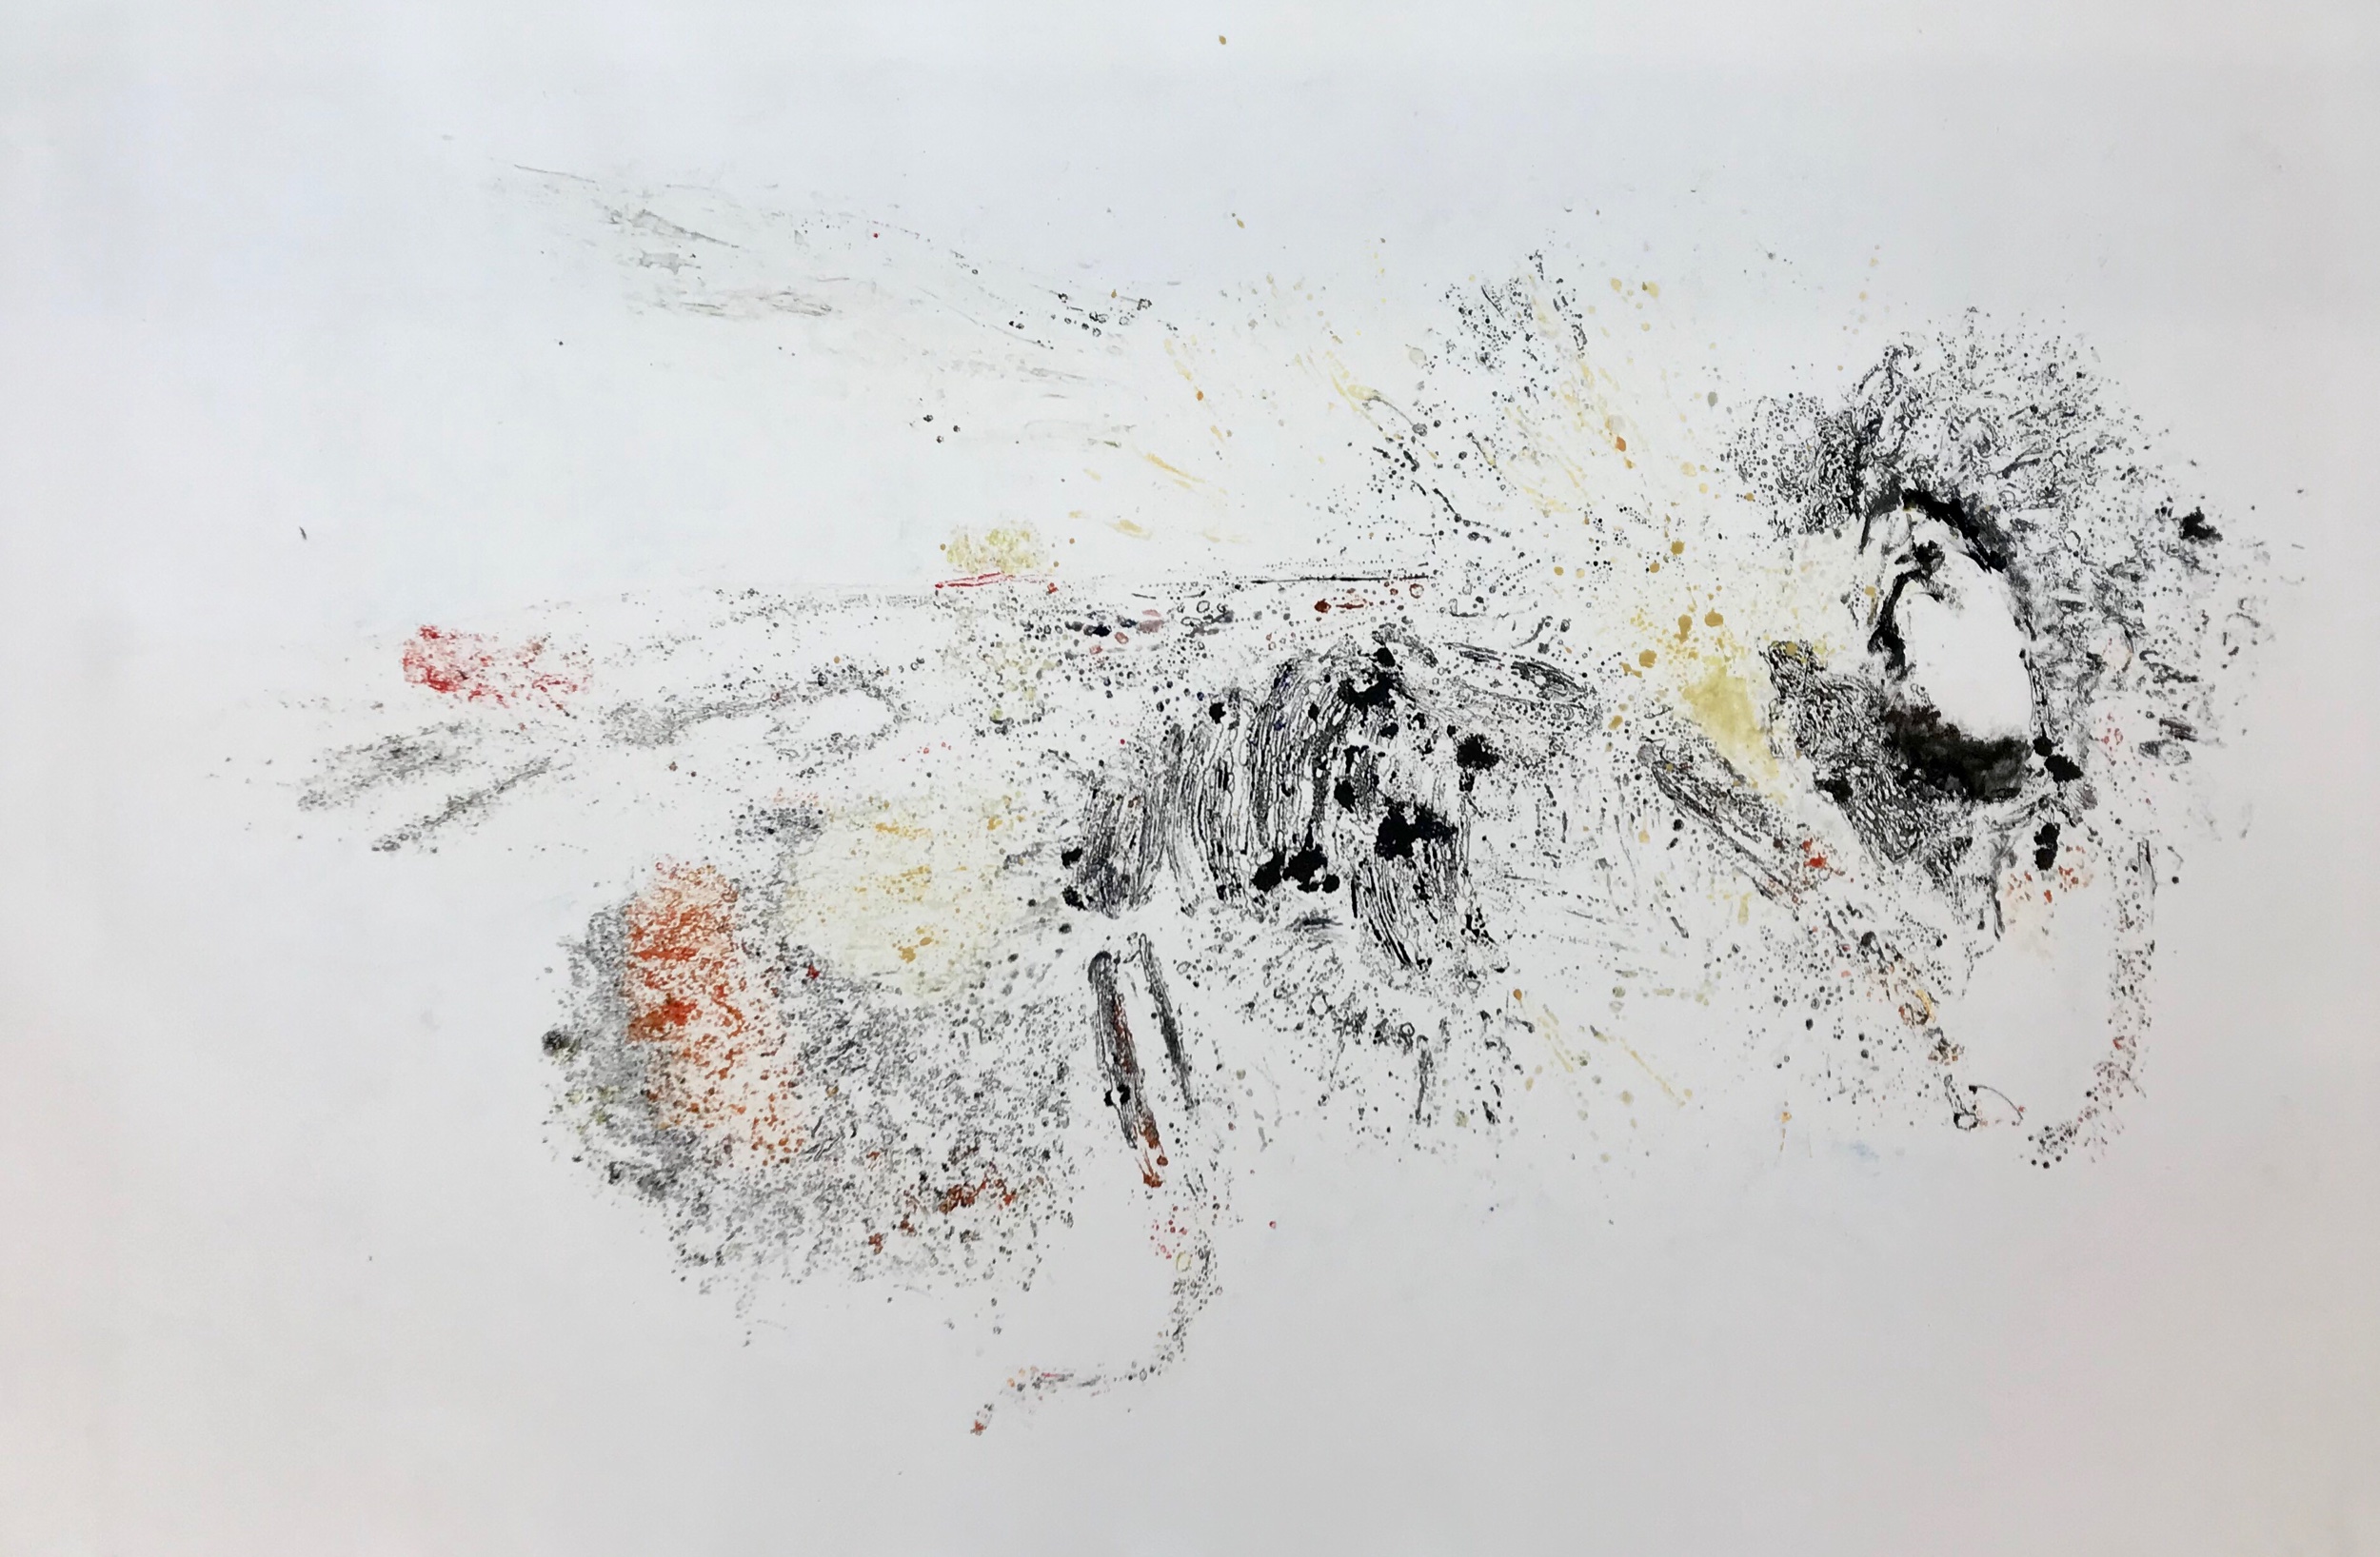
Another view of Bob Pa’s moment in the bench.