Building a Large Grid for Installing a Labyrinth: My Process. One reason I write these blog posts is to record my process. The other is to share information.
Constructing a labyrinth grid of this magnitude may seem like a daunting task. And it is for me. With the right strategy, it can be accomplished efficiently. As I embarked on this venture, I took the time to experiment and optimize my methods. Here's a breakdown of the process that was the most efficient.
To begin, gather the necessary materials: X-axis cords measuring 53 at 54' and Y-axis cords measuring 33 at 88' lengths. Keep in mind that the cords come in 100-foot lengths.
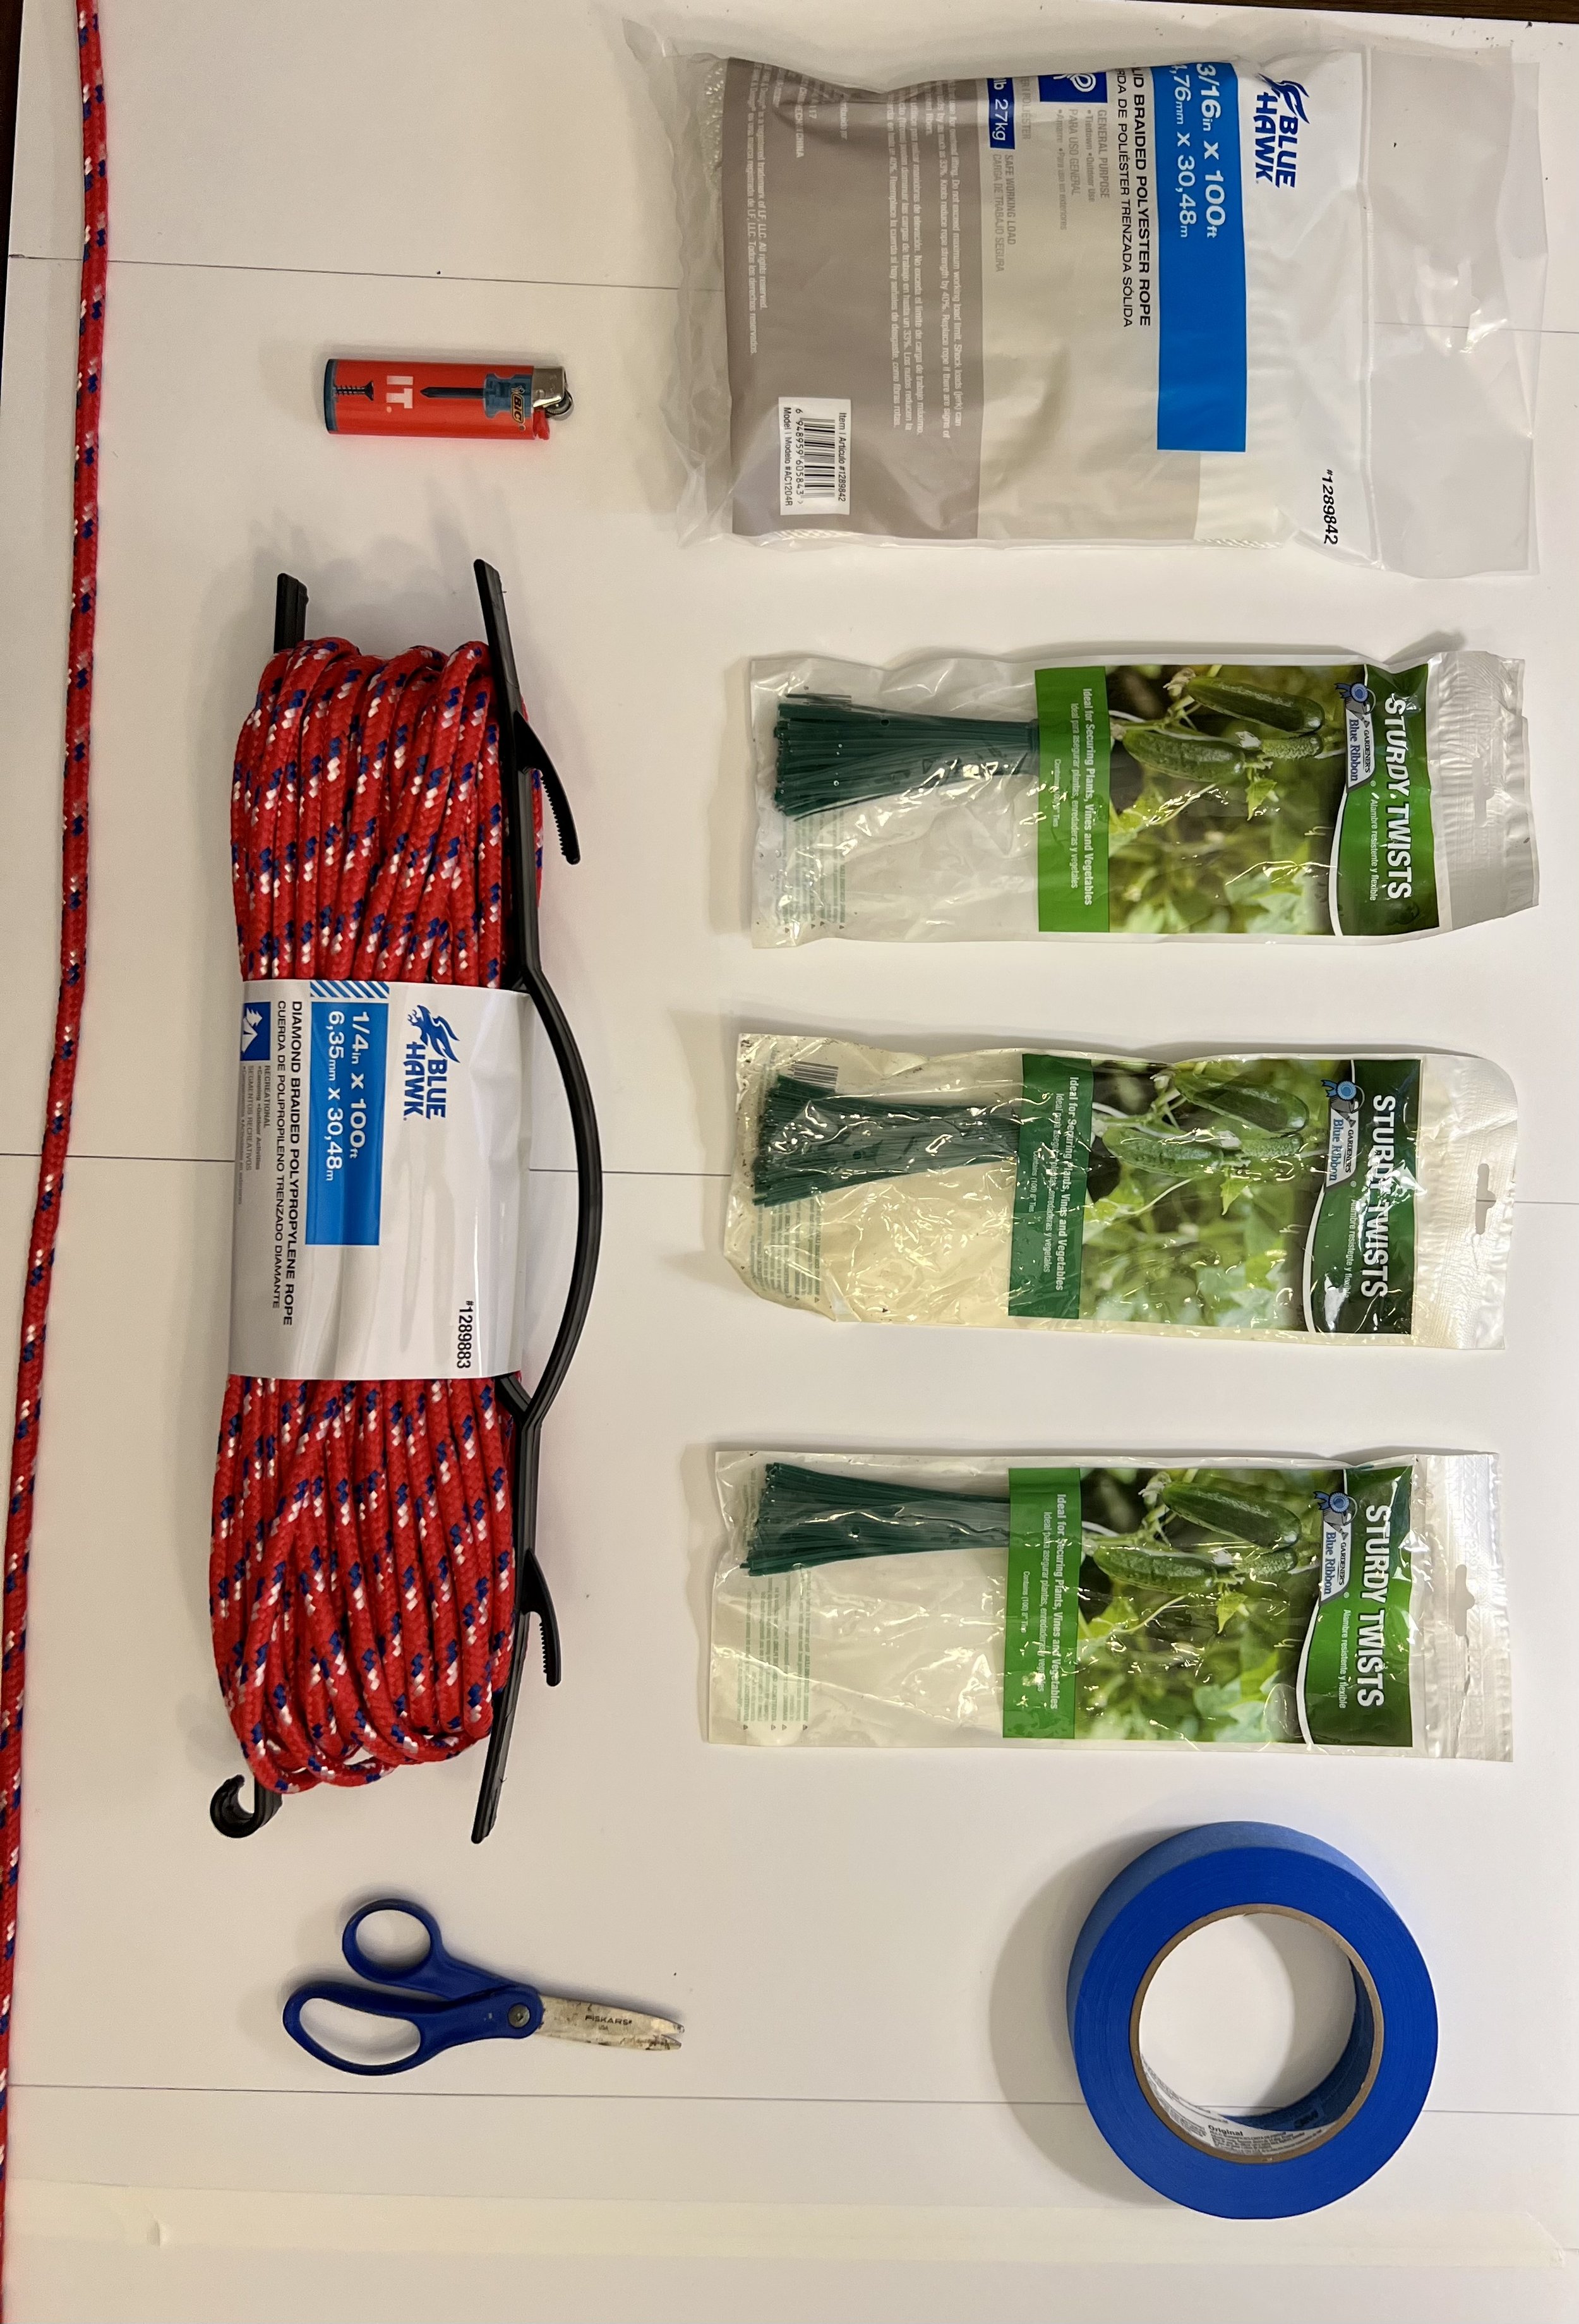
I wish I had of planned at 50’ by 100’ bison. The lighter is for singing the ends so they will not ravel. The tape is for tapeing the measured and twist-tied ropes for the installation.
I am making each cord that is a multiple of 5 a white cord. I think this will helpful the day of the installation.
1. X-axis cords: Start by unwinding the hundred-foot cord carefully, ensuring it doesn't become tangled. Here's a handy tip: tie a knot at one end and secure a twist tie next to it. Place the knotted end in a doorway and shut the door on it. This will hold it in place. Then, stick your arm through the middle of the looped cord and slowly unwind it, walking away from the door until it's completely straight.
2. Measure and cut the cord, leaving a few inches to knot and singe the ends to prevent unraveling. Tie another twist tie at the 54' mark. This will serve as the reference cord for measuring all other X-axis cords. Keep this cord secured in the door.
3. Take the leftover cord singe the end and knot it and tightly tie a twist tie inside the knot. Shut in the door with the reference length cord. Measure it against the reference cord and splice it with a piece of the next 100' wound-up cord to measure the 54' length accurately. Now you have a cord to start marking the grid on.
To mark the grid on the first cord—
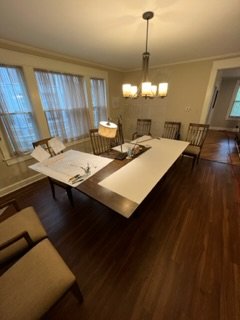
The dining has been my studio work space. First I covered the 8’ table in a thick paper to protect it. Next I marked every 20” from end to end.
4. Prepare a long table by placing sheets of paper and securing them to the table so they will not slip. Measure and mark on the paper every 20". Lay the cord on the marked paper. To ensure stability, anchor the cord with a heavy object like a case of water.
I used a case of water to weigh down the cords.
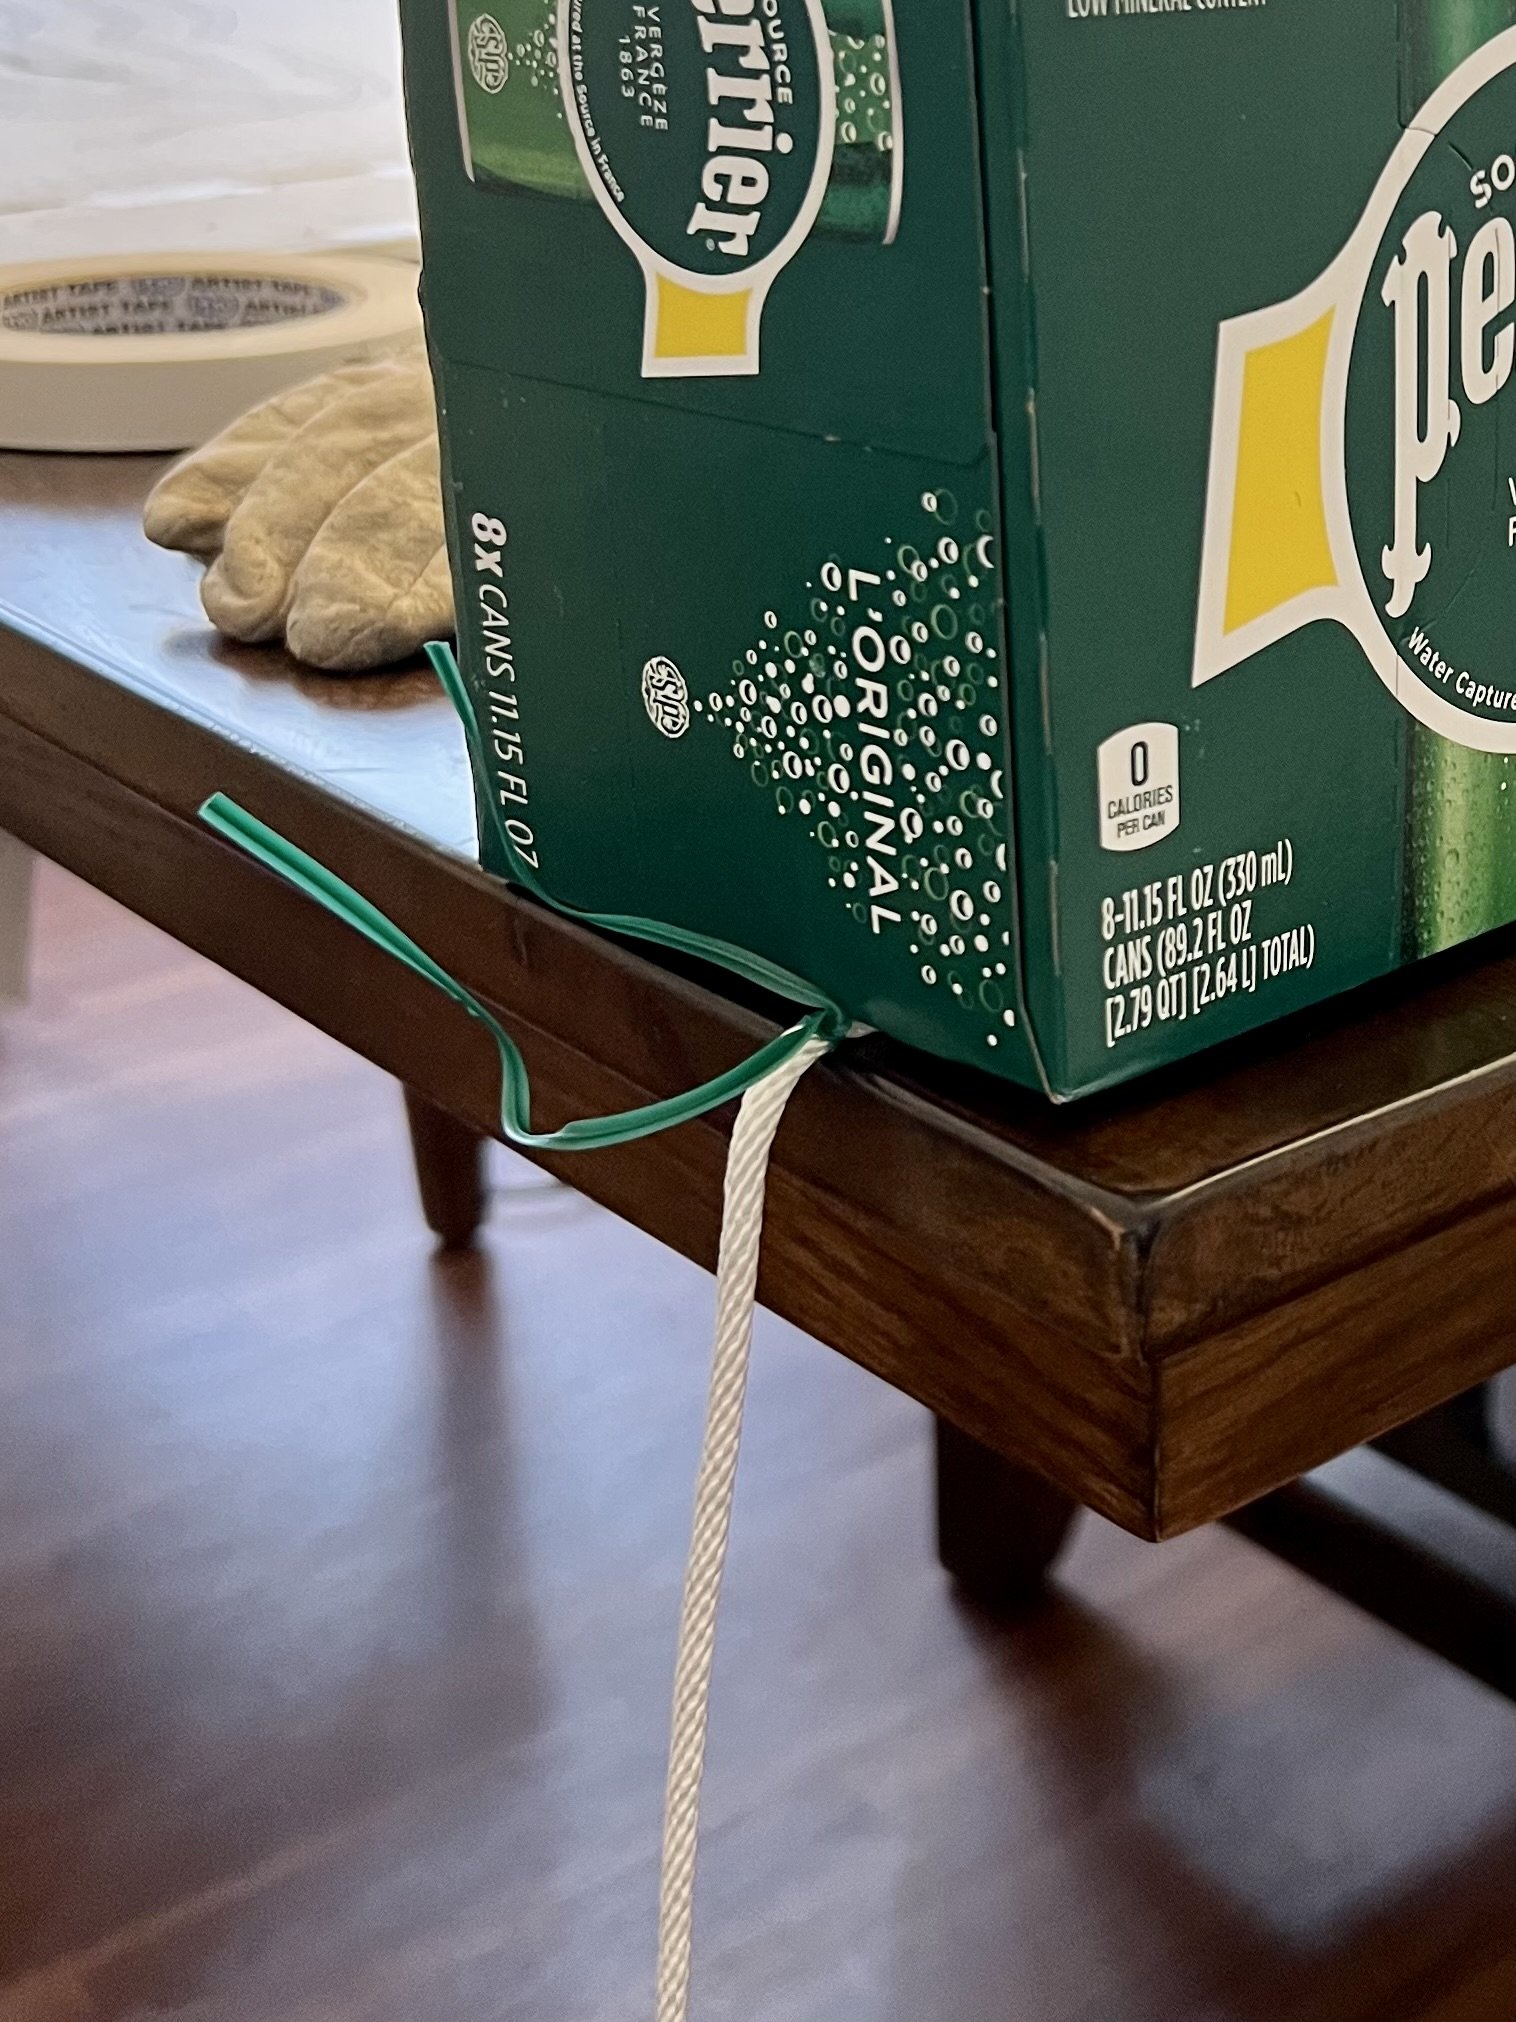
Starting from the first knot, and twist tie secure each twist tie tightly along the edge of the table at the 20' marks. Continue tying twist ties until you reach the end of the 54' mark. You may have a little excess cord hanging after the last tie.

The 8’ mark of the table length and the last twist tie. I leave a few inches at the end just in case.
The first piece with every 20” tightly tied with a twisties.
5. Carefully wind up the cord, tape it securely, and mark it as X-axis 54'.
The first grouping of five- 4 red and the 5th white.
53 pieces - completed.
6. Finally, organize the cords by making four red and one white, keeping them grouped together.