“Score” today’s progress.

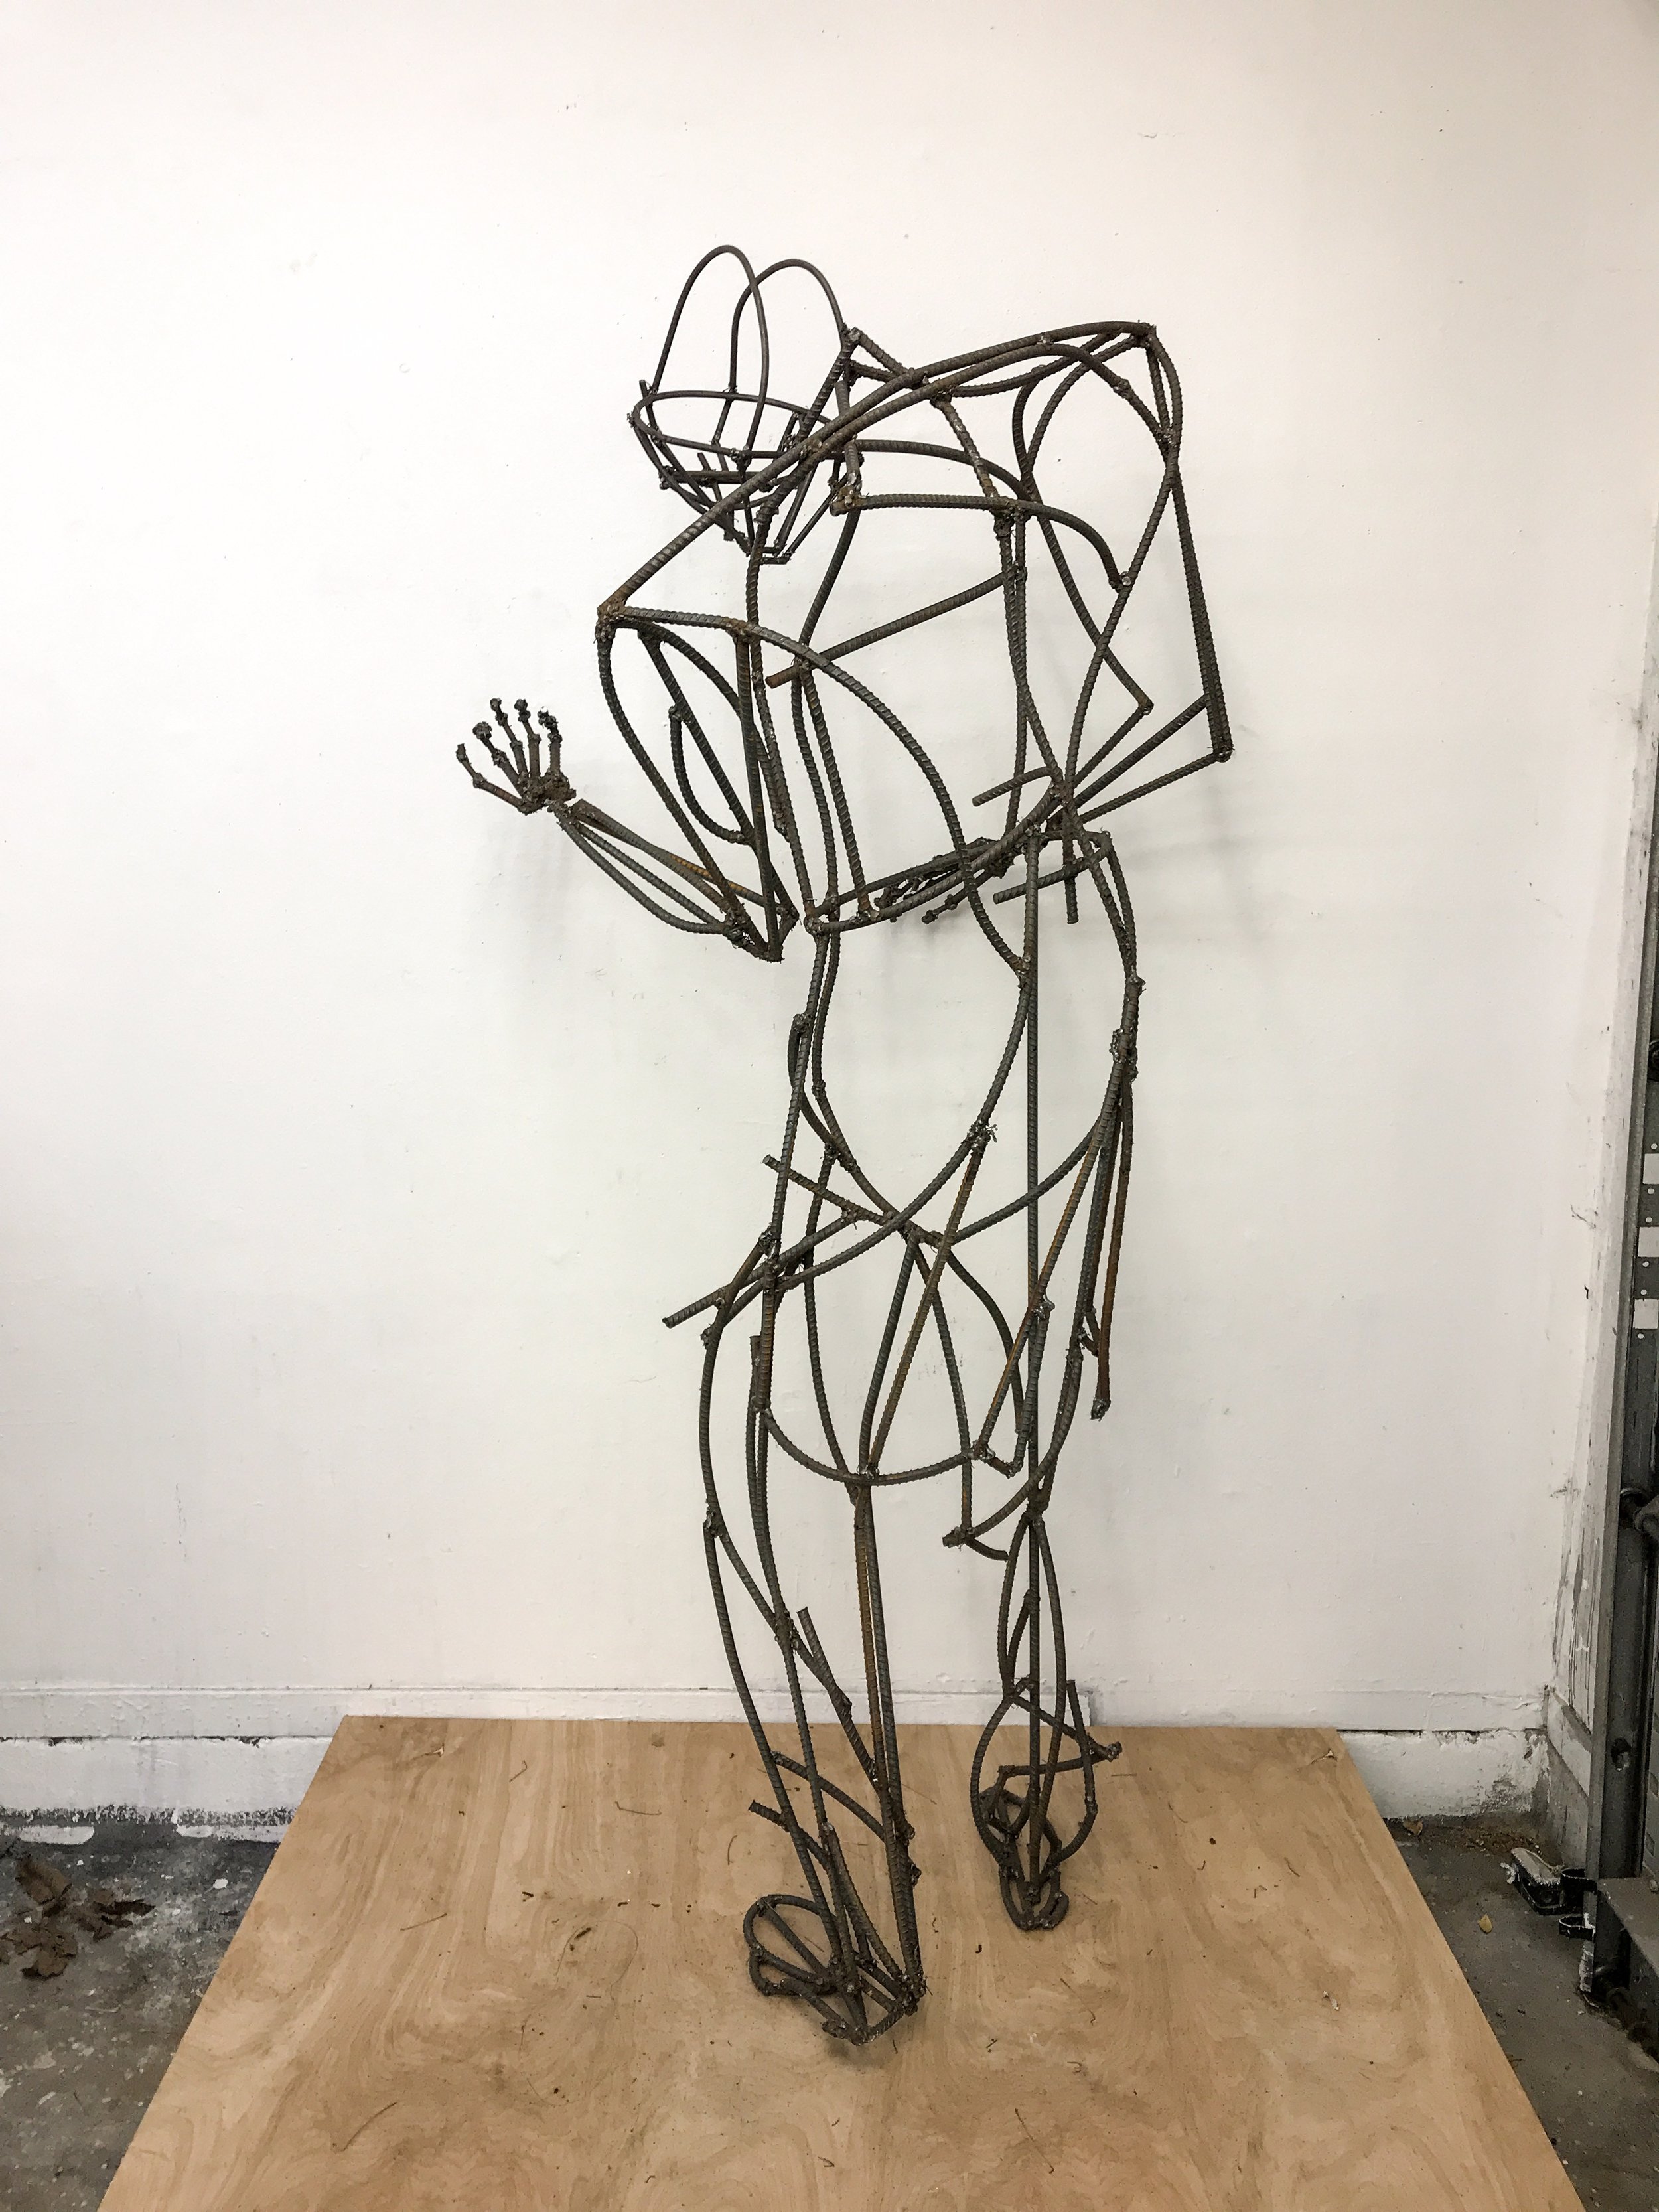
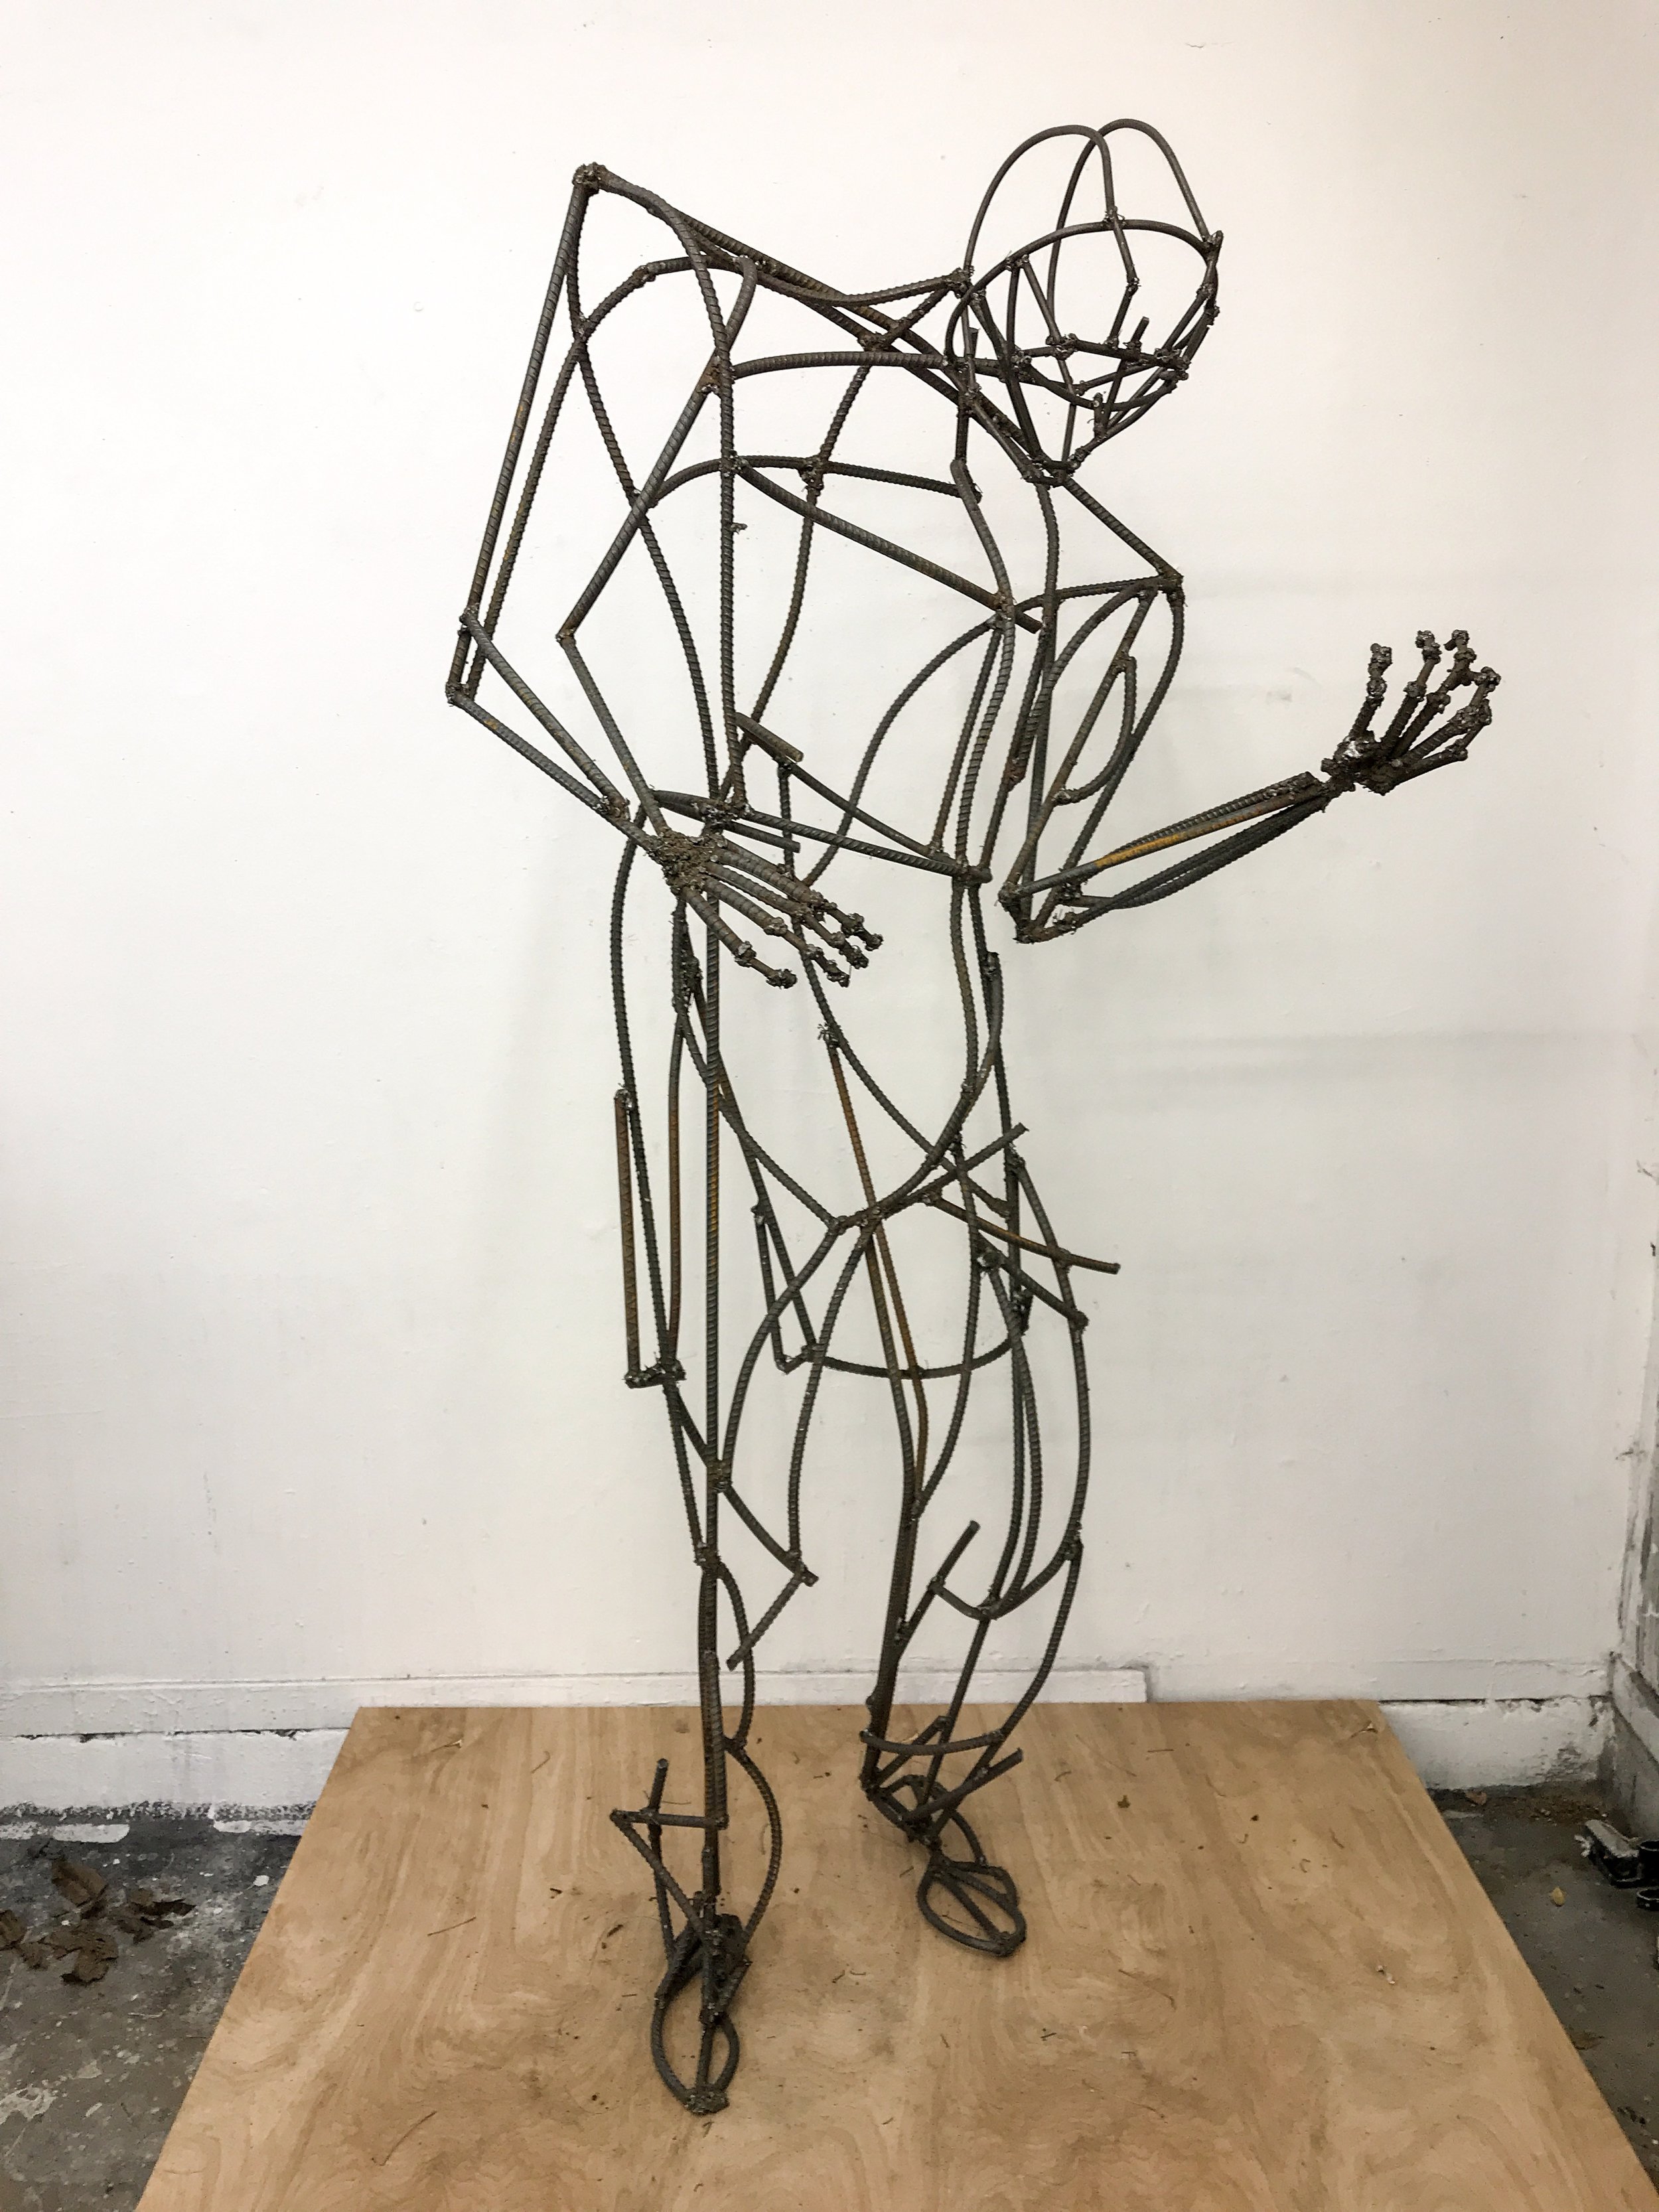
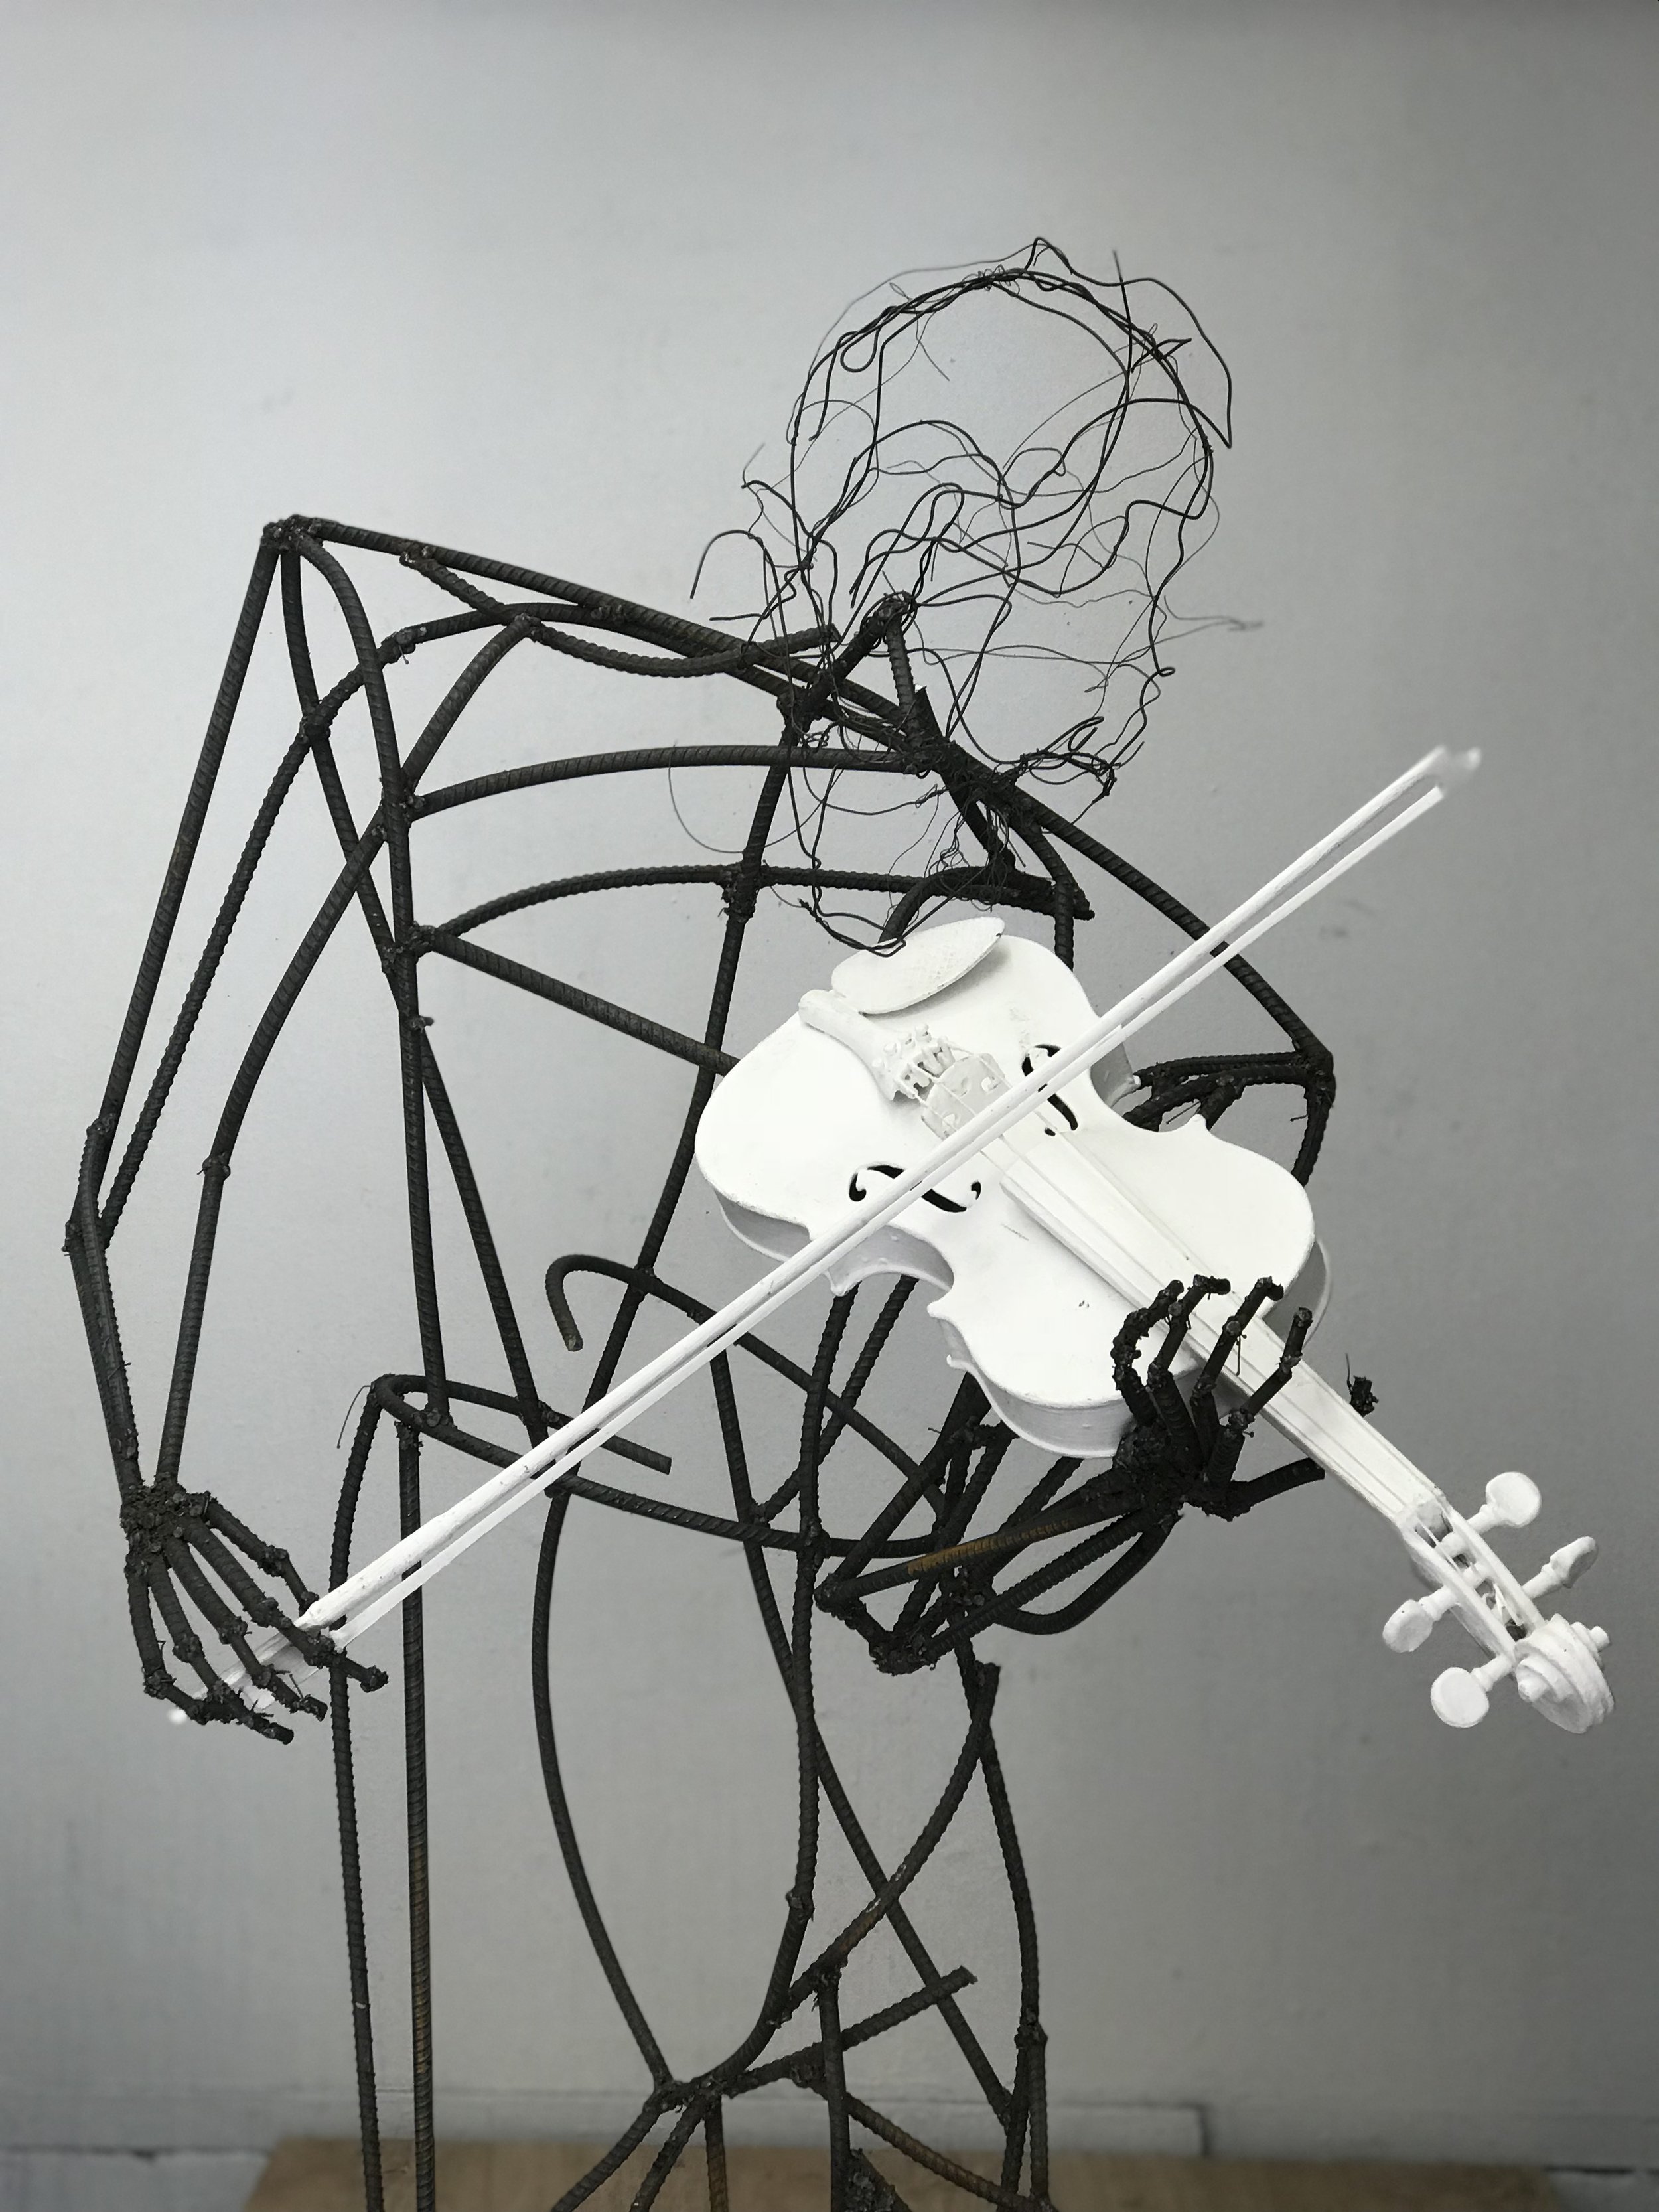
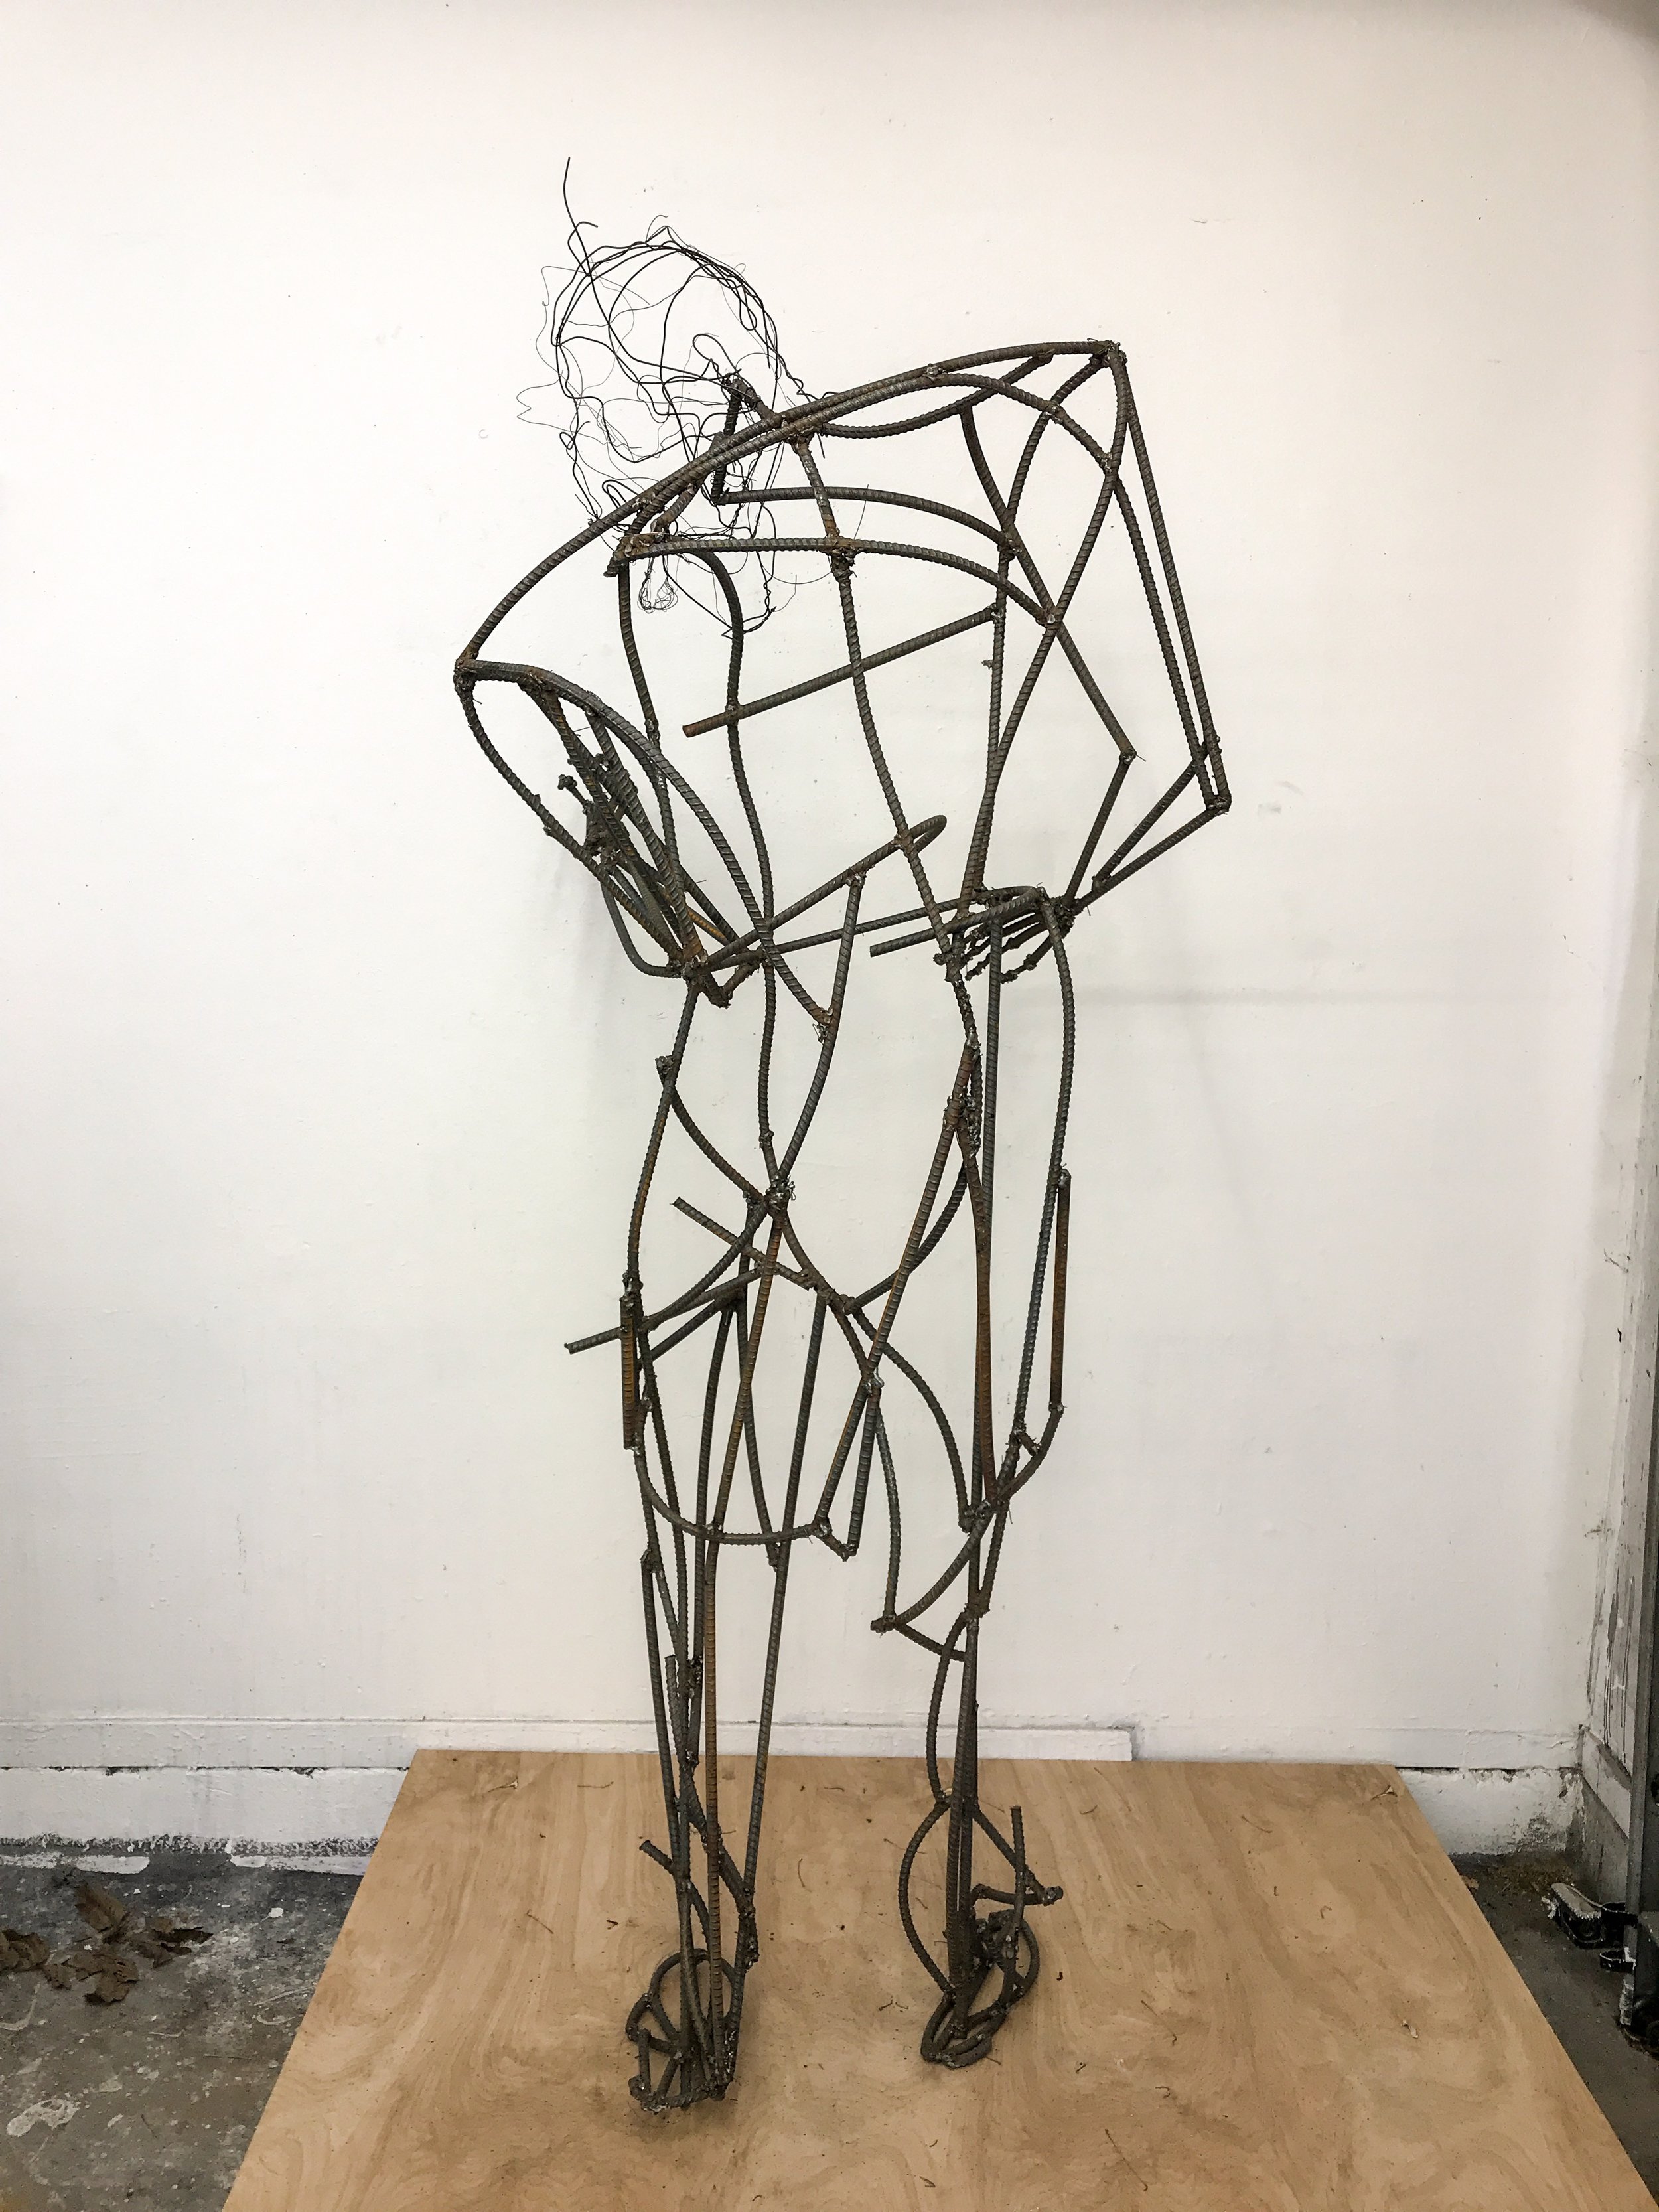
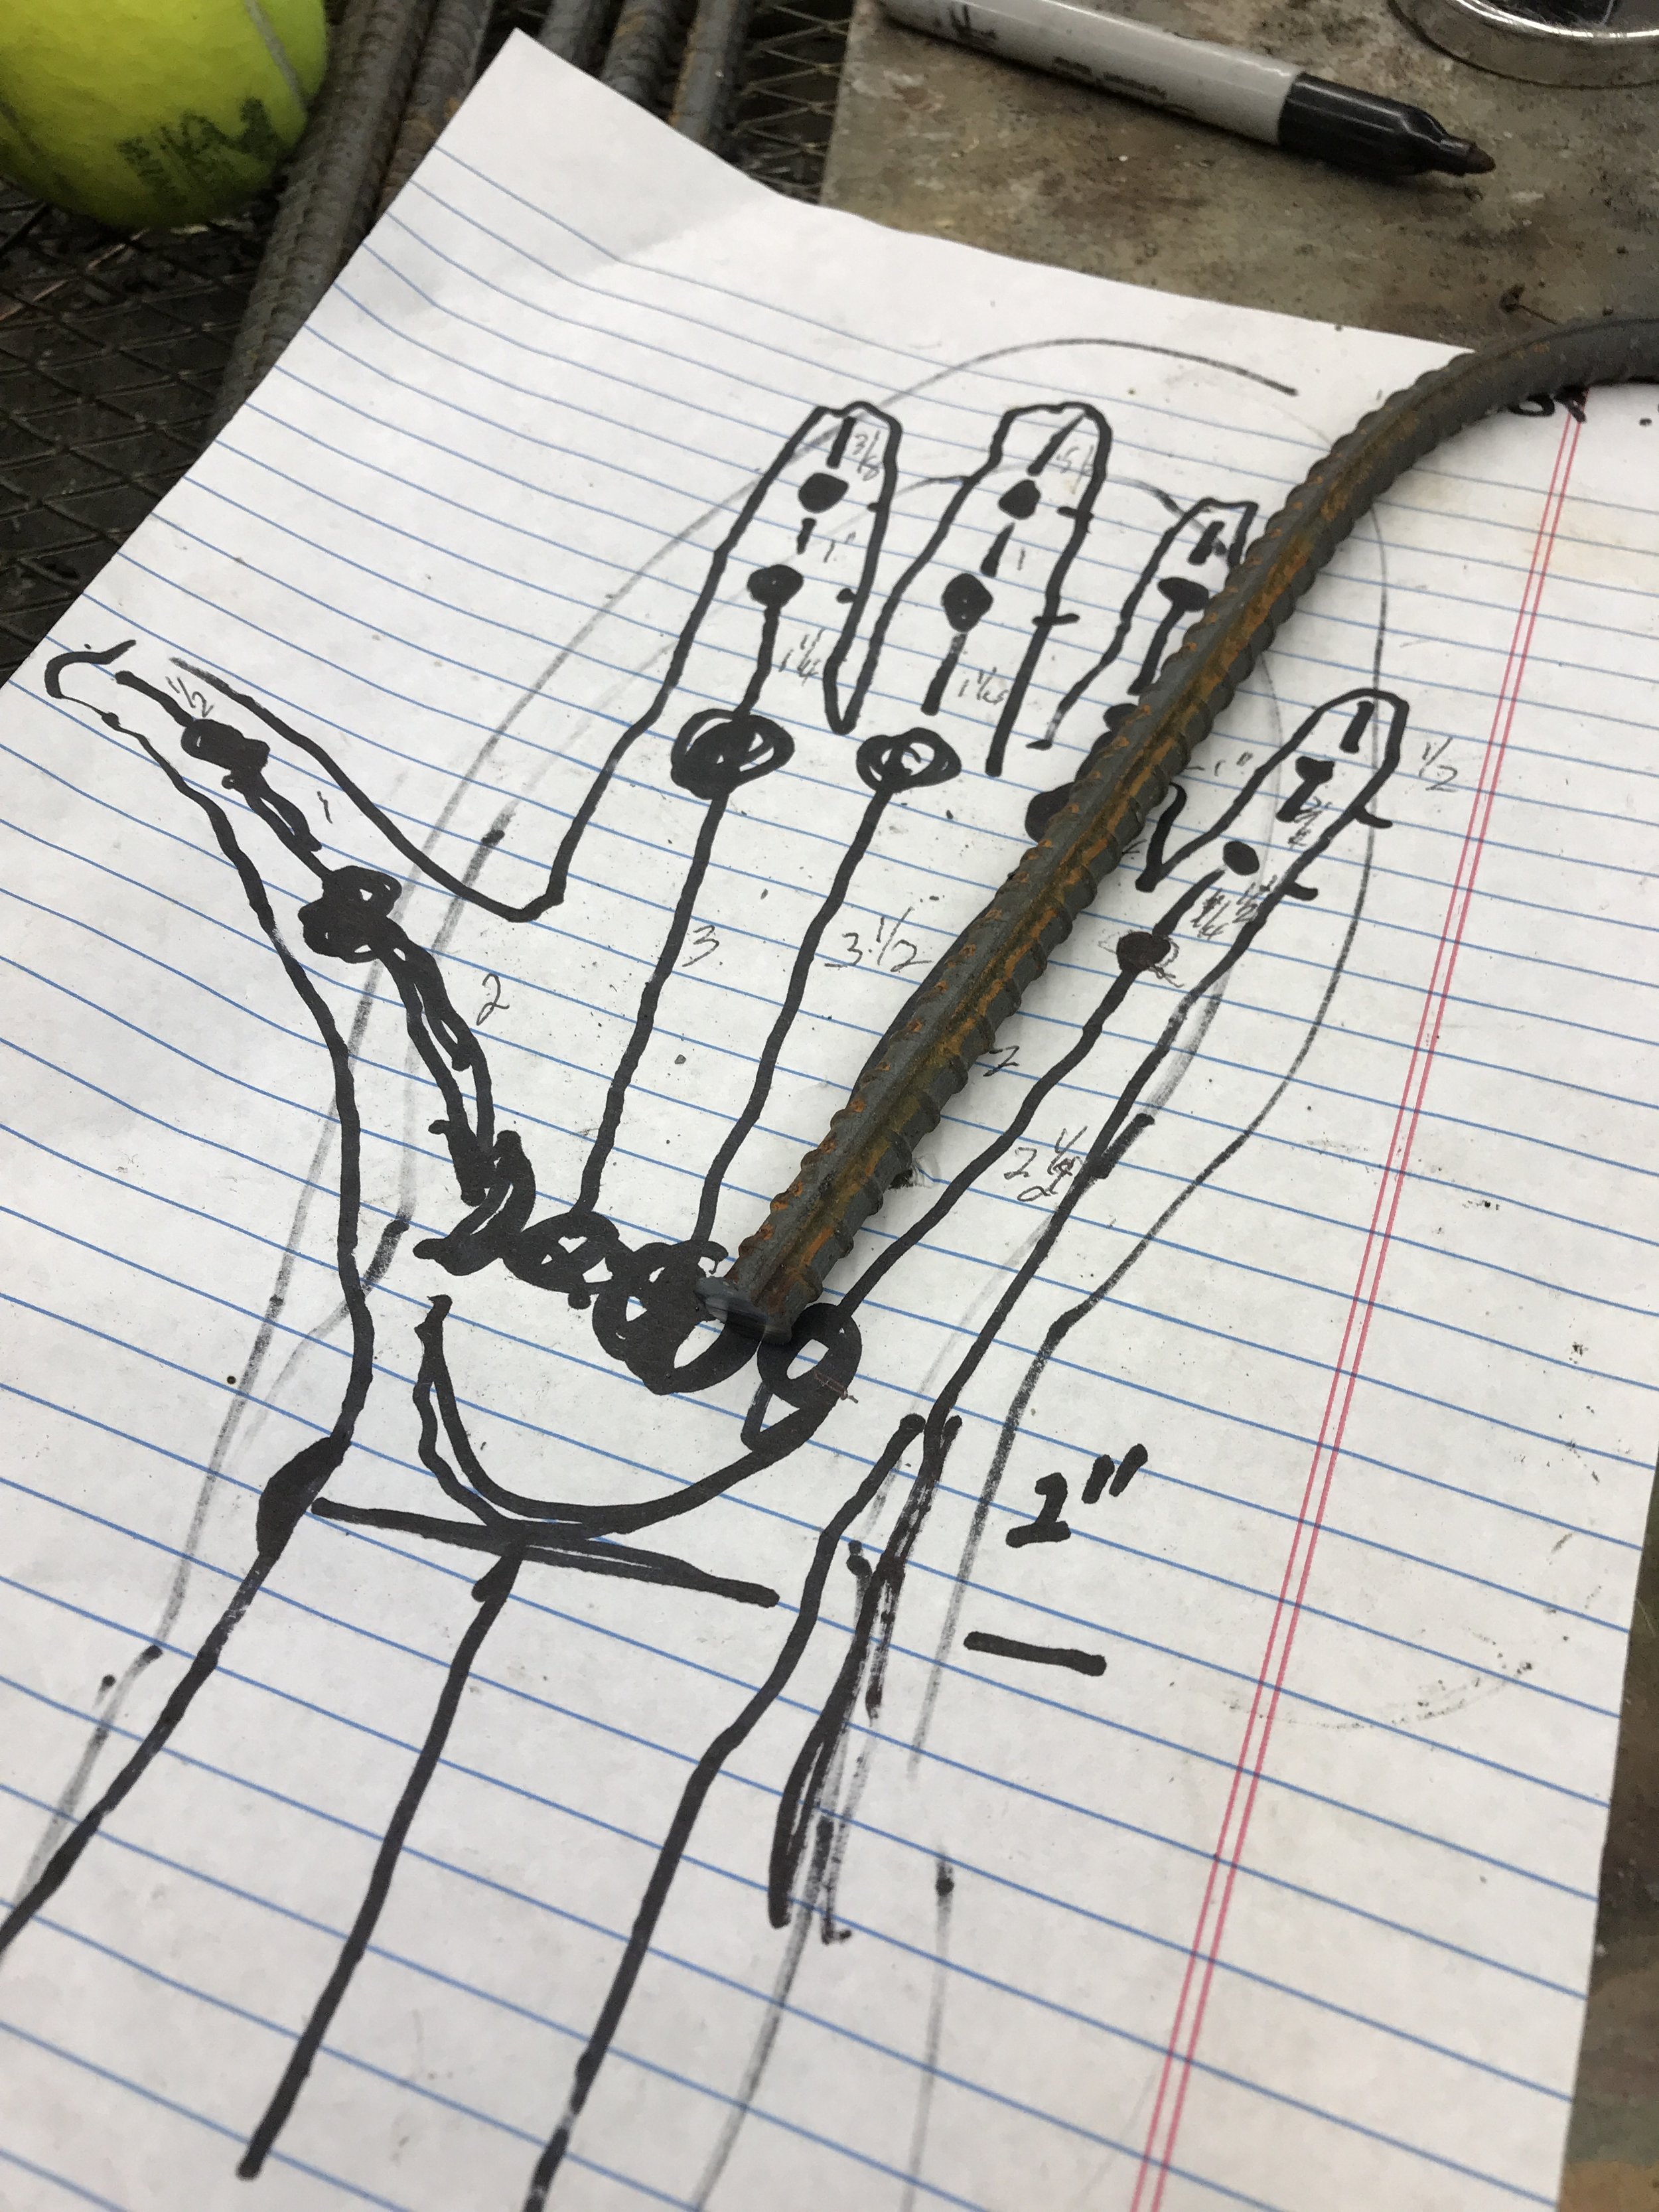
I made a lot of progress today. All those wires that were making me crazy because they were in my way were very useful today. They came in handy for creating the movement of the right arm pulling back as it moves the bow across the strings of the violin. They also worked out well to add motion to the left leg as his body sways to the sound of the violin, in creating the motion in the upper back of the figure and the movement of the bow.

I also added the violin bows


I listened to a playlist of violin solos on Spotify. I was working on the bows when Massenet: Thais/Acte Deux Meditation religieuse came on. It is a tear-jerker. I kept thinking about my 90-year-old Dad who is not doing well and was just approved for hospice. It is ironic that the piece I am working on during this sad time is titled “score”. The title today has a double meaning; it not only refers to the music score, but for my father's love for sports and scoring on the football field.


 https://open.spotify.com/track/2TkpA2qsGI60157gXszMg0?si=Hma56nj1ToiImjelxQsn4Q


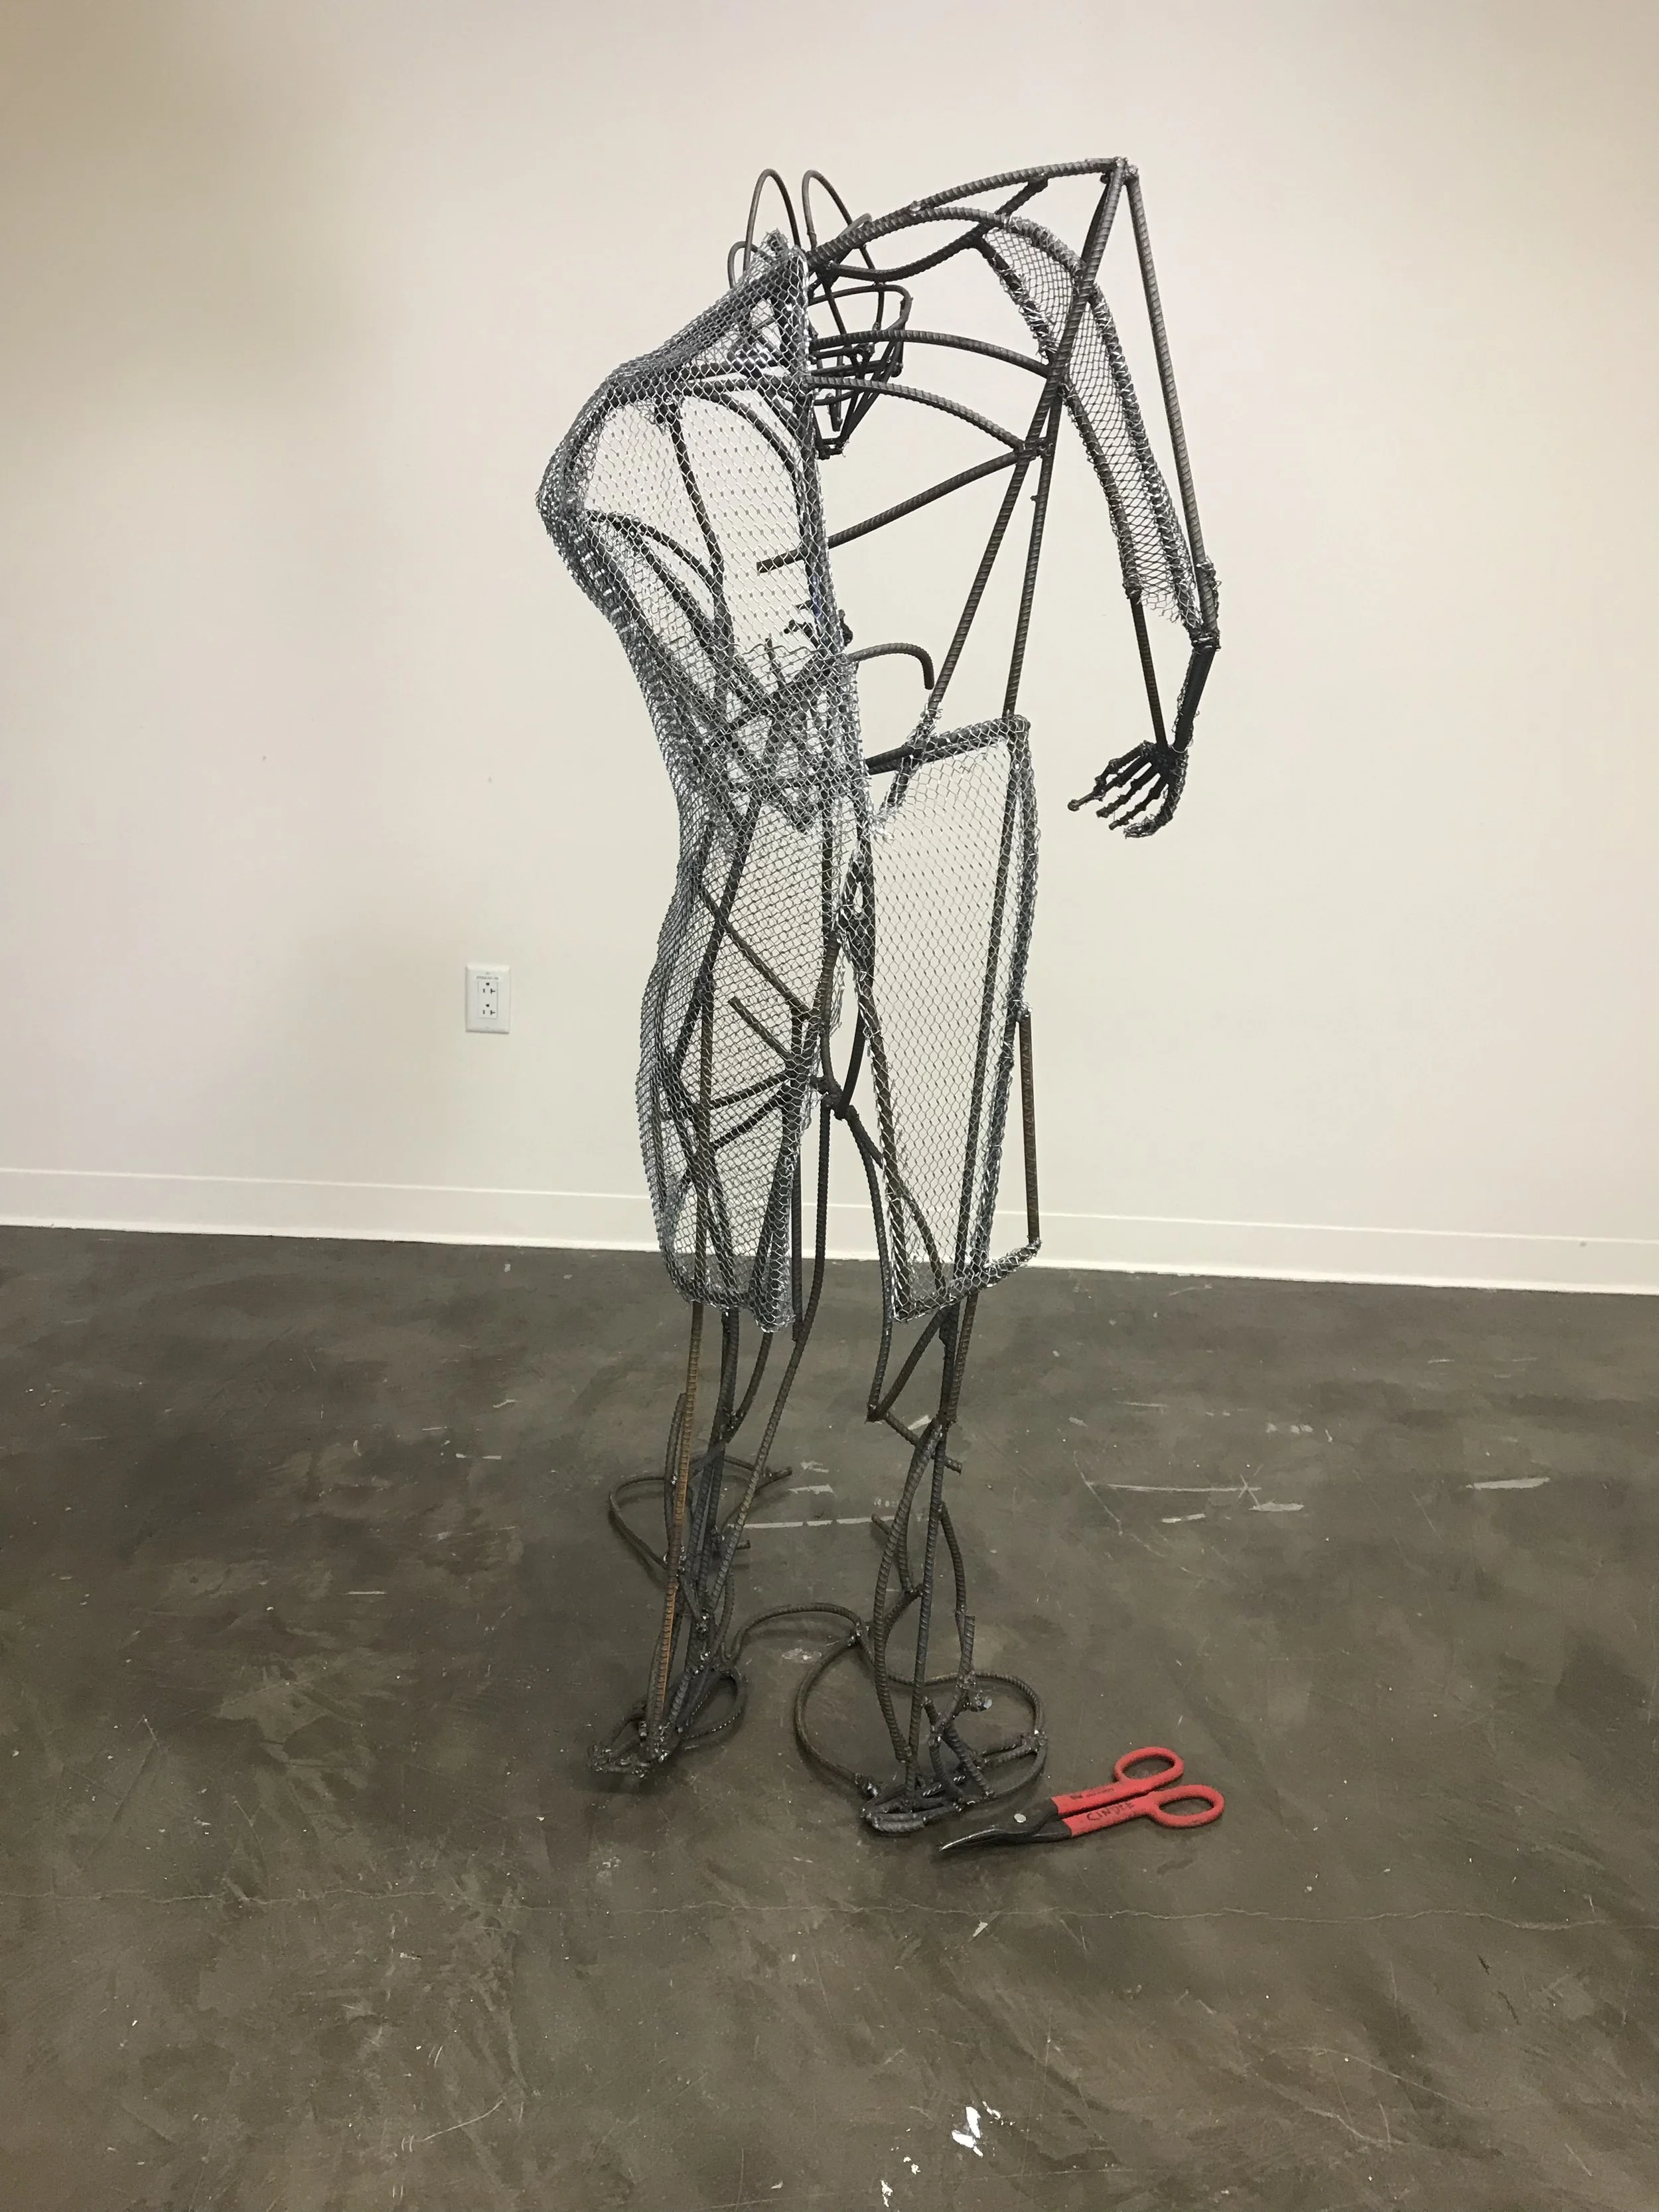
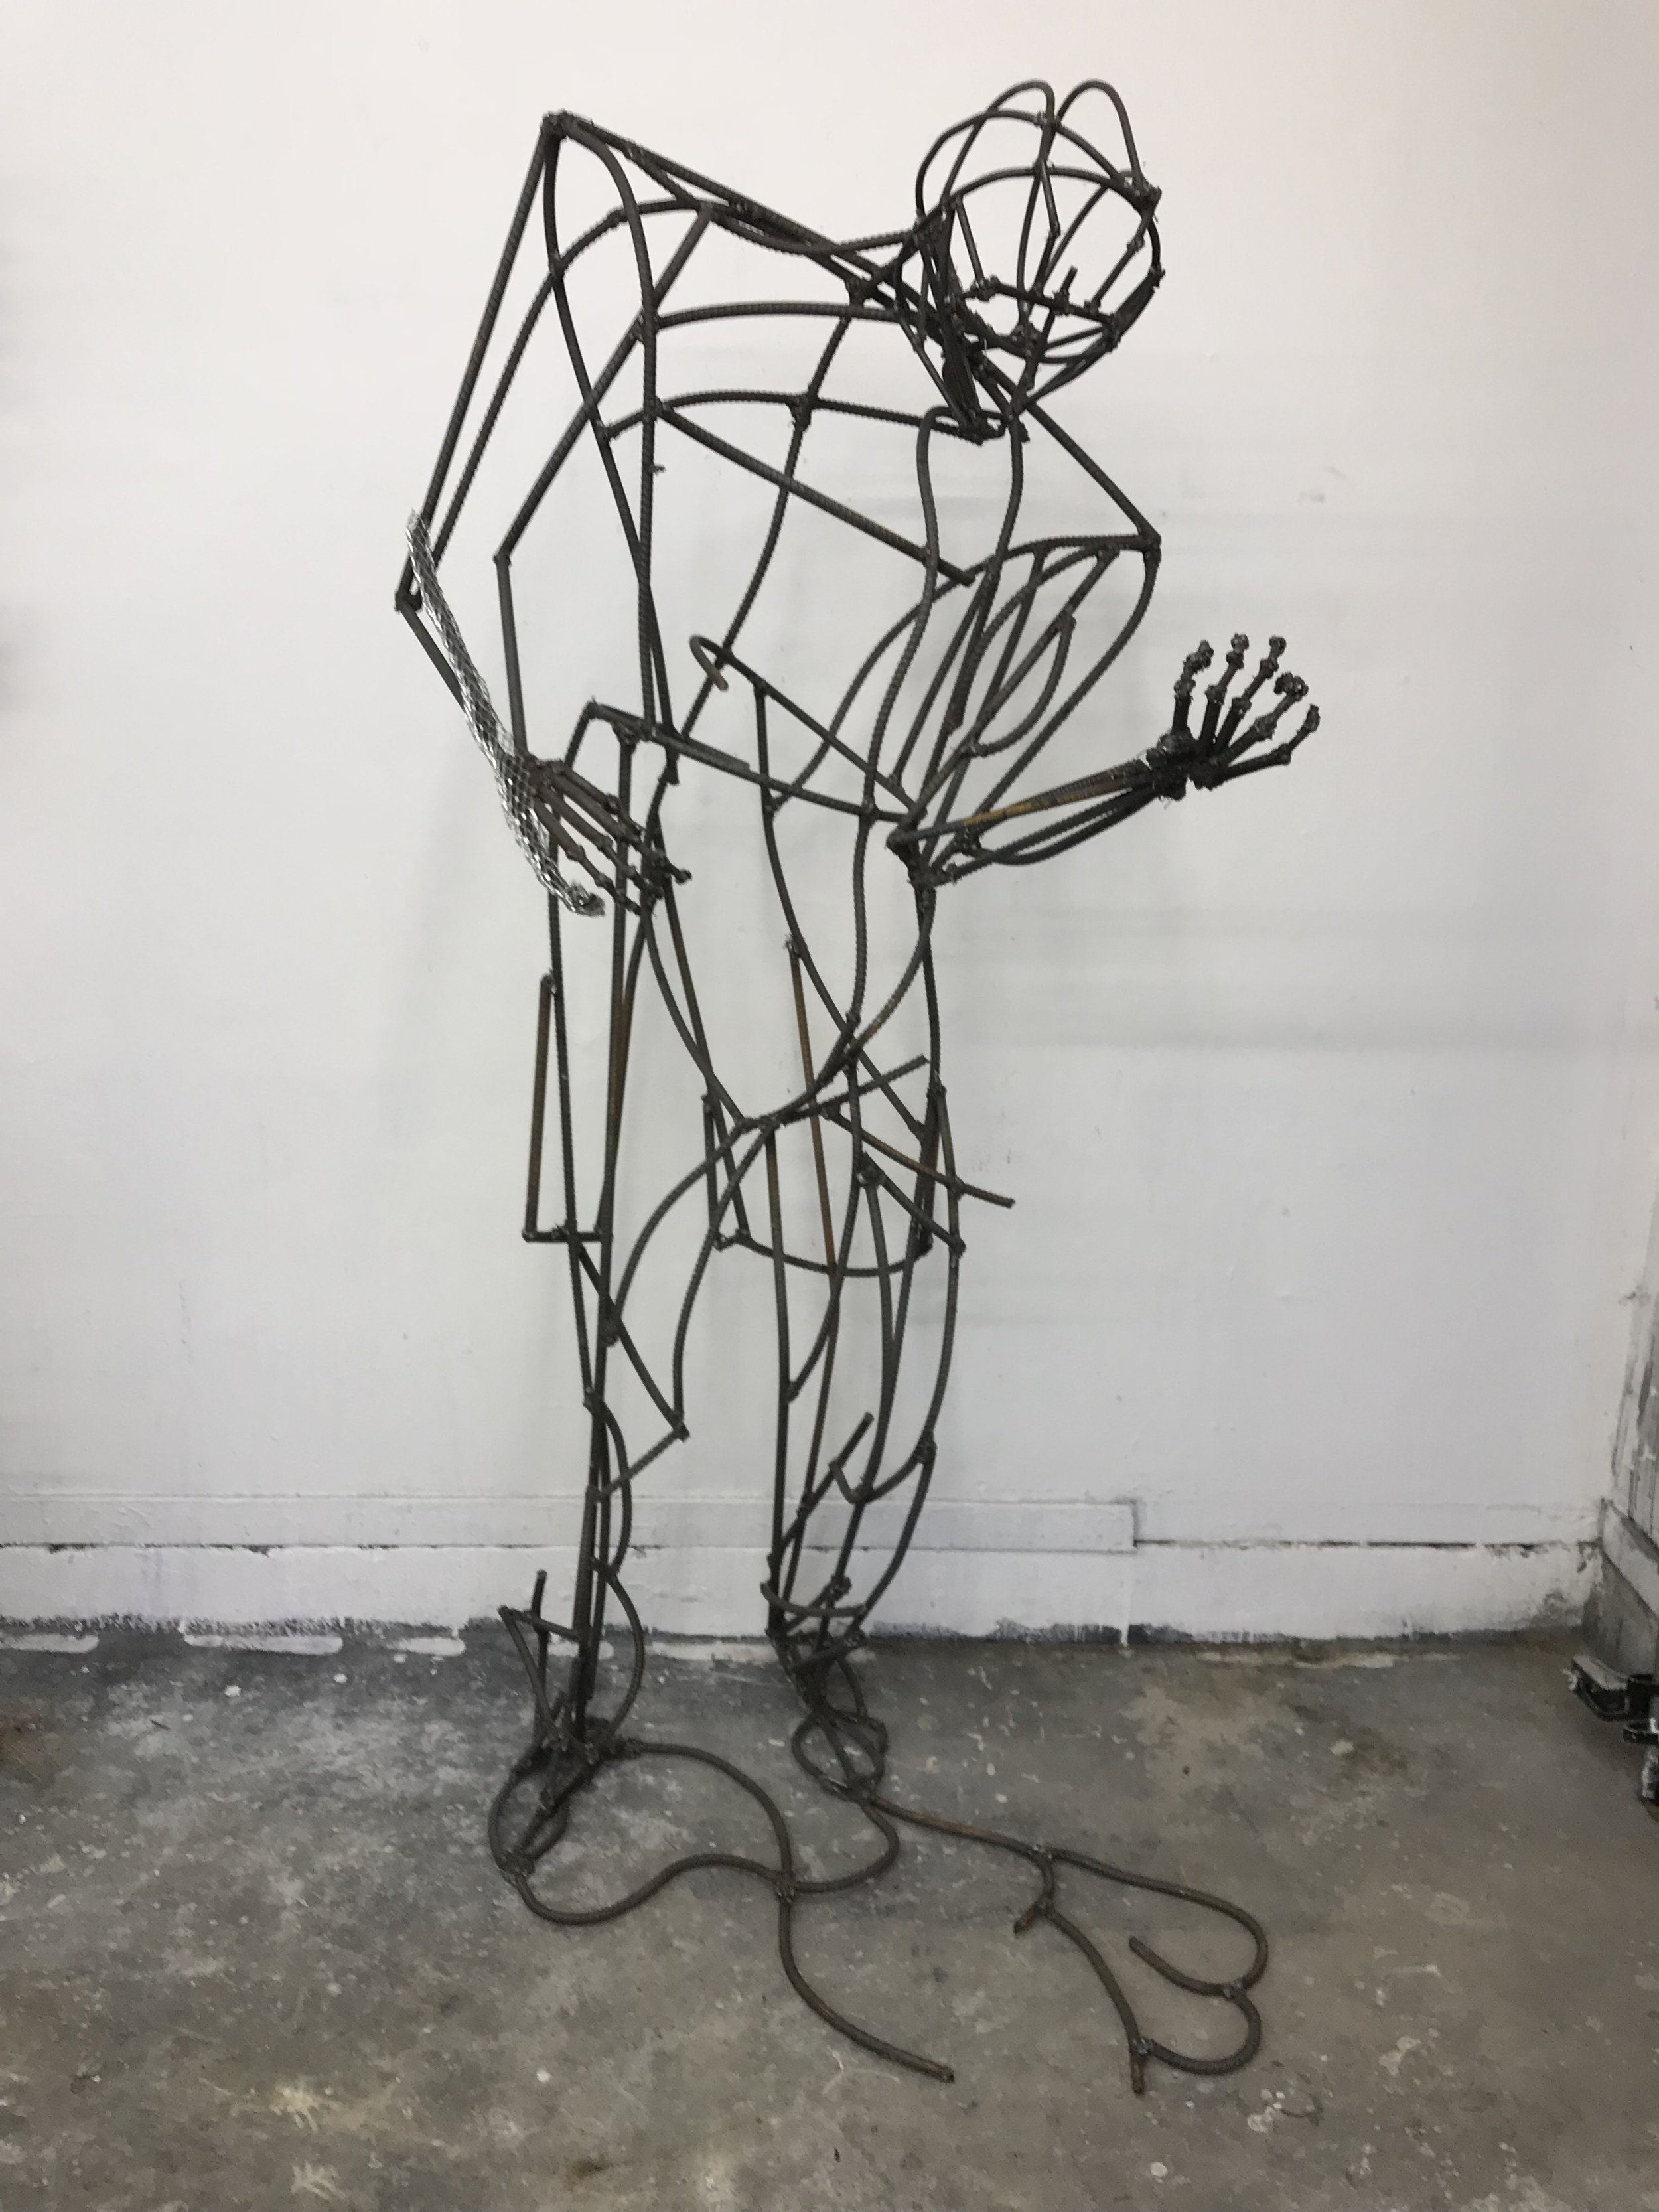
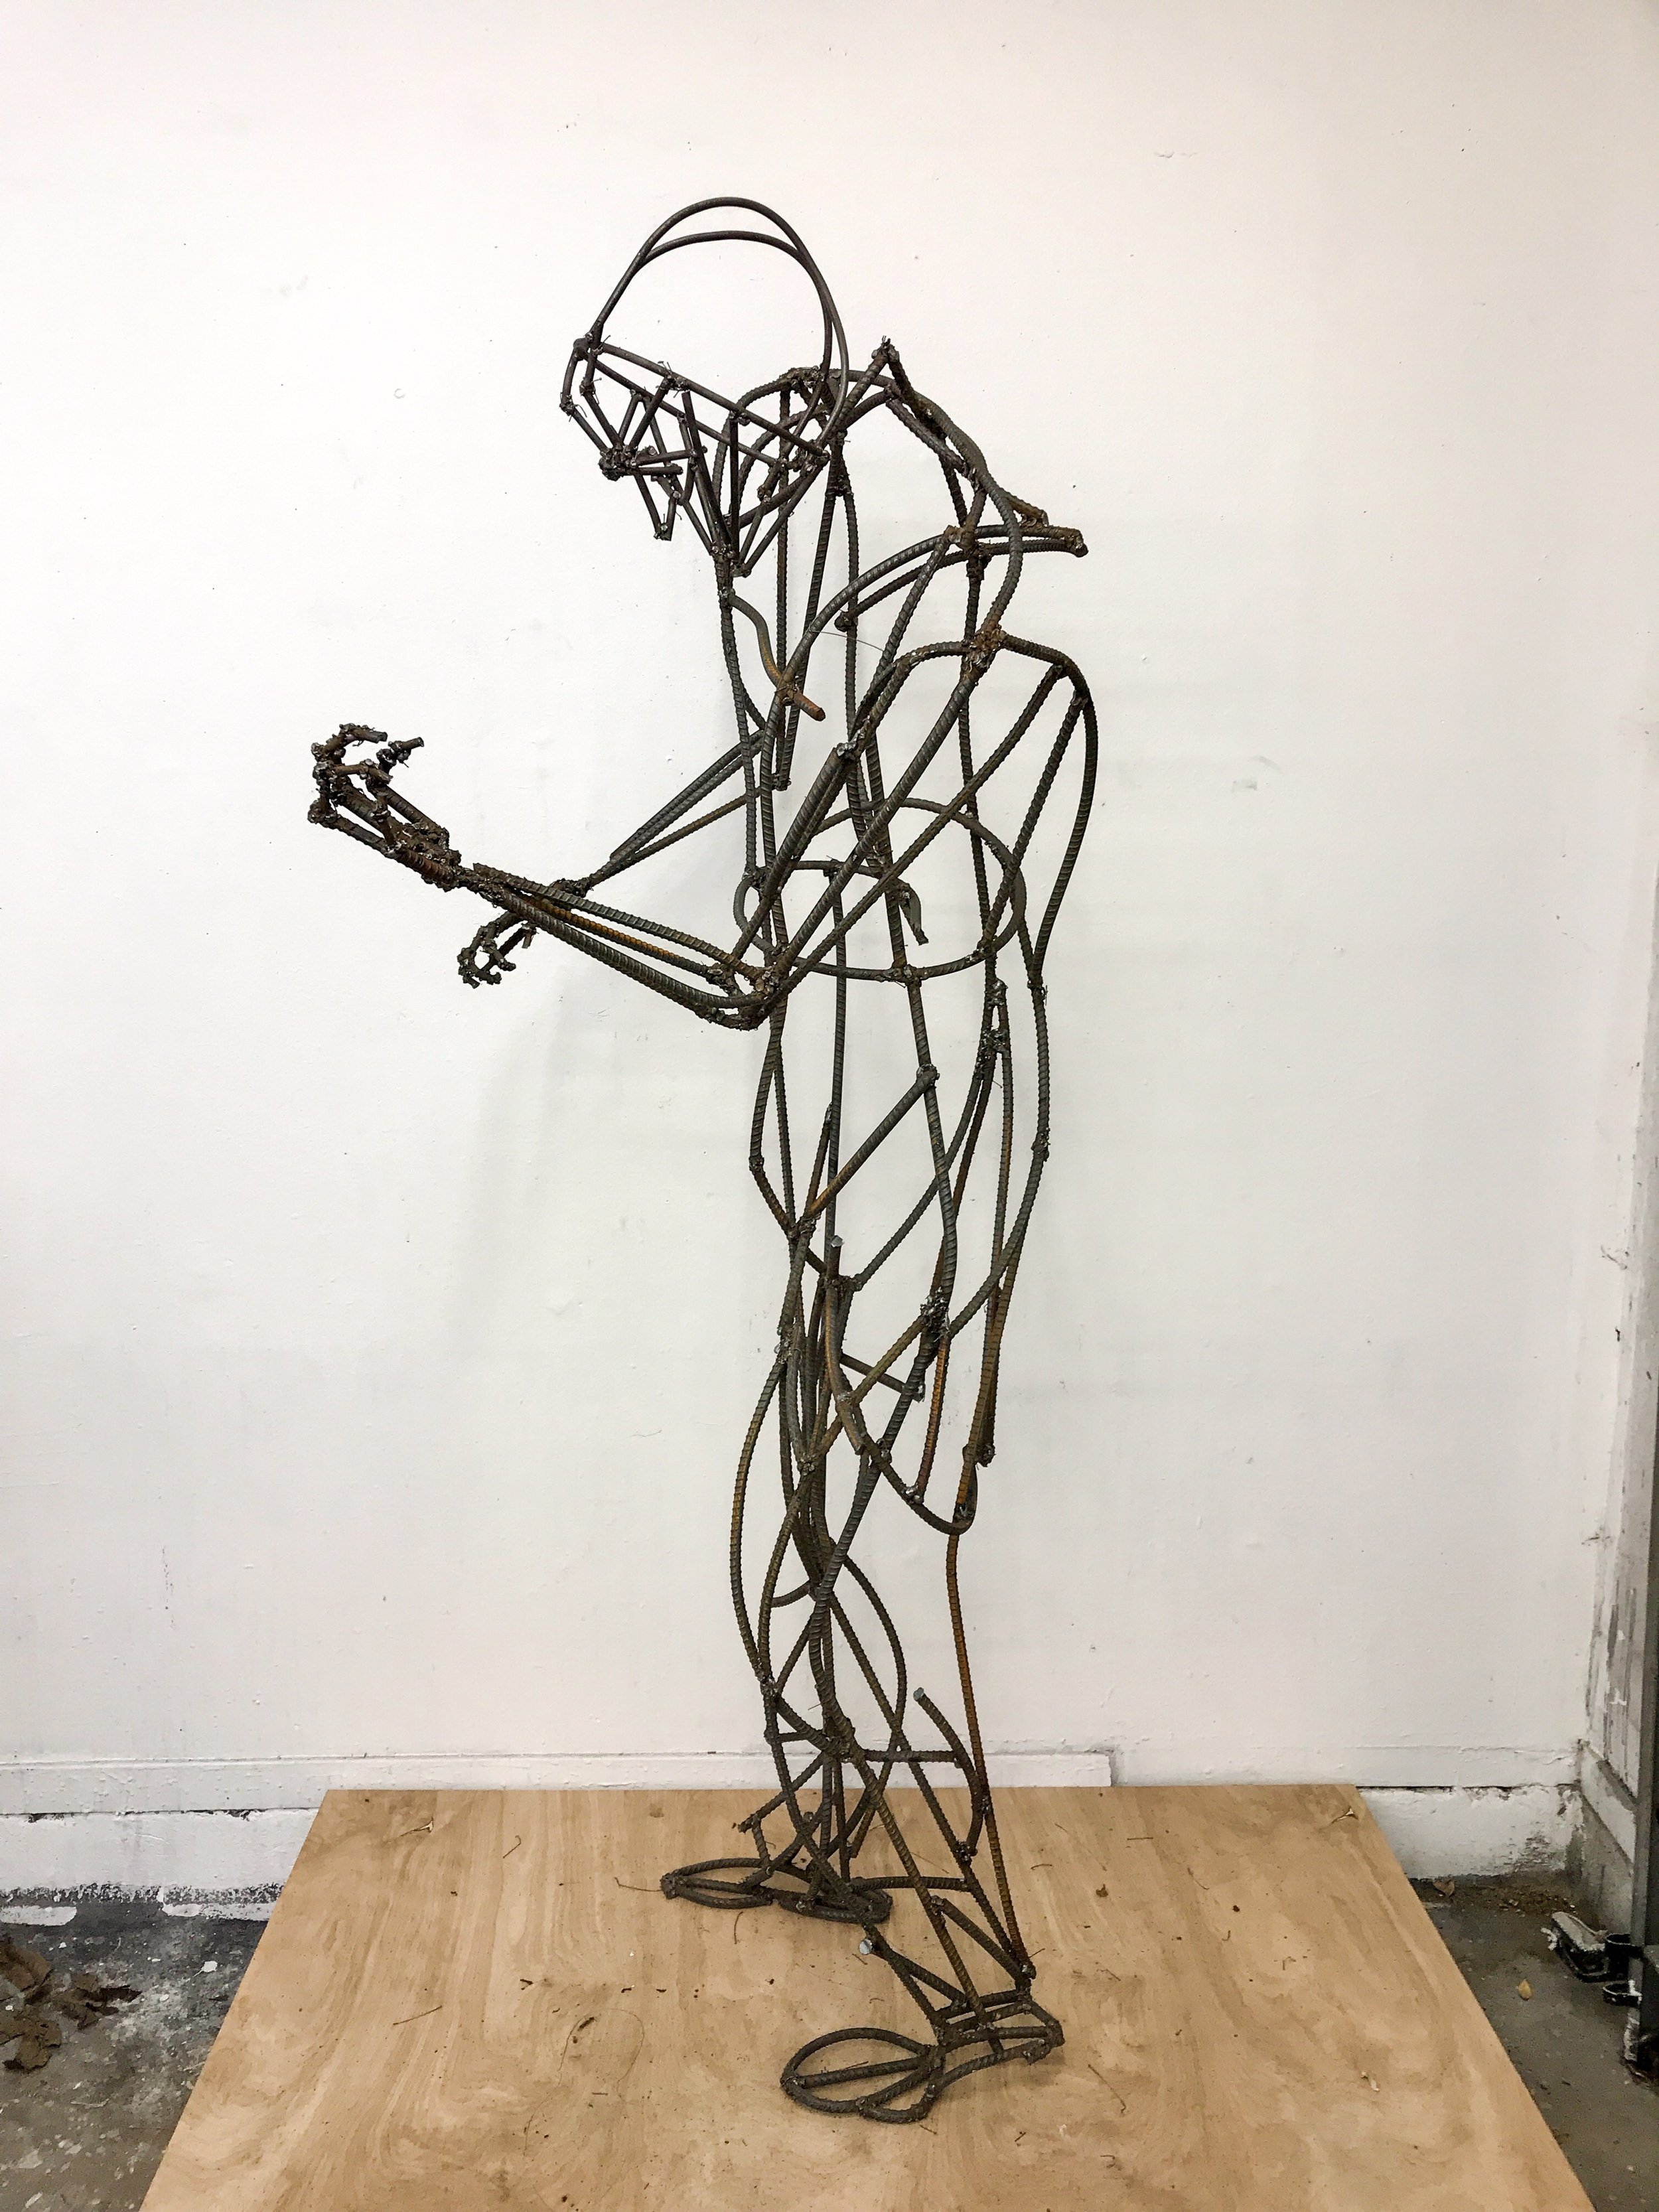
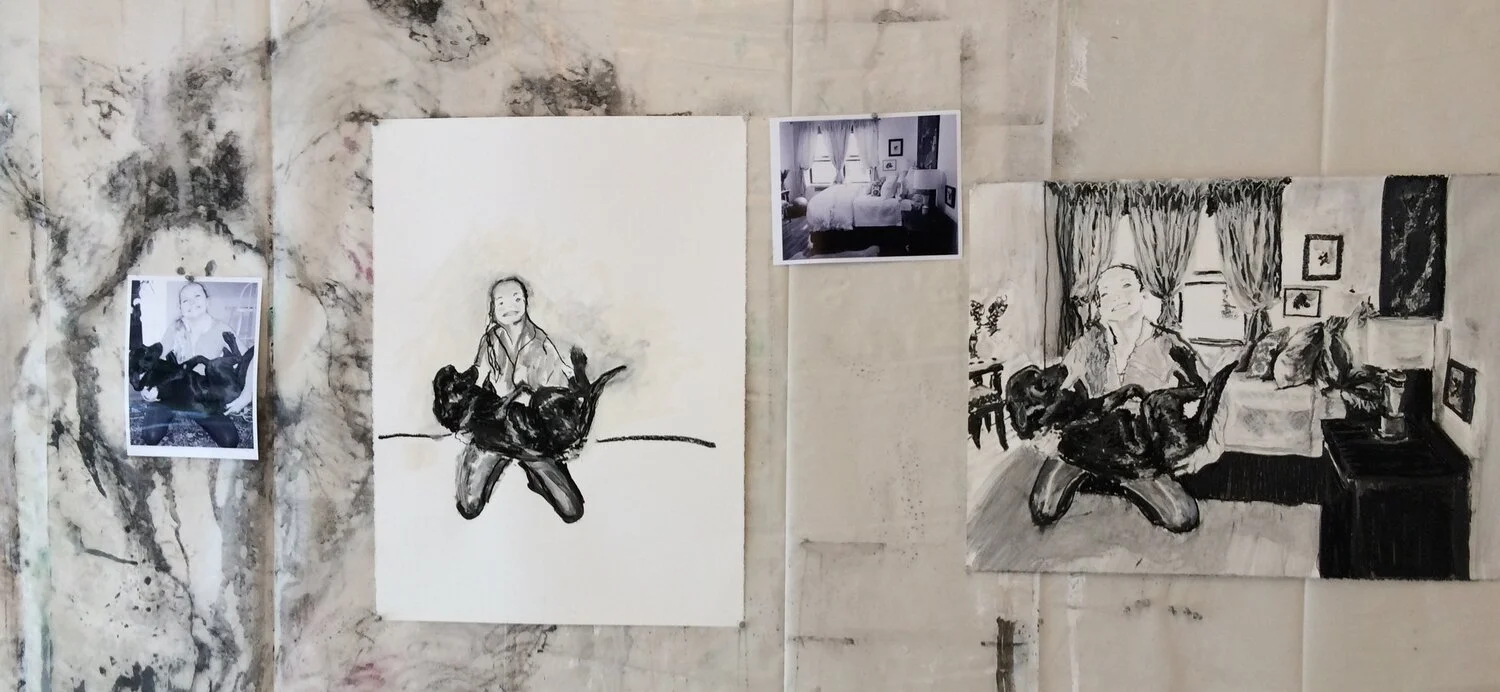
Below are a few of my favorite pics of the day.  

The motion of his right shoulders it moves back and down. 

The motion of his right shoulders it moves back and down. 

FullSizeRender.jpg

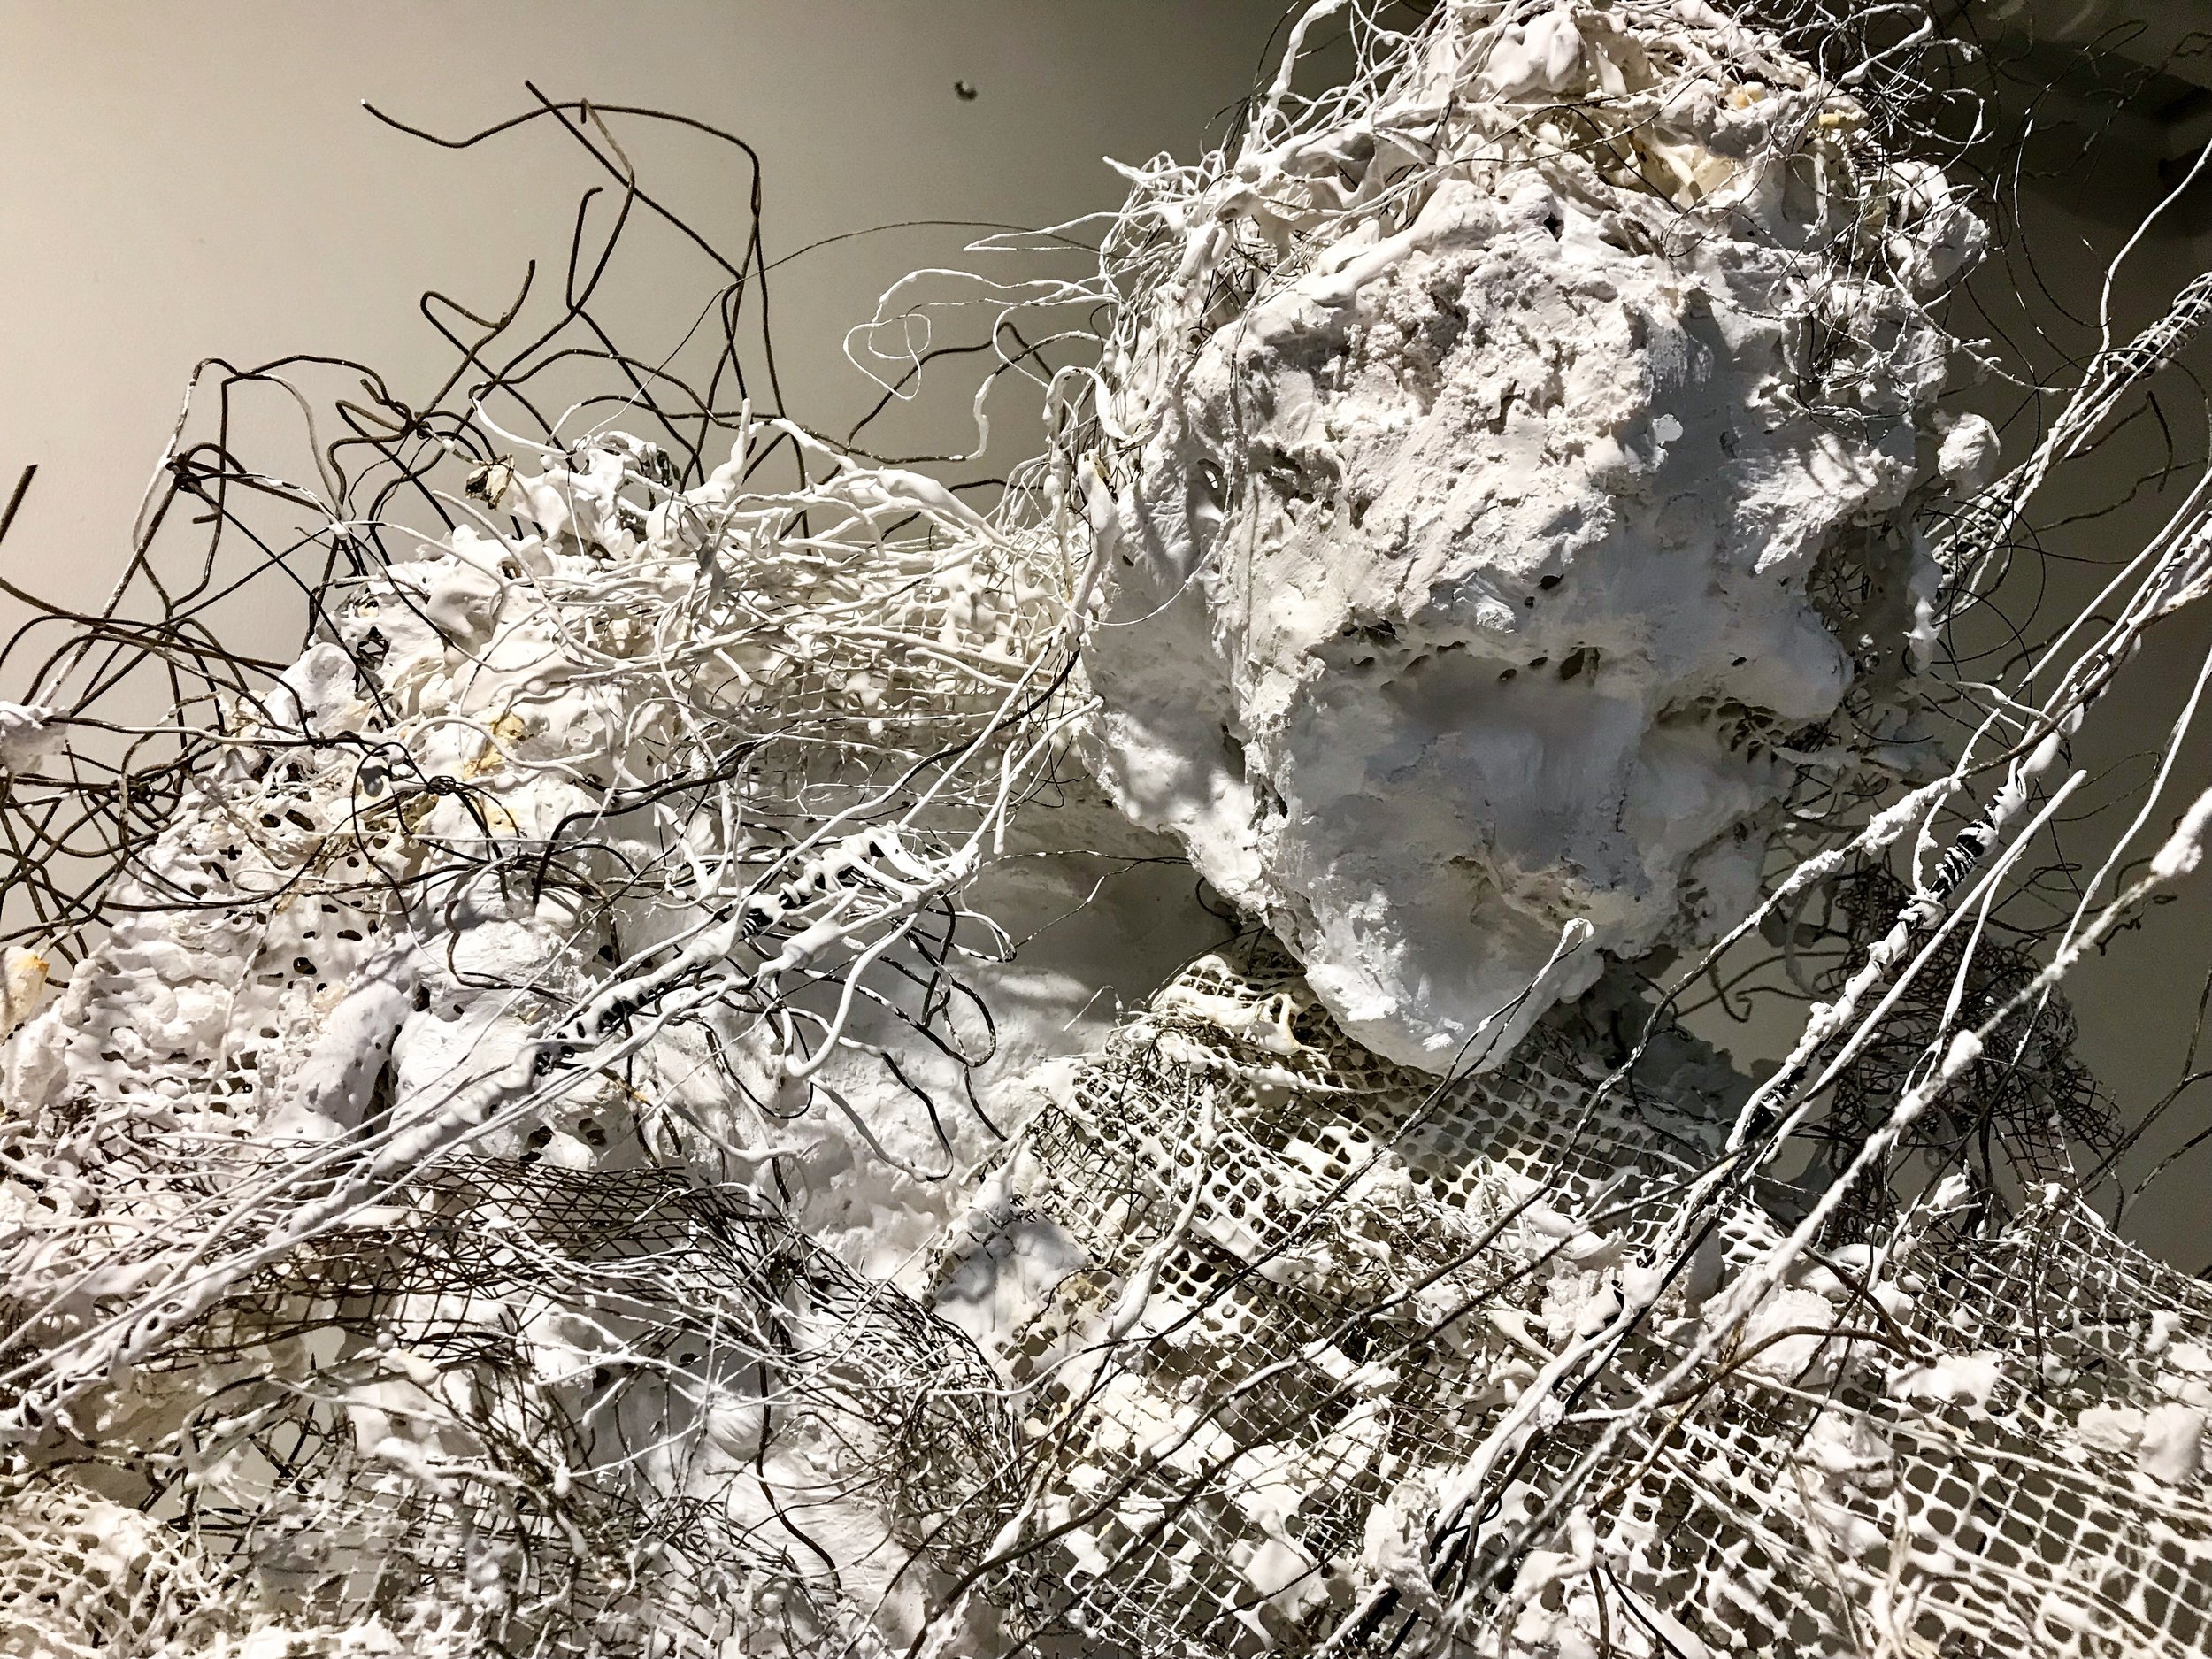
The head focusing on the strings of the violin.  

IMAGE.JPG

right hand movement 

IMAGE.JPG

Right hand movement. 

IMAGE.JPG
FullSizeRender.jpg

view from just left of him 

FullSizeRender.jpg
IMAGE.JPG
FullSizeRender.jpg
FullSizeRender.jpg

the right hand and bow in motion. 

upper body 

“Score” - a change of plans

3/6/2018

The entire time I have been building the armature, I have been wrestling with which media to sculpt it in, concrete or plaster. There are pros and cons to both.

Pros and cons of Concrete and plaster-

- I have a lot more time to work with the concrete, before it sets. Working in plaster is very fast and does not have to hydrate while it cures. 

-  The color of concrete is not as bright as plaster.

- The concrete I would pour at home, and then allow it to hydrate for five days between layers. This would tie up my welding space, and keep me from starting a new armature.

- If I make it out of concrete at home, then I will have to hire movers to get it to my studio at Glassell, in order to photograph it, and then pay to have it moved again, as we are moving out of the building in May. That is a lot of extra expense.

- I have never made a large plaster piece.

Plaster it is, now is the time to try new things. 

one last look before I start mixing the plaster. 

one last look before I start mixing the plaster. 

IMAGE.JPG

The left foot- plaster and cut up pieces of wire and broken wire cloth. 

IMAGE.JPG

The right foot and leg.  

 Detail of right leg  

 Detail of right leg 


“Score” #18 the lath

I know have supports on the ground and I am comfortable that the piece is not going to fall on me. In the end I may cut them off. Right now they stabilize the piece and they are not visually distracting to me. 

Now to start adding the lath.  


I started with the right arm and hand.  

I started with the right arm and hand. 


Jumping around I next added his right coat tail  then his left arm.  

IMAGE.JPG

Left arm  


IMAGE.JPG

Left back of his jacket  


1/16/2018


working on the folds in the fabric of the left pant leg. 

working on the folds in the fabric of the left pant leg. 

“score” #17 un doing

1/14/2018 


The rebar bar I attached to provide stability to the piece (so it will not fall on me) is visually distracting me. I anticipate the sound will engulf him from head to toe but it needs to start from the instrument and hands and then expand out. I just st can’t start from the outsideand work back to the instrument.  I am going to cut off the pieces I attached for stability and re attach them more discretely. 


IMAGE.JPG

before Cutting off the distracting pieces. 


IMAGE.JPG

The reattached pieces are flat on the ground and only in the direction I think it might fall. 


“ Score” #12 armature/fingers to hold the violin.

IMG_6562.JPG

Here is a pattern I made to Help me gauge how big each finger section should be. 


IMG_6564.JPG

Here I have tacked the first and second joints.  

Once I decide if I like the placement of each joint then I will strengthen the welds.   

FullSizeRender.jpg

The fingers on both hands seem to be ok. Hopefully when the lath and concrete are added I will still be happy. 

“ Score” #11 armature/fingers to hold the bow.


This piece is abstract but, in order to capture the gesture I really have to understand where the musician is exerting his energy in regards to how he holds the instrument. I found the below link online that talks about the proper way to hold the bow. I also researched how to hold the violin. It is held with the chin and chest leaving the fingers the ability to move up and down freely.  

 http://www.singingwood.com/violin-bow-hold/HowToHoldTheViolinBow.html

IMG_6551.JPG

The fingers that hold the bow.  

The left hand is missing all the fingers. That is the palm and back of the left hand. I will work on the fingers tomorrow.  

The left hand is missing all the fingers. That is the palm and back of the left hand. I will work on the fingers tomorrow.  

“score” post #8 winging it.

11/09/2017

I decided to weld the arm pieces onto the torso. I started with the left arm and the palm of the hand. I am totally winging this. Since the piece is in motion I want the arm position to reflect movement. The left shoulder dips and the elbow digs into his side. The left forearm has to be free so the fingers can to move up and down the violin. The violin will be held in place between his chin and his shoulder/chest. 


IMG_6391.JPG

Next I decide to trace my hand to determine how long the finger pieces of steel should be. Then I draw in the bones and measure how long each finger bone is between the joints. My hand is smaller than the figures would be but by the time I add the lath and cement it should be the right size. 

IMG_6387.JPG

My hand pattern with bone measurements.  

IMG_6388.JPG

The hand pattern  with two pieces of the palm of the hand bones cut.  


IMG_6393.JPG

Detail of the left arm and the palm of his hand.  

IMG_6394.JPG

The bones in the palm of the hand.  

Now I need to see if I am anywhere close on the angle of the forearm and back of hand. I will do this by holding up a violin to the figure.  


IMAGE.JPG

No, I missed it. Tomorrow I will cut the forearm off and reattach it with the wrist right under the violin. Then I will look at the angle of the hand. That might also need to be altered. Totally winging it.