Written in 2025. Posted late —
I was contacted to create two small artworks for an office building in Houston getting an updated look — 3100 Timmons Lane.
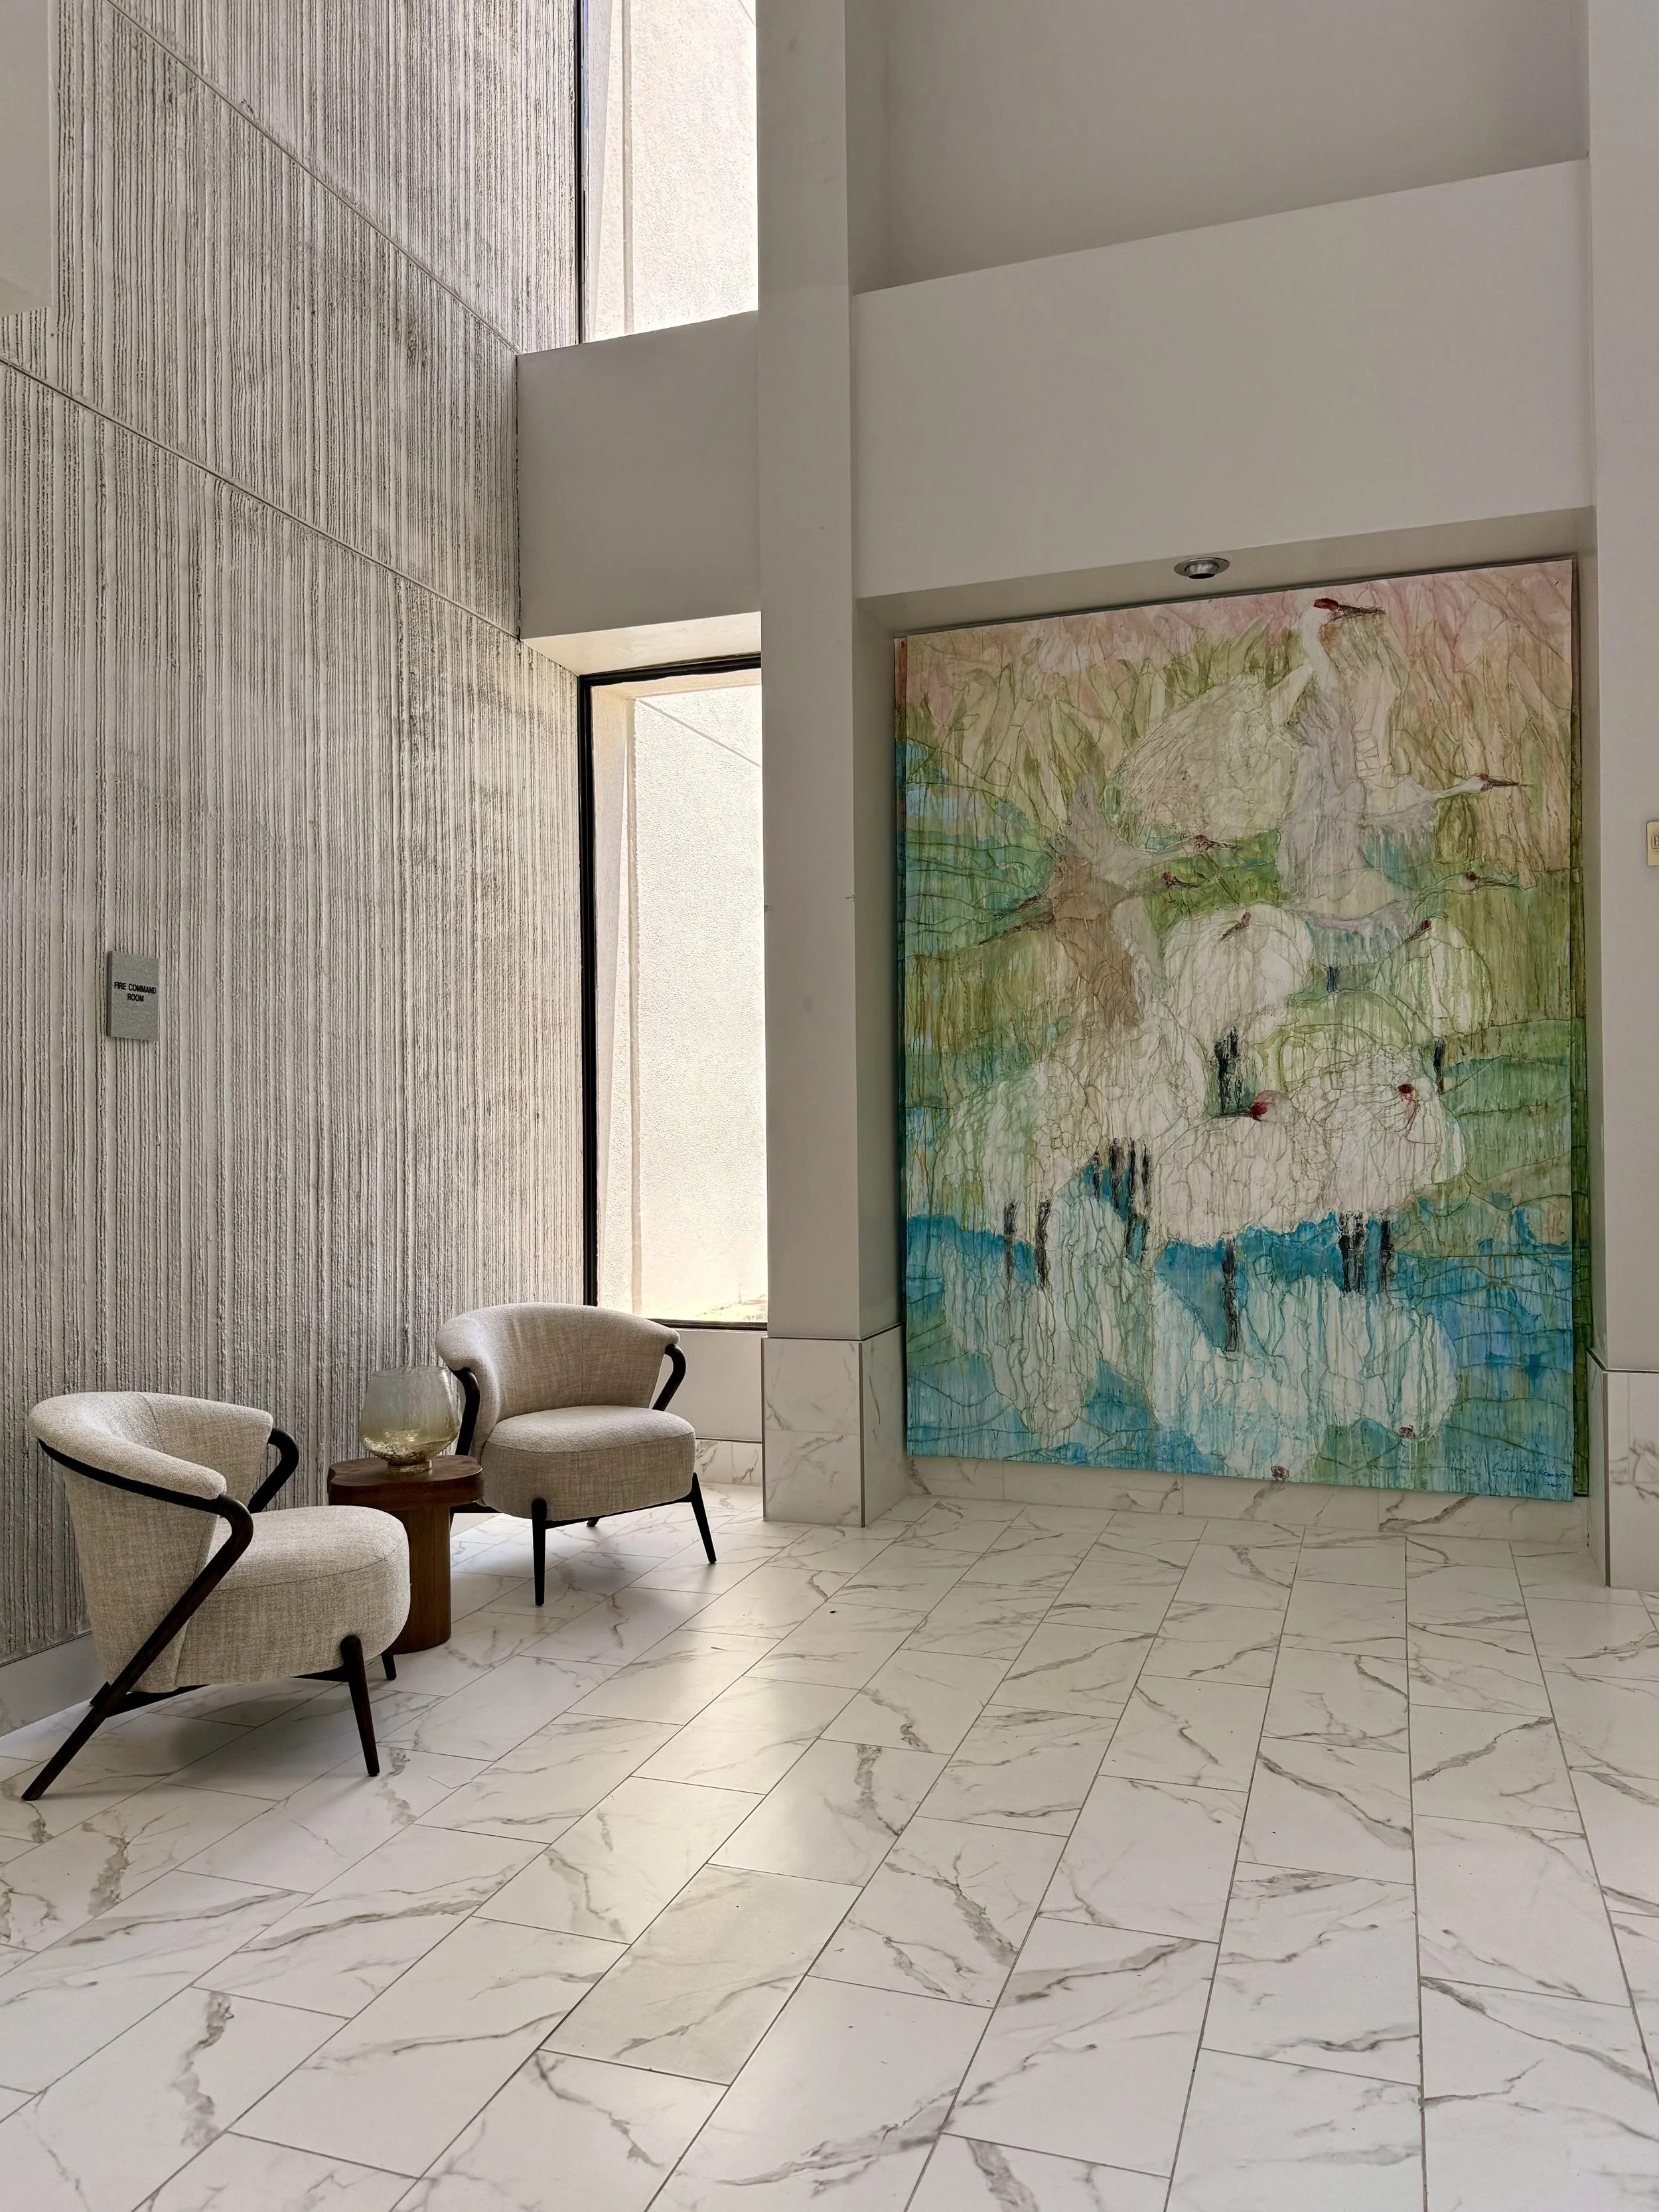
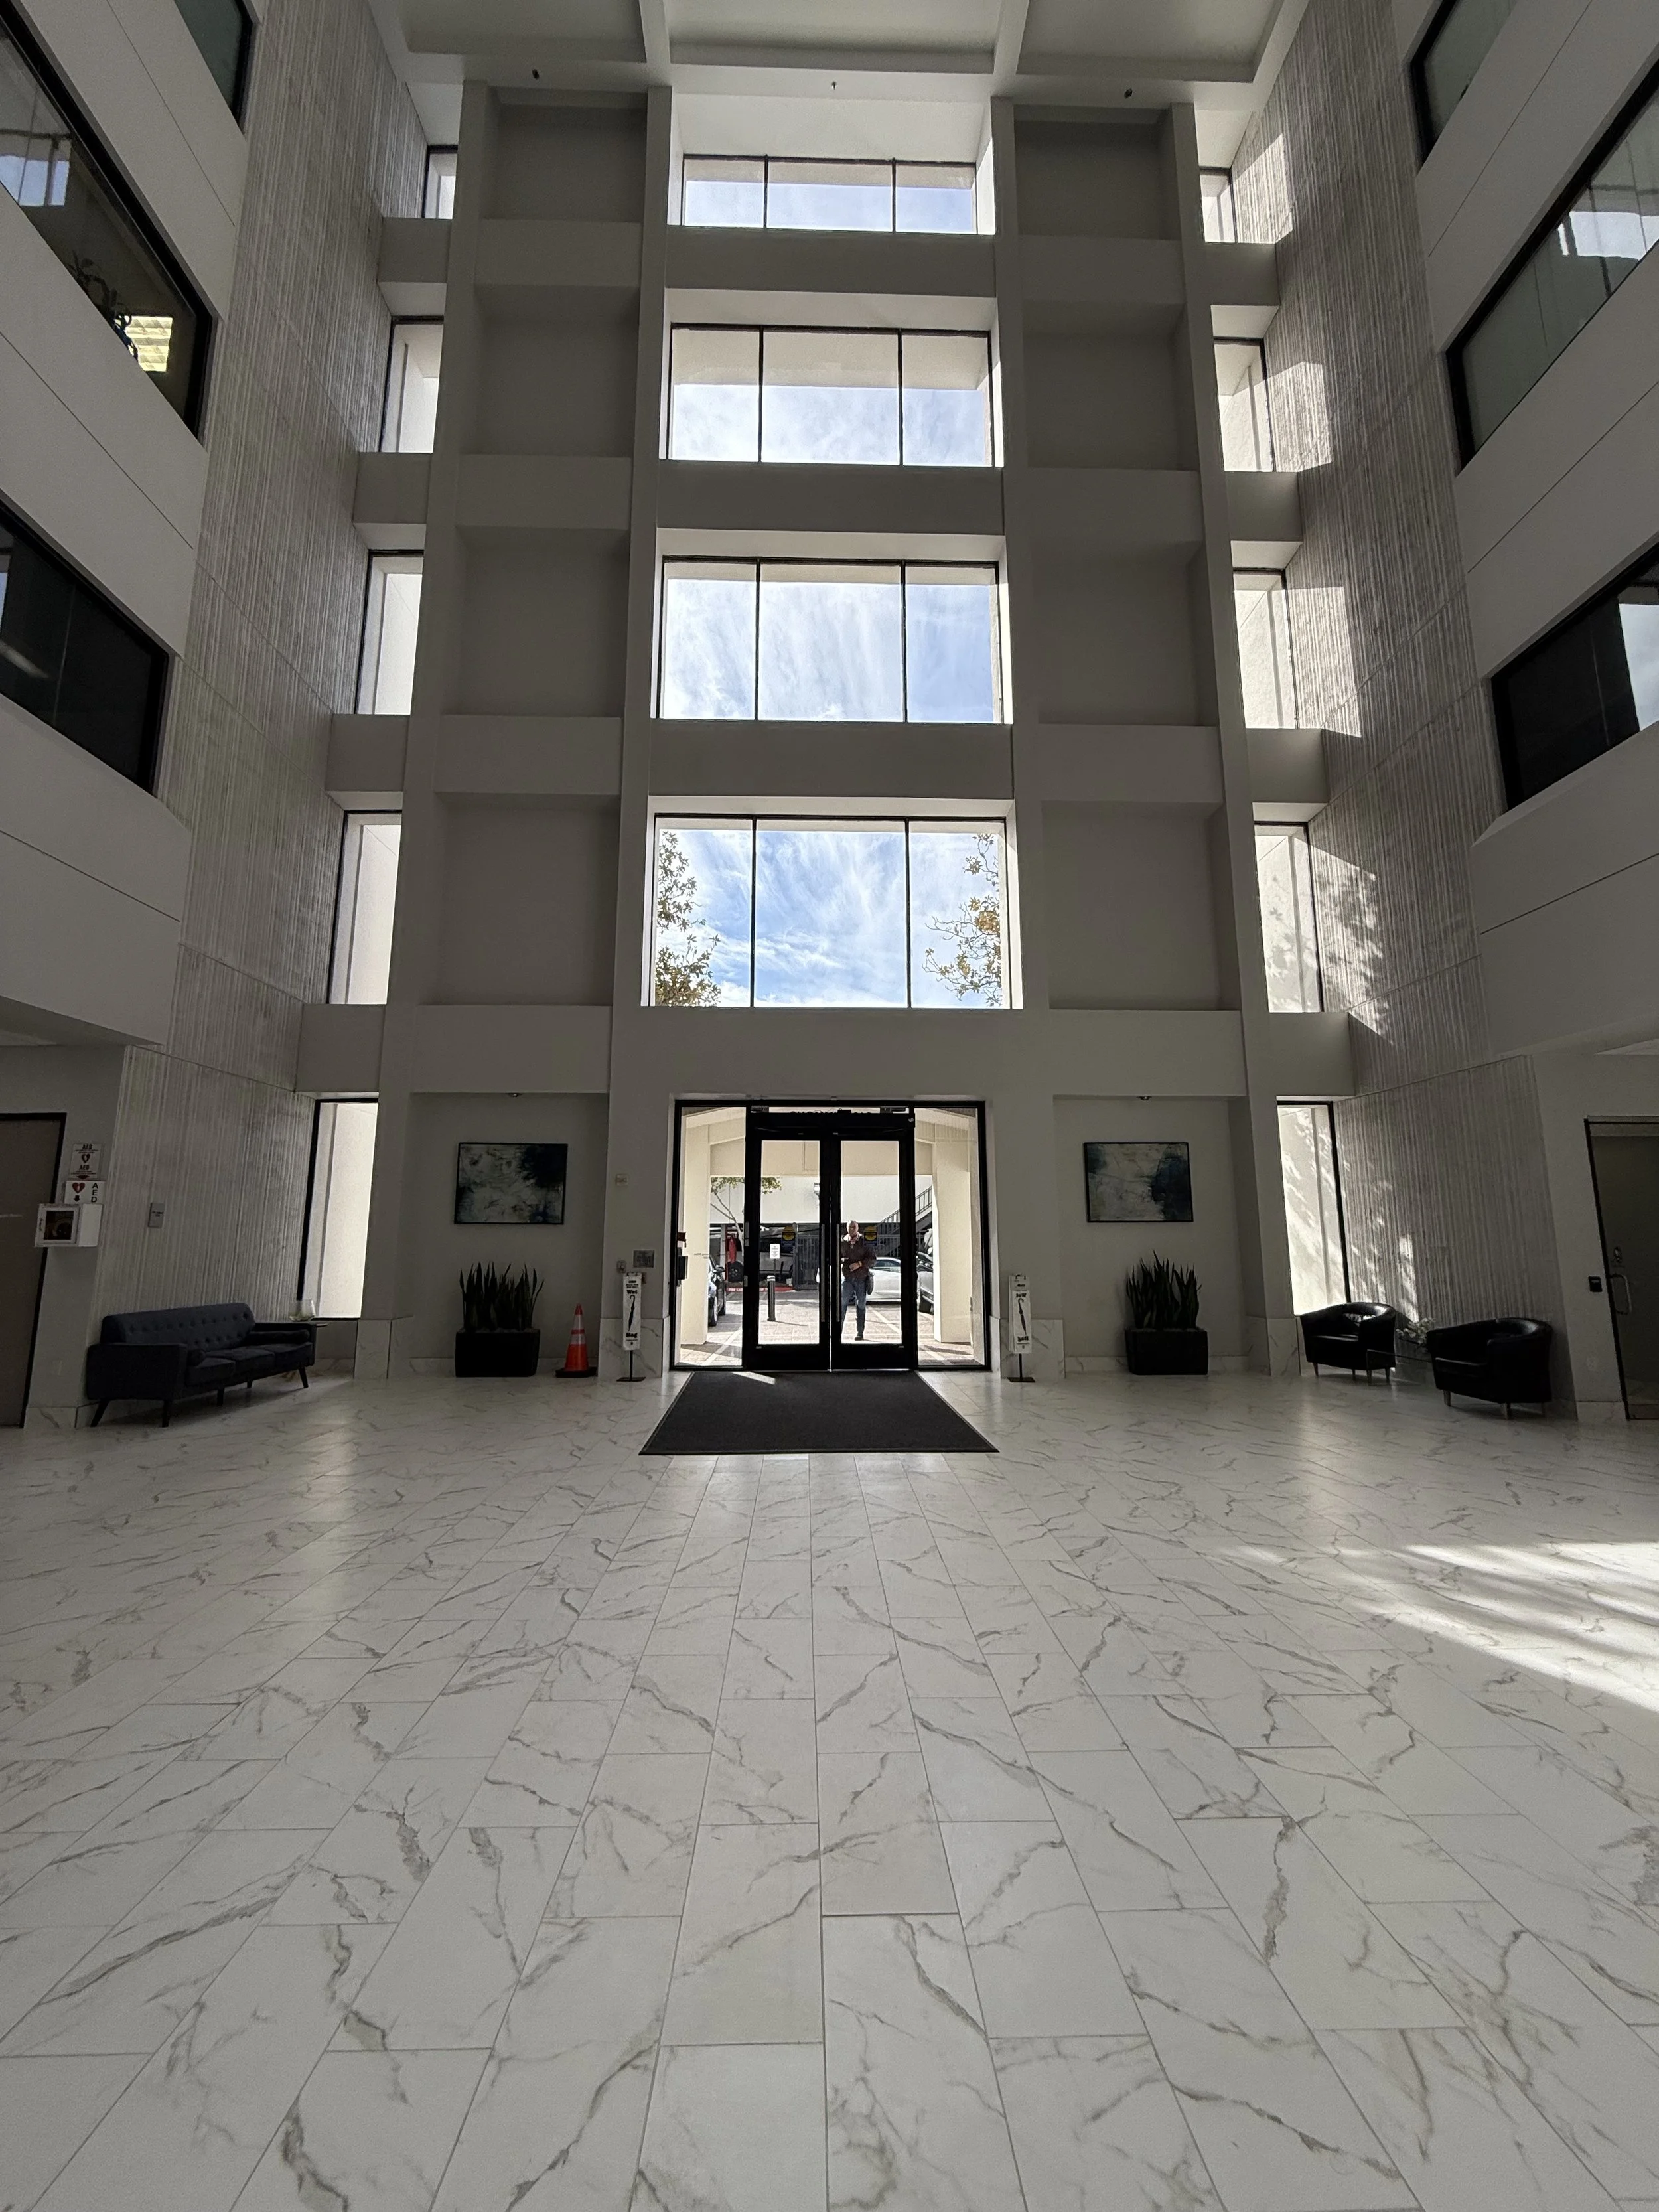
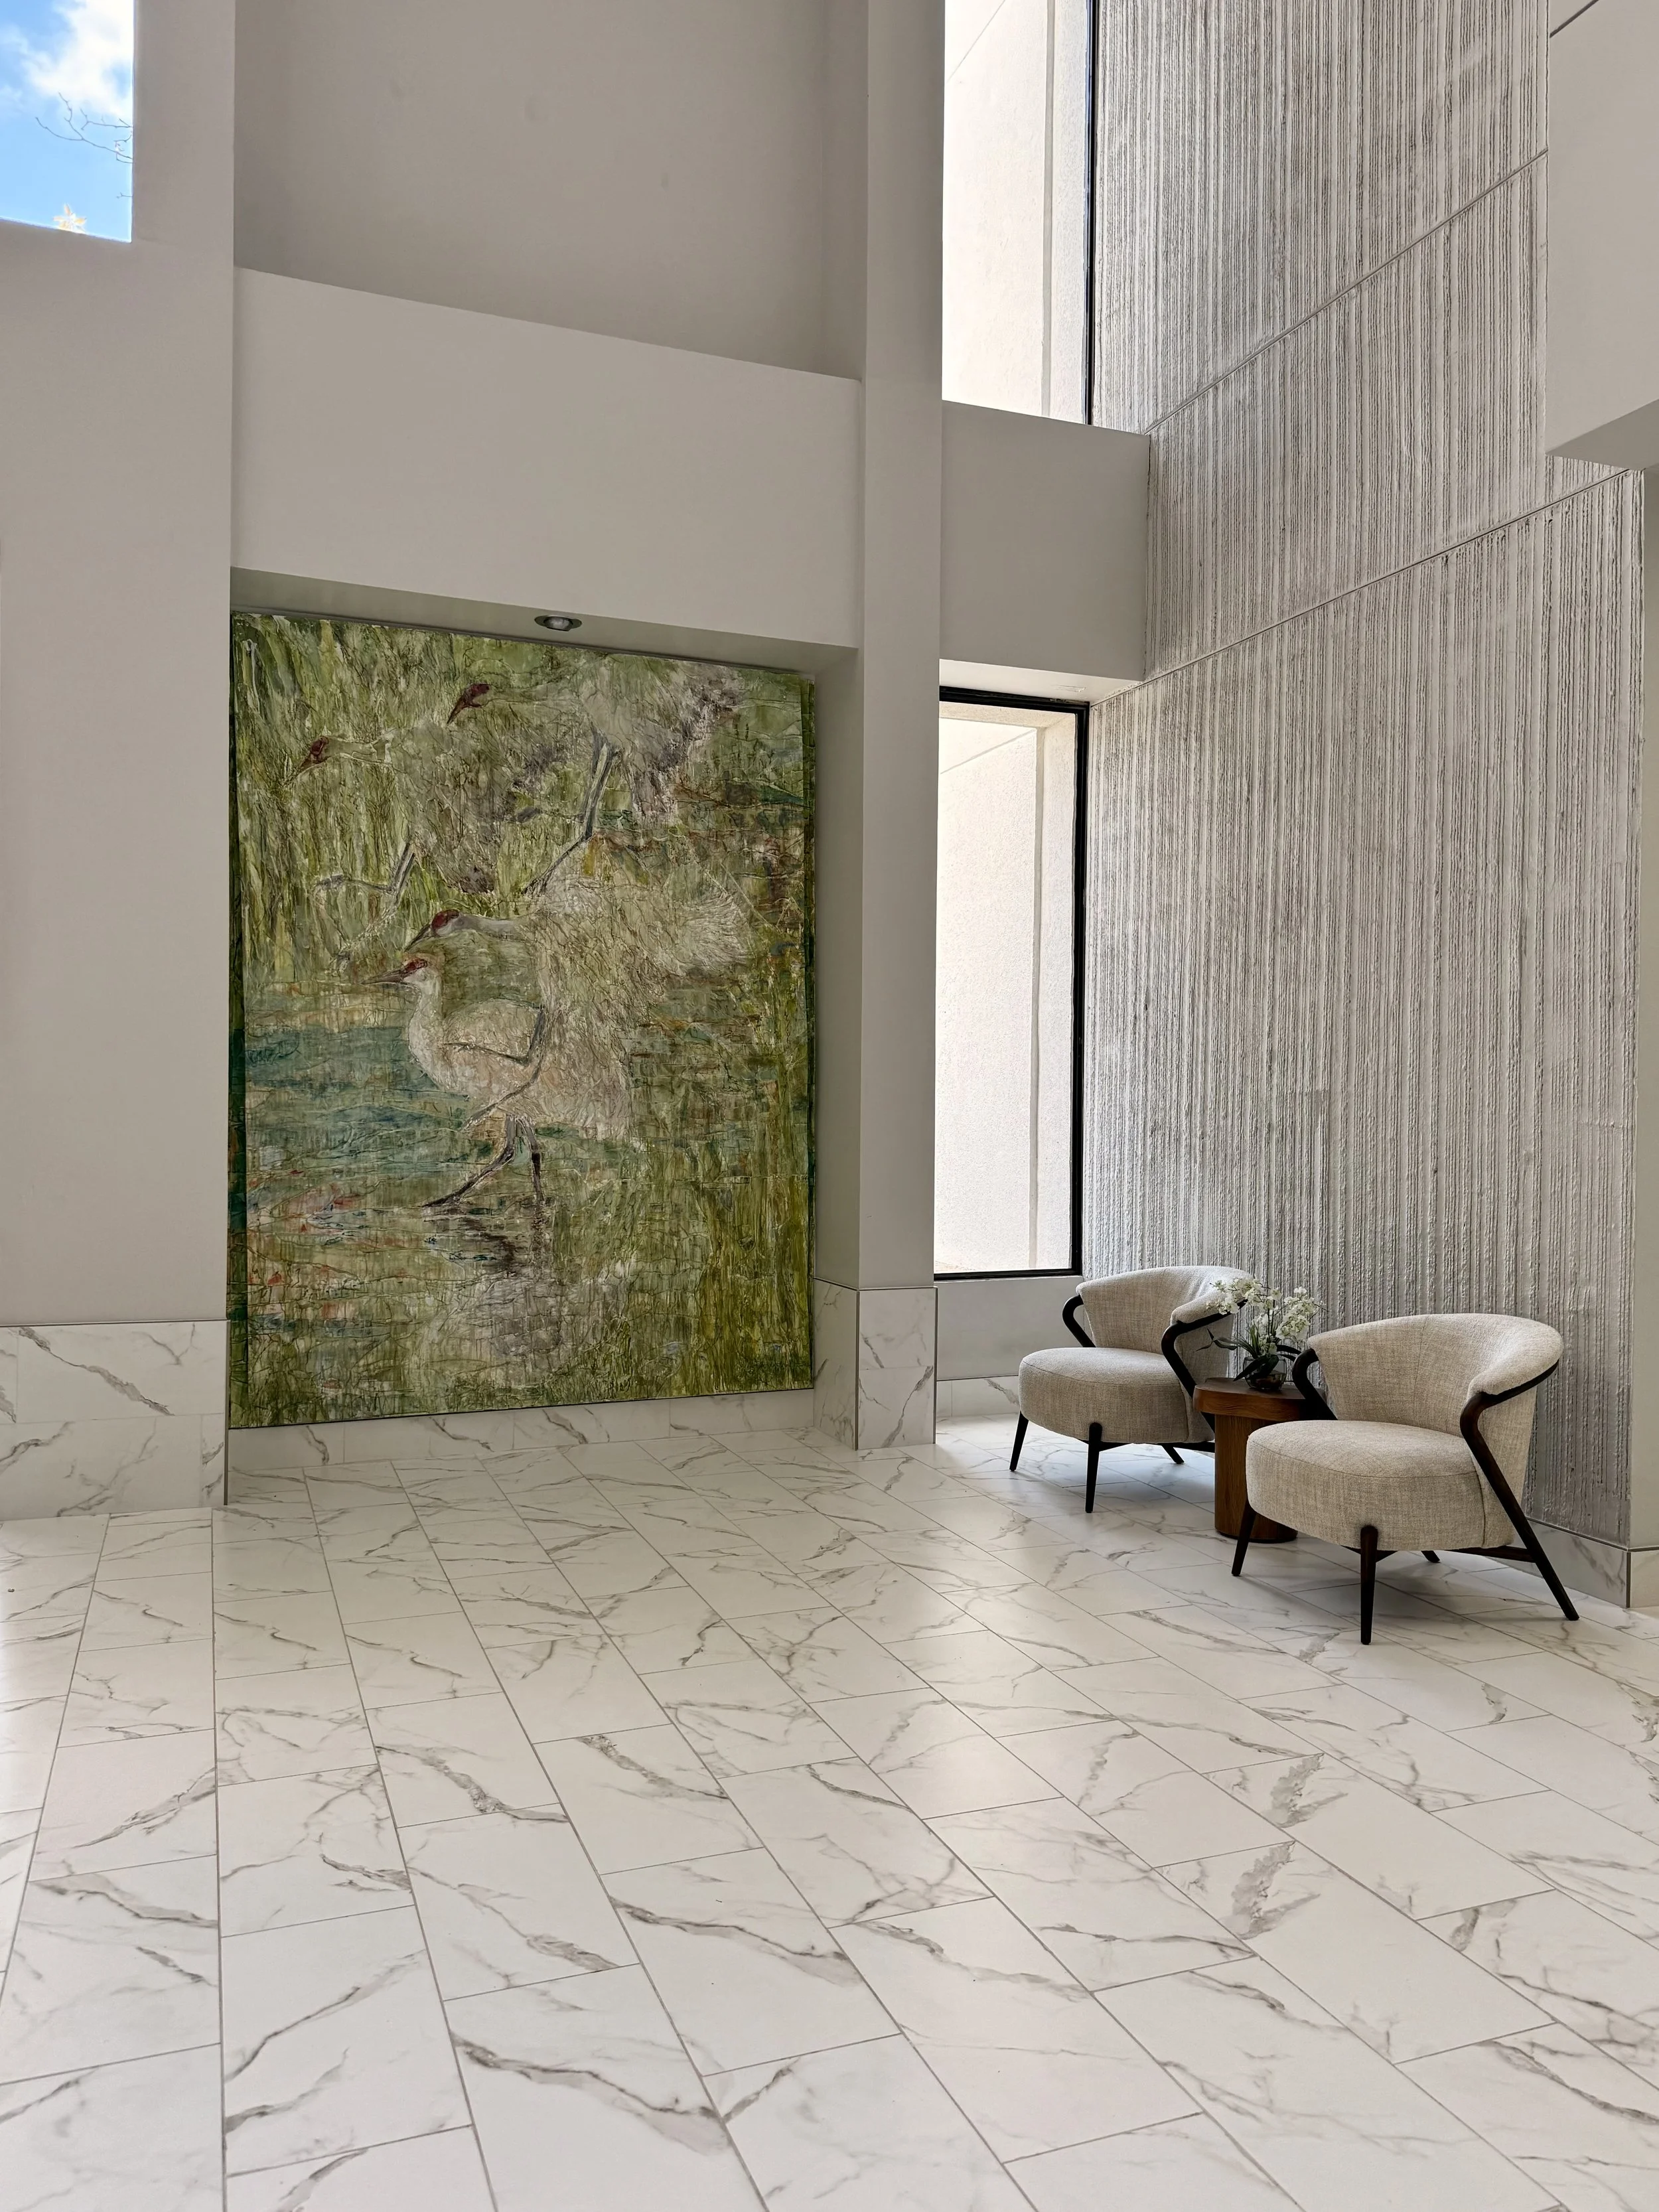
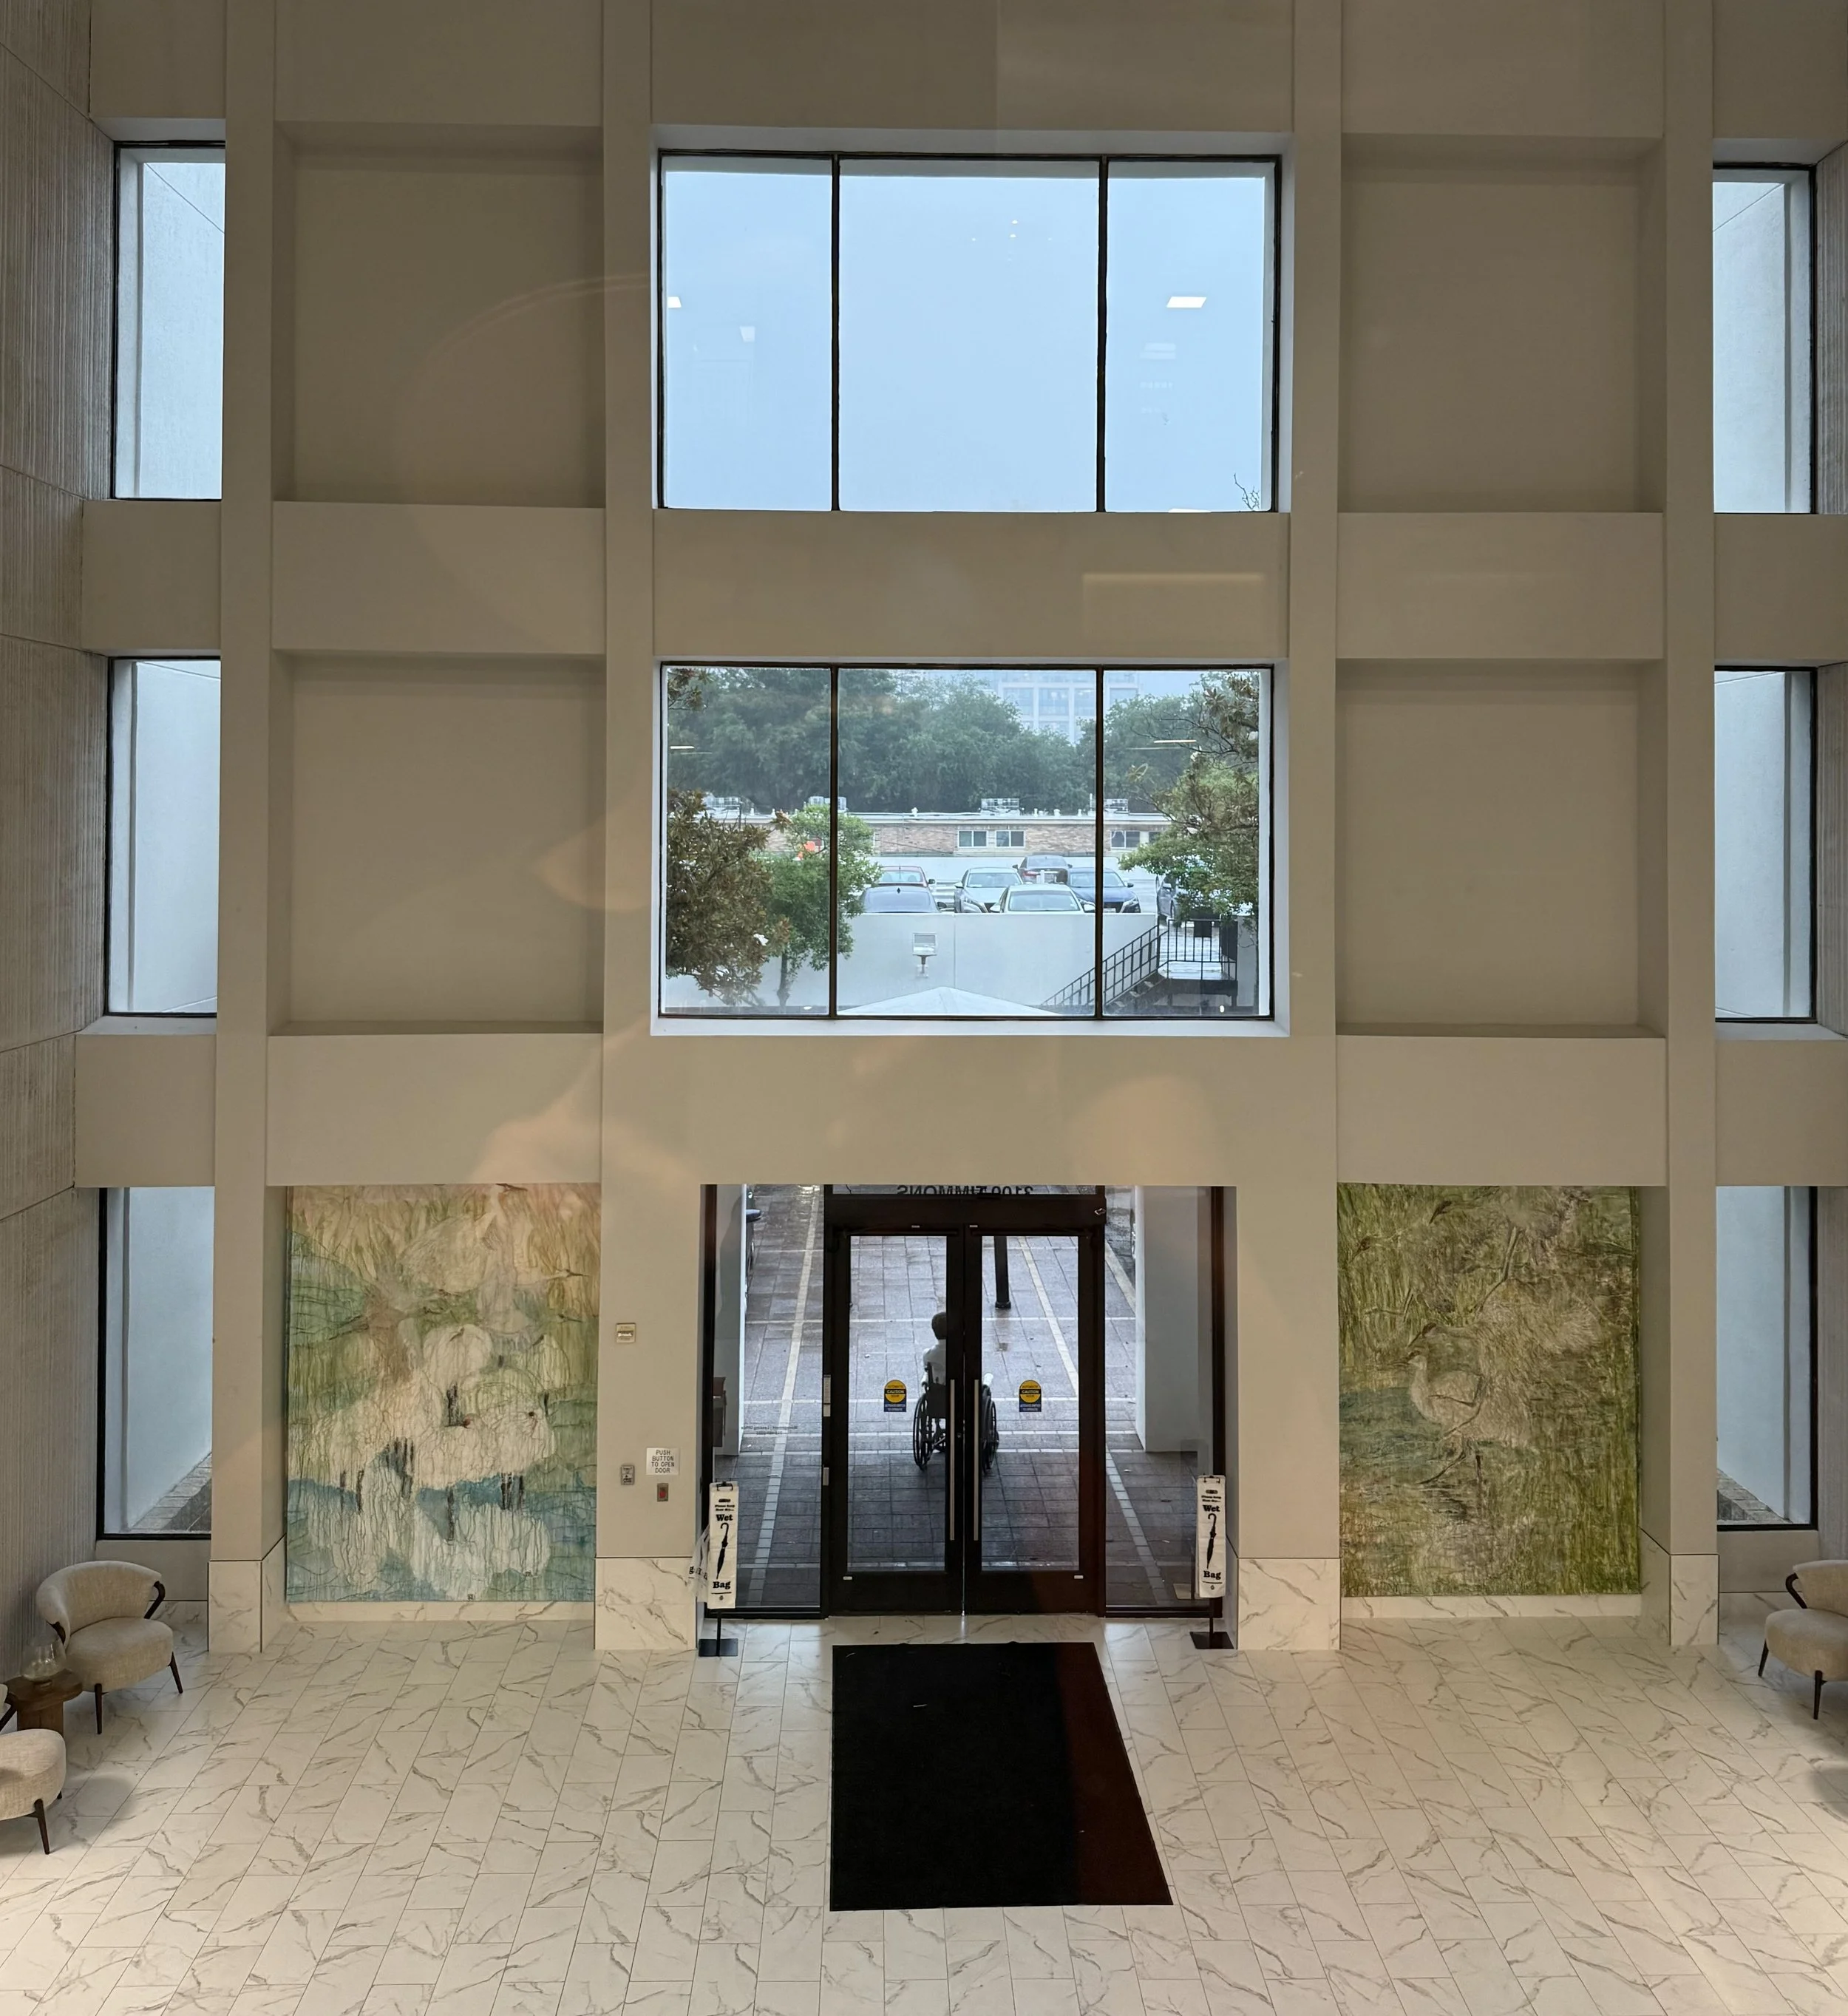
When I saw the space I saw an opportunity. An audience coming and going nine to five with no connection to the natural world right outside their door. A five-story lobby with open wall space and nothing to draw your eye there.
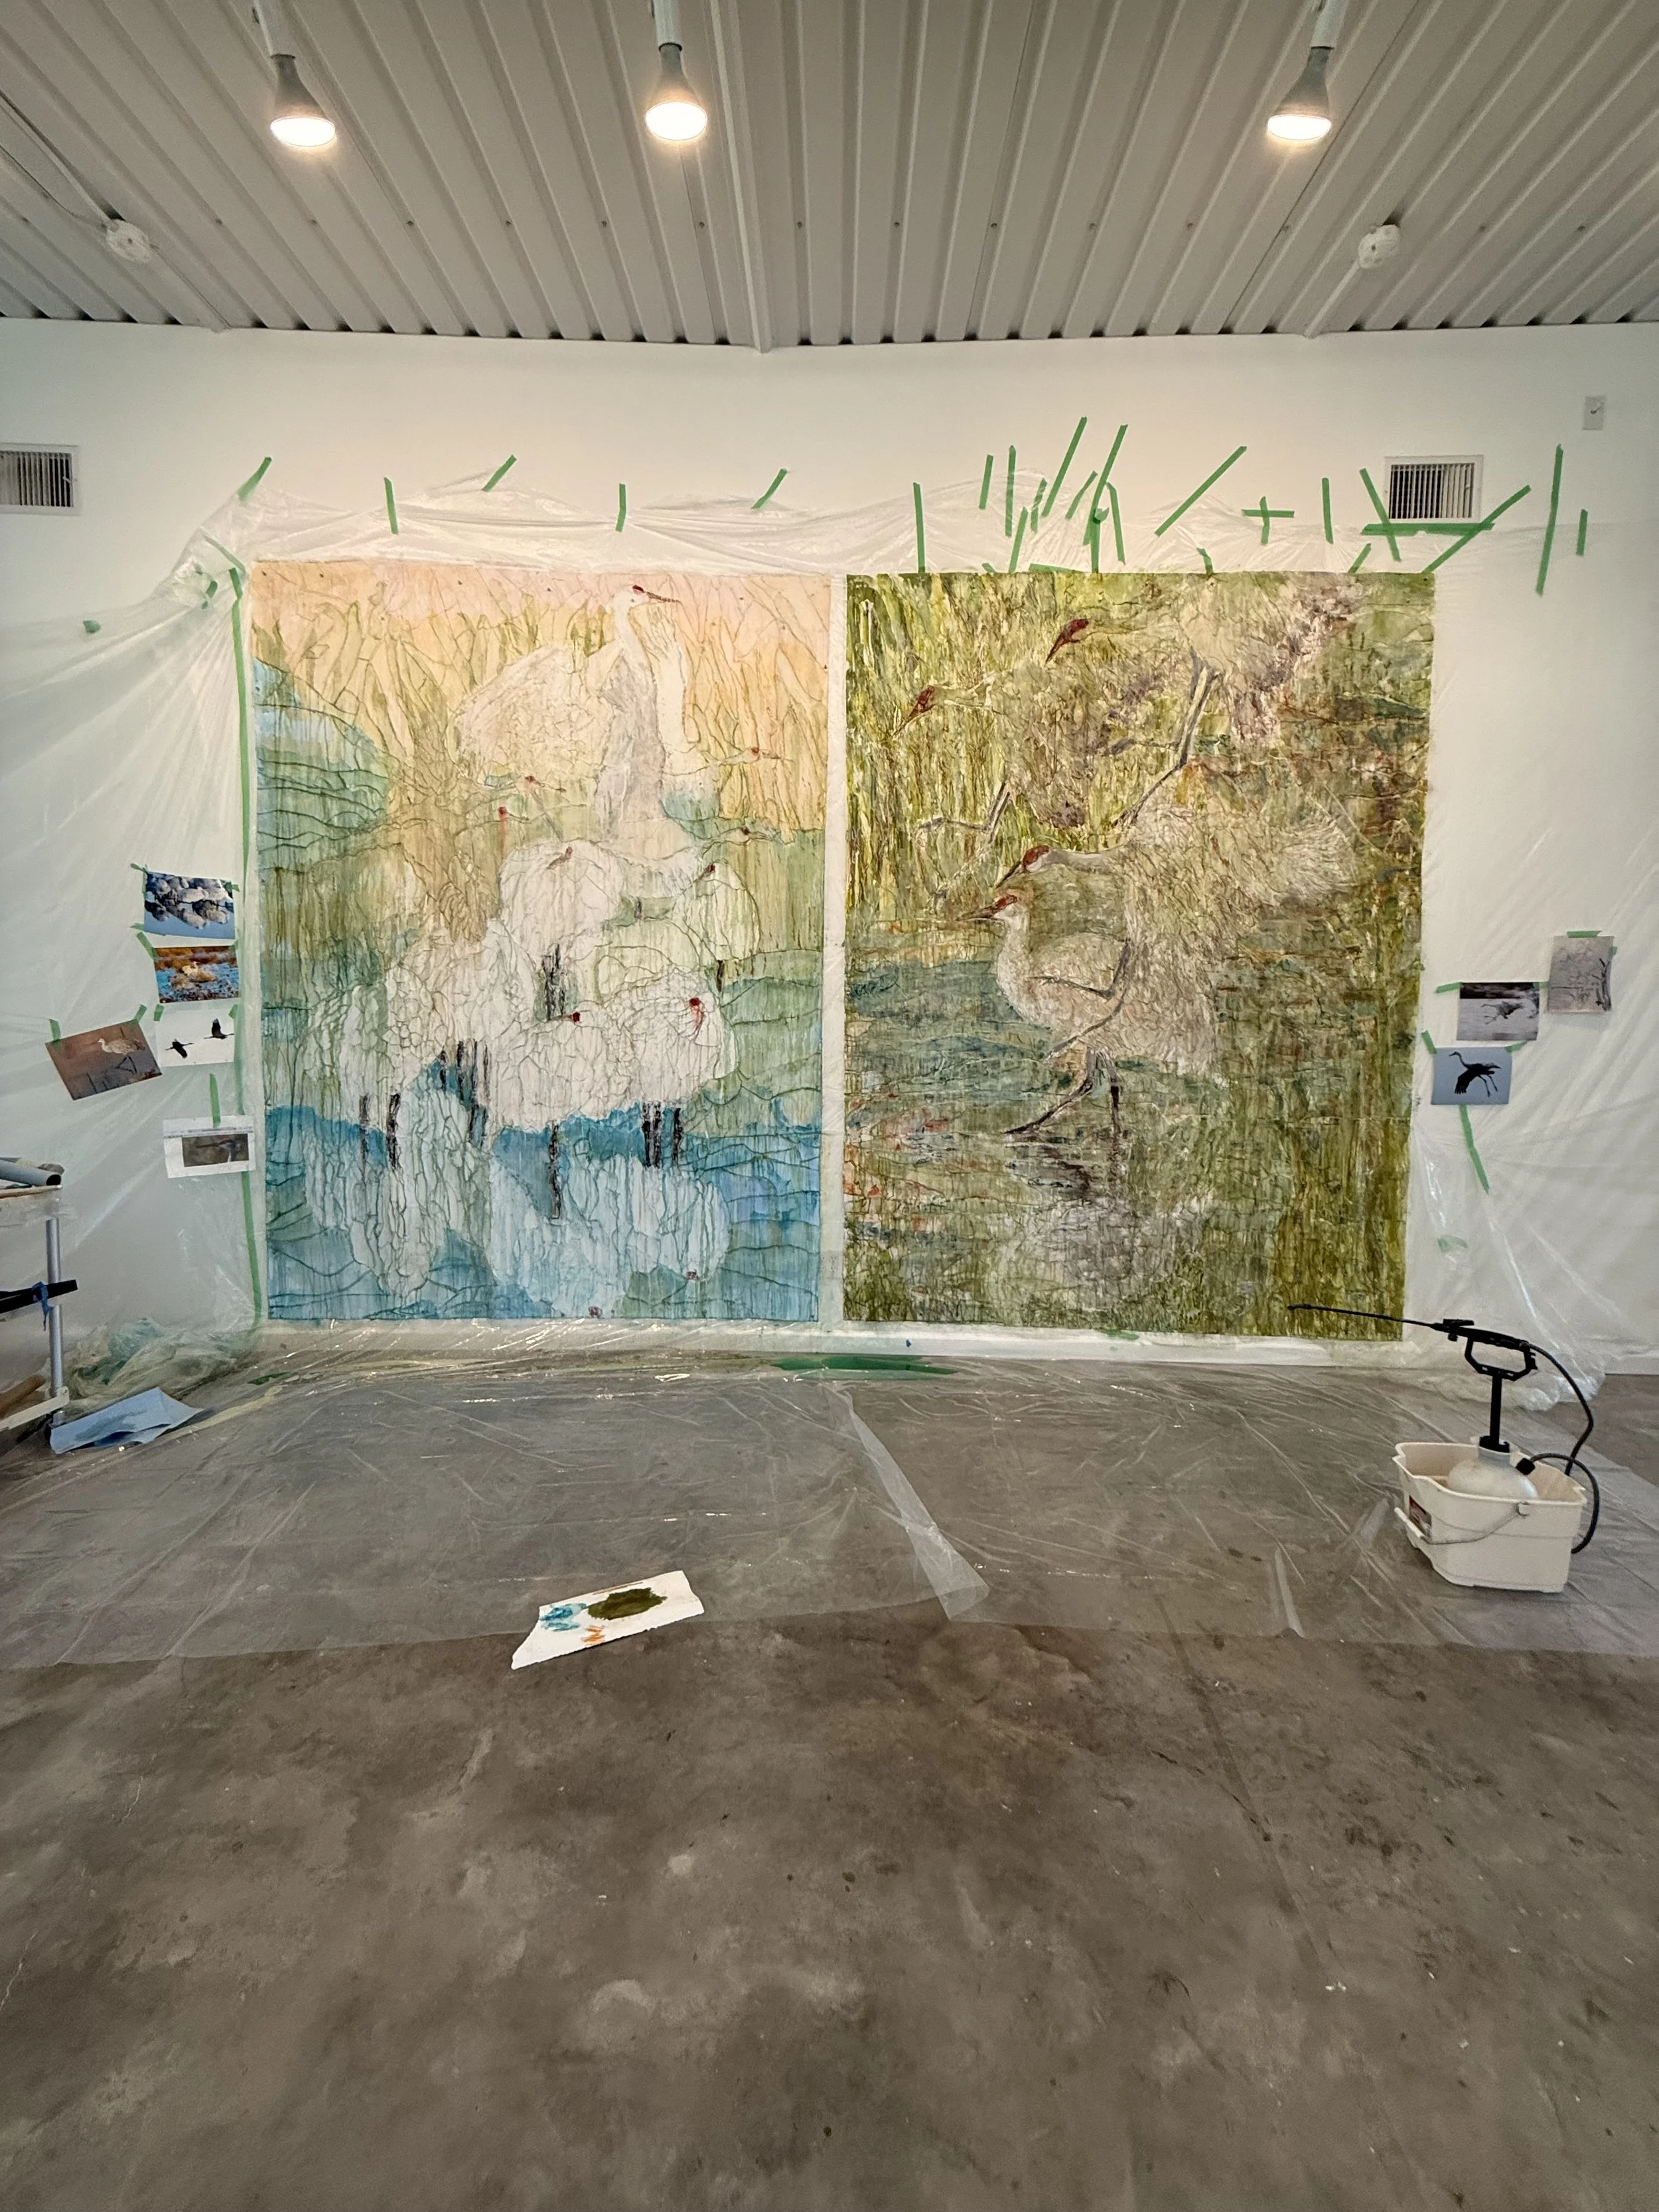
I proposed something bigger than what was asked. Two works, two stories tall — Sandhill cranes in a wetland on the first floor, Roseate spoonbills in the trees on the second. Two successful conservation stories, stacked one above the other, in a building full of people who might never otherwise encounter them.
The developer said yes.
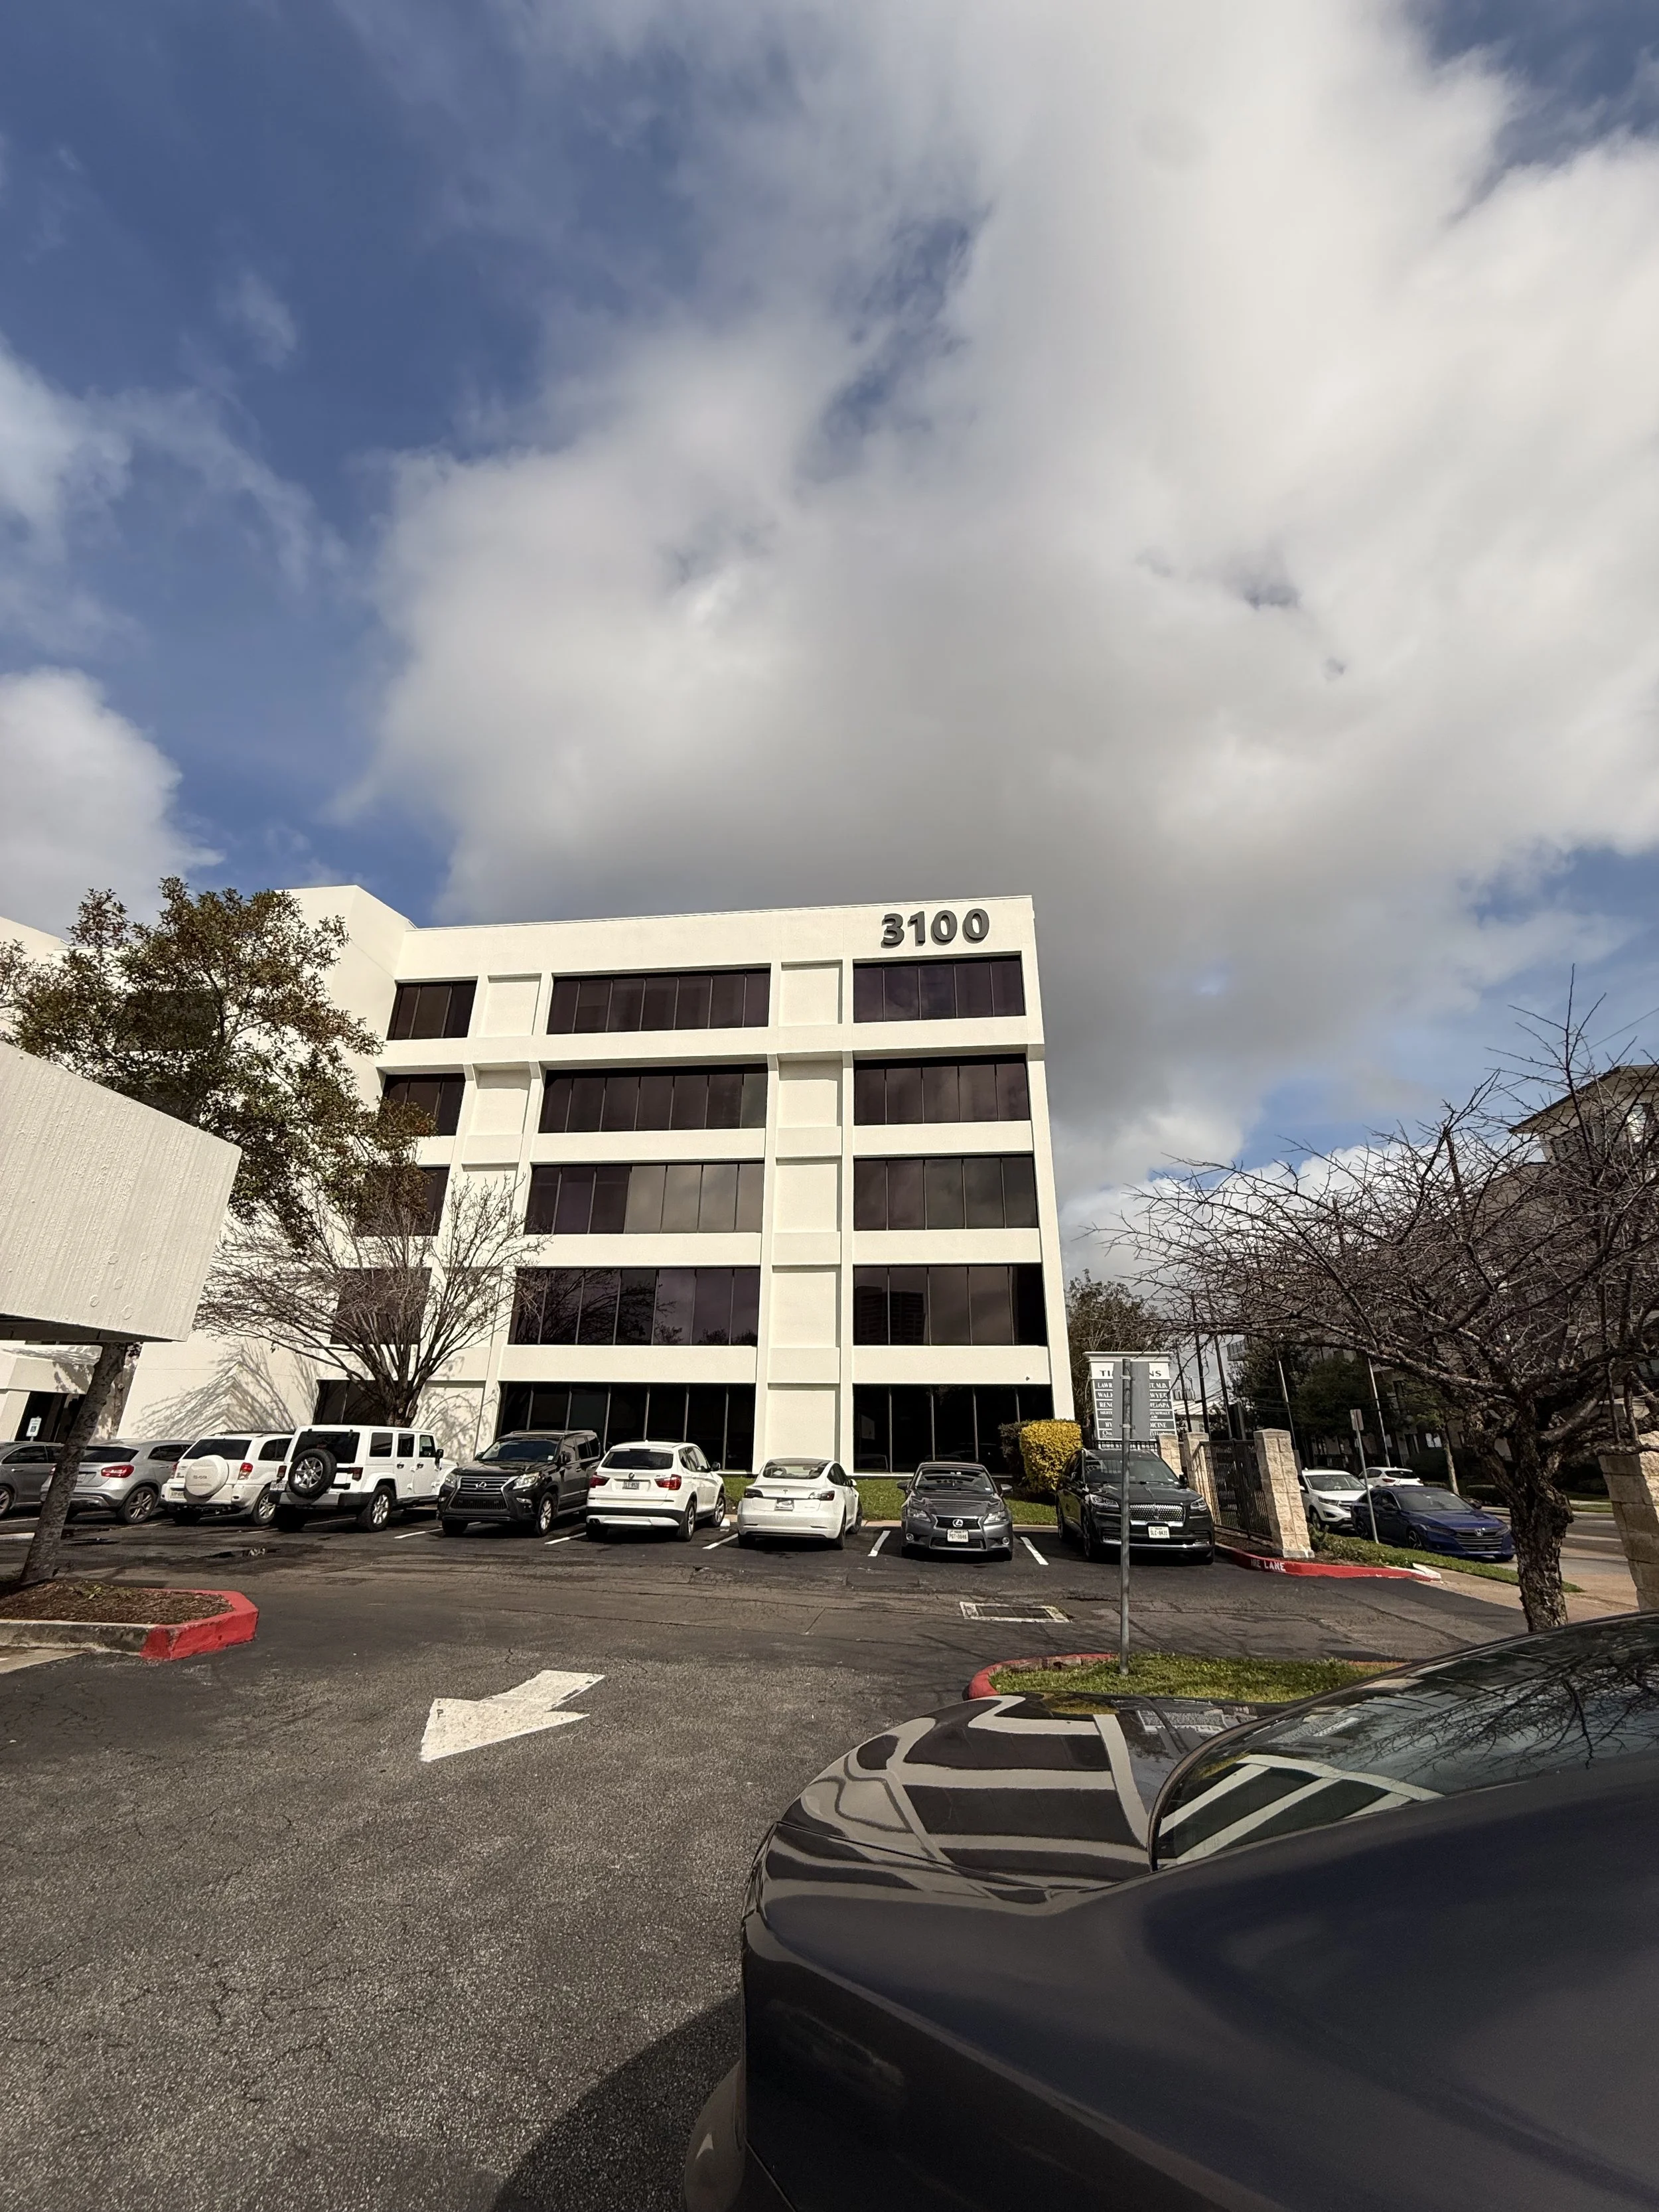
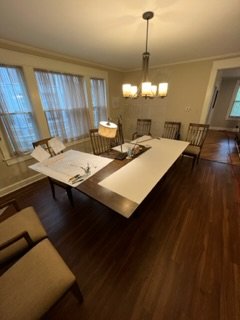
3100 Timmons Lane

One of the 7’ X 9’ recessed spaces for artwork.

But before any of that — I had to figure out how to make them.
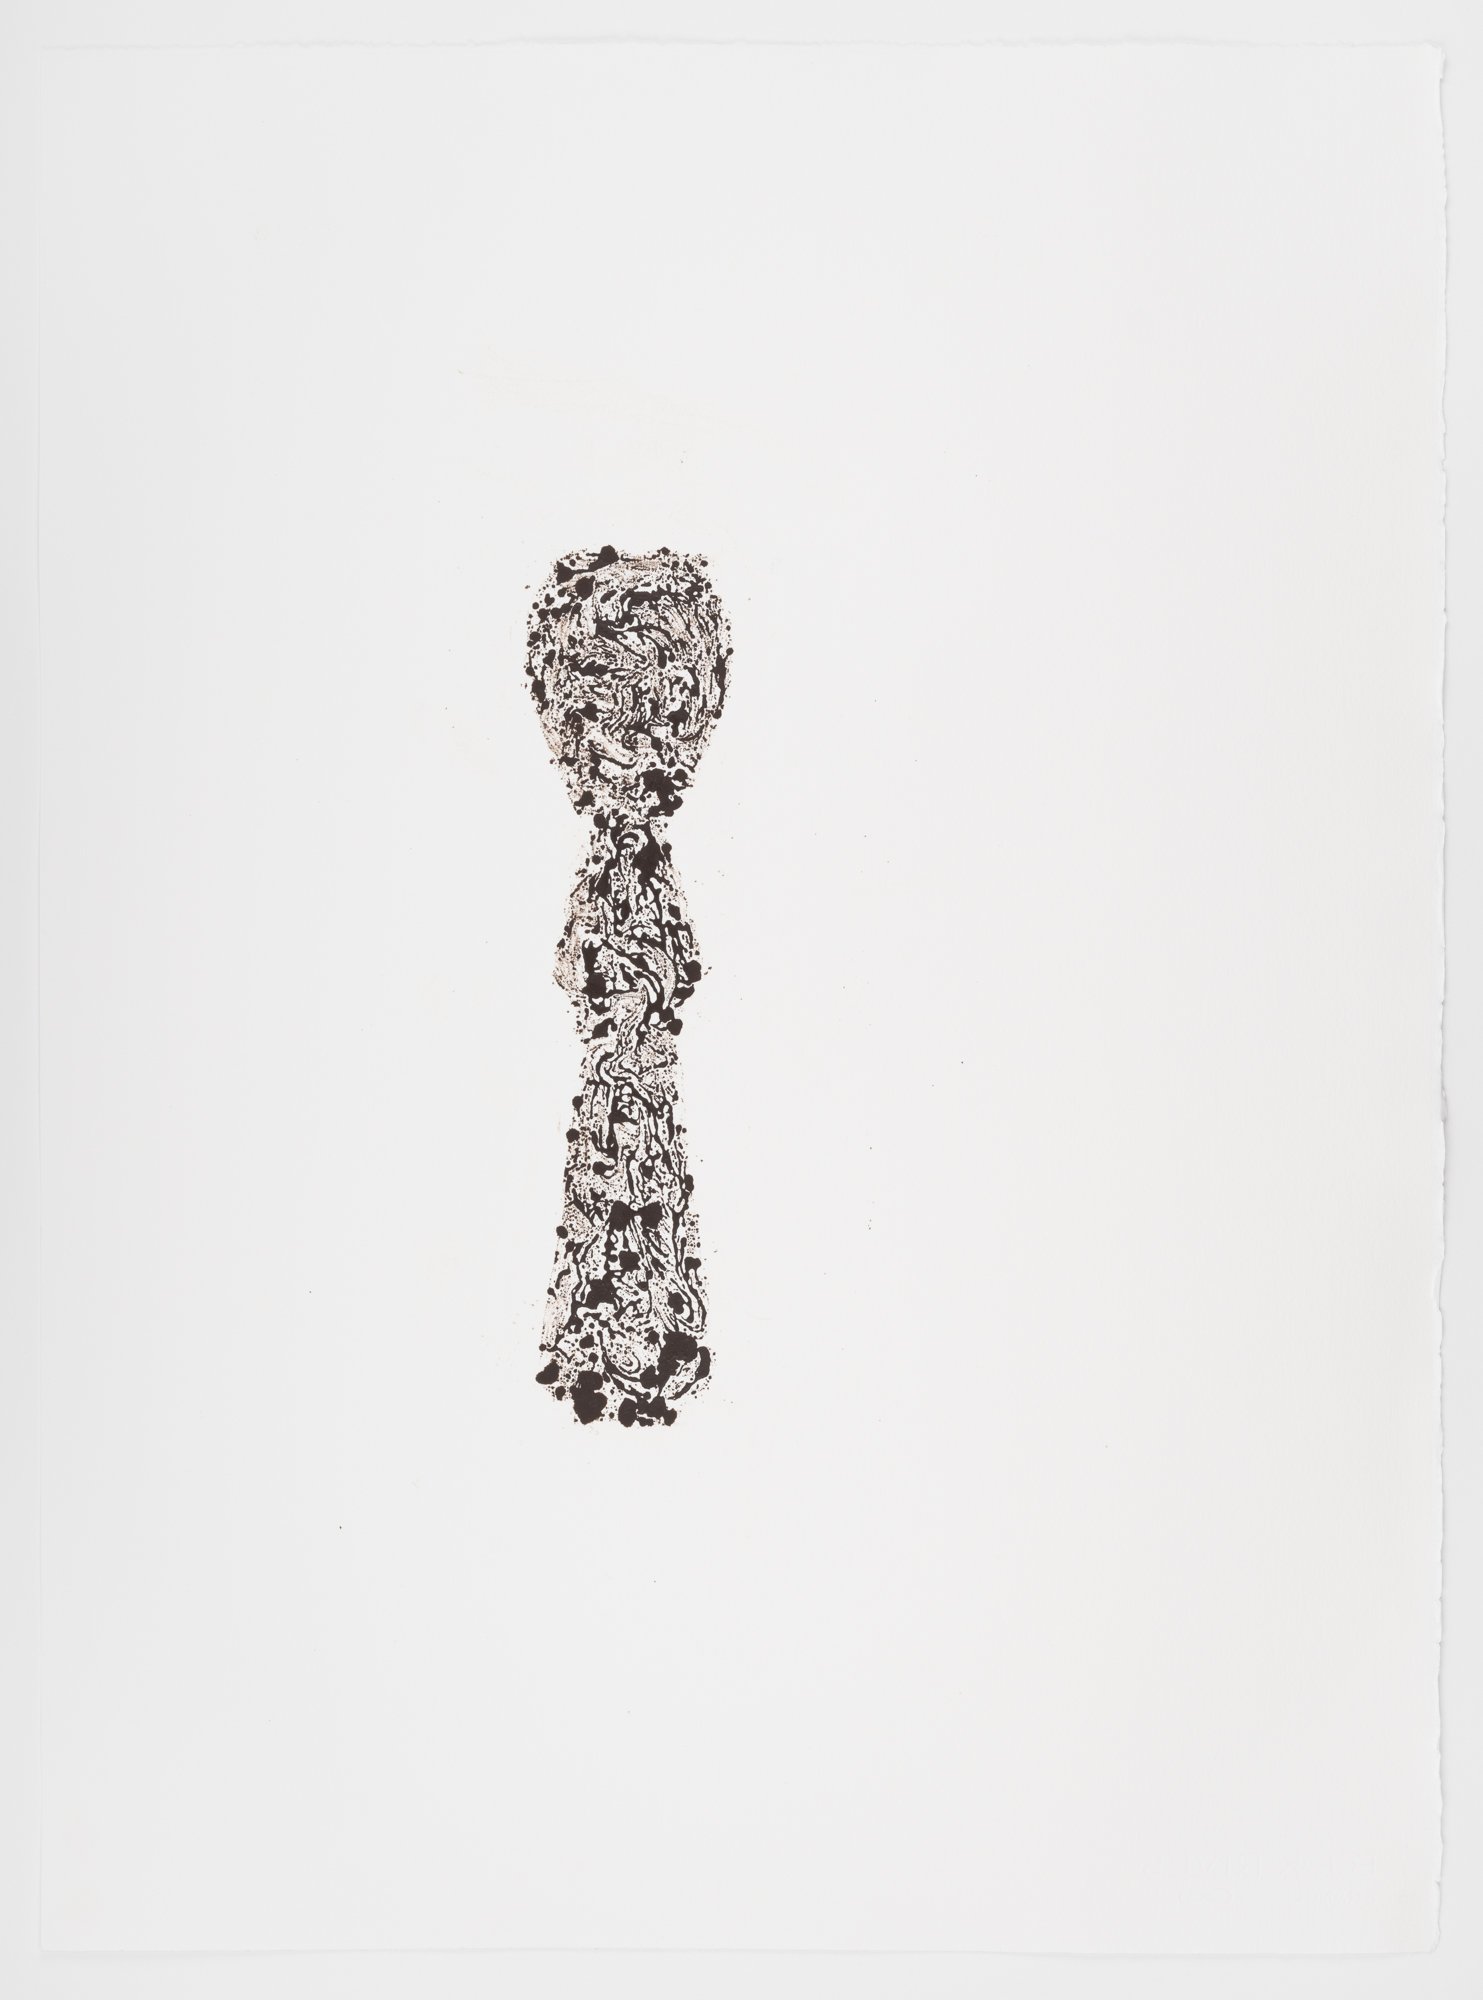
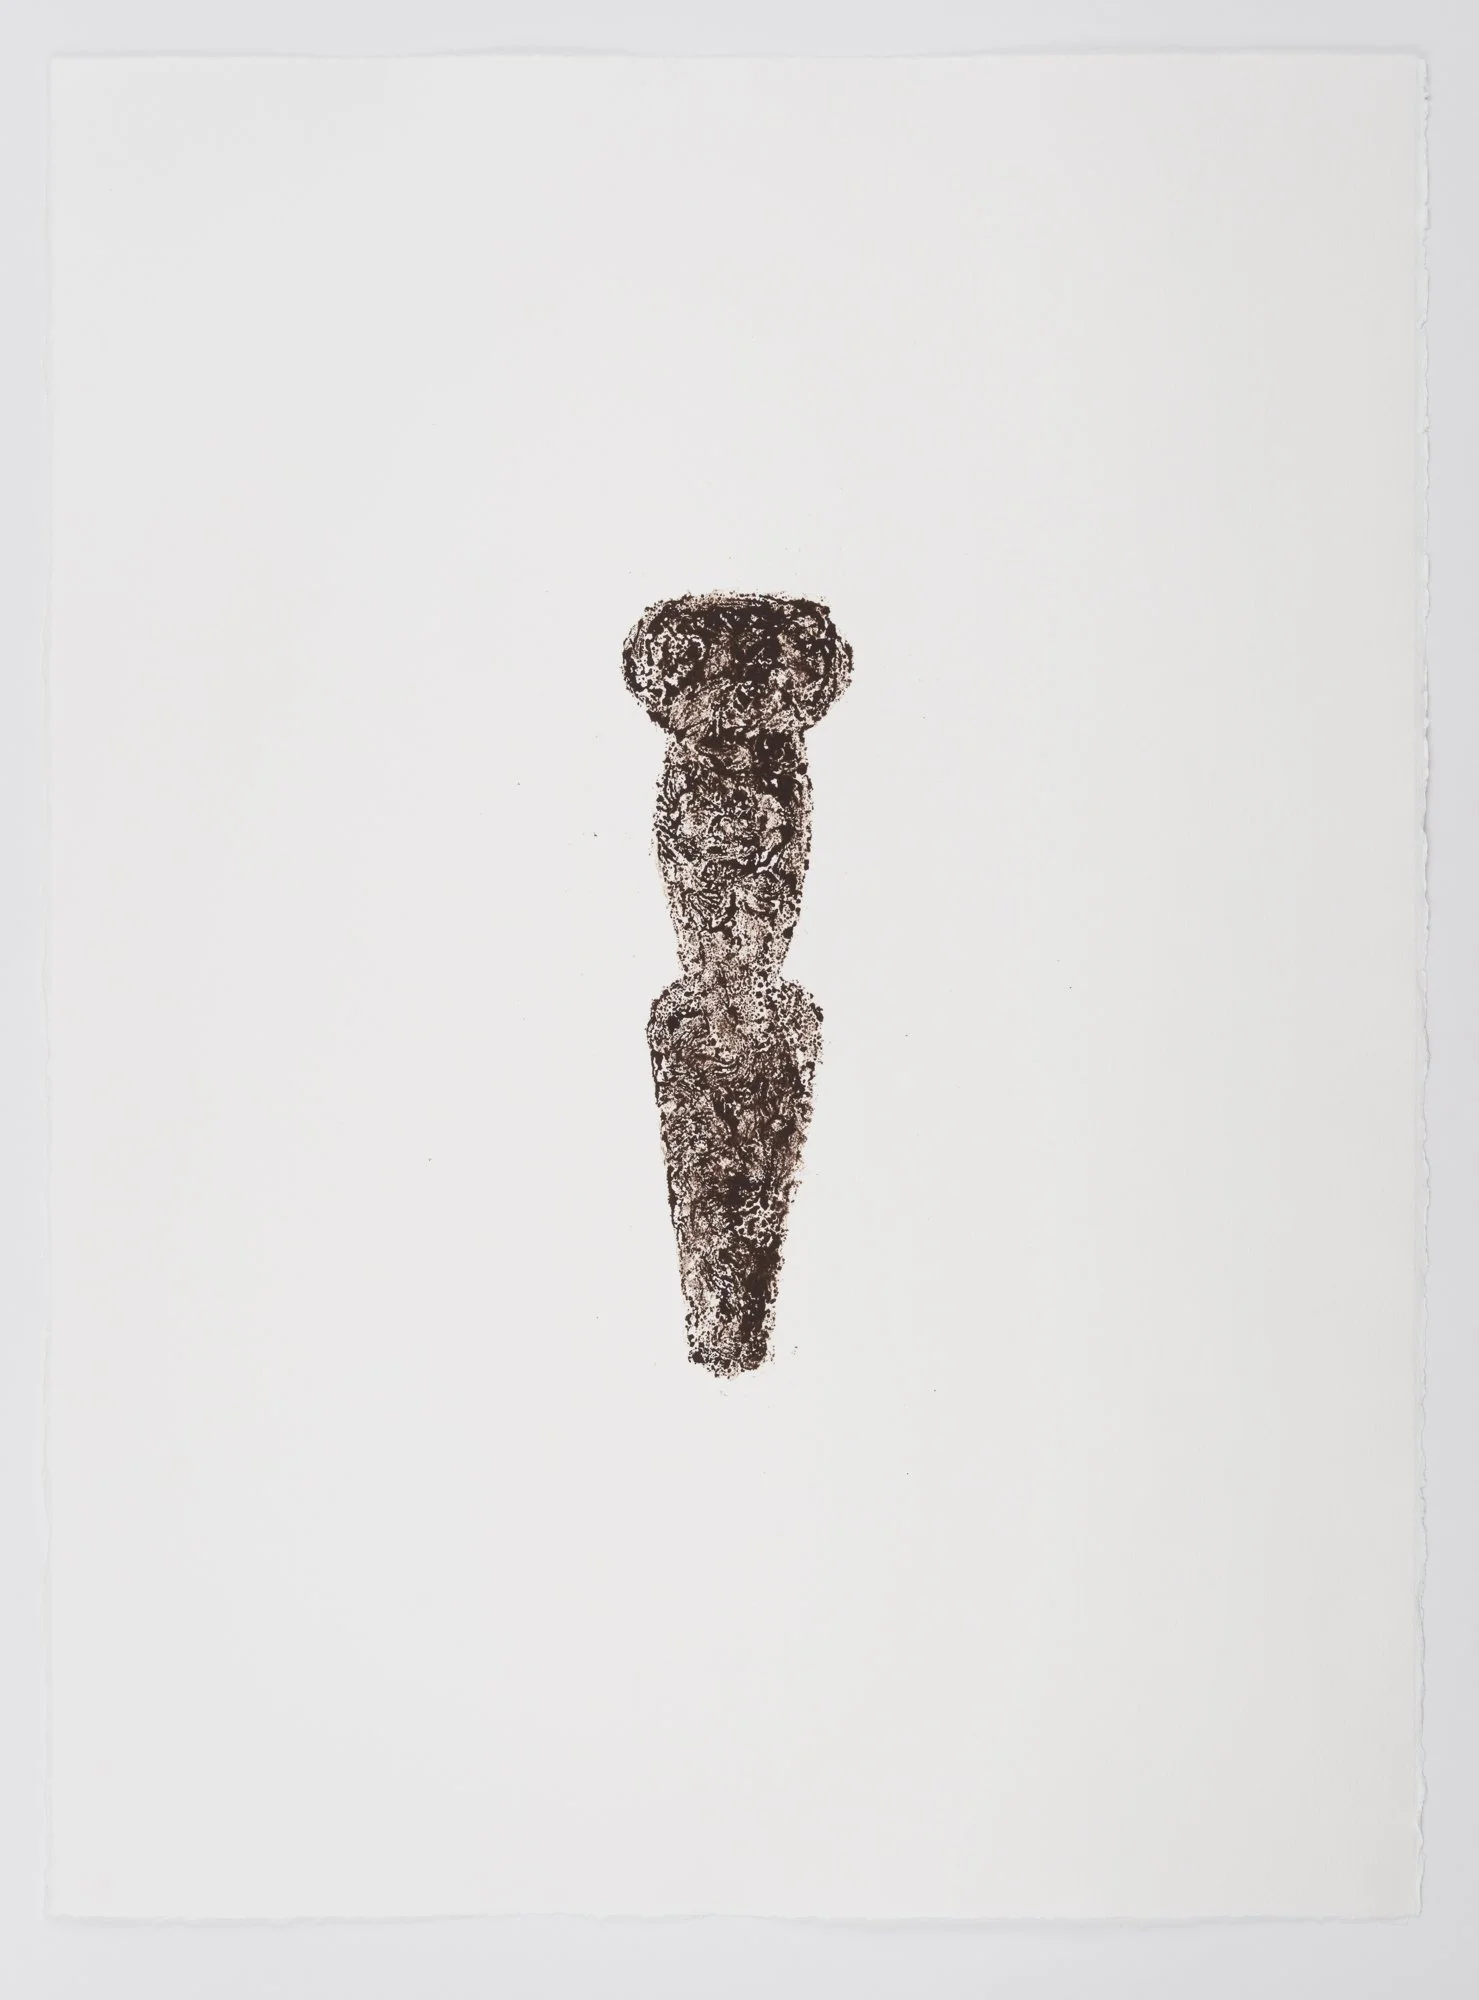
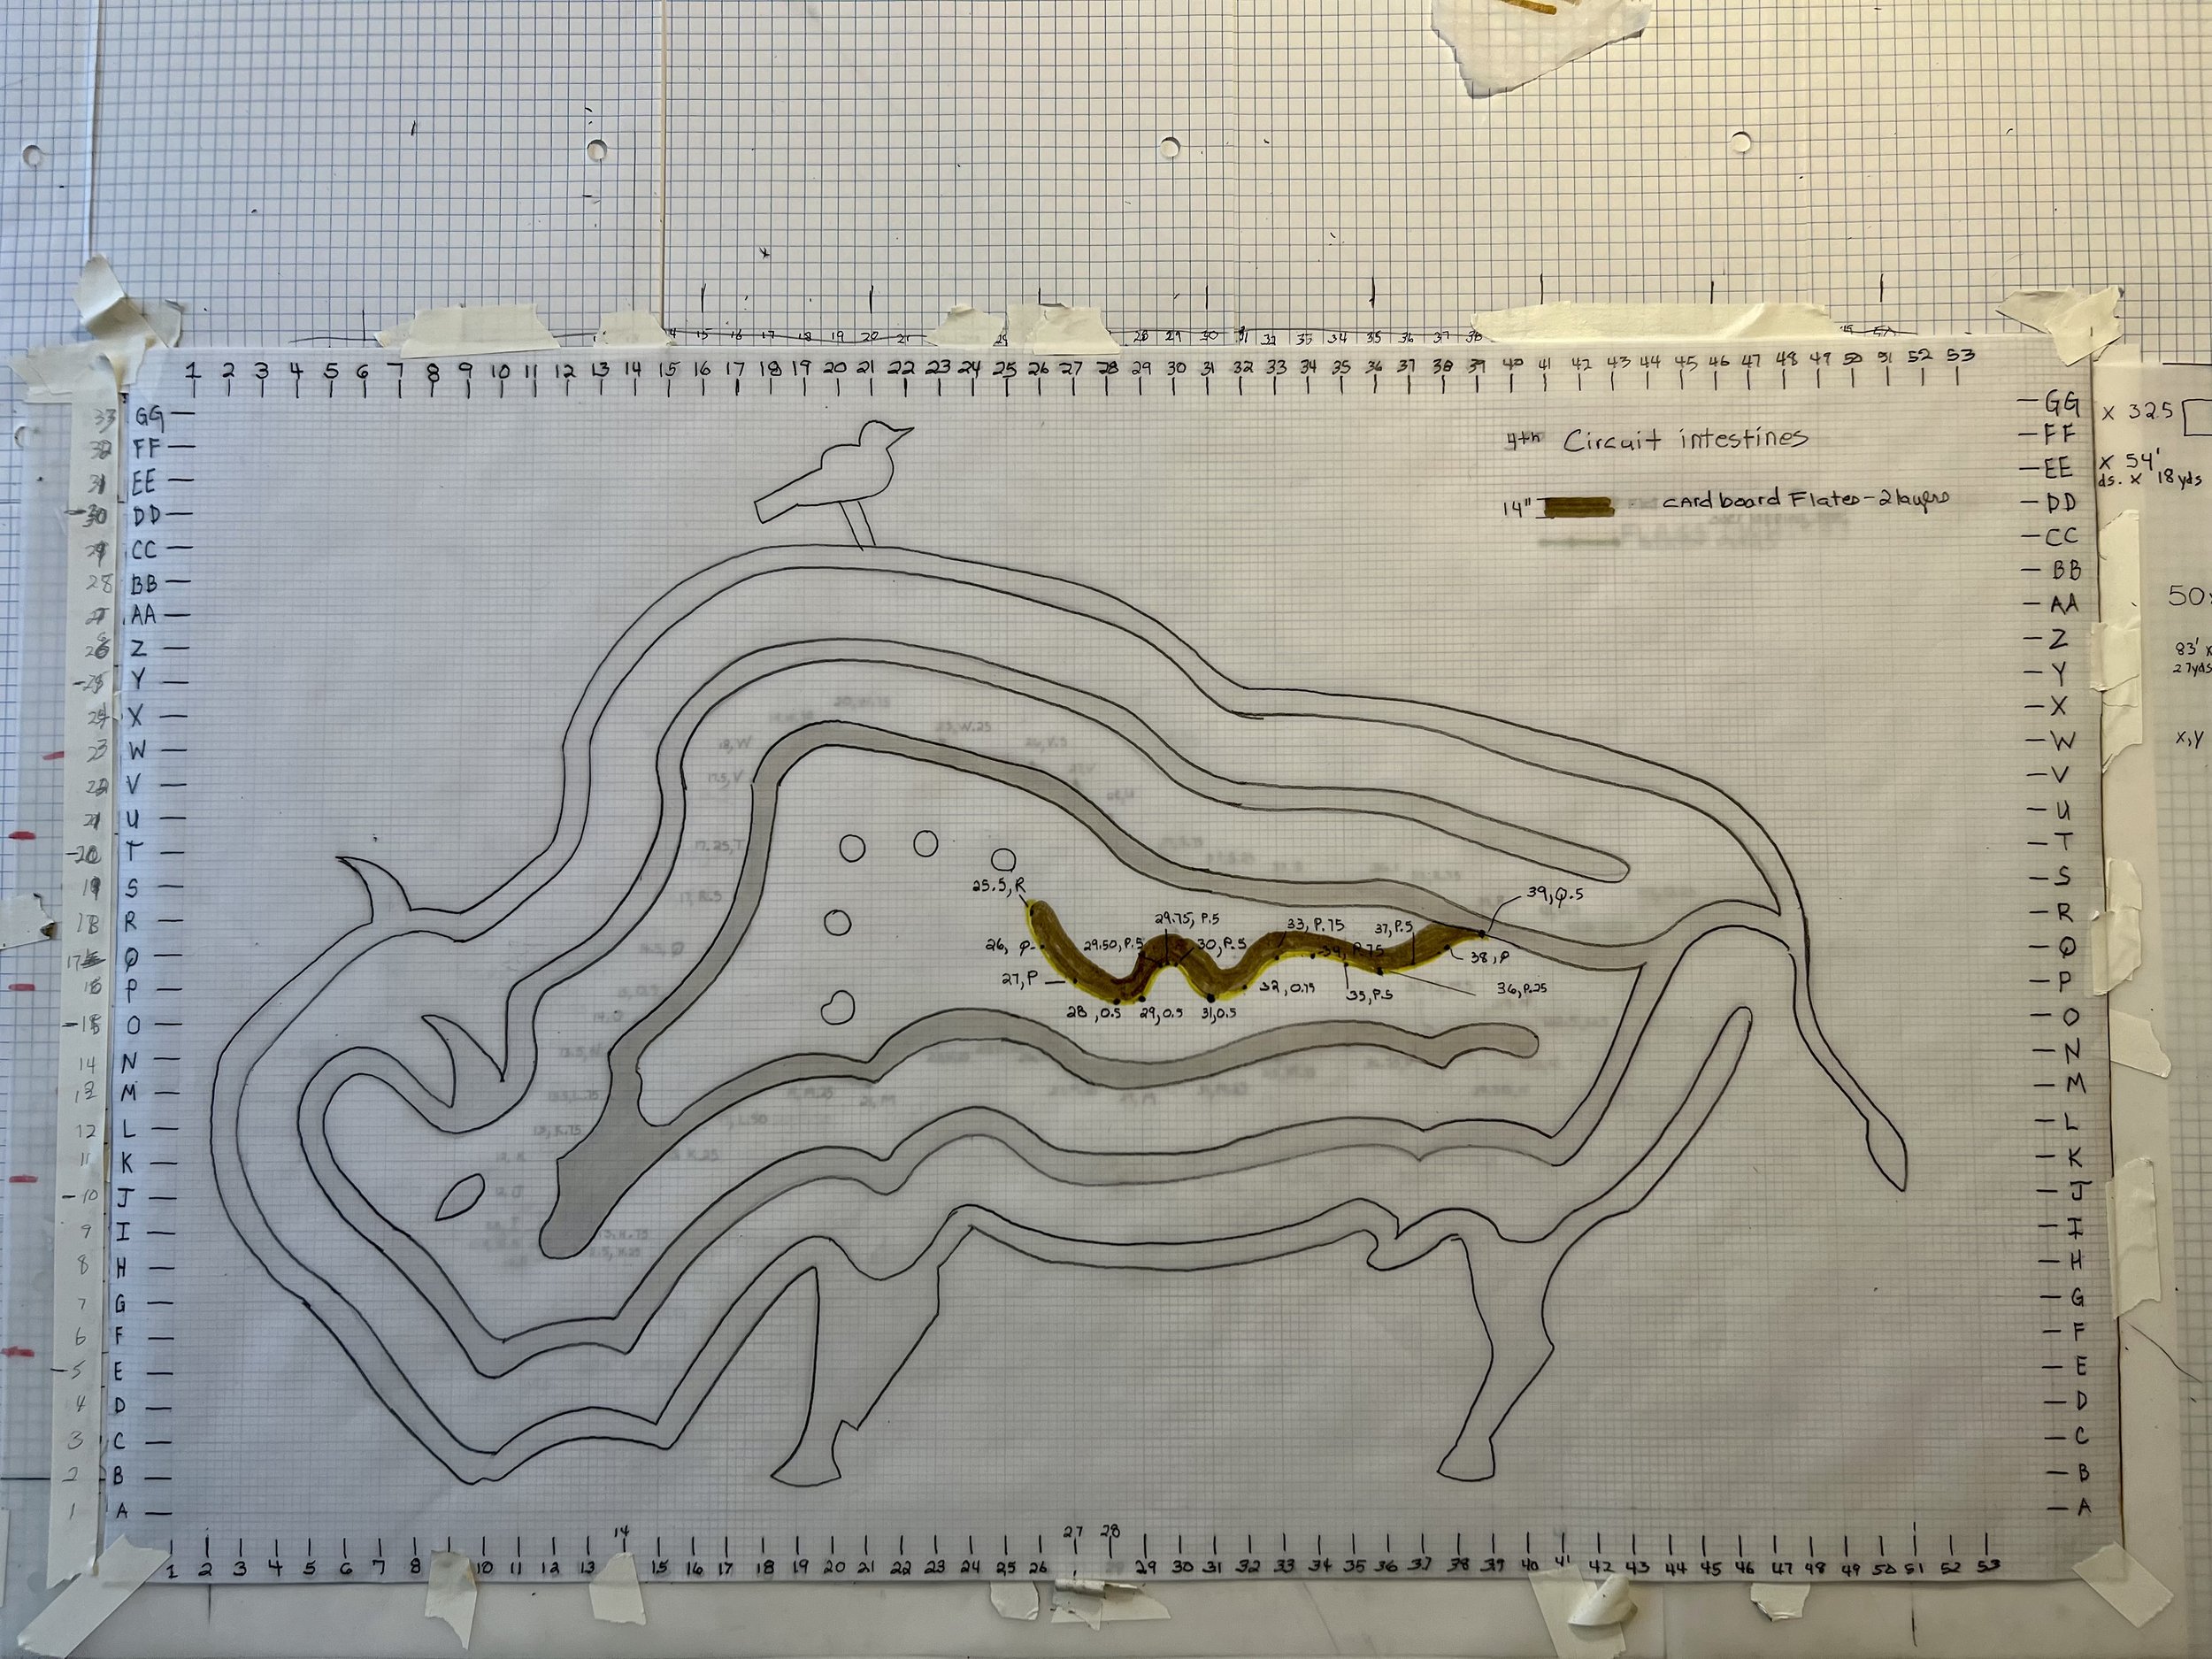
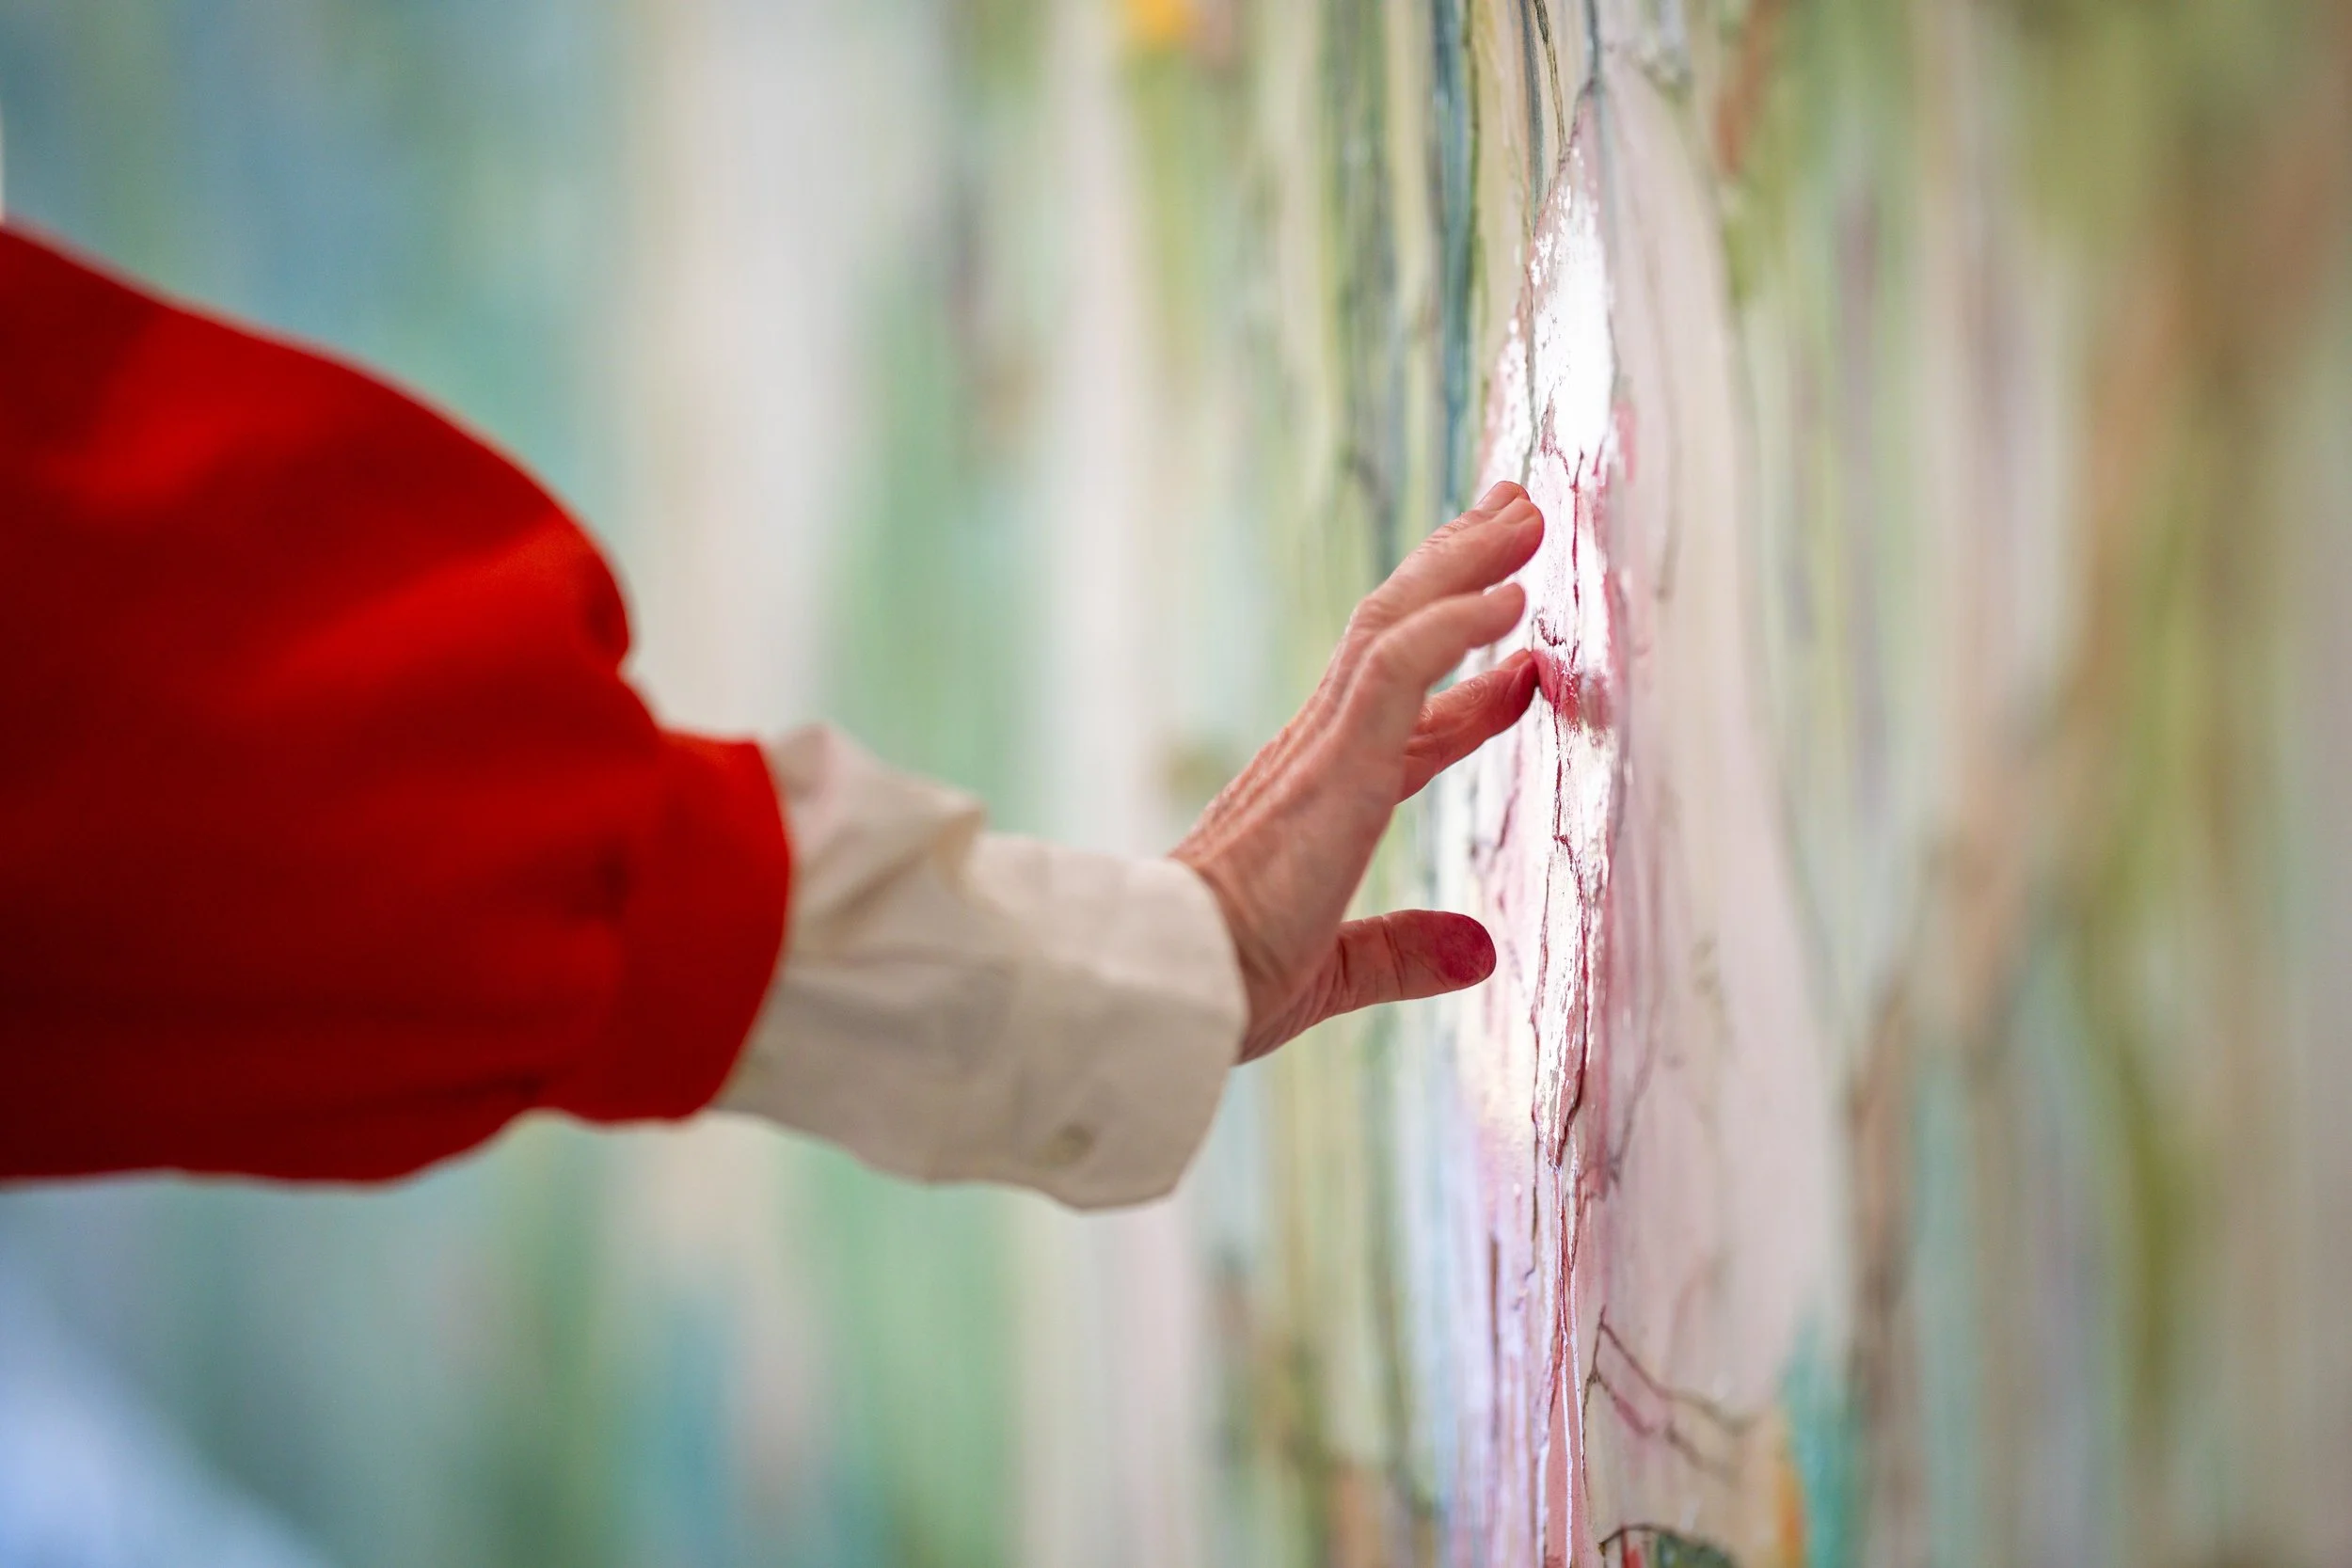
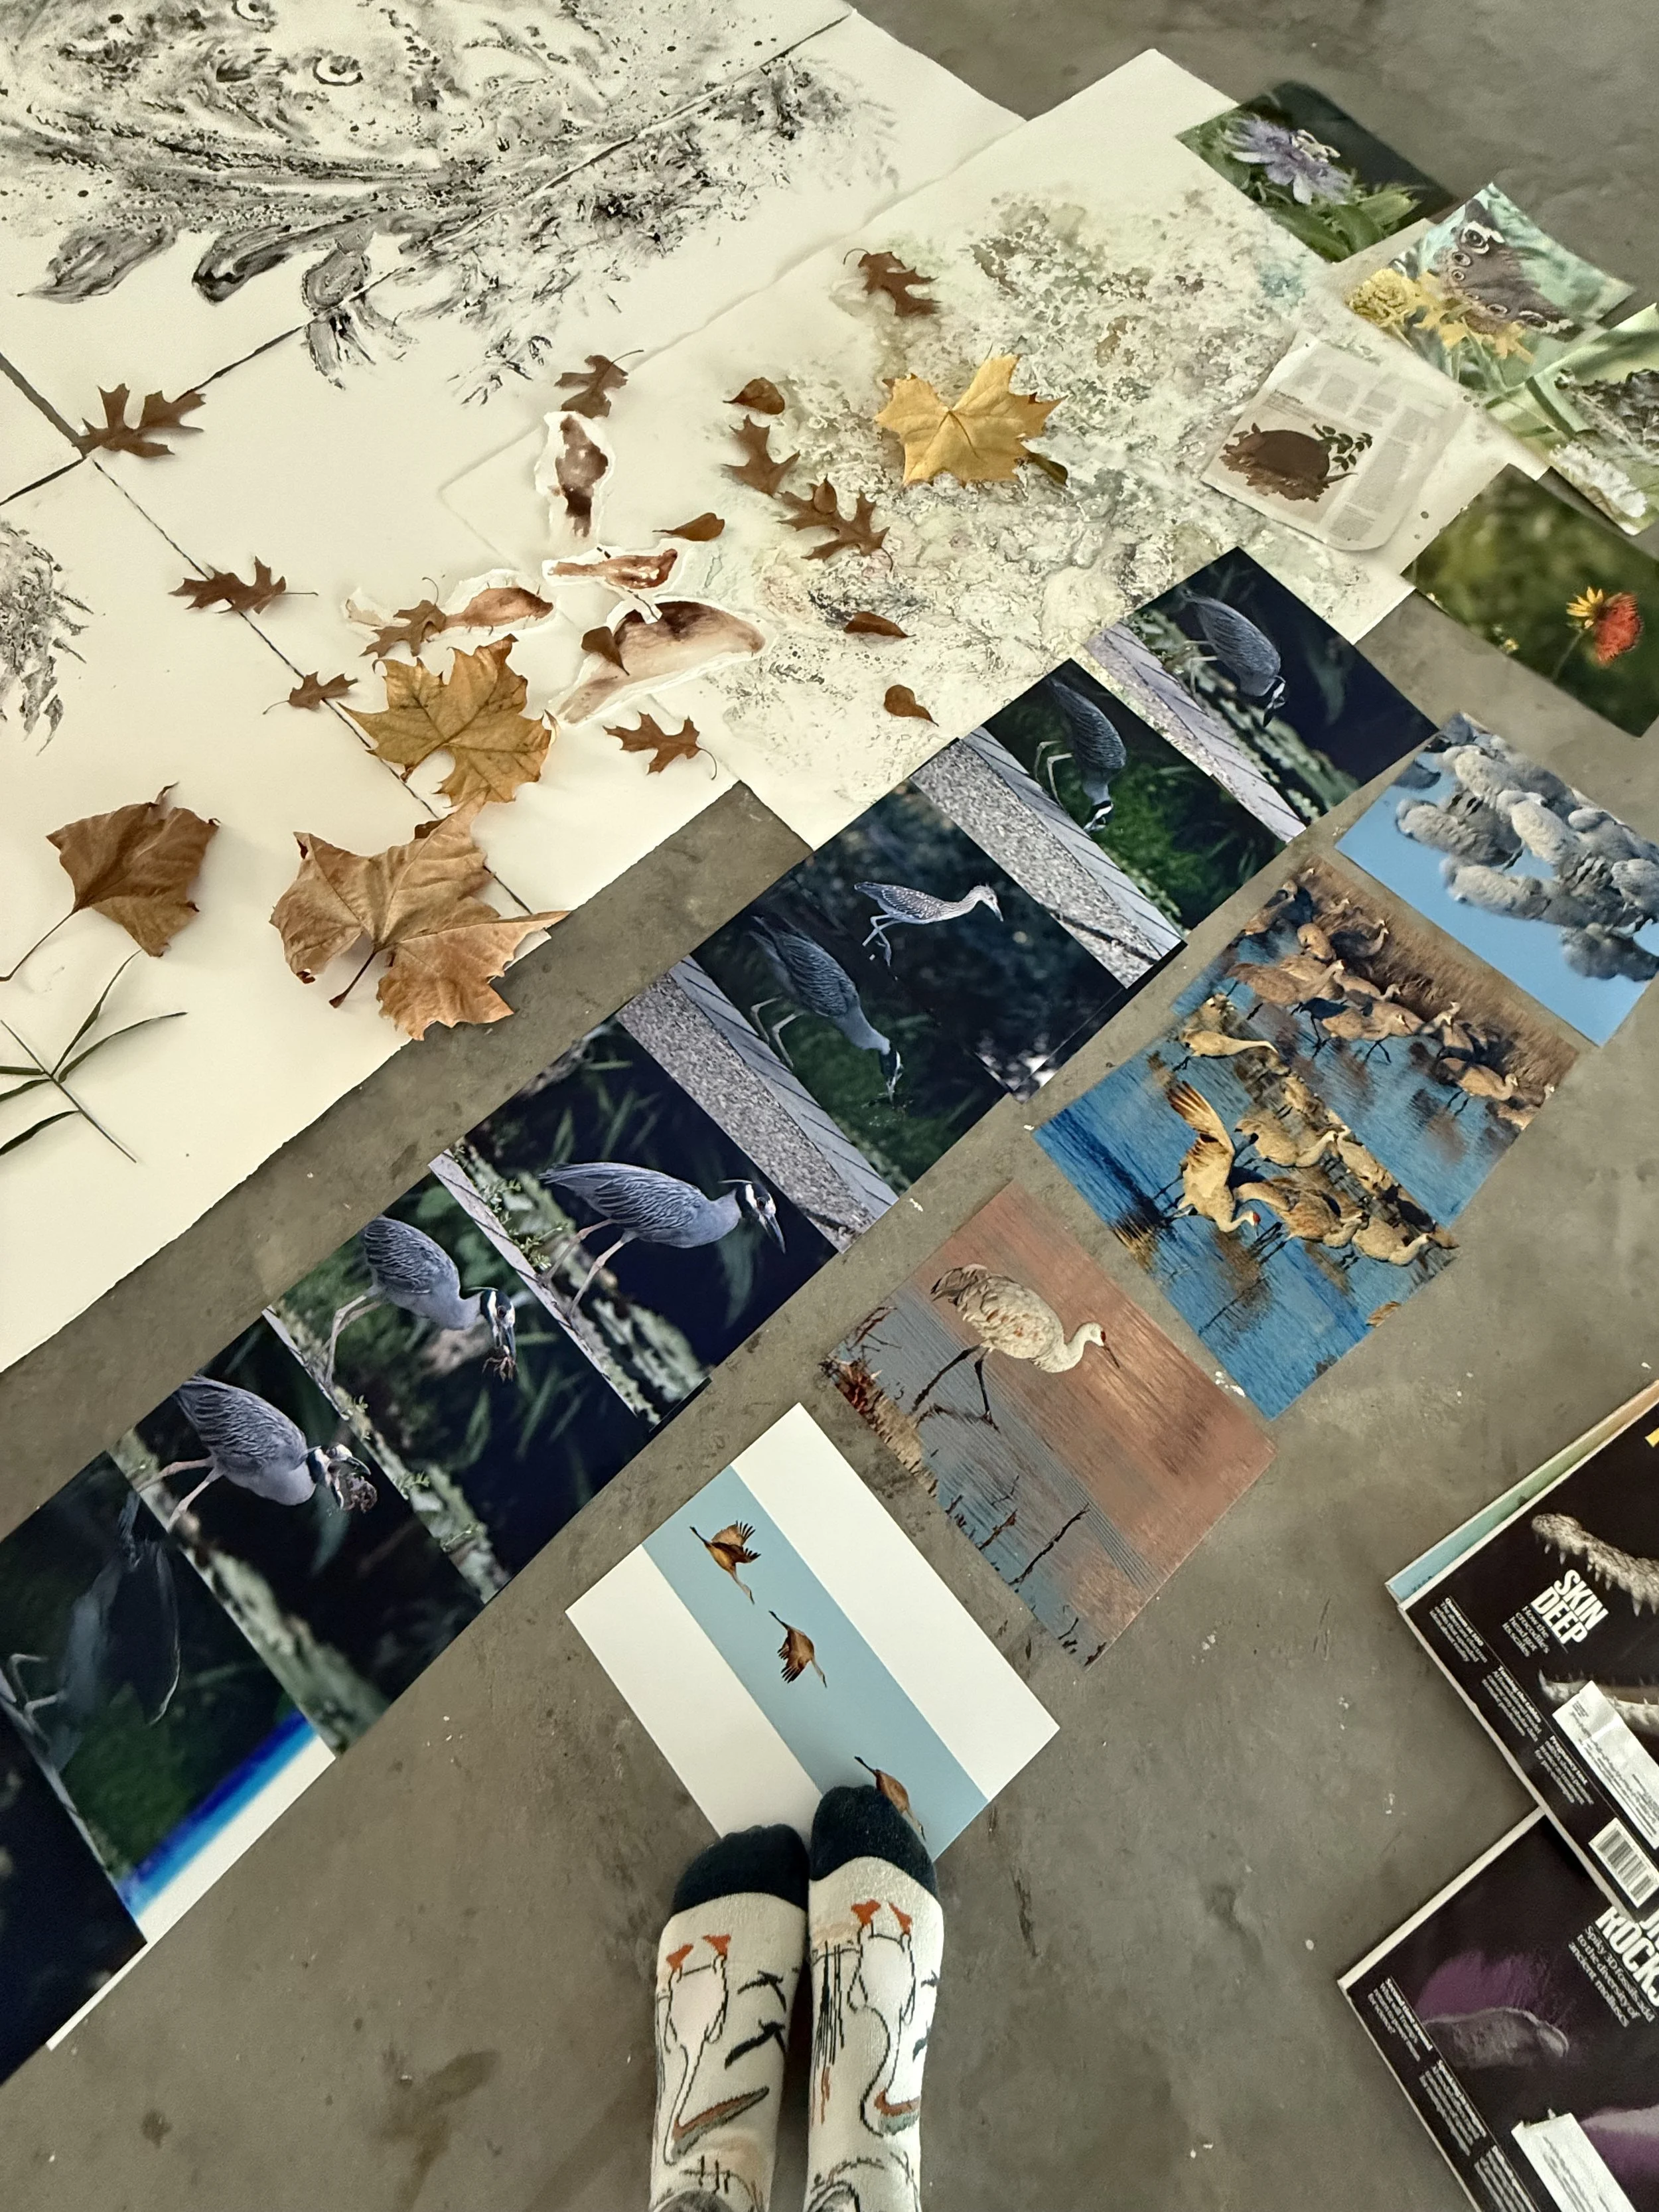
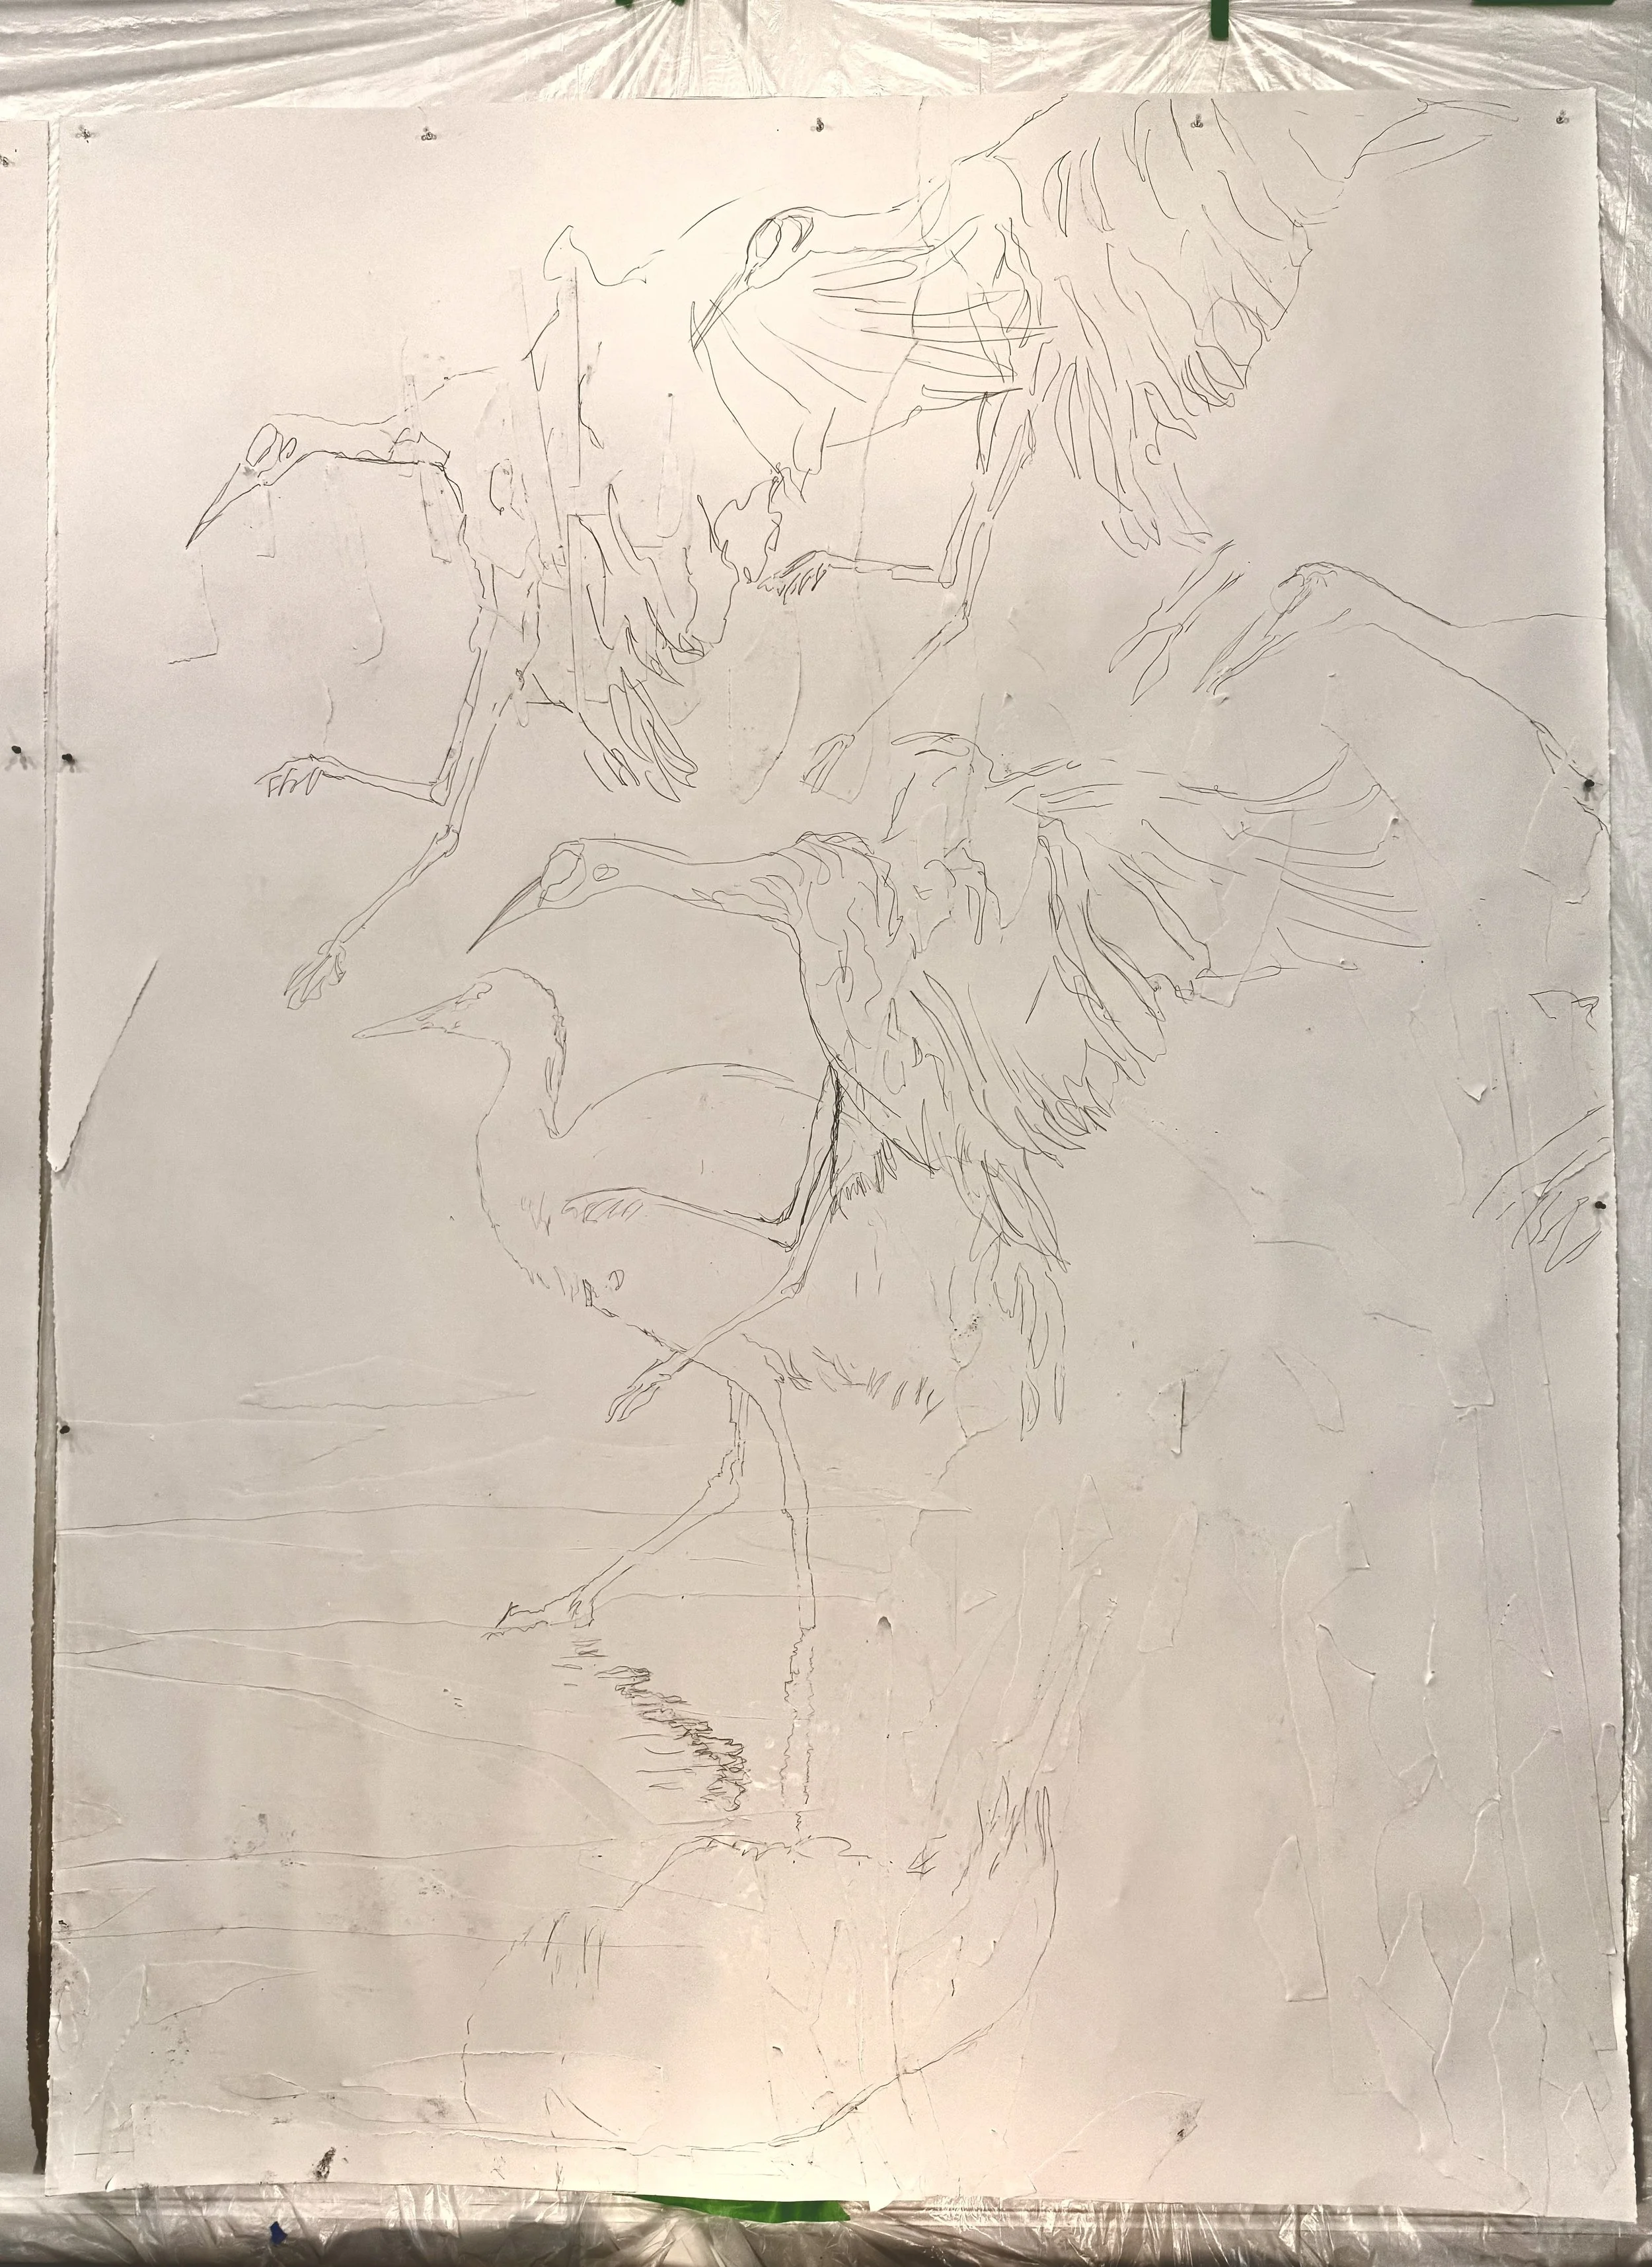
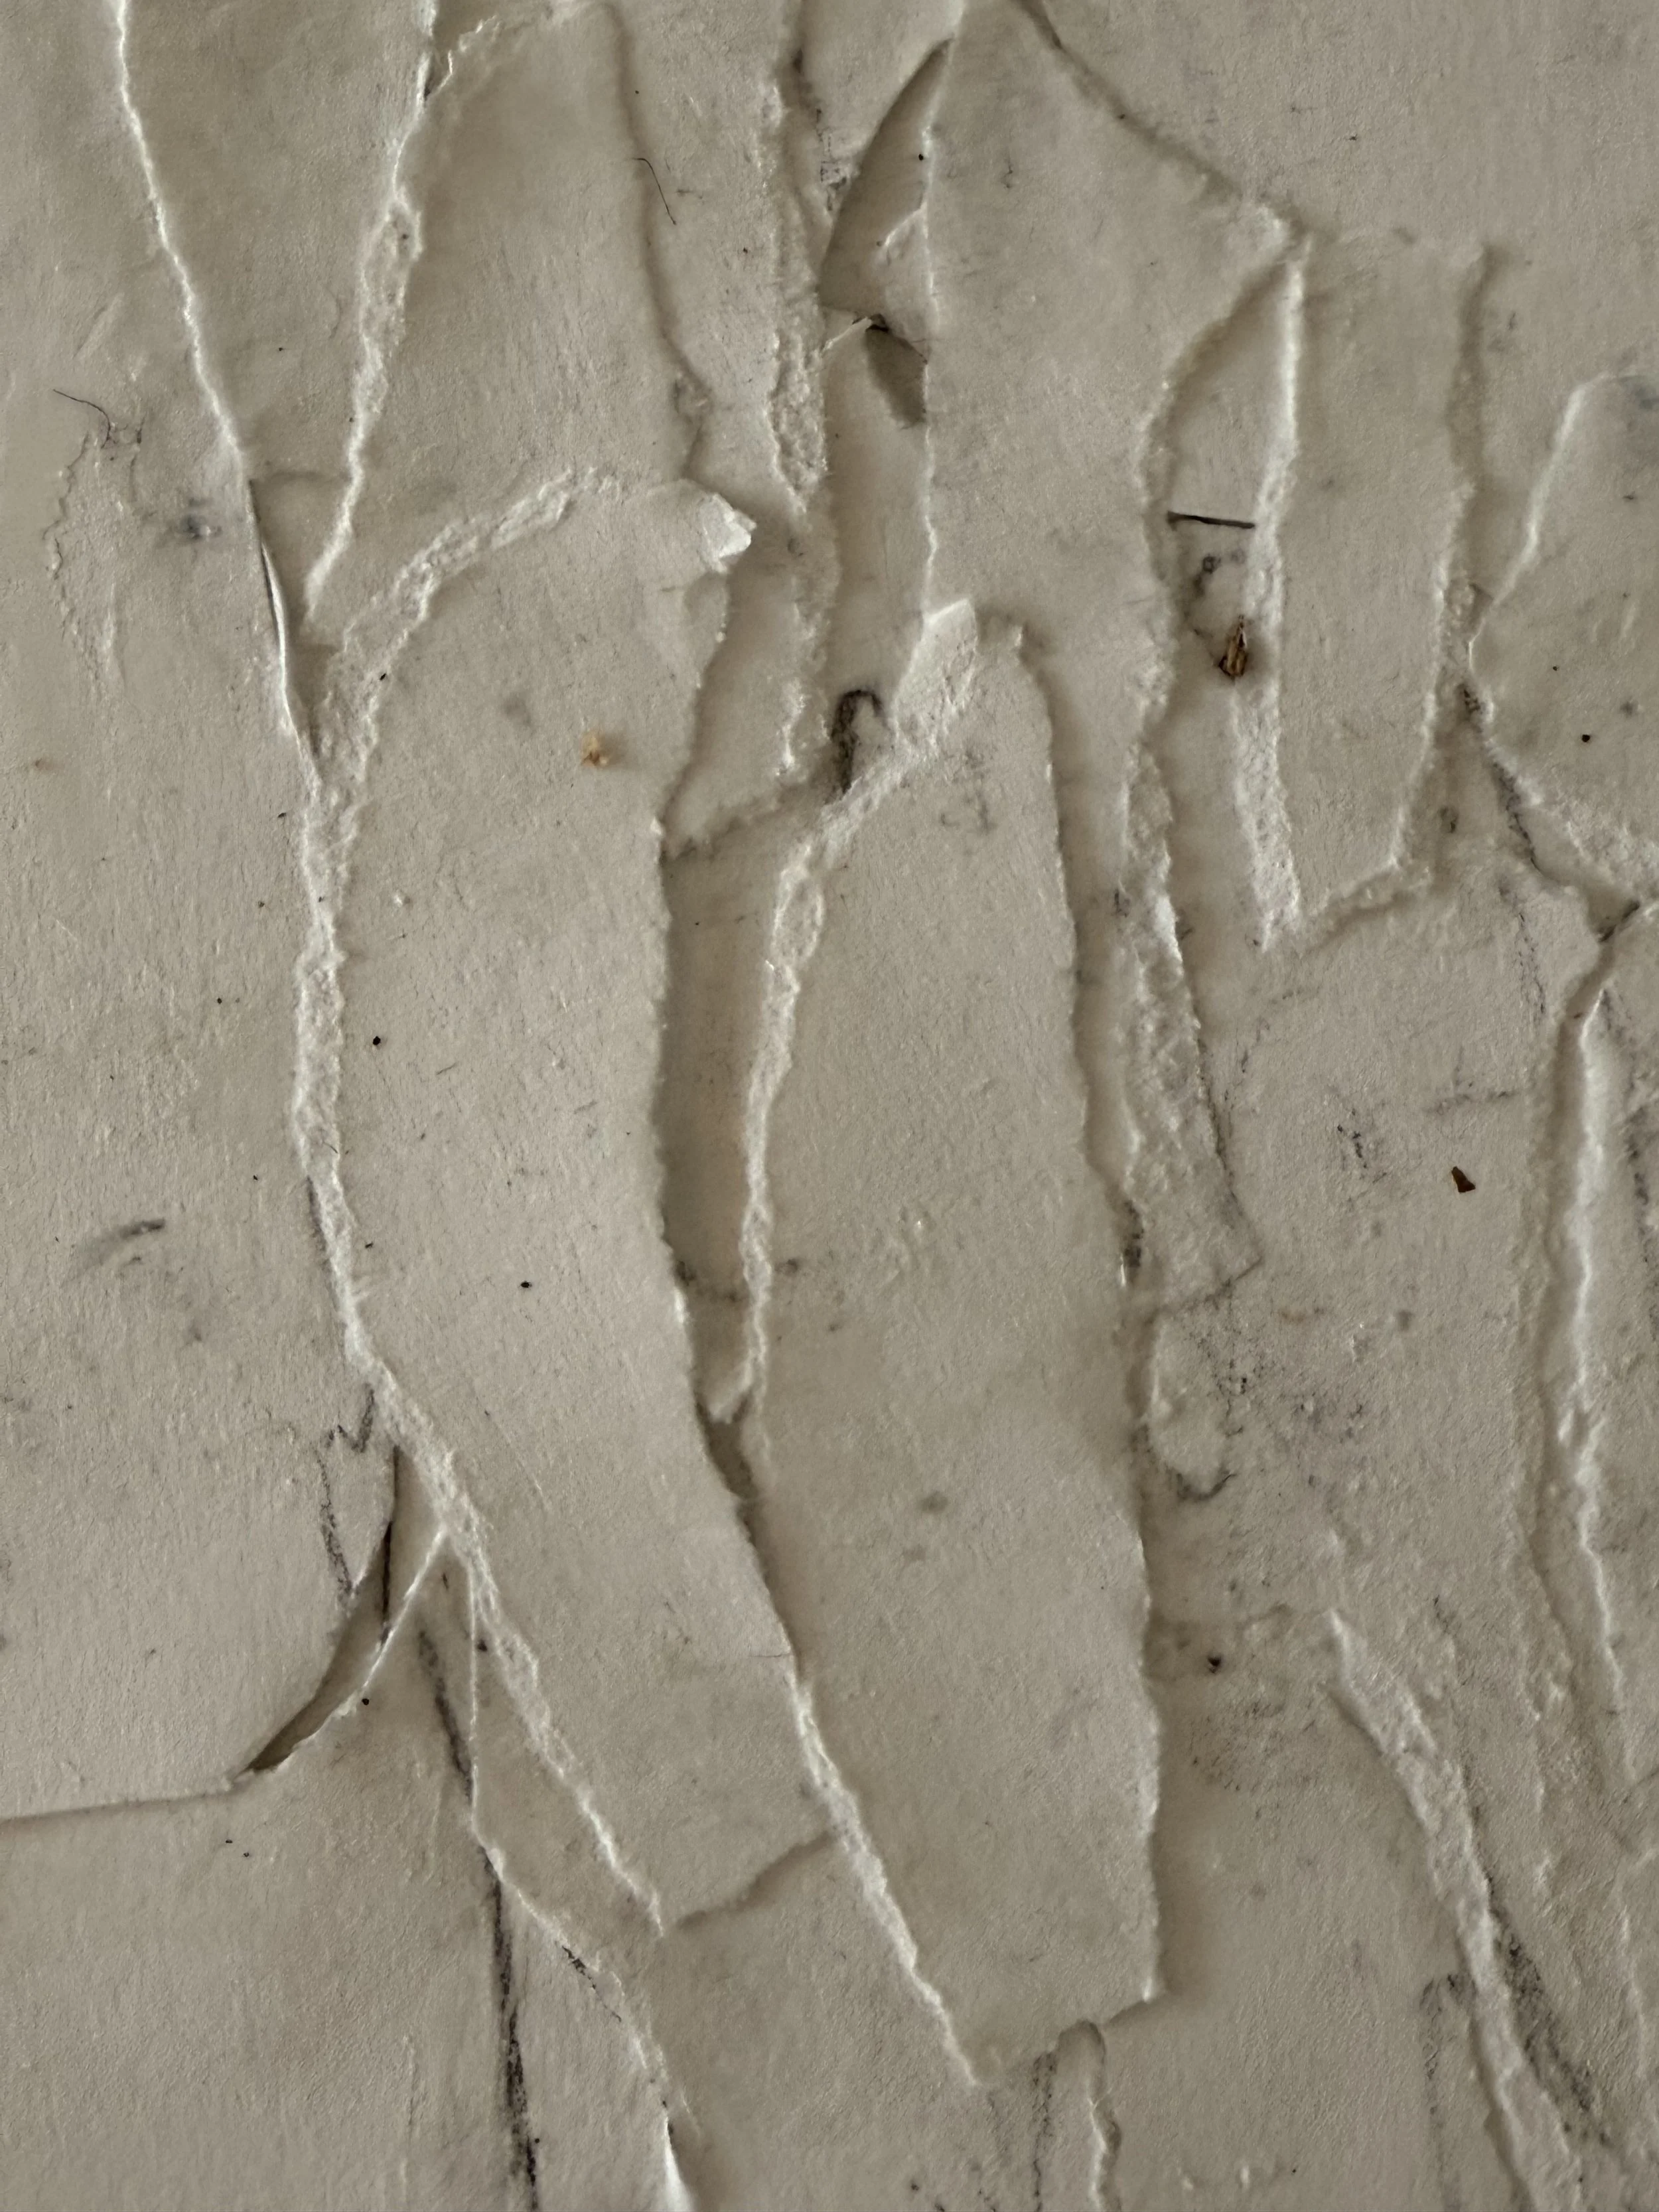
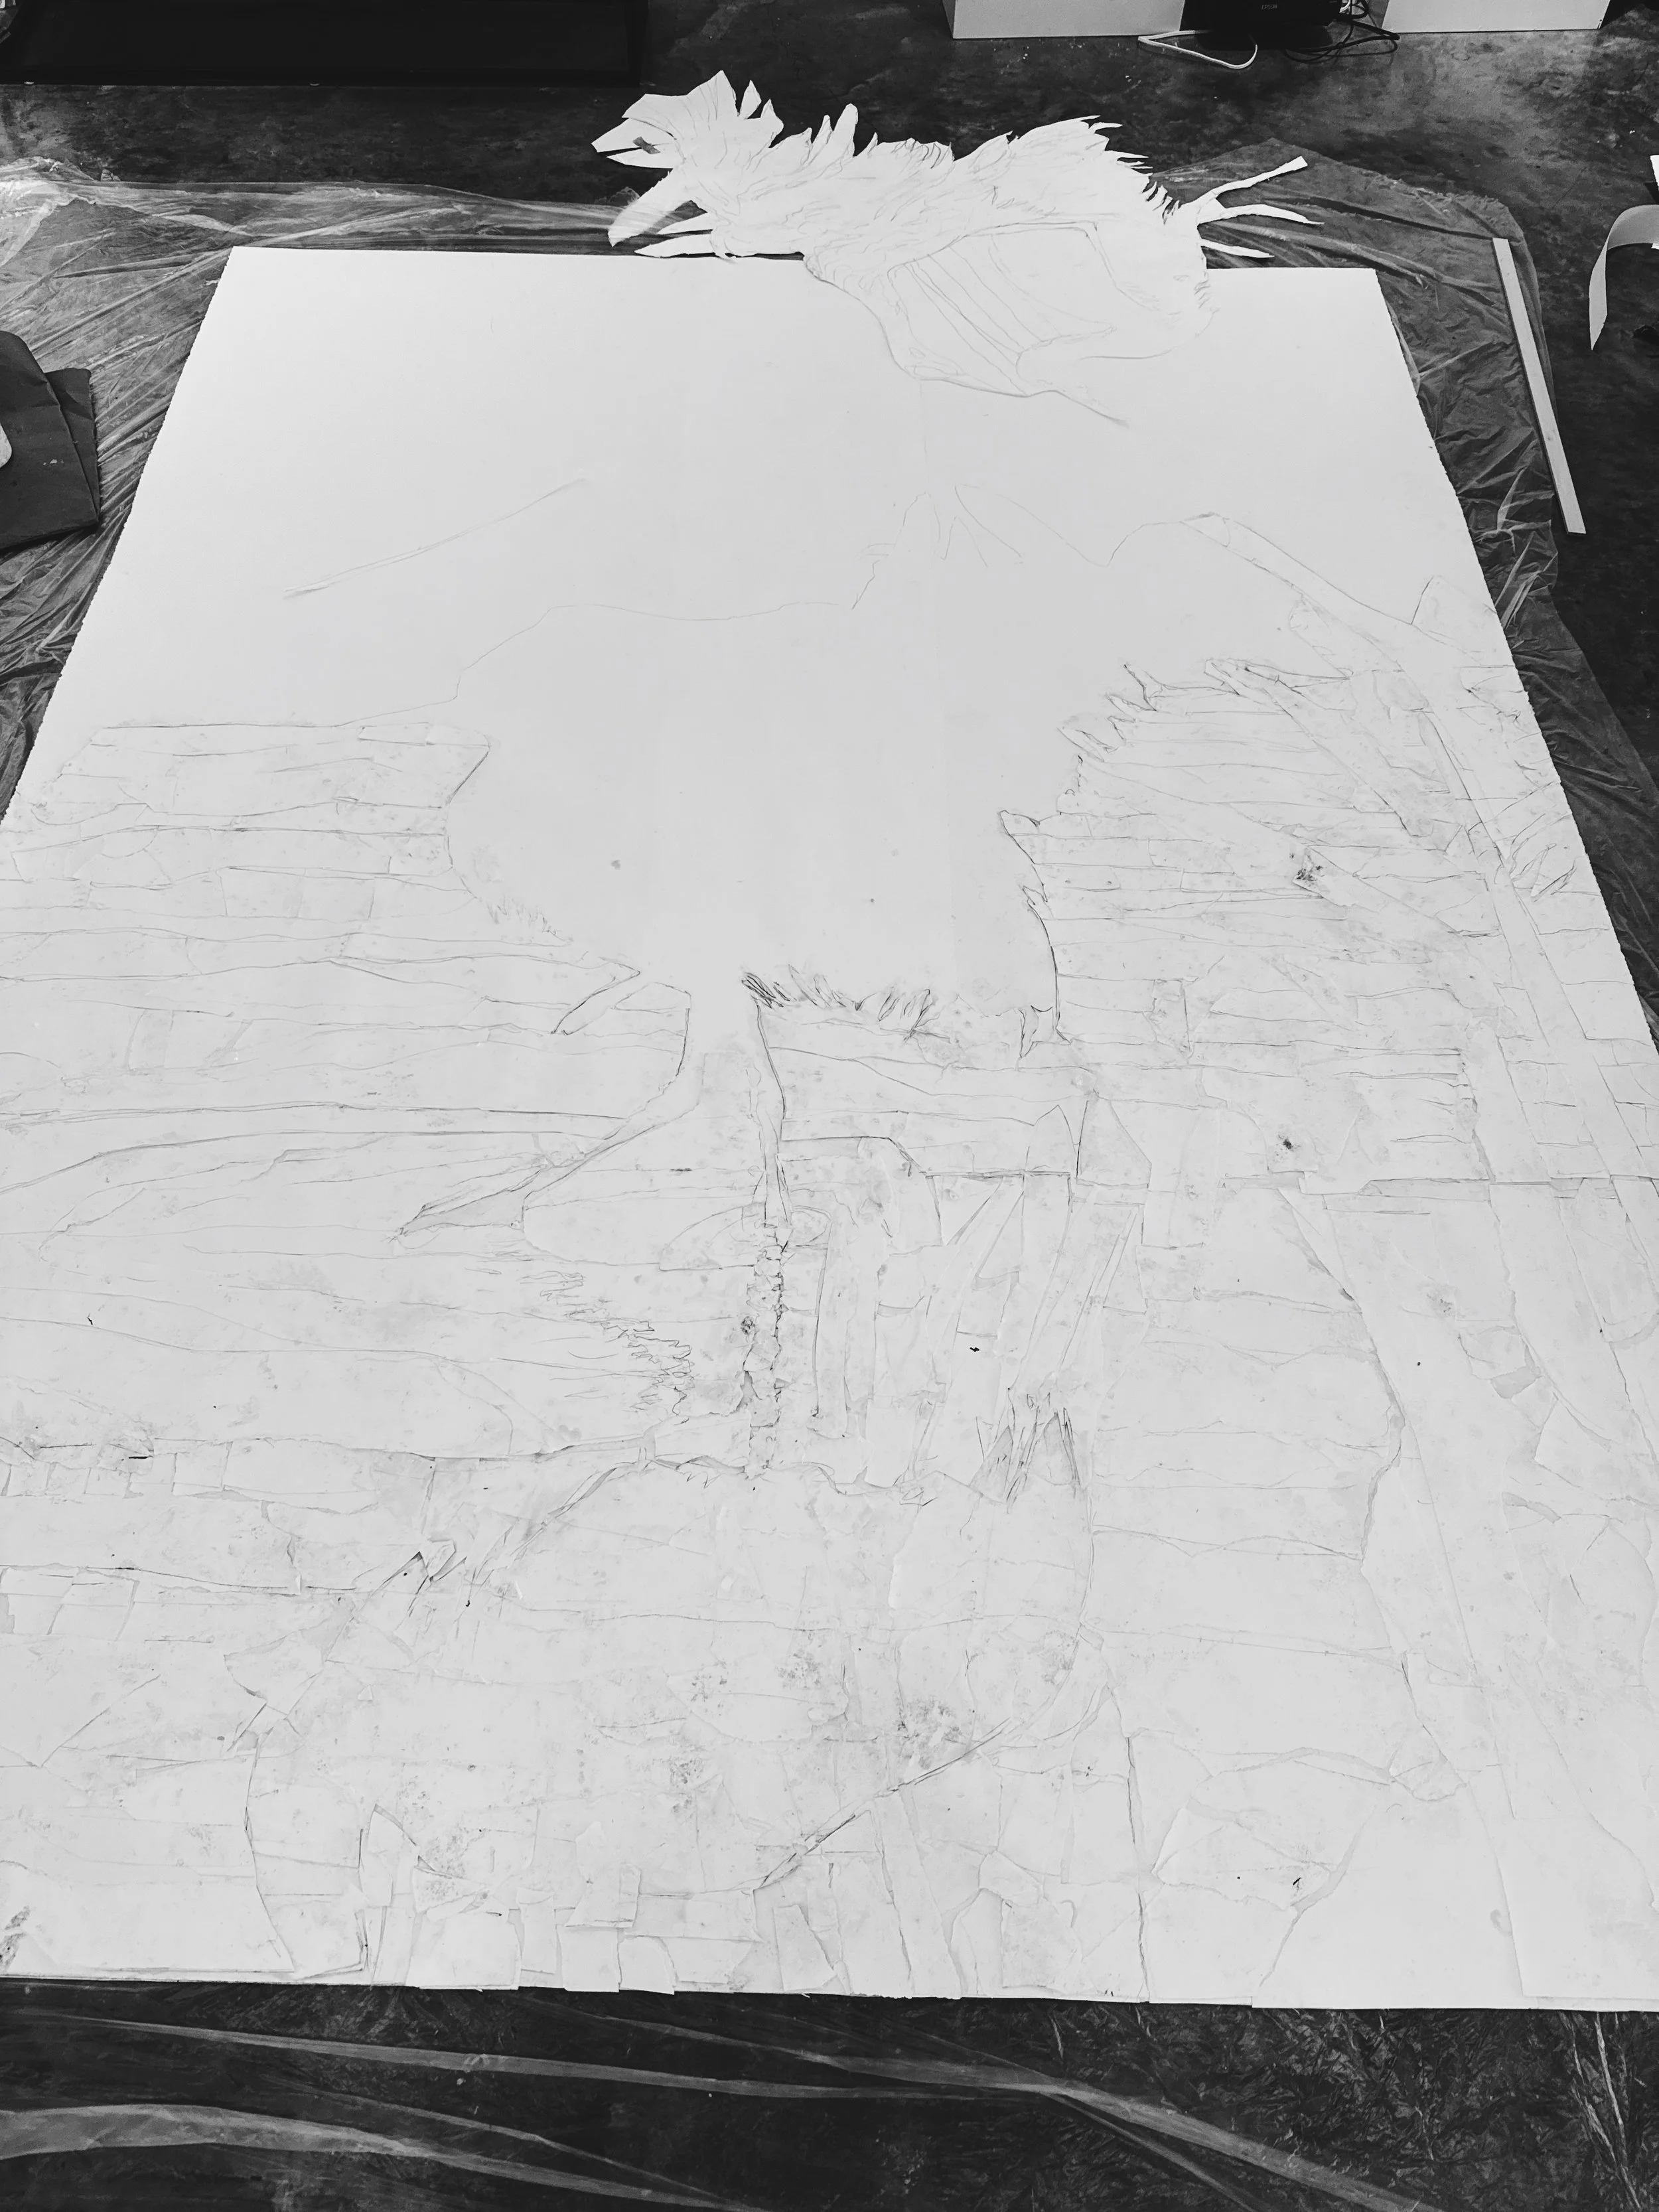
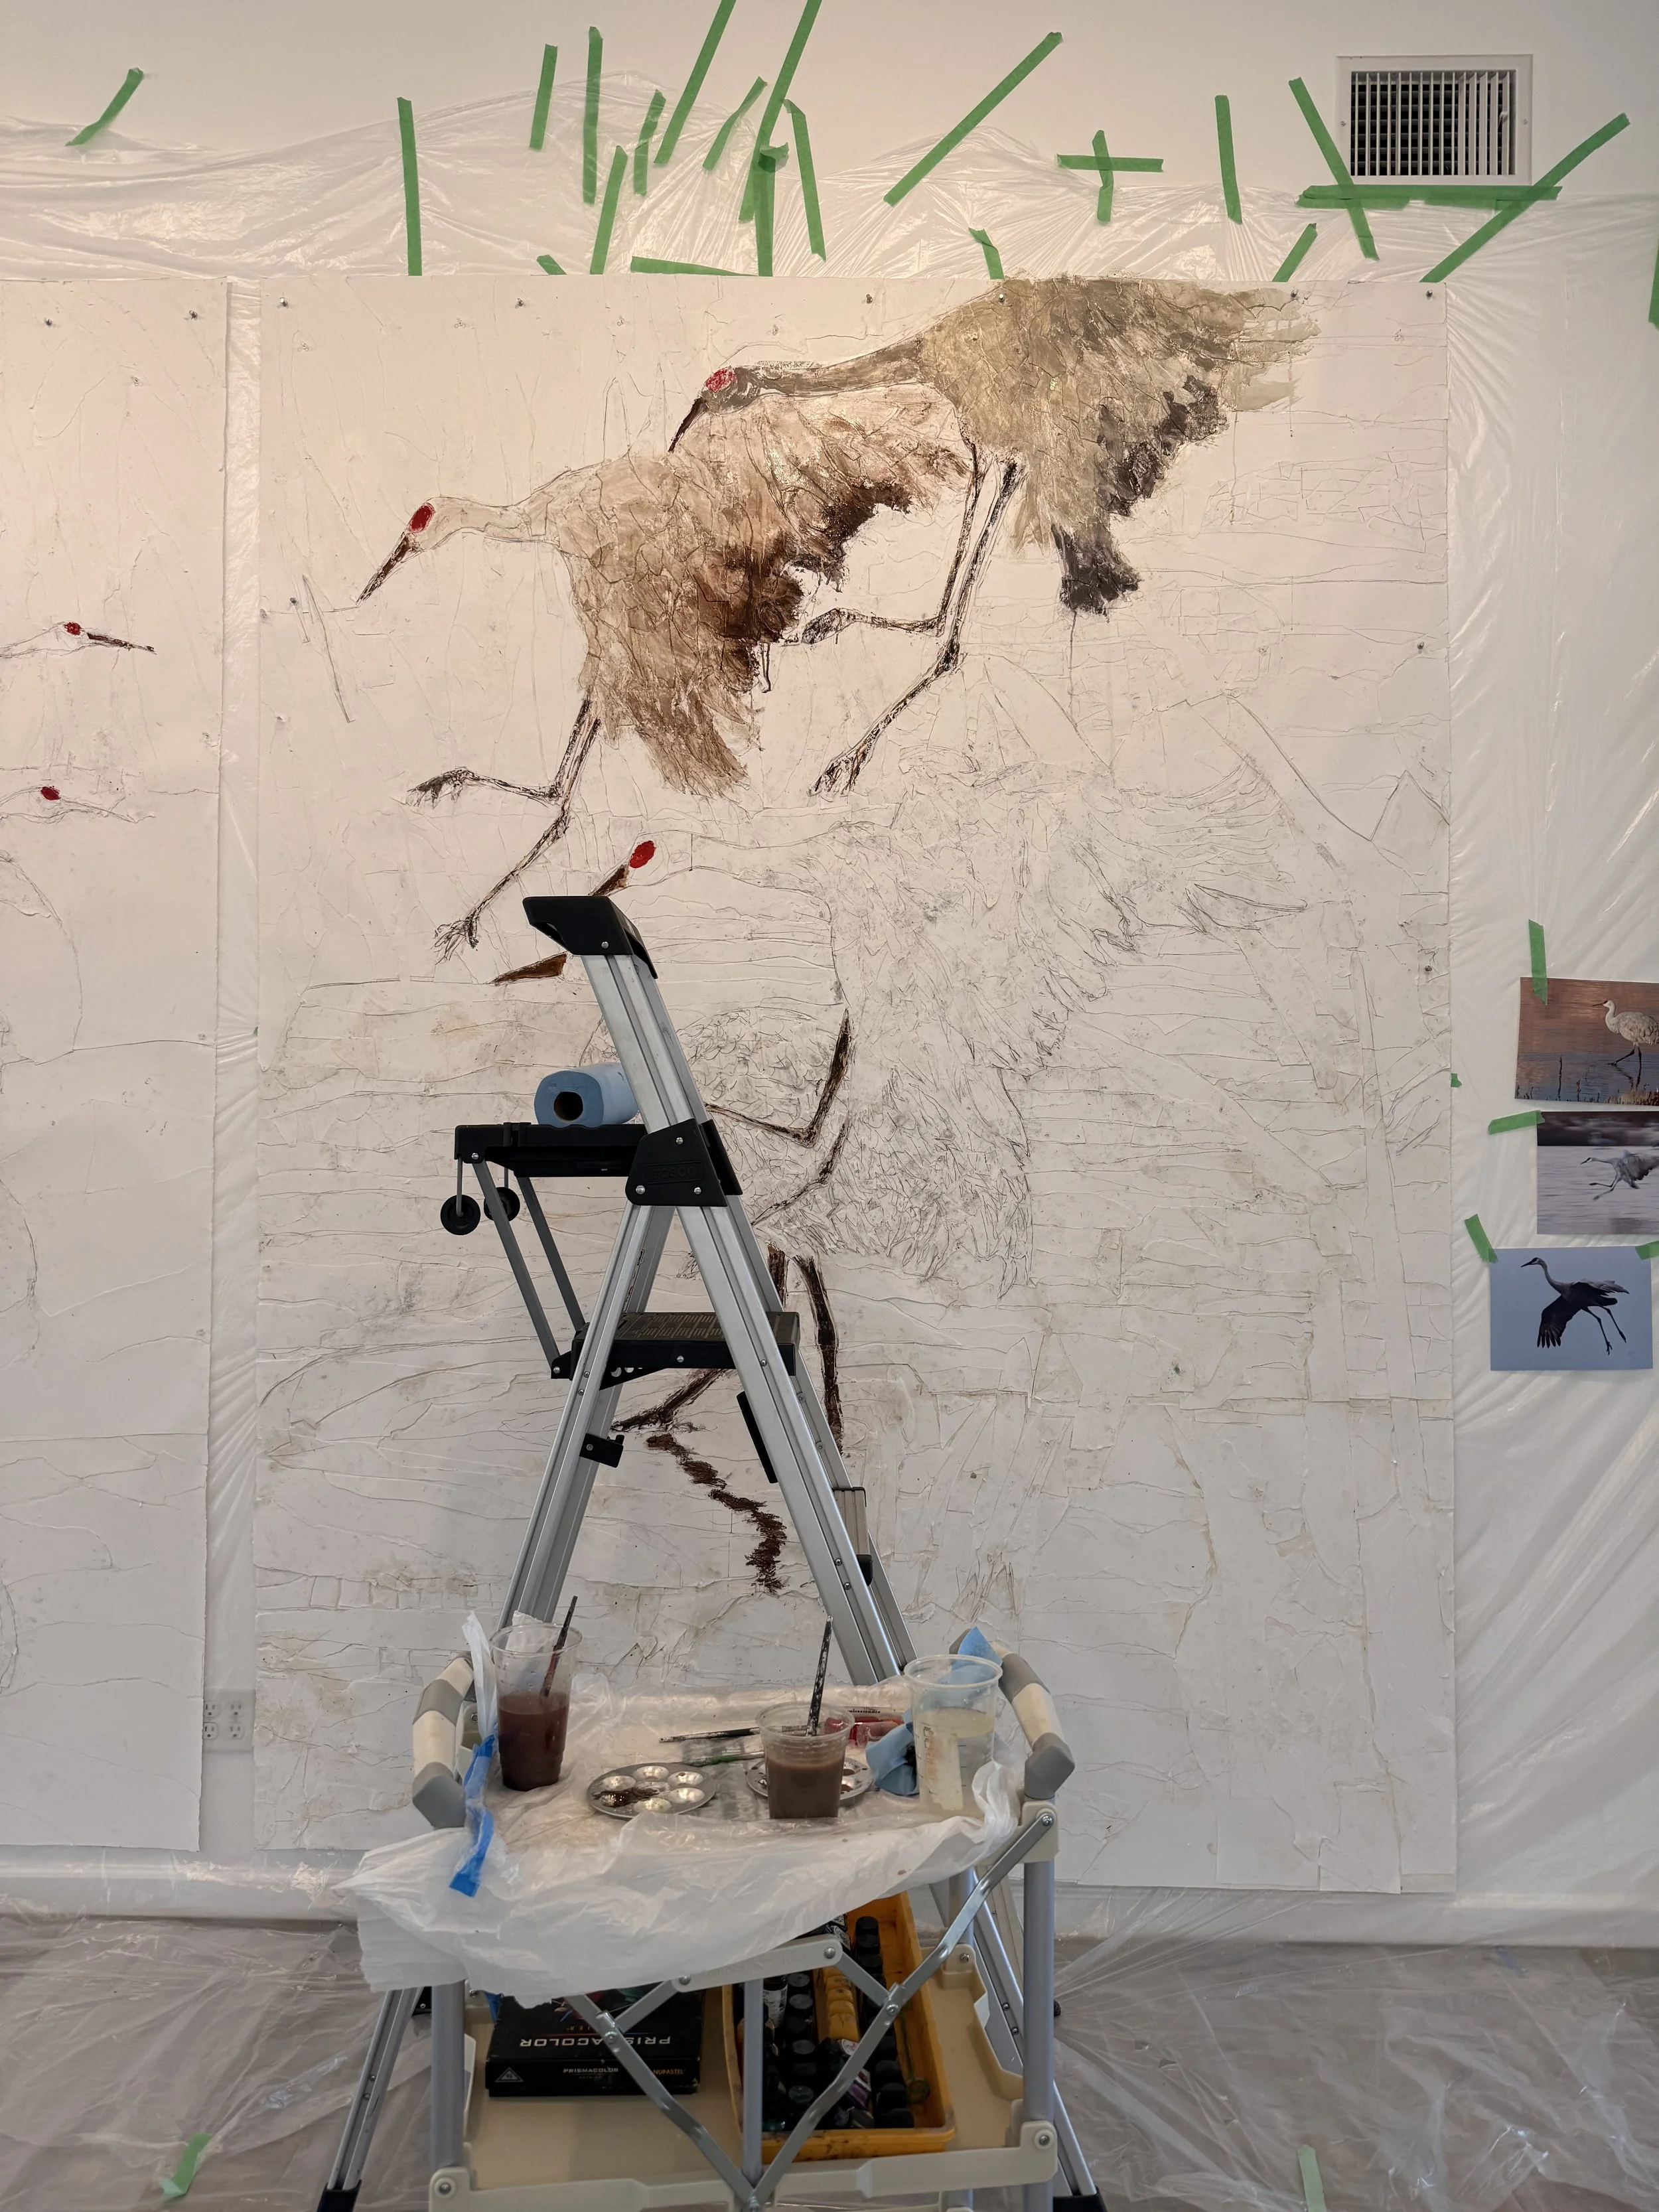
This commission was the first time I worked with a process that has since become central to my practice. I start with a drawing. Then I tear it apart — deconstructing the image into shapes. I reassemble those shapes on a second sheet of paper, building a relief. Once the relief is built I brush on large swaths of watercolor, then use a garden sprayer to manipulate the color — letting it run into the crevasses of the relief, redrawing the image through movement and gravity. Then pastels for the detail marks. The drawing finds itself again, but changed. Looser. More alive.
That process led directly to Unfolding Hope — the body of work I created for the Houston Endowment Jones Artist Award. But it started here, in a studio sketch for an office building on Timmons Lane, trying to figure out how to put a Sandhill crane in a five-story lobby.
My presentation to the developer.
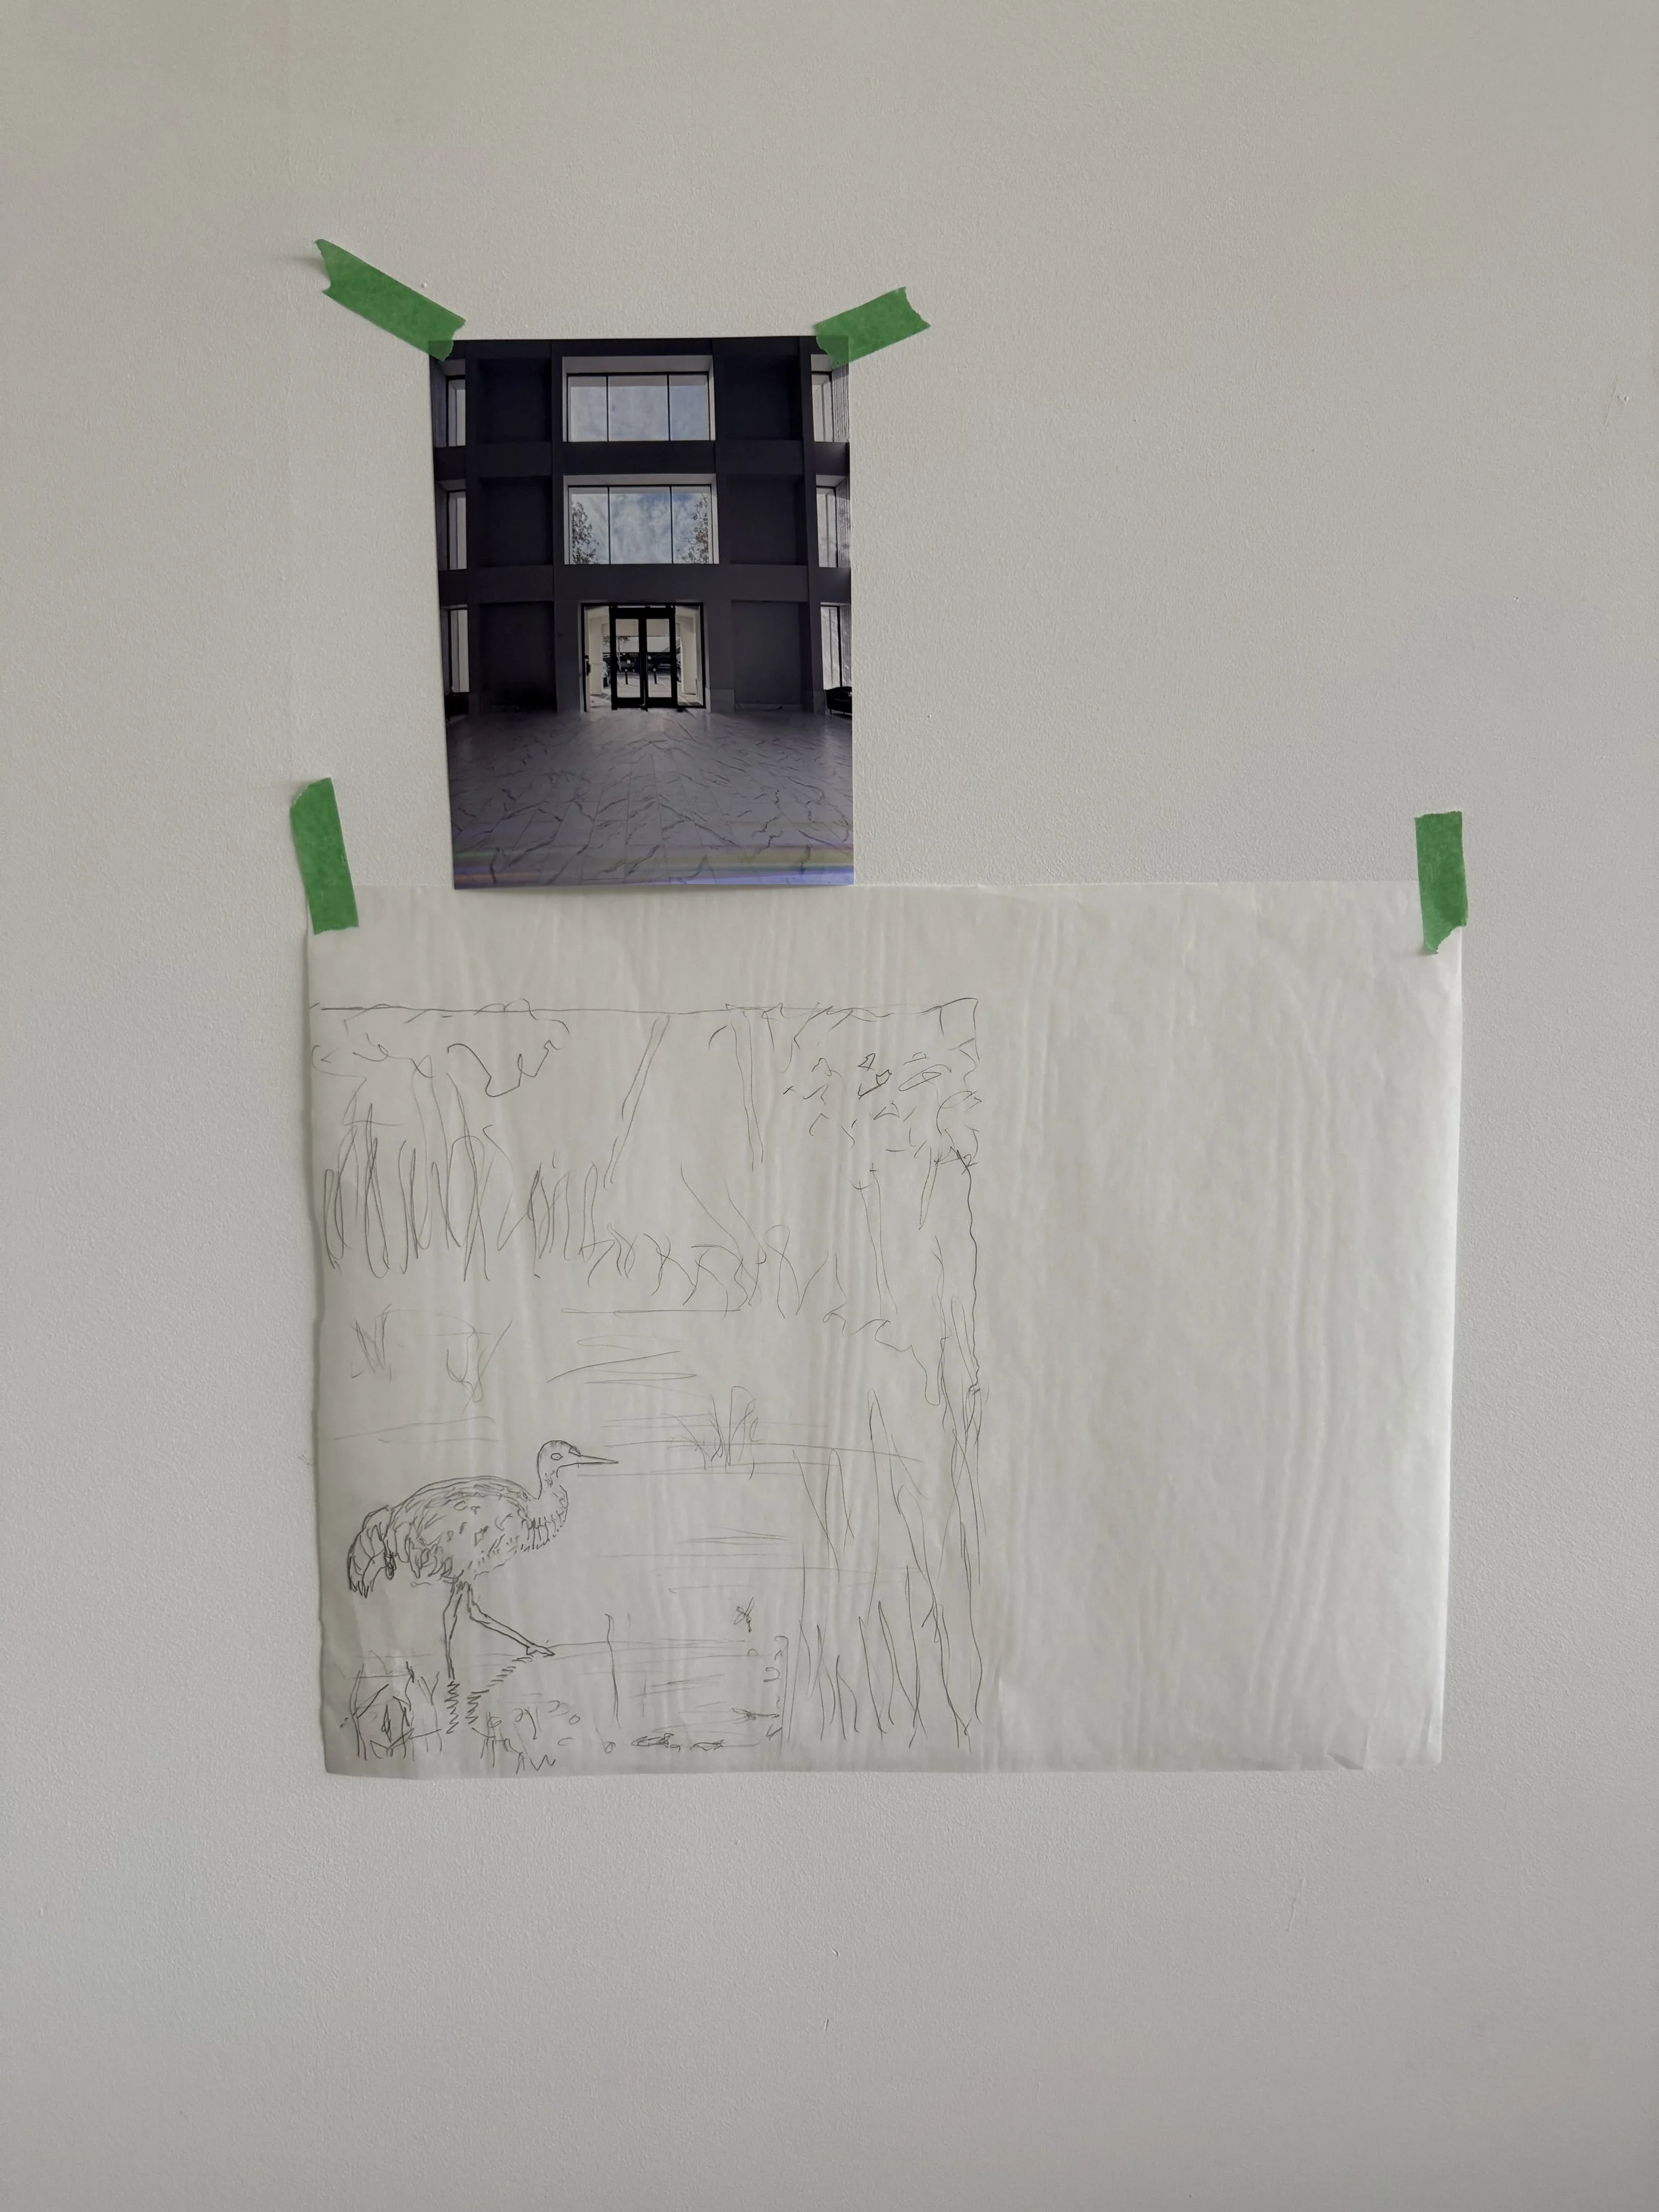
A early sketch
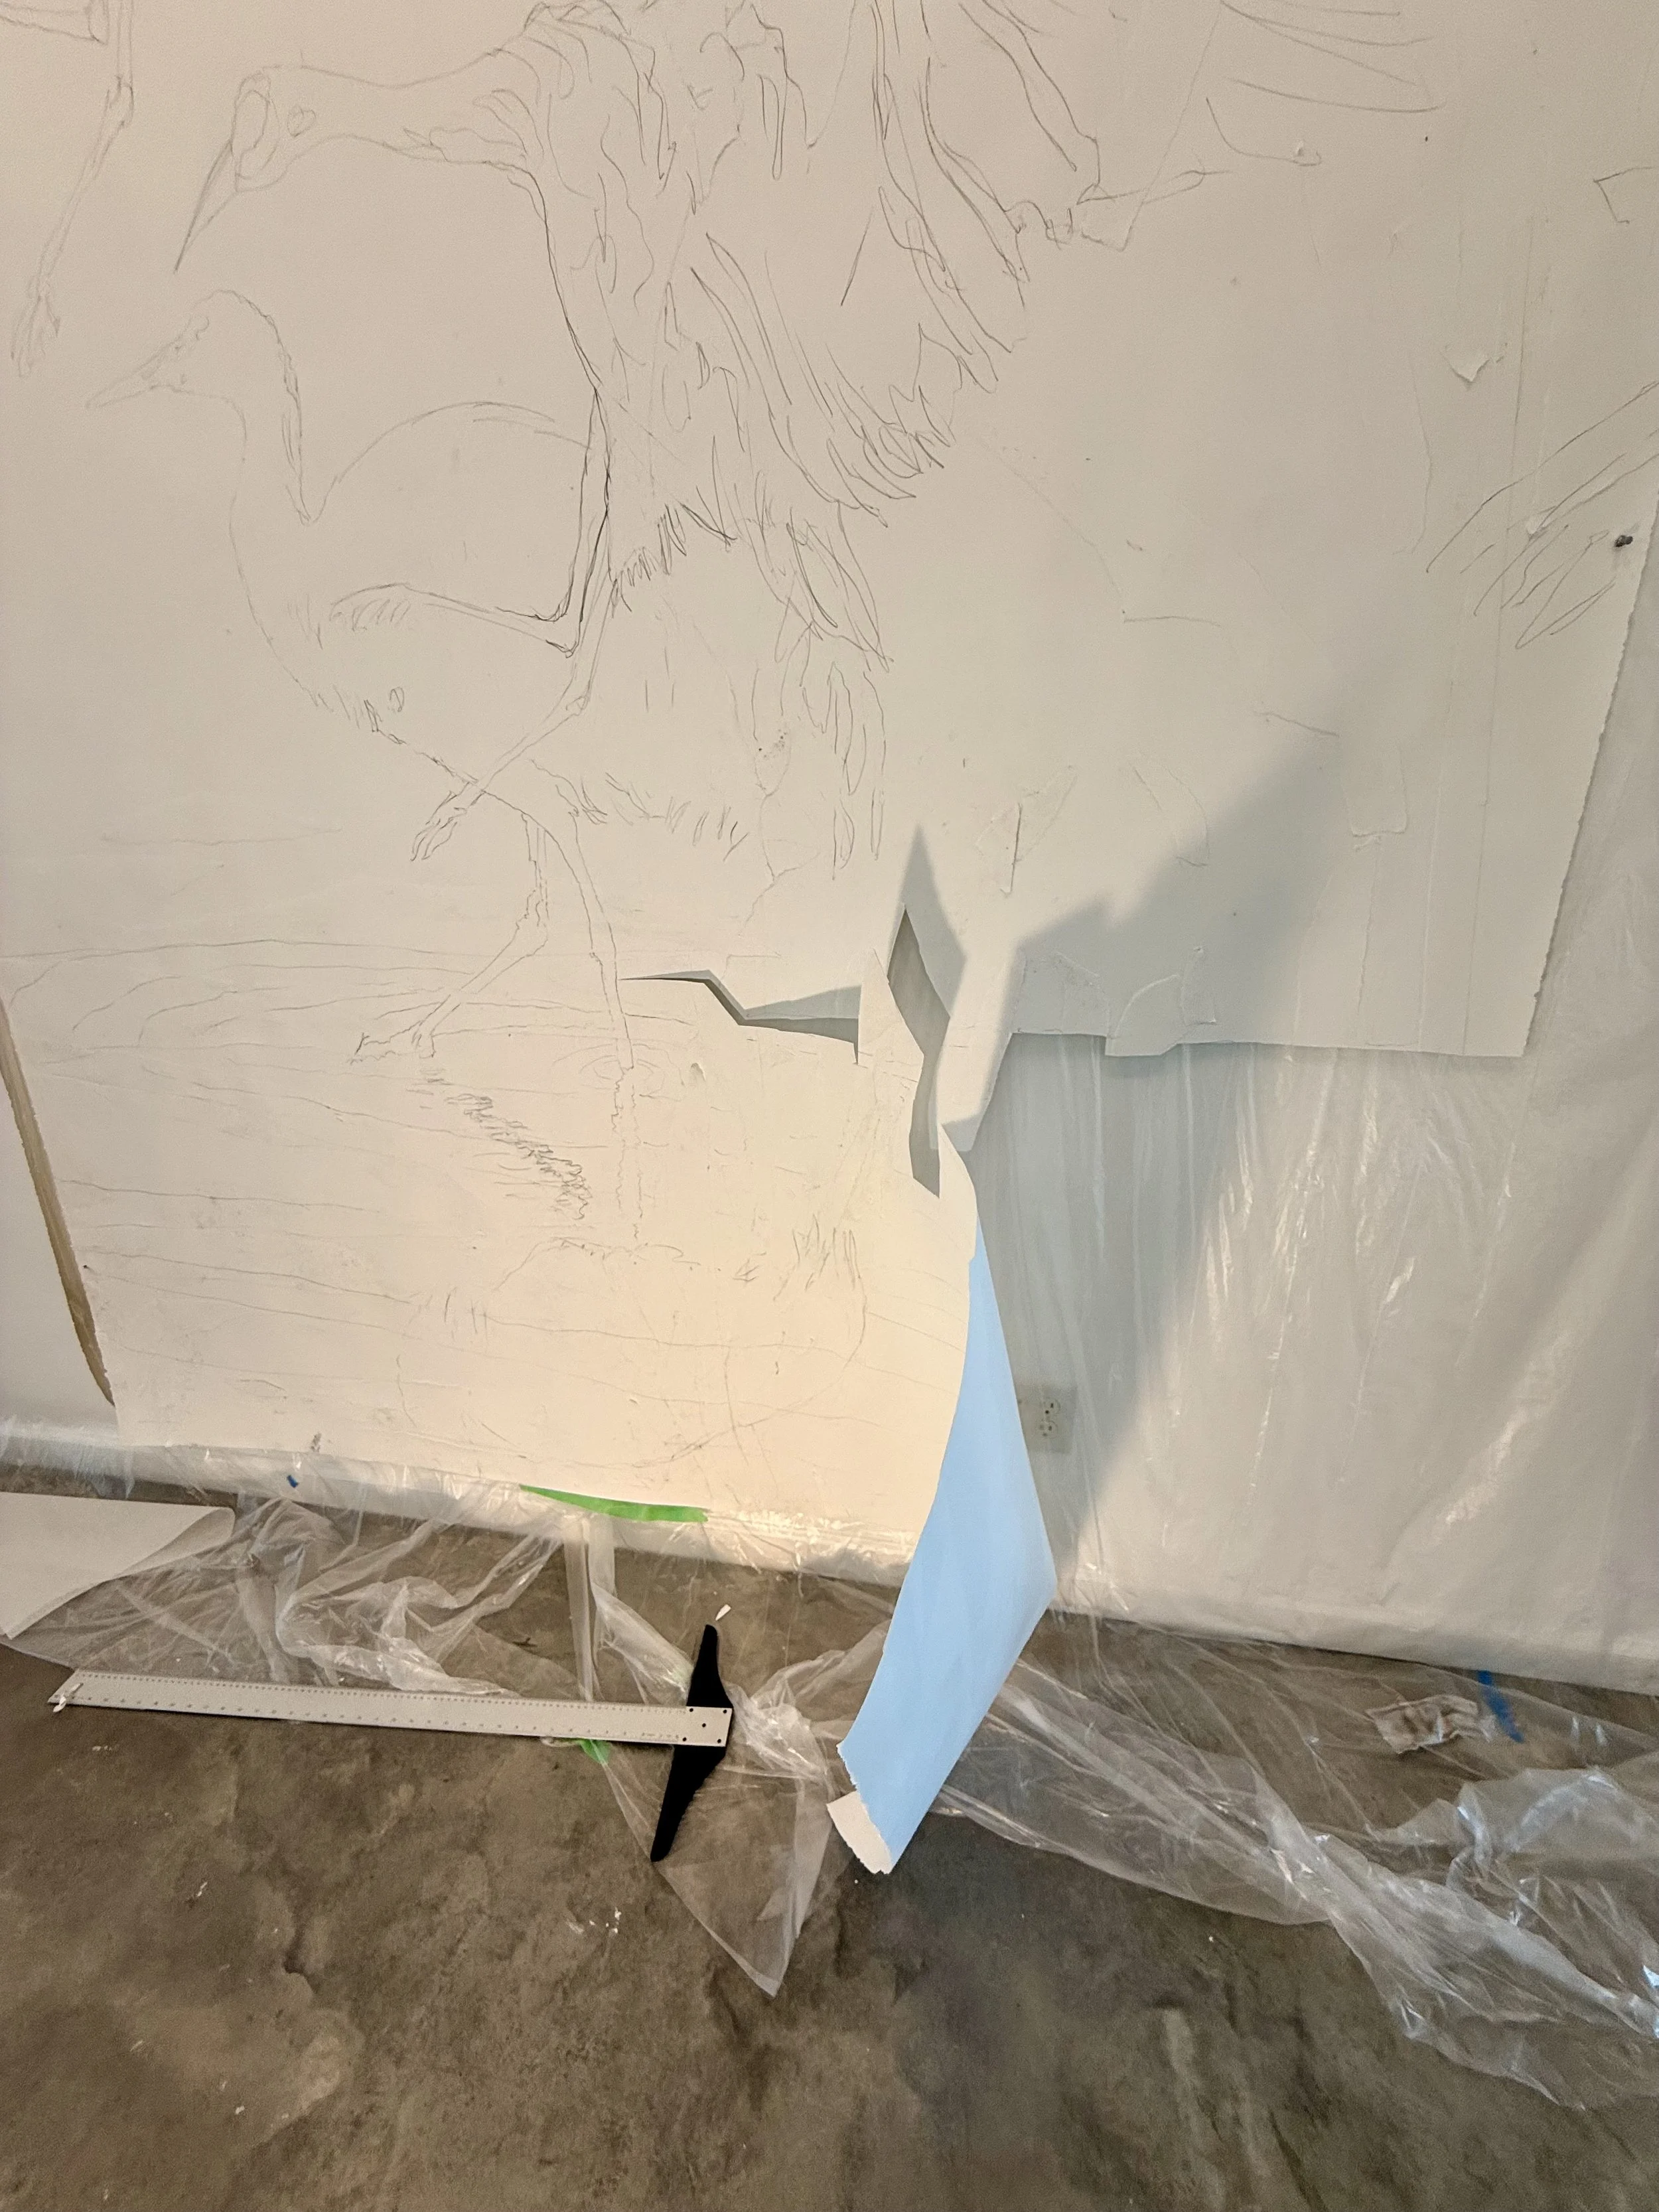
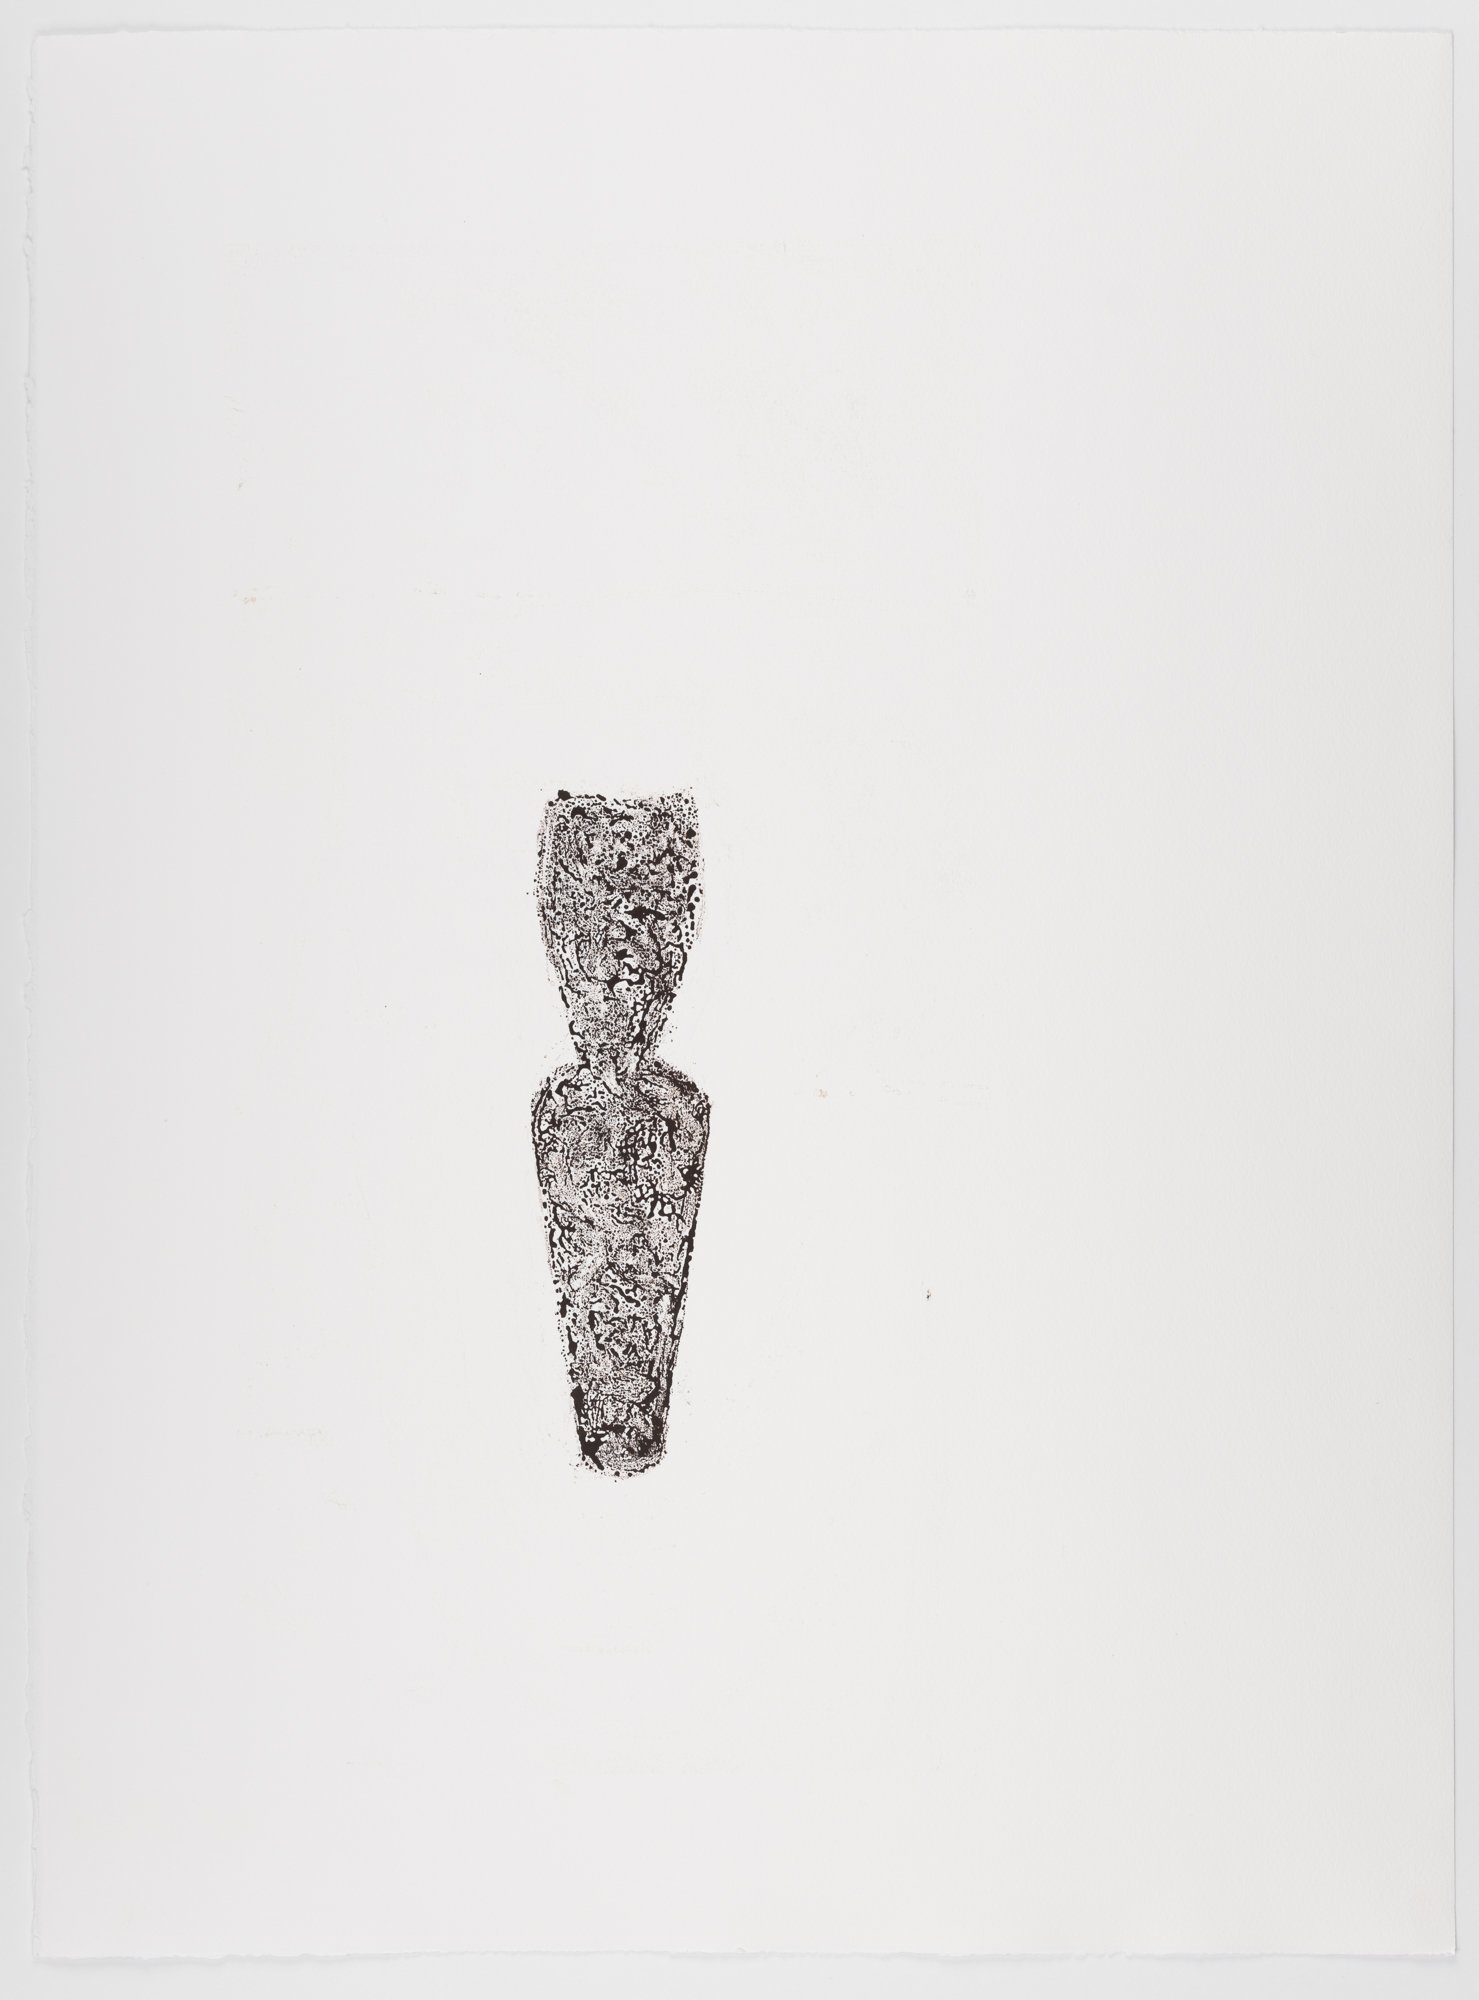
The next step involved deconstructing the drawing by tearing it into various shapes. After that, I can create a relief by reassembling these shapes on a second sheet of paper..
Why Sandhill cranes?
In the early 1900s relentless hunting pushed them to the brink of extinction. Only 12 mating pairs remained. What brought them back was wetland restoration and habitat protection — initiated by hunters who understood what they were losing. Today Sandhill cranes are the most plentiful crane species in the world.
That is the story I wanted in that lobby. Not a decorative bird. A comeback. Evidence that when humans choose to act as conservationists, the results can be staggering.
The Sandhill cranes are installed. The Roseate spoonbills are finished and in storage until the upper levels are repainted.
When the cranes went up the developer told me something I didn’t expect — the building became a community. Tenants were talking to each other about the birds. He leased his largest spaces the next month.
That is what I hoped for. Not decoration. A reminder — for people who spend their days inside — that nature matters and we feel its pull even through art.
The two finished pieces — Sunrise: Sandhill Cranes and Sundown: Sandhill Cranes — can be seen in my 2025 portfolio. Come see them. Better yet — come to the studio
Then comes the color.
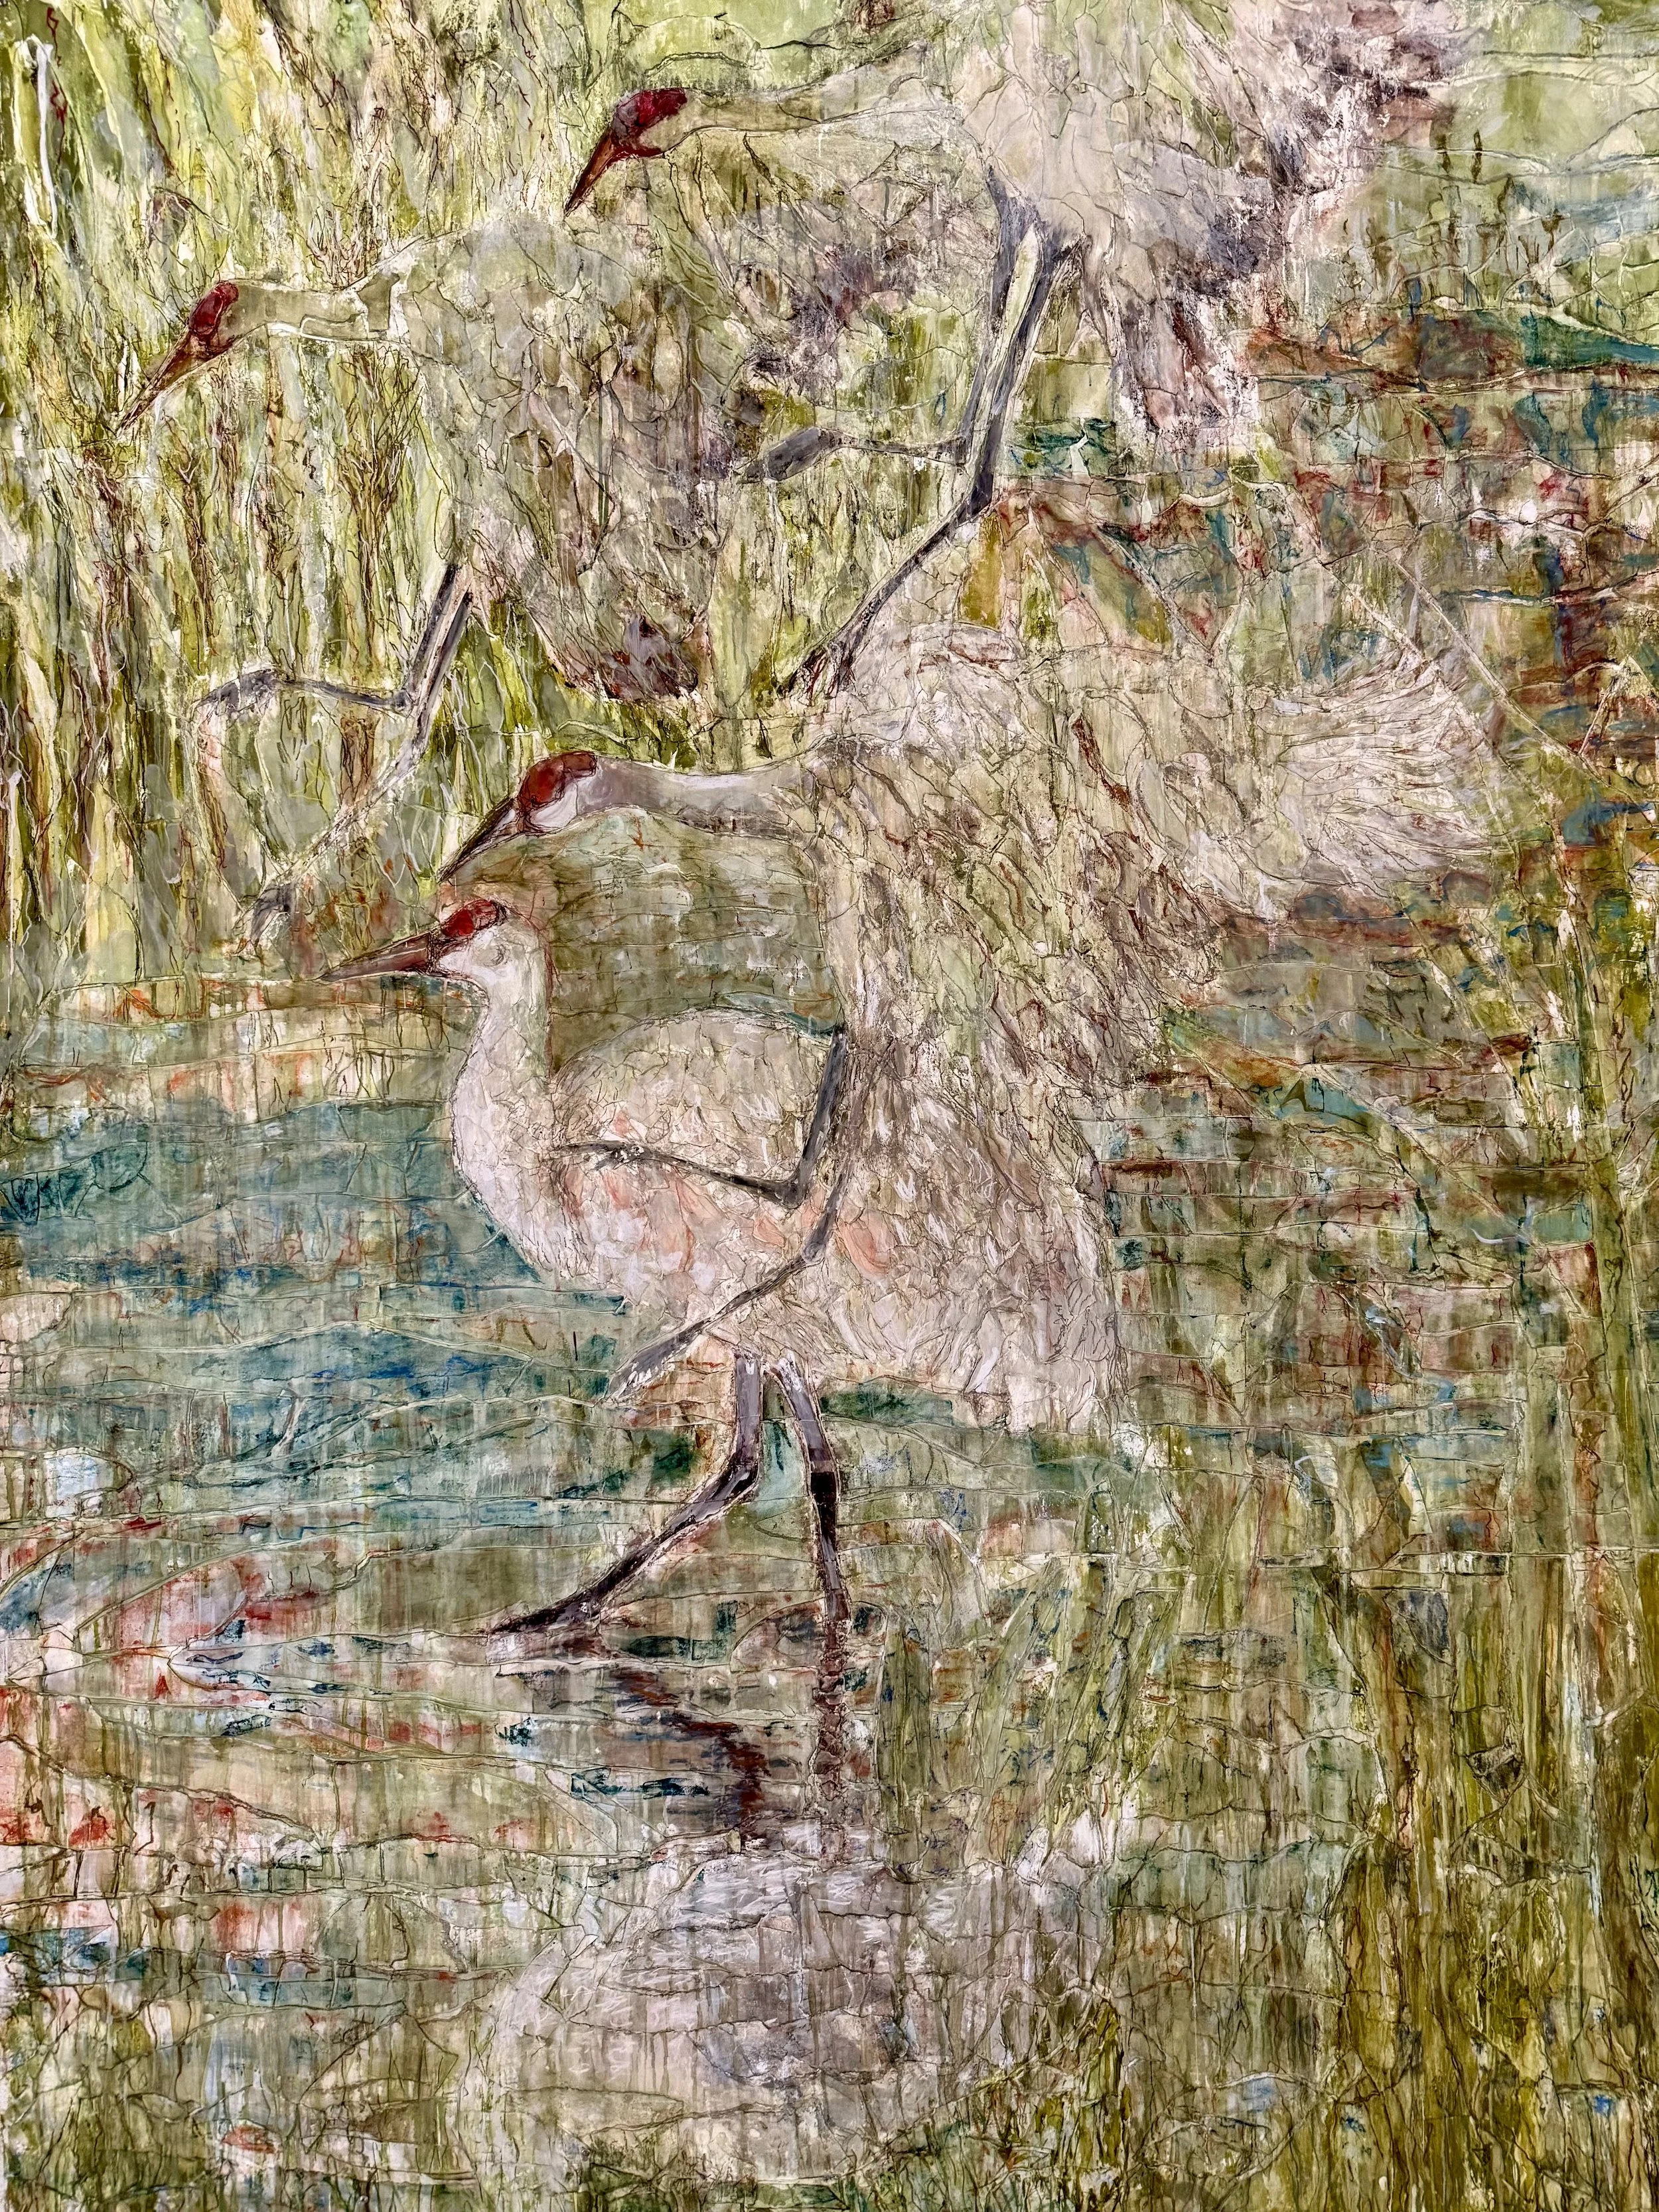
SUNDOWN CRANES
7” X 9”4”
watercolor, pastels, ink on collaged Stonehenge paper.
Image by R. Wells
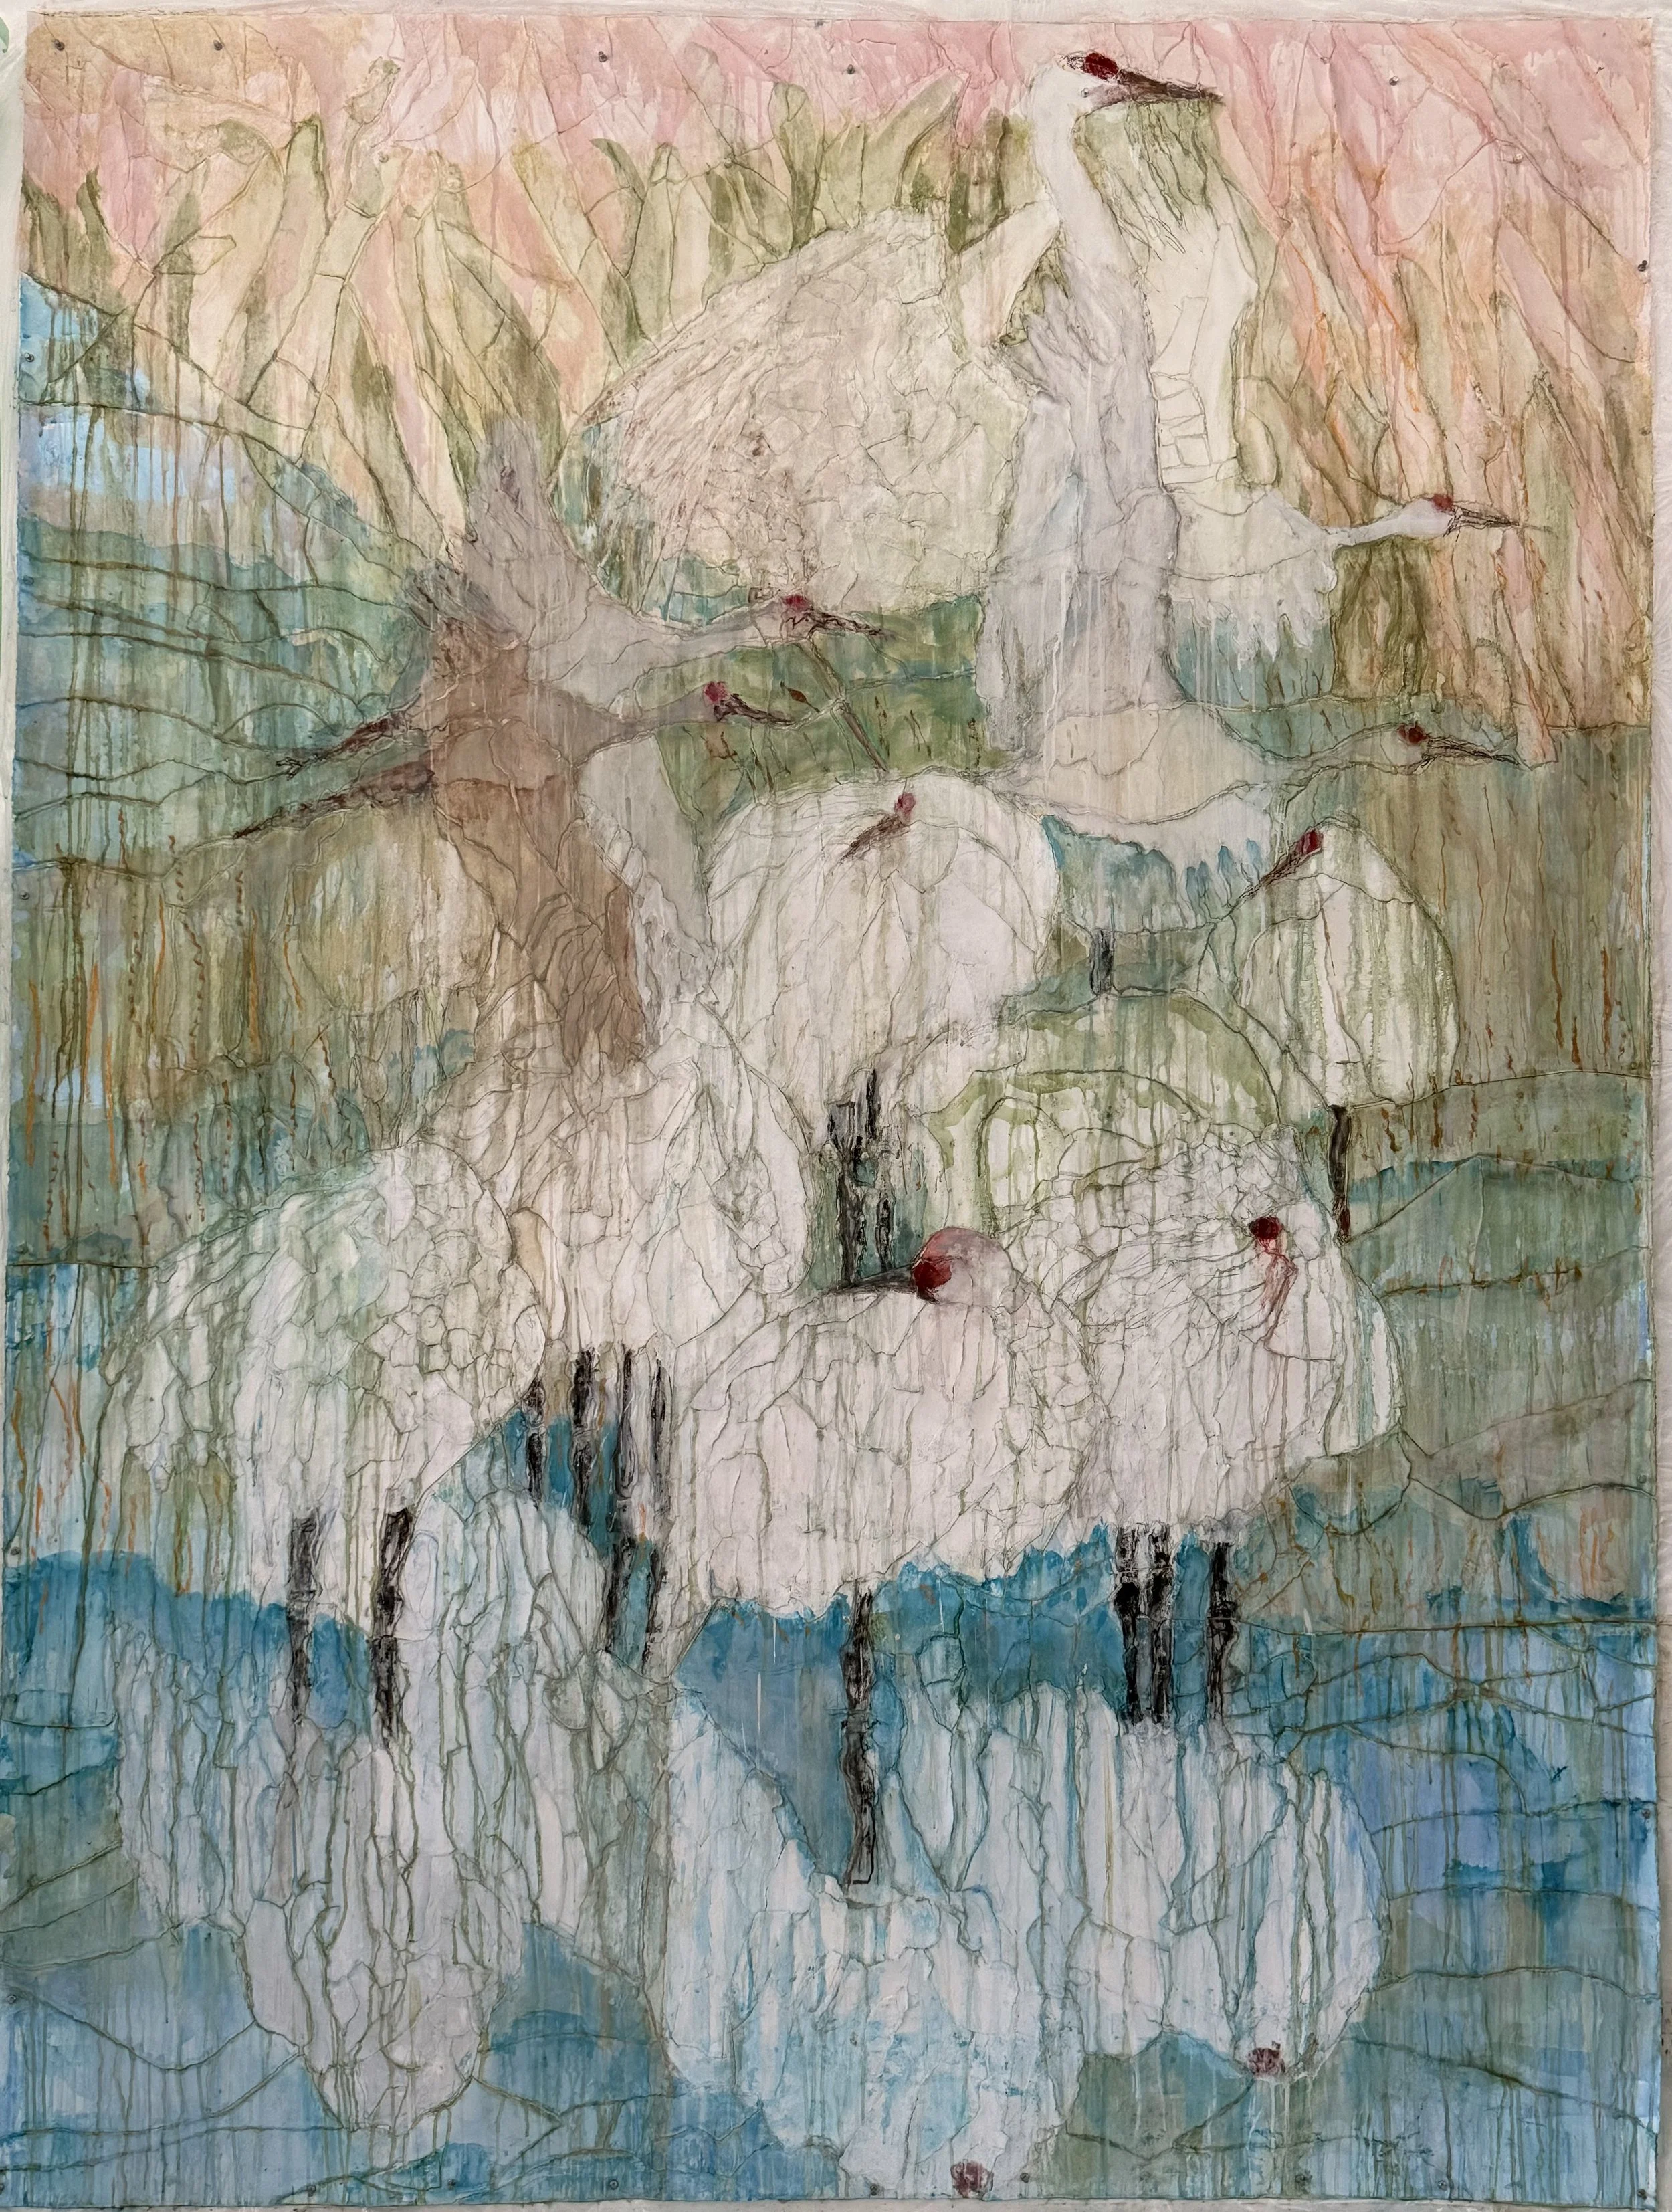
SUNRISE CRANES
7” X 9”4”
watercolor, pastels, ink on collaged Stonehenge paper.
Image by R. Wells