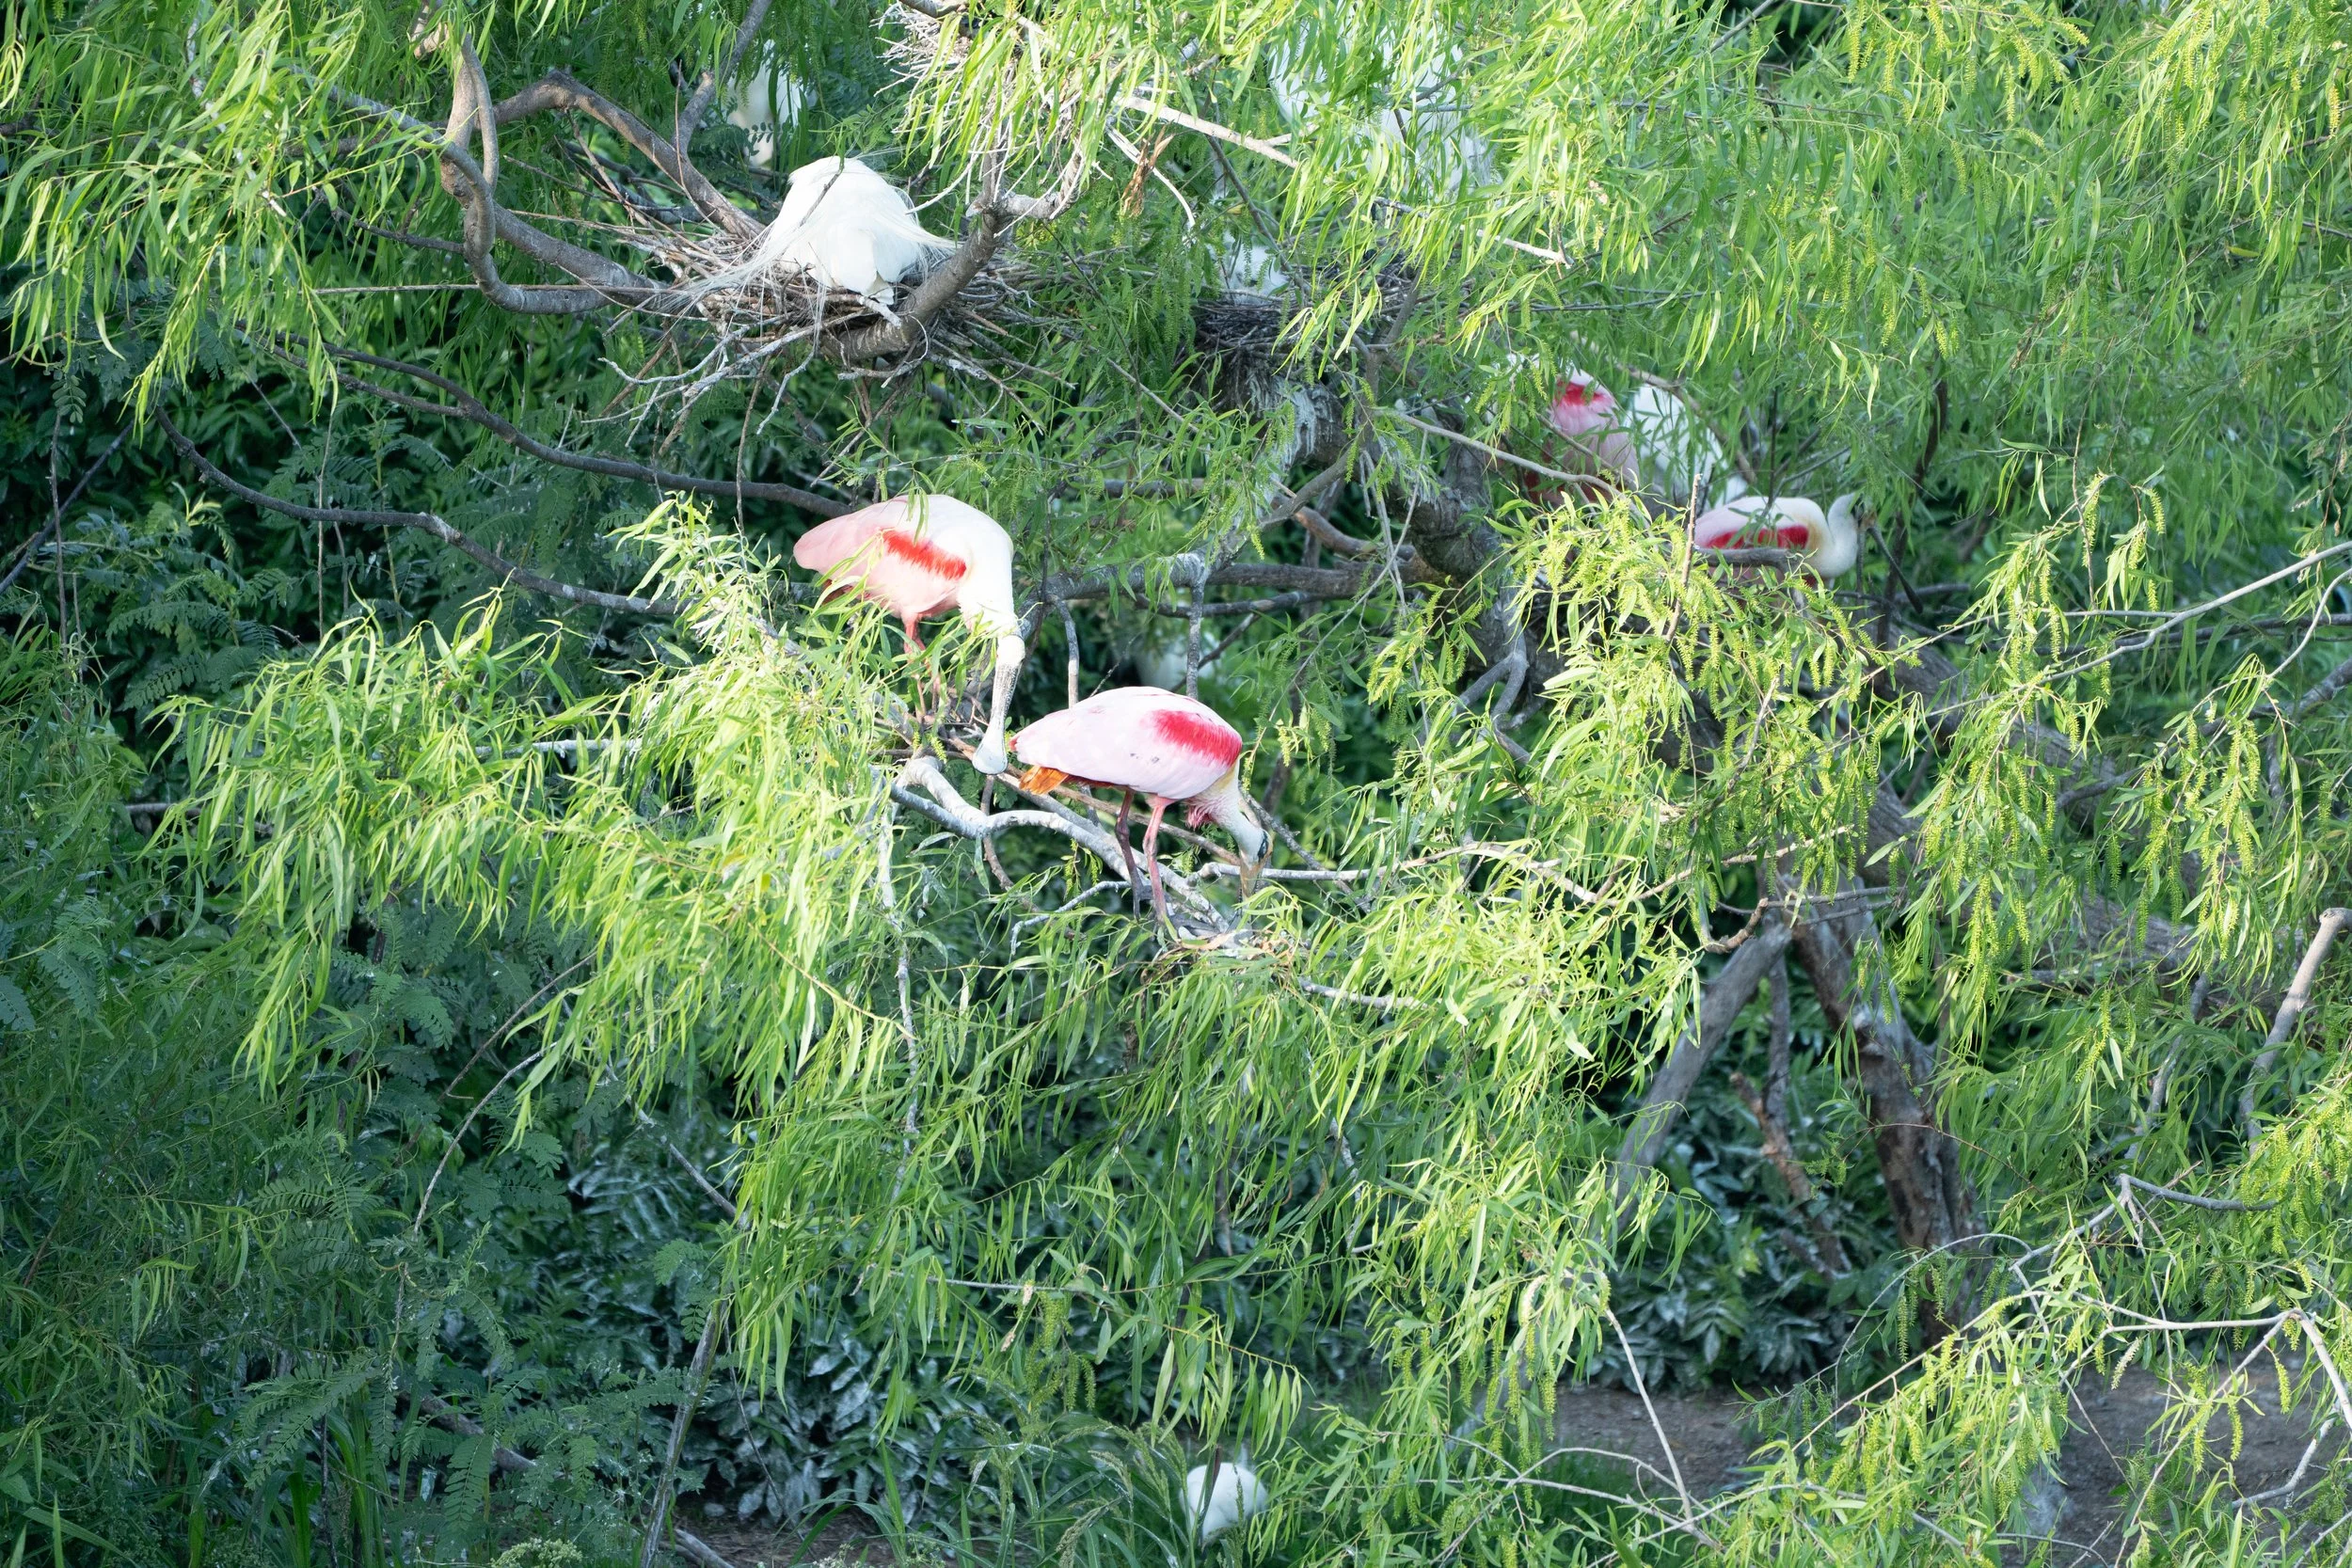
We had been planning this trip since January — we wanted to see the birds. I just hadn’t had time to dig into the land’s history before we arrived. I’d been deep in the studio, consumed by my upcoming shows. When I got there and started learning what this place actually was — a clay pit, a sulfur mine, an accident of excavation turned bird sanctuary — I felt it land somewhere in my chest. Everything I had been turning over for months was living, breathing, right here.
A coincidence? Maybe. But it felt like confirmation. Like a reminder to keep going — the work will find a place to live. That is always the big question when making eco-art.
I went to see the birds. I ended up seeing the system. I had just written a manifesto about seeing in systems — and I still walked in looking at one thing. That’s how wired we are. Standing there, I had to laugh at myself.
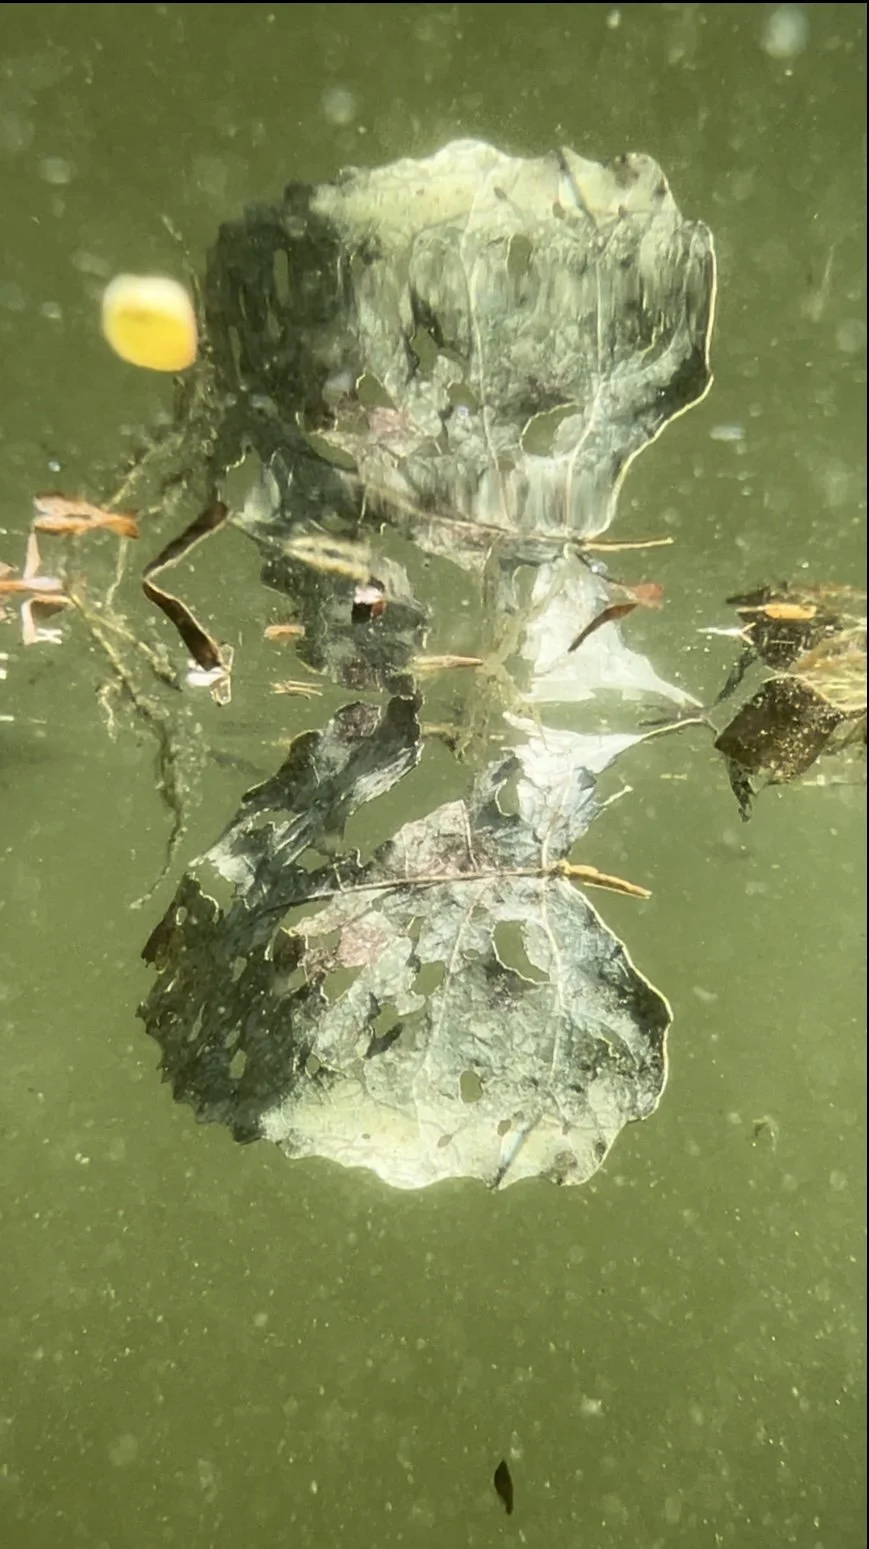
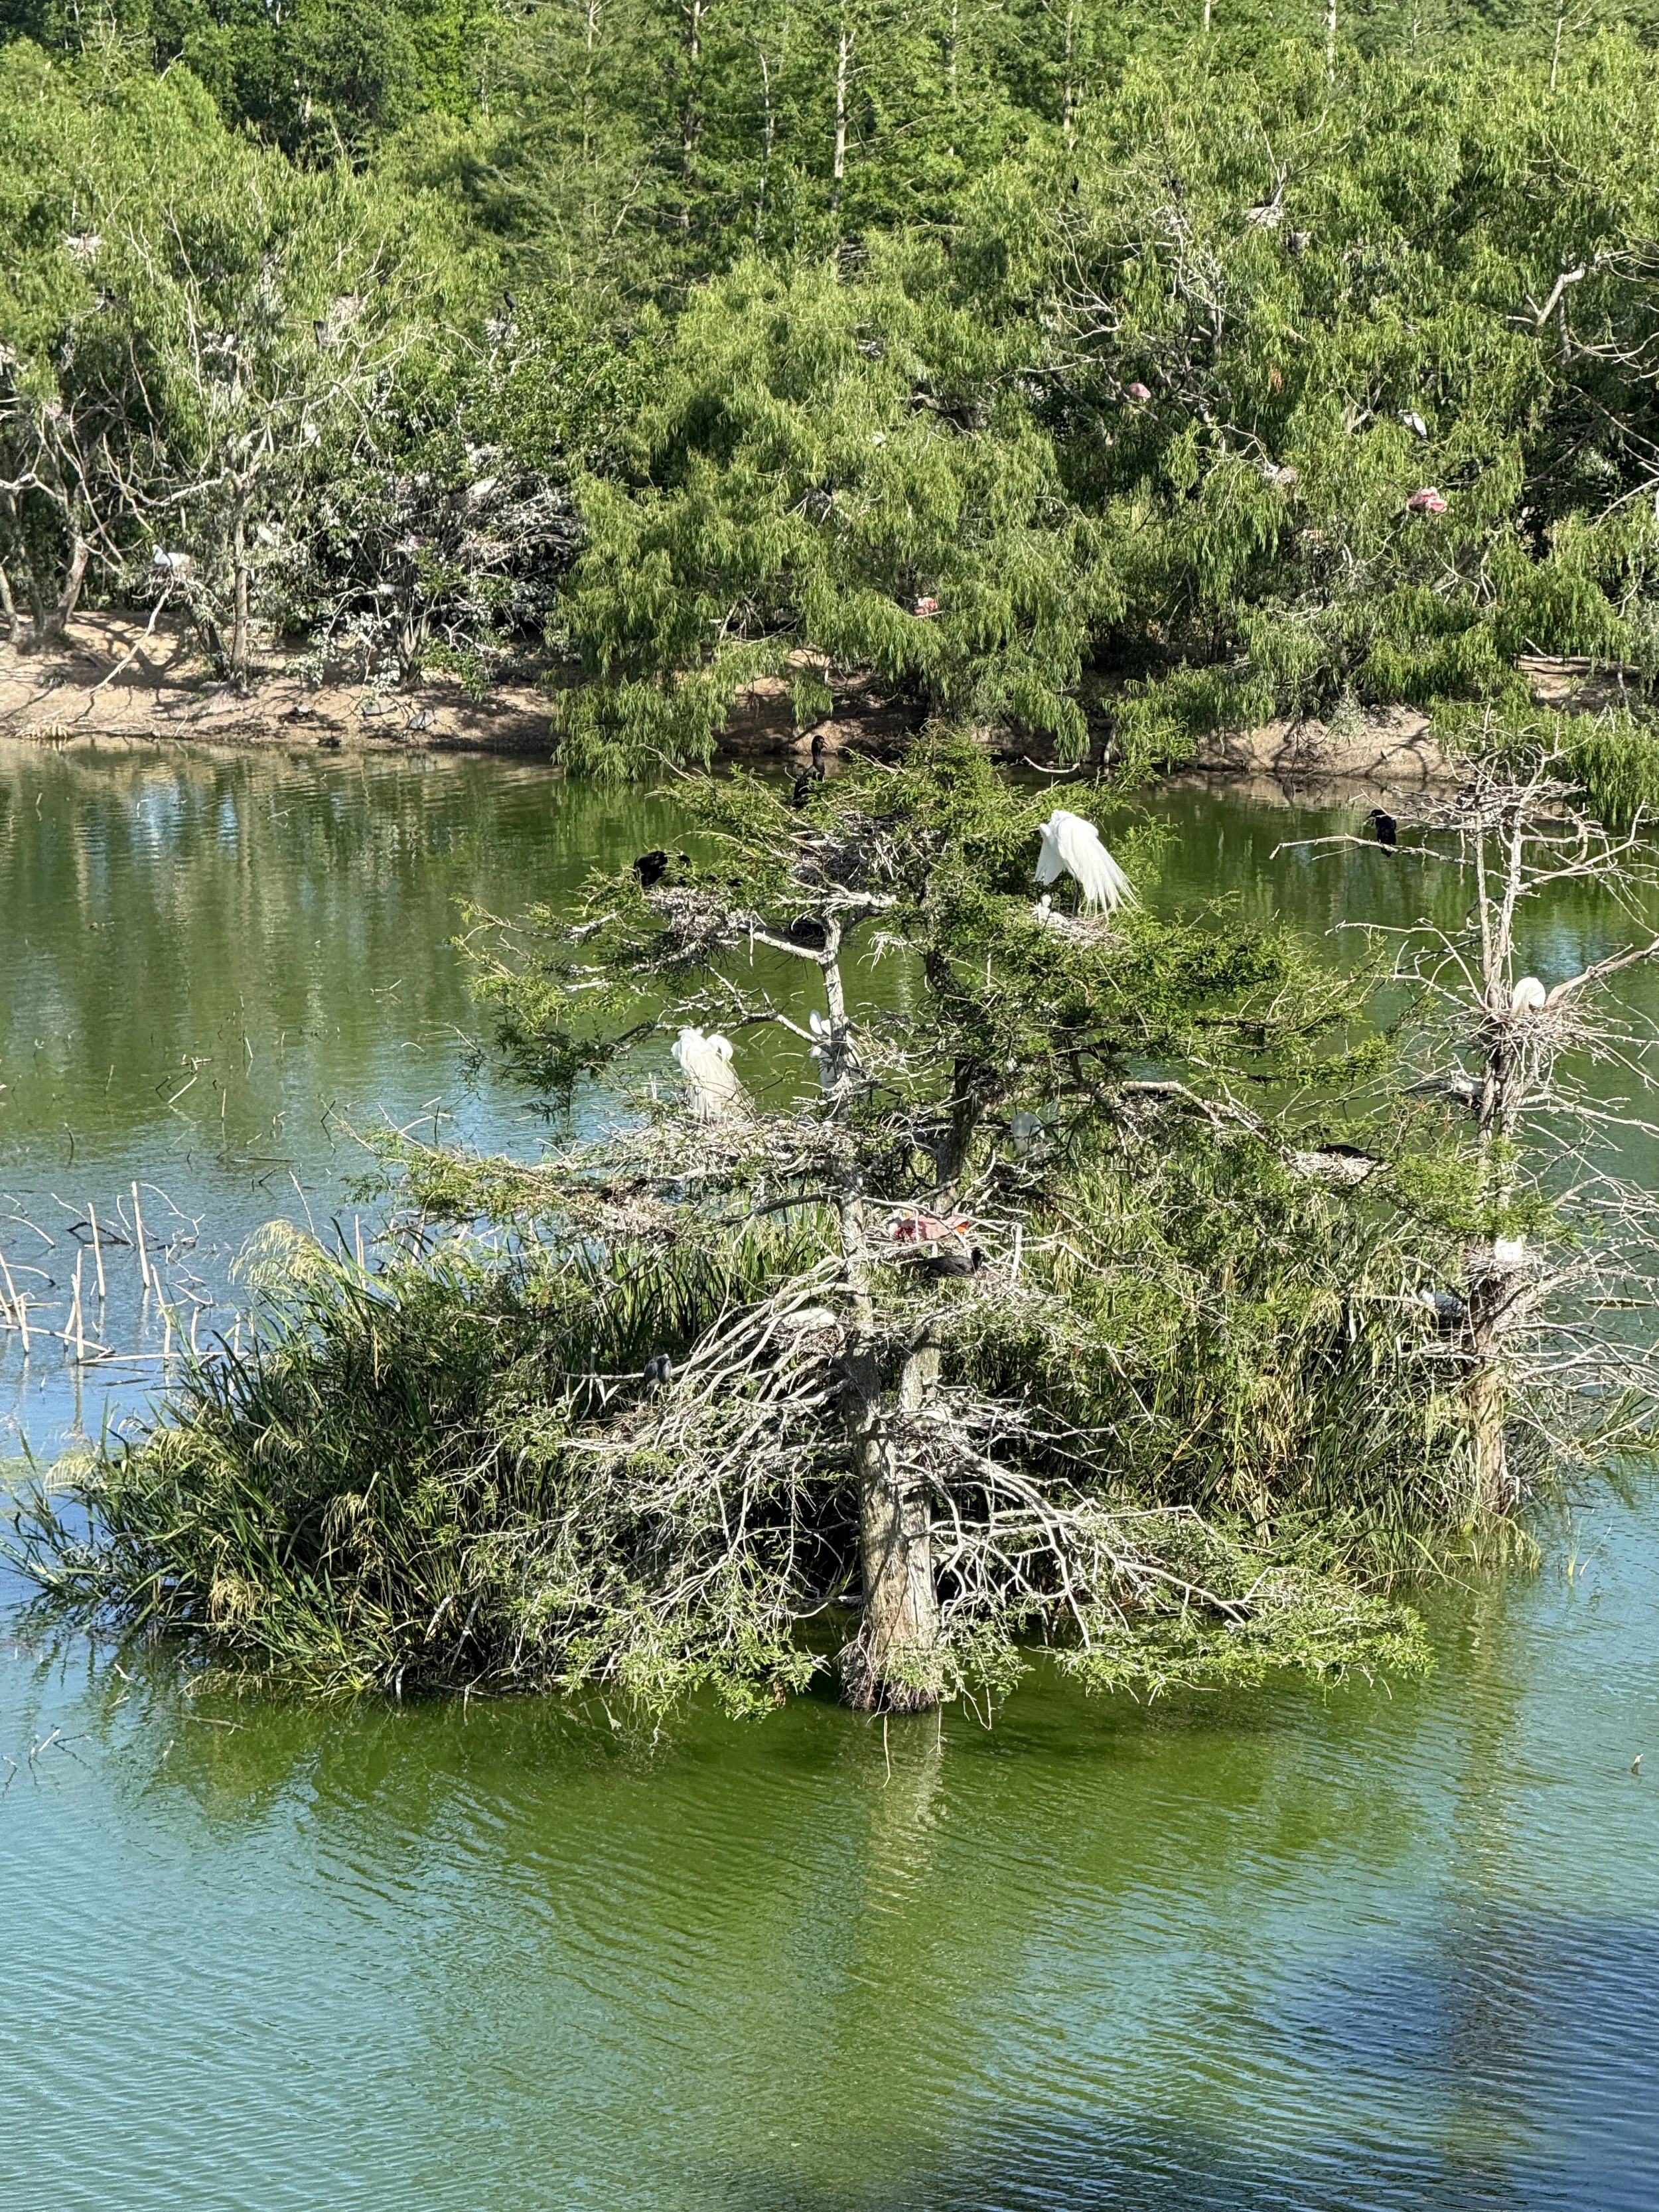
This is Claybottom Pond at High Island — one of the Gulf Coast’s most extraordinary ecological sites. And nothing about it was supposed to exist.
The pond was dug in 1936 to provide fill dirt for a railroad bridge crossing the newly excavated Intracoastal Waterway. It became a community water reservoir. Then a sulfur mining operation. The island the birds now nest on? An accident — a leftover edge of the original pit, forgotten during later excavations.
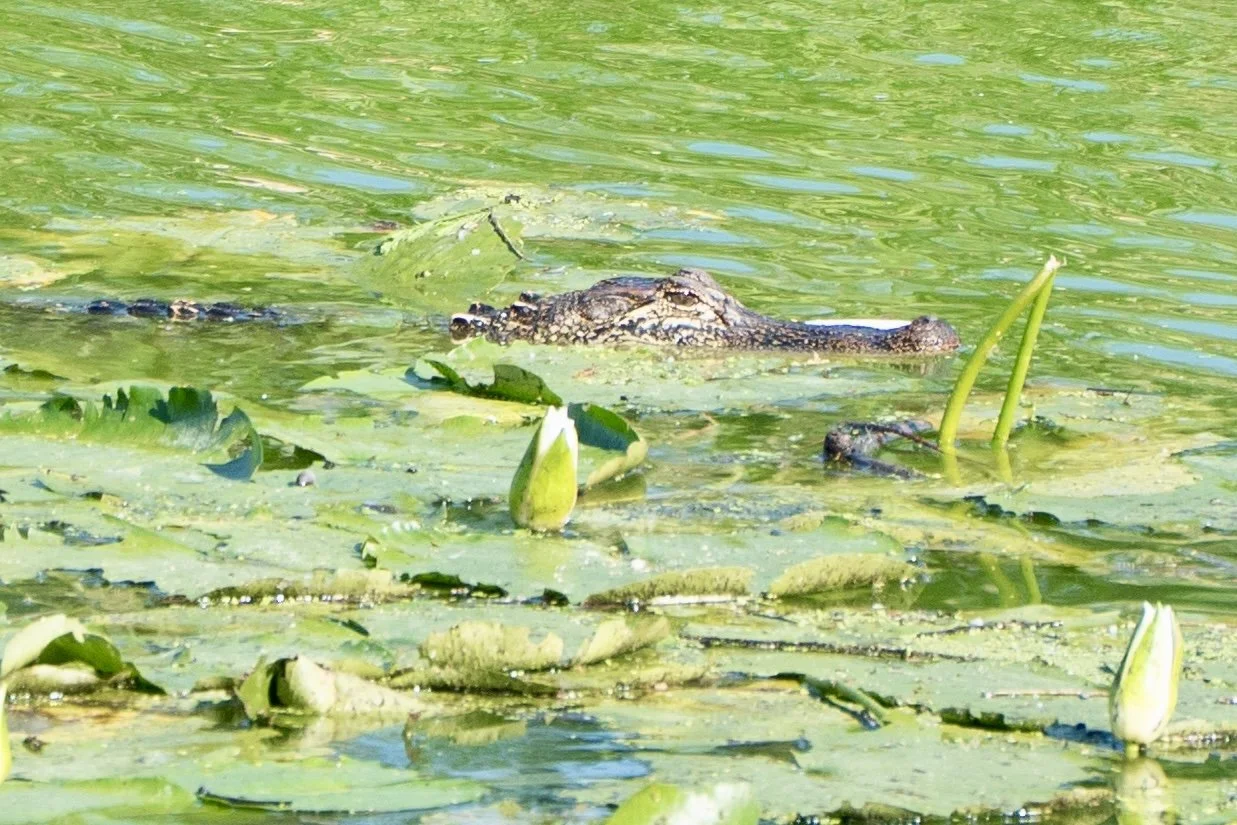
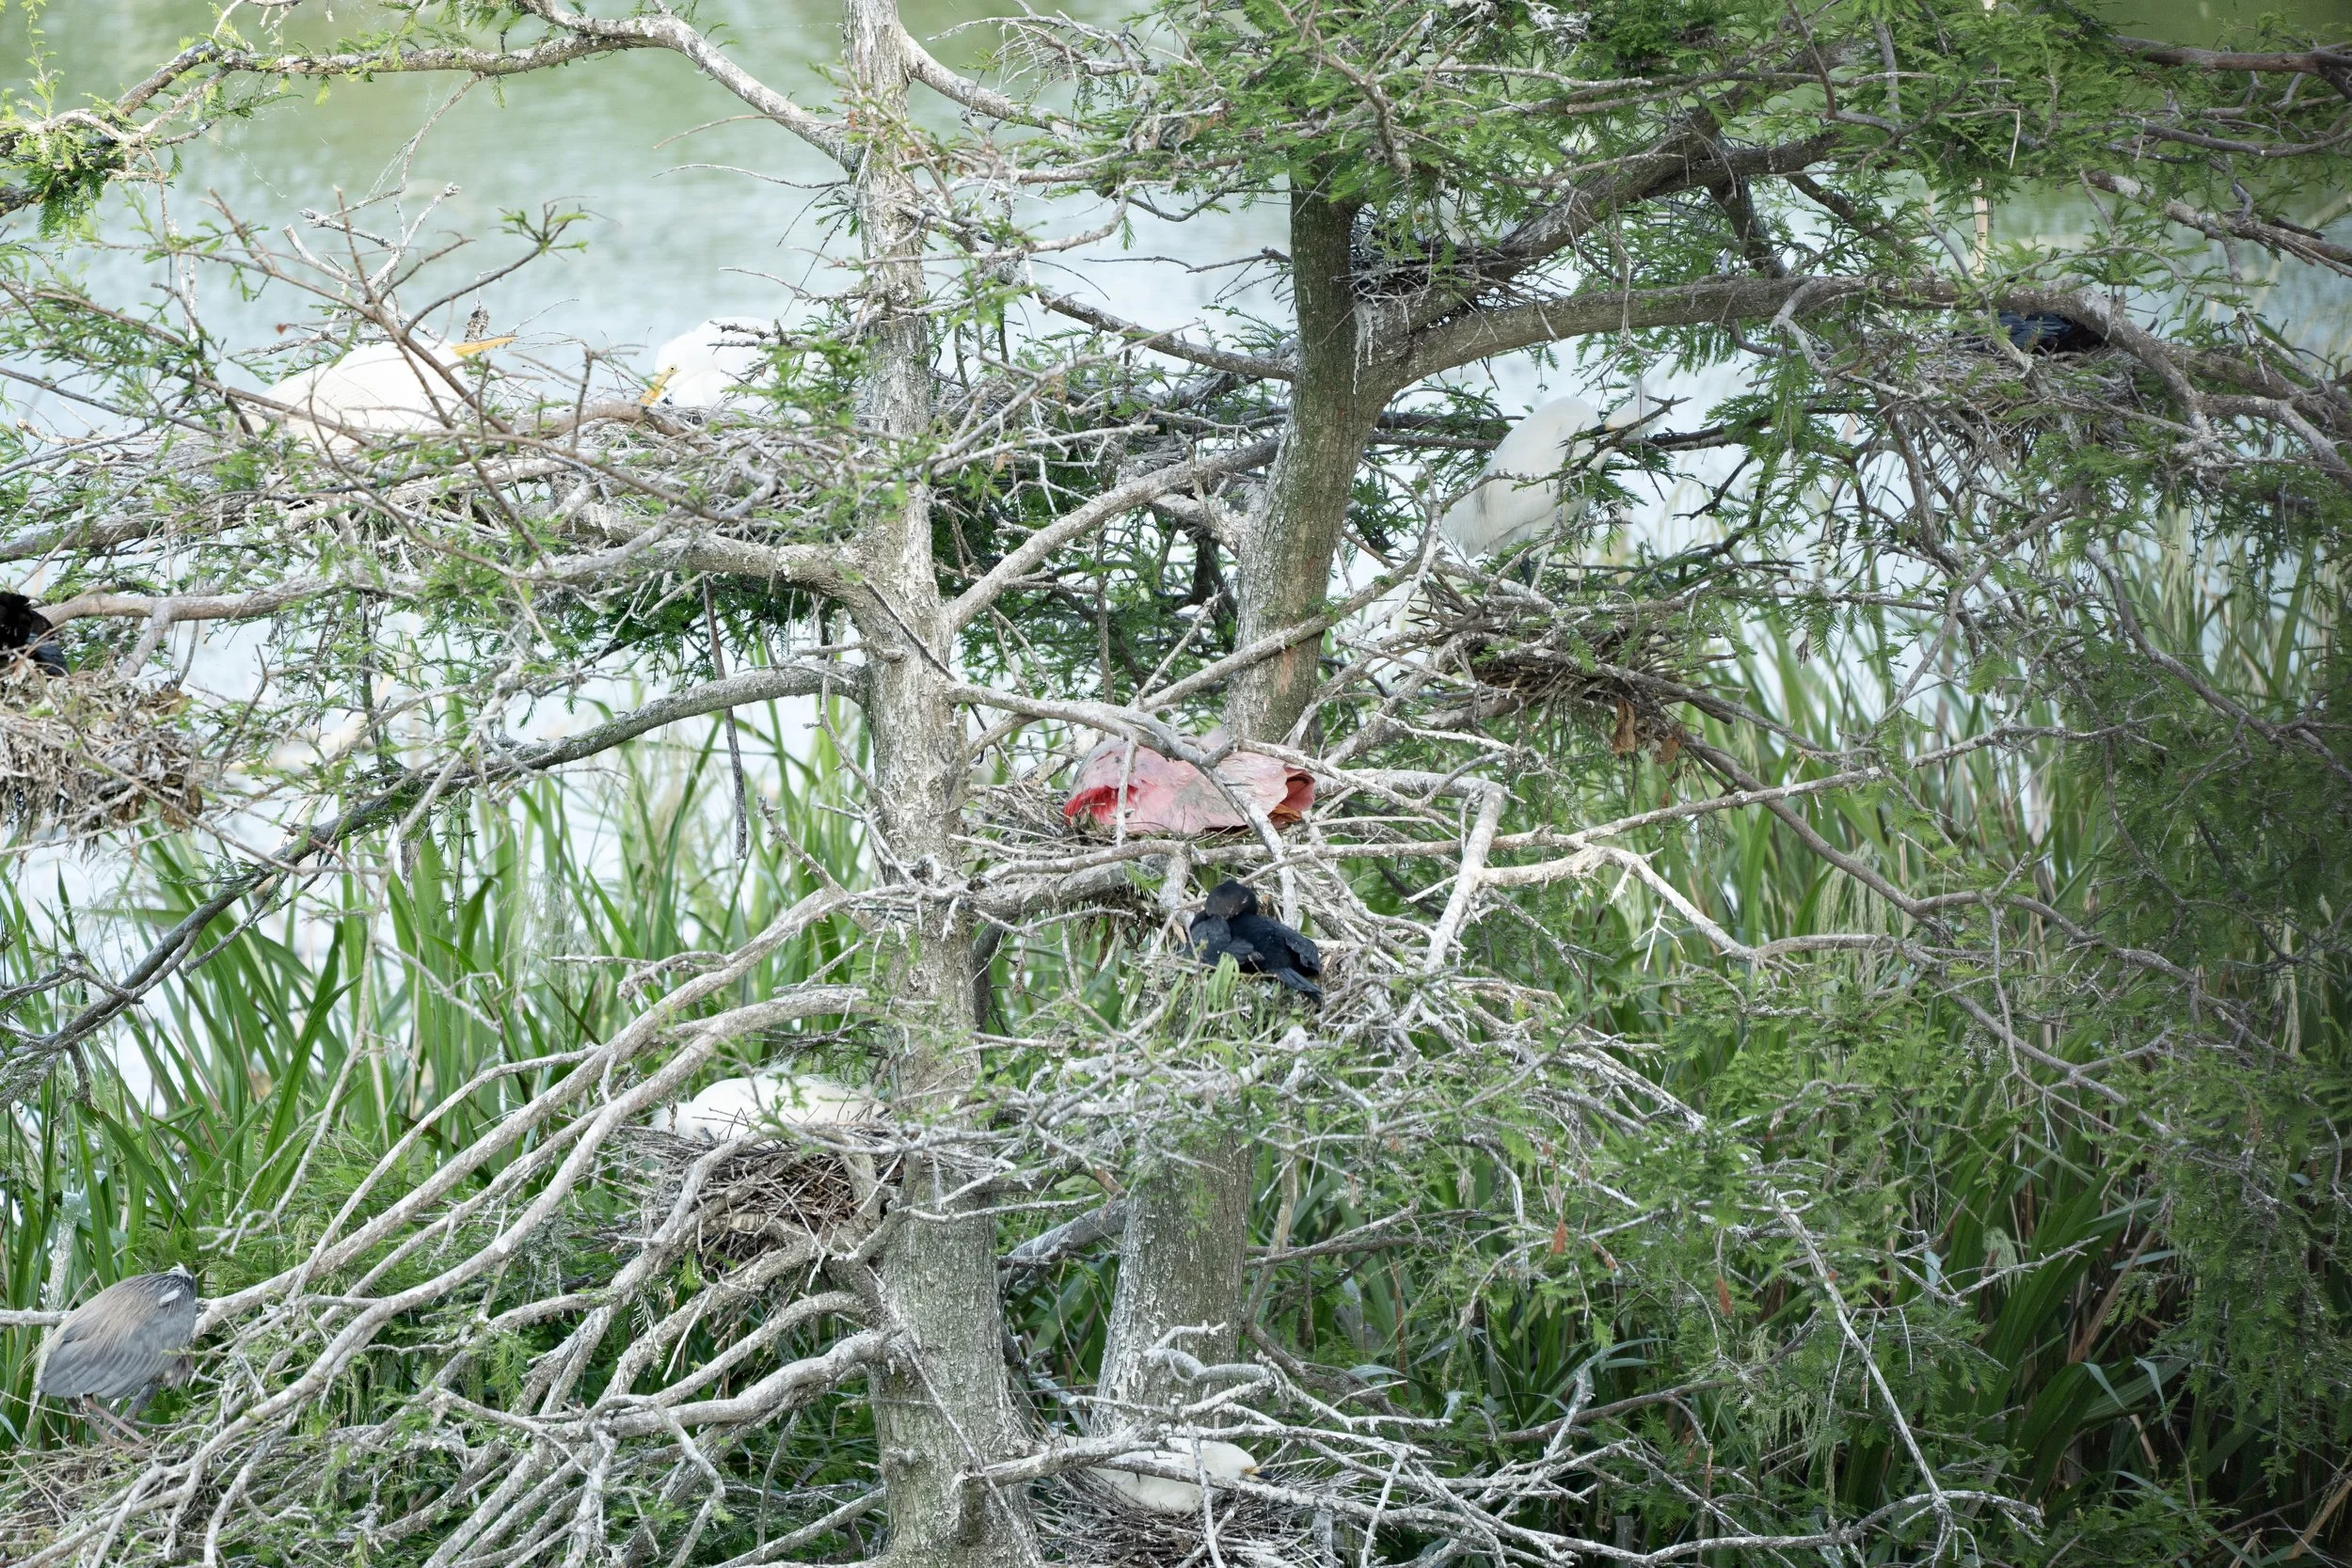
Then Houston Audubon stepped in and simply said — not here. Within a year of protection, the first 50 heron nests appeared. By 2003, over 1,000 nesting pairs called this place home. The alligators stayed on purpose — managed as a natural moat, keeping raccoons and coyotes away from the nests.
The birds didn’t just move in. They become the system.
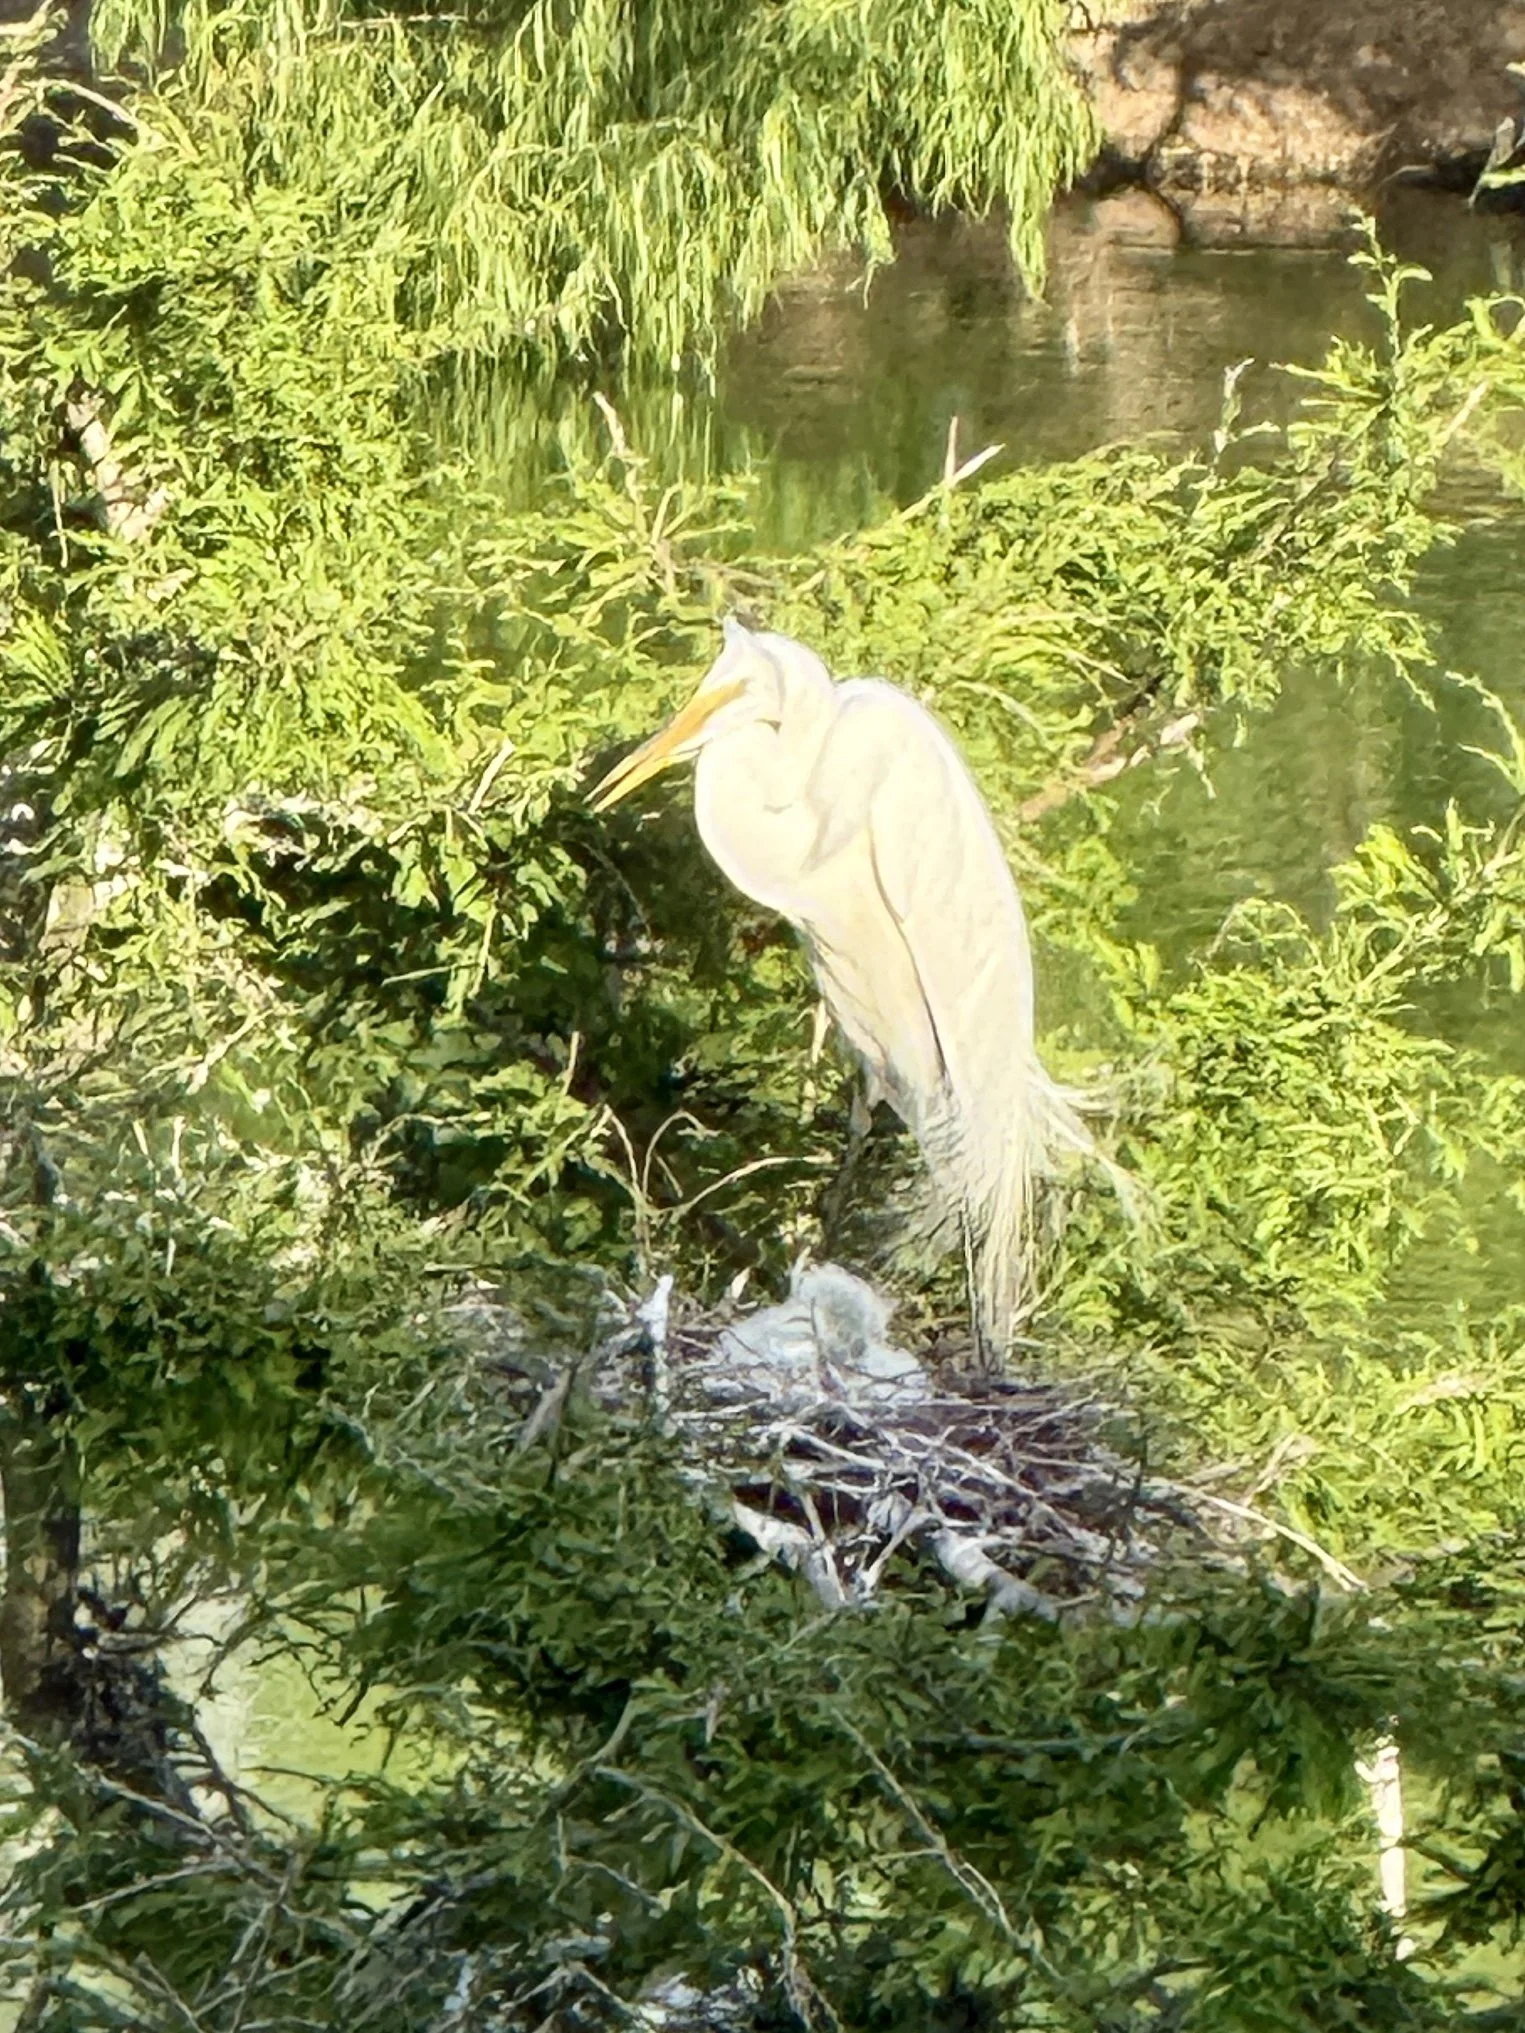
This is the part that stopped me cold. Those egrets nesting above the water aren’t just raising their young — they’re regenerating the world beneath them. Their waste, rich in nitrogen and phosphorus, rains down into the water and onto the banks. Seeds they carry in from miles away take root. Nutrients from the Gulf ecosystem pass through their digestive systems and get deposited into a former industrial pit in coastal Texas.
Consumption and waste. The most basic biological cycle. And here it is rebuilding an ecosystem from the inside out.
I’ve been reading Joe Roman’s *Eat, Poop, Die: How Animals Make Our World*, and he writes about Surtsey — a volcanic island off Iceland that erupted out of the ocean in 1963, a completely sterile rock. When seabirds began nesting there, they brought the ocean with them. Their guano fertilized the bare volcanic surface. Meadow grasses appeared. An ecosystem assembled itself, one deposit at a time. Roman calls it a perfect example of how animals shape our world — not through grand gestures, but through the accumulation of small, bodily, unglamorous acts.
Claybottom Pond is its own version of Surtsey. A hole dug for industry, transformed first by protection, then by the slow, steady biology of the birds themselves.
And this place is a reminder that industry and wildlife are not always opposites. Sometimes industry leaves something behind — accidentally, imperfectly — that nature knows exactly what to do with.
What if we designed our cities the way the egrets work — where consumption and waste don’t deplete but regenerate? Where what we take in and what we leave behind actually builds something?
That’s not a fantasy. The birds have been doing it all along.
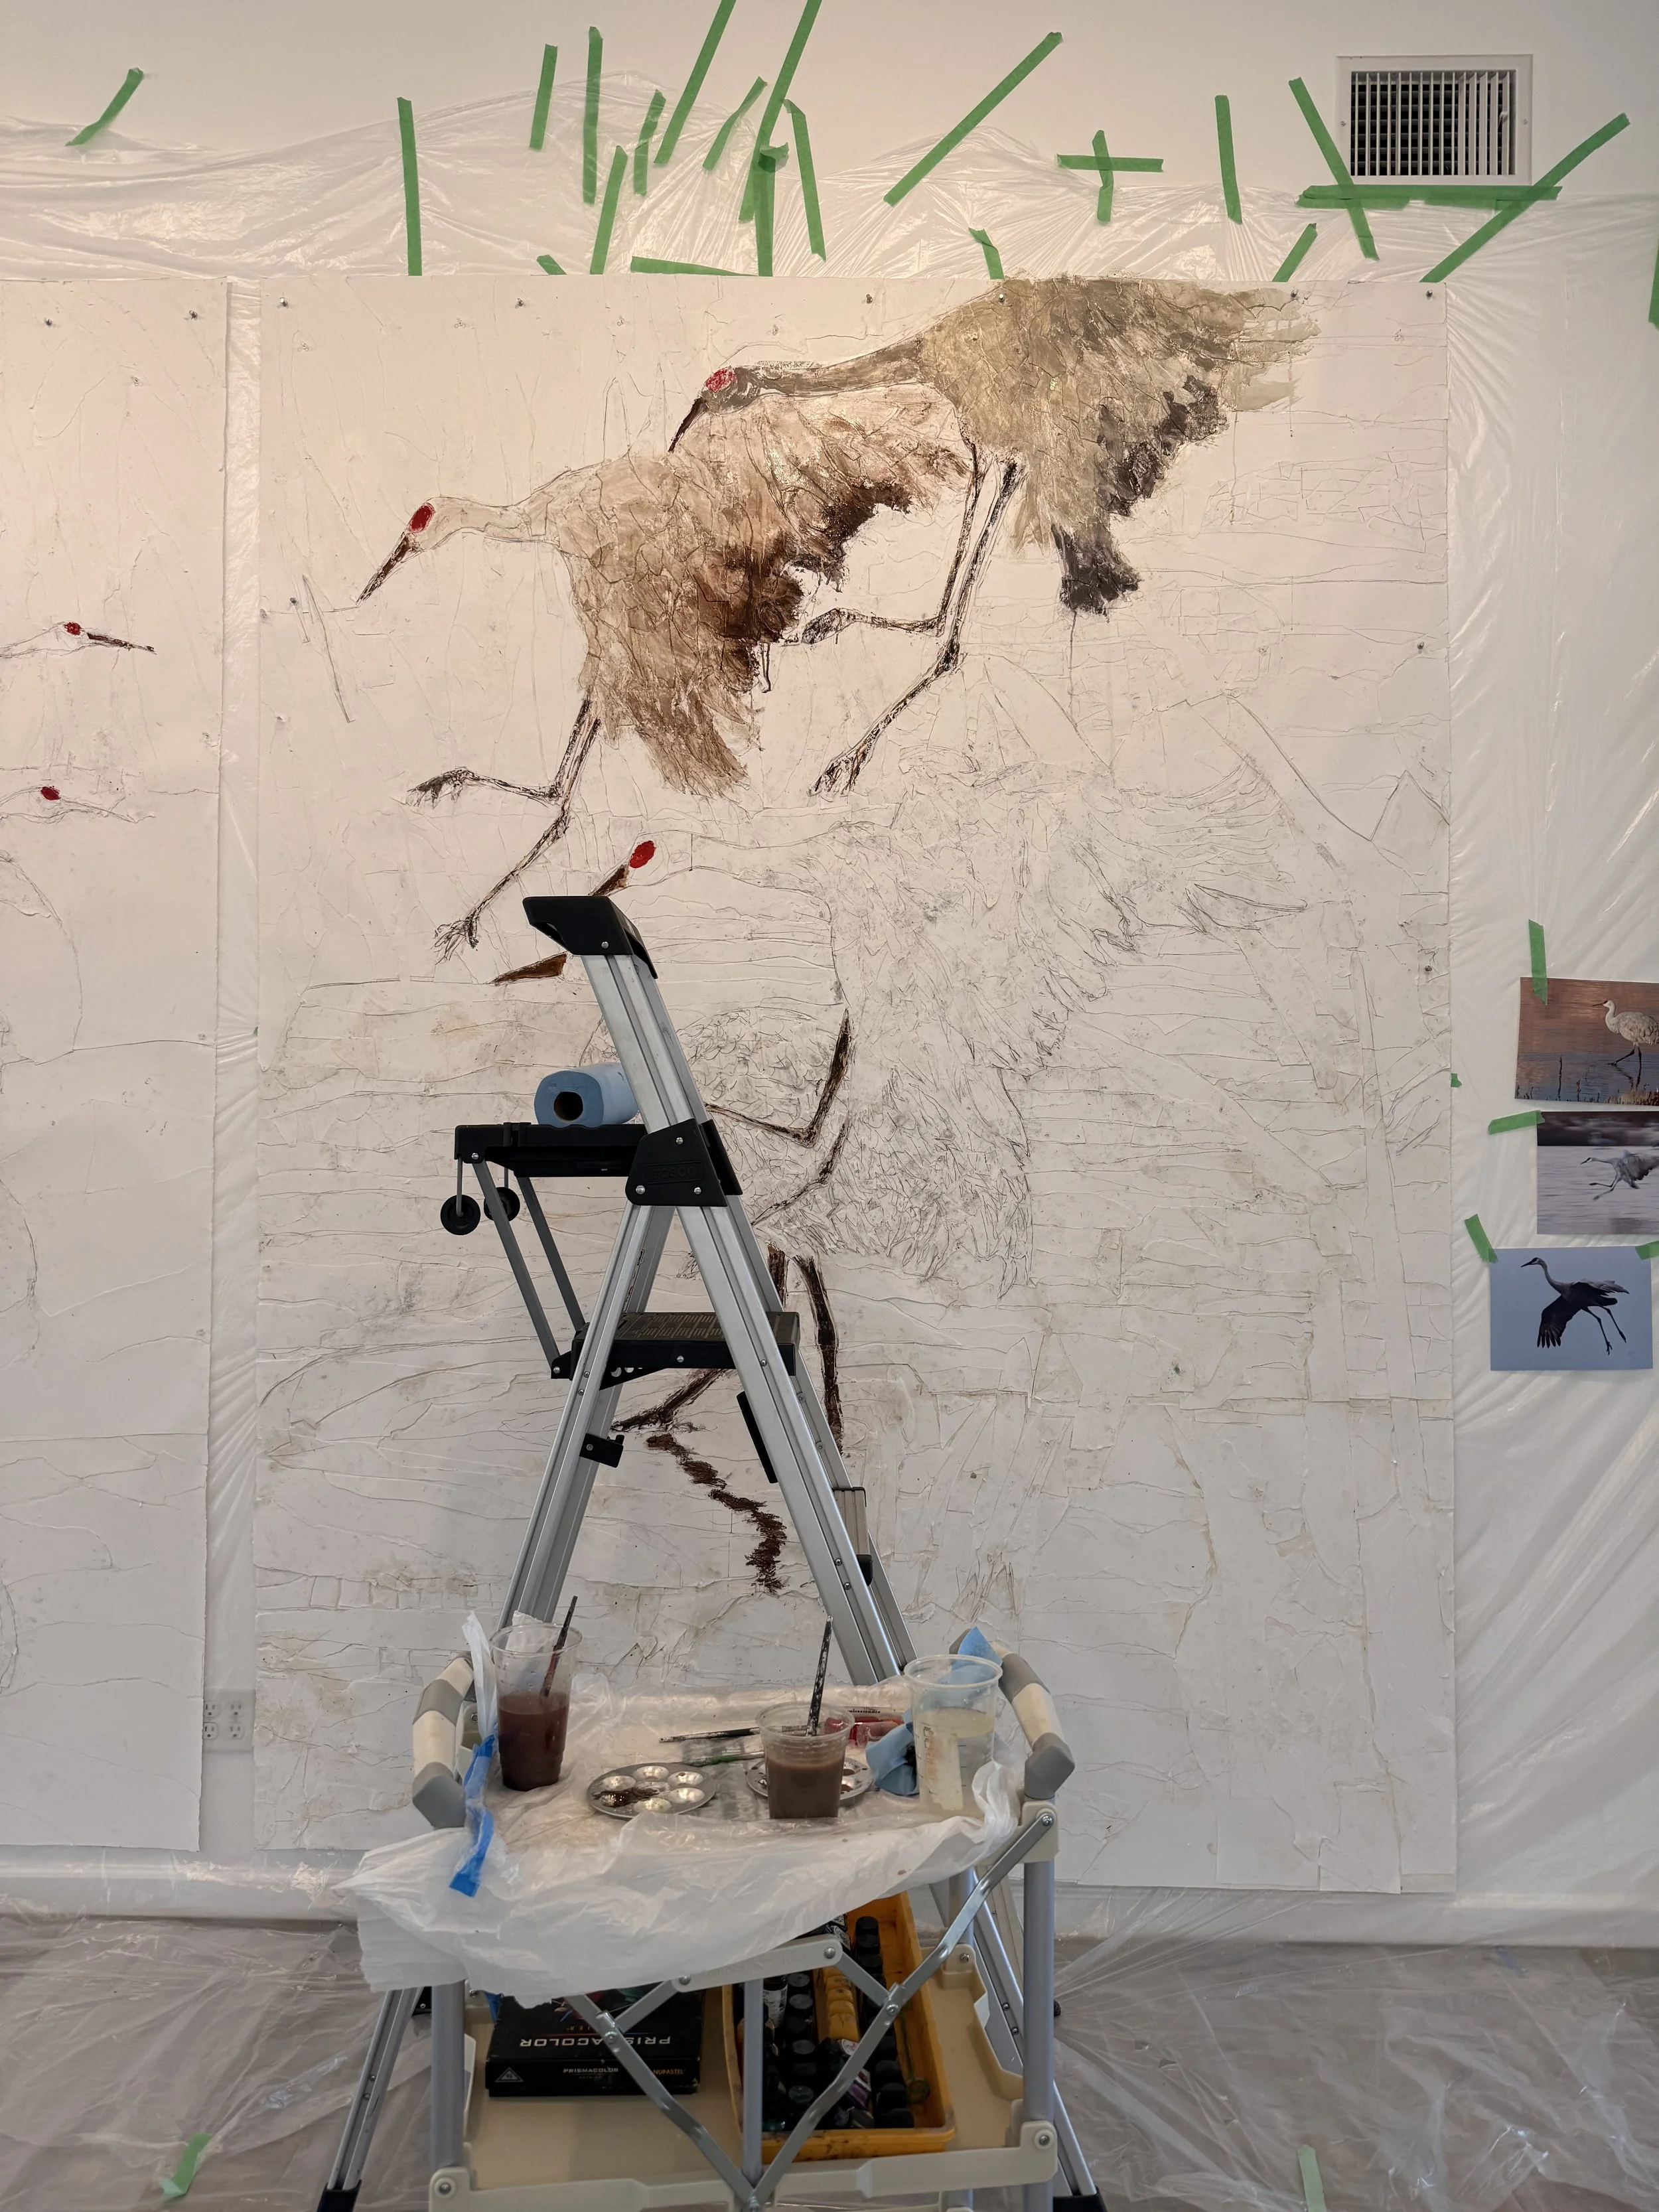
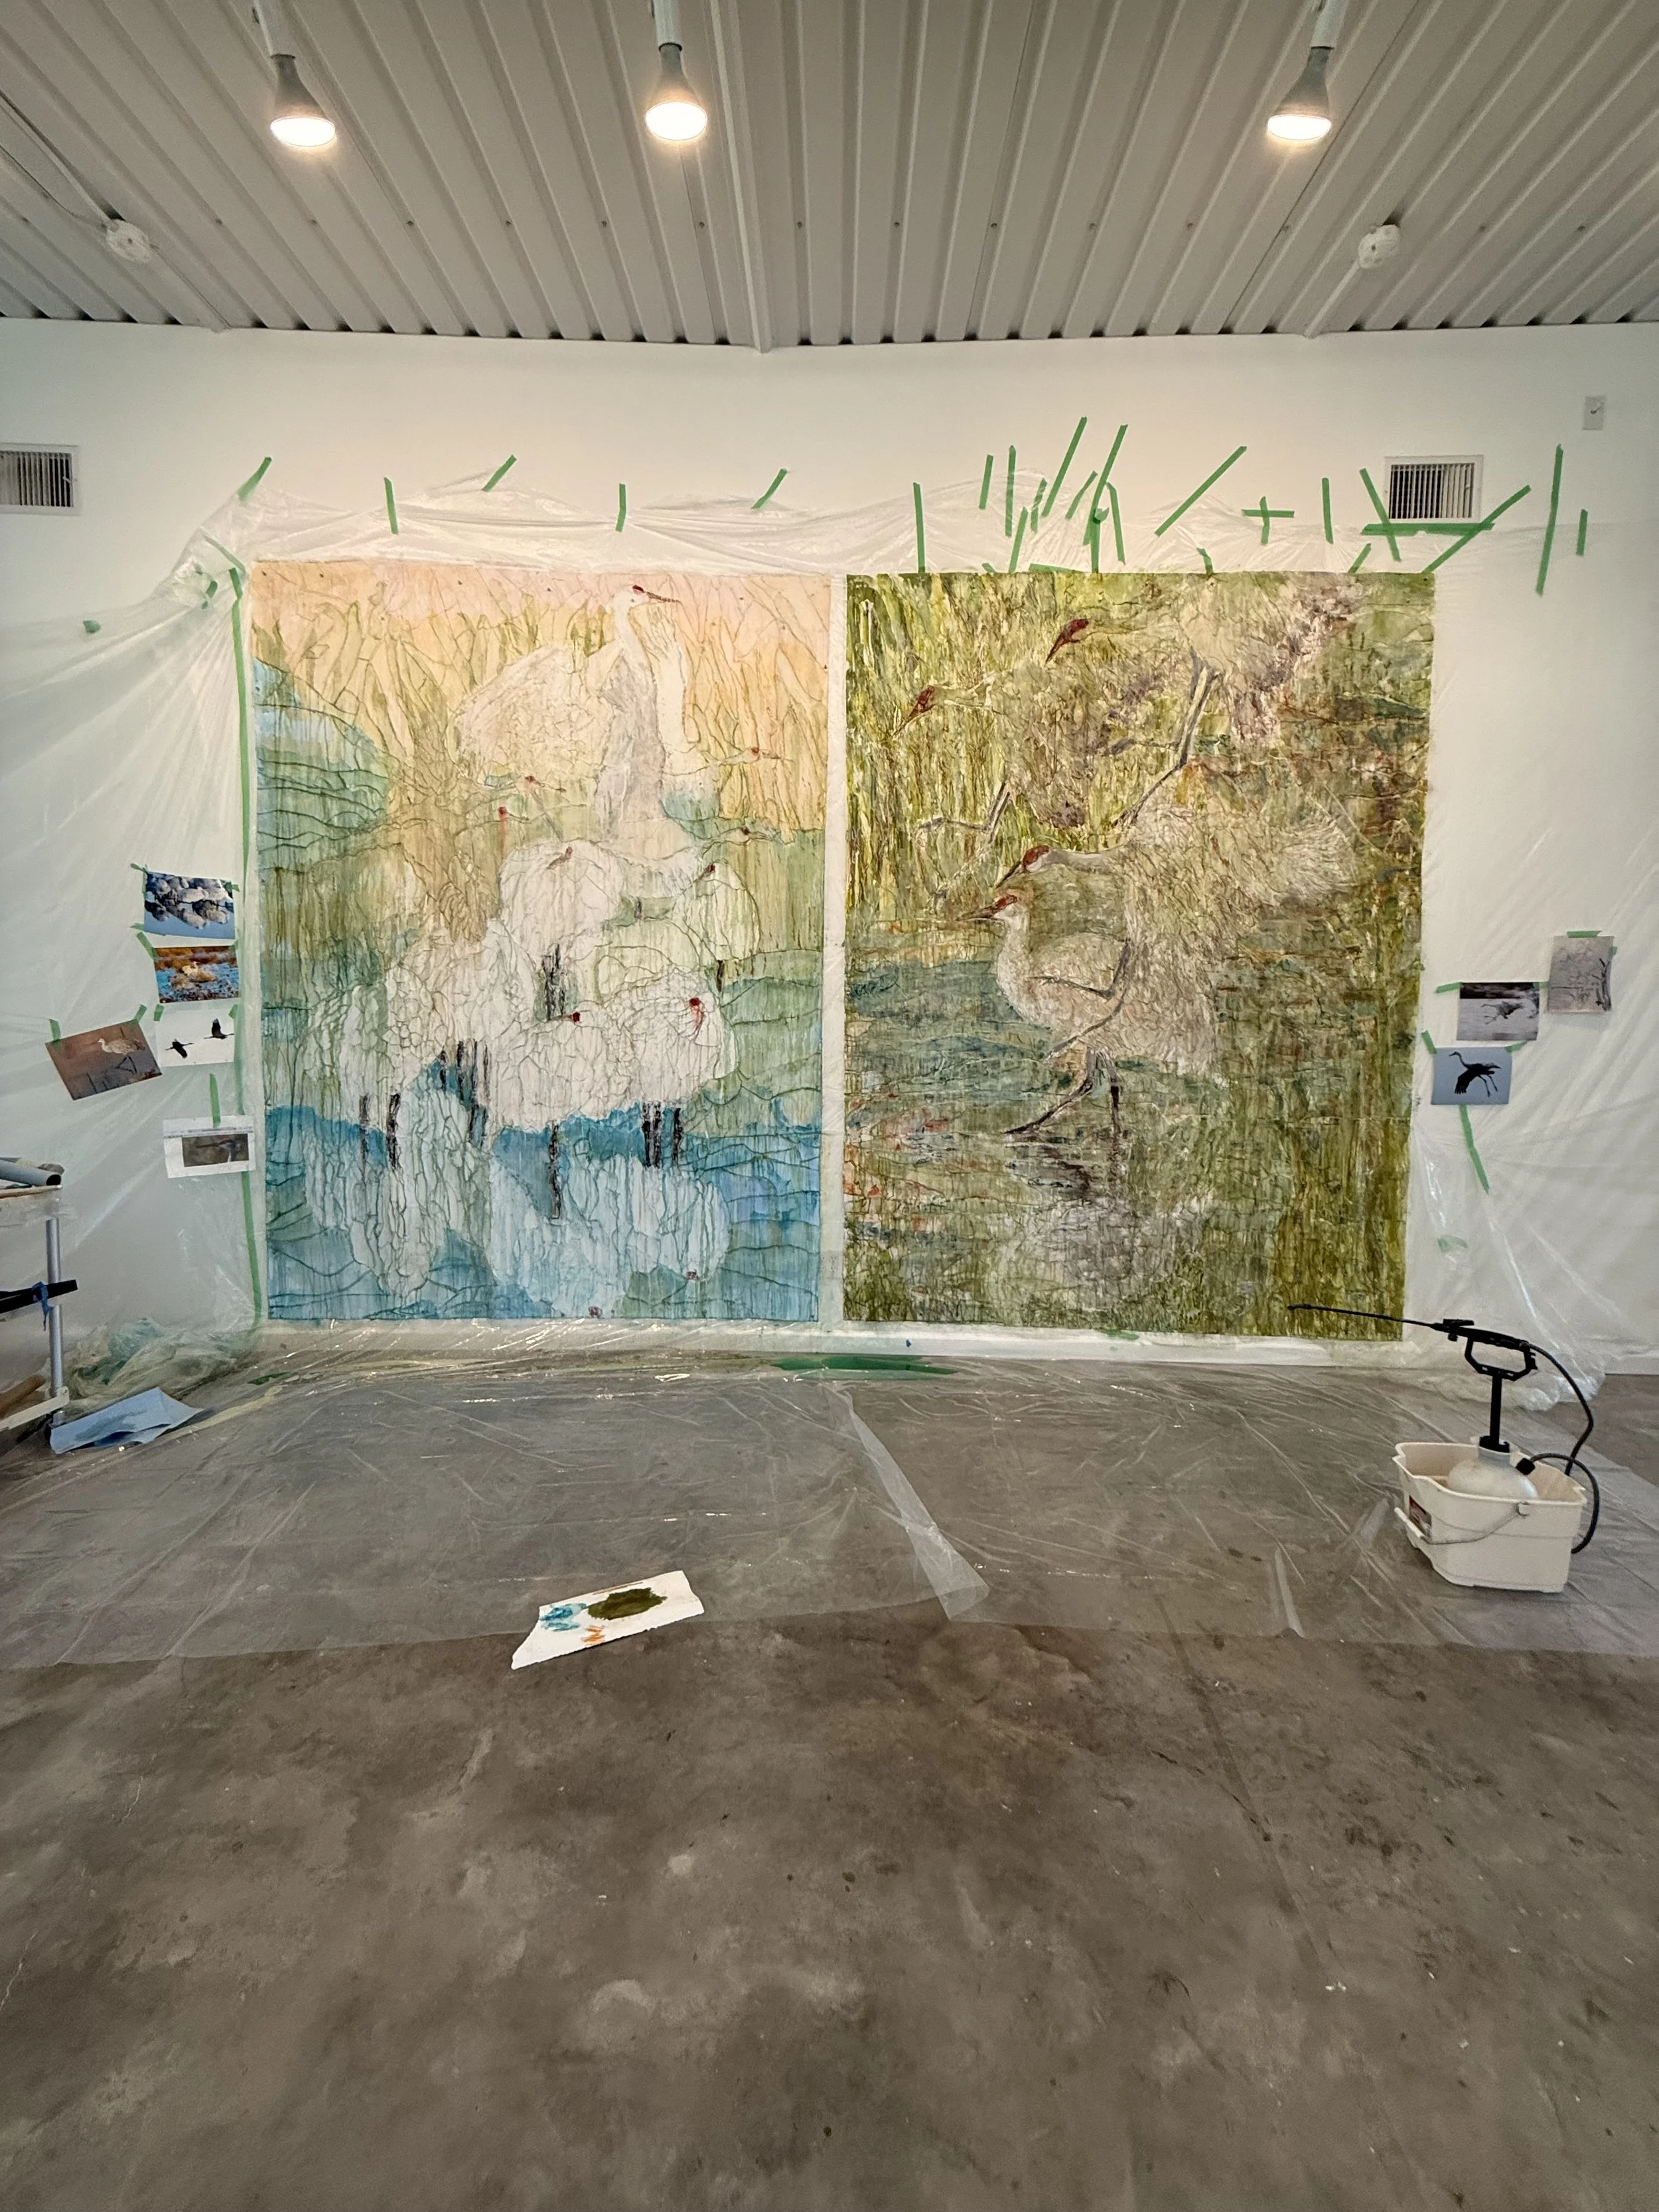
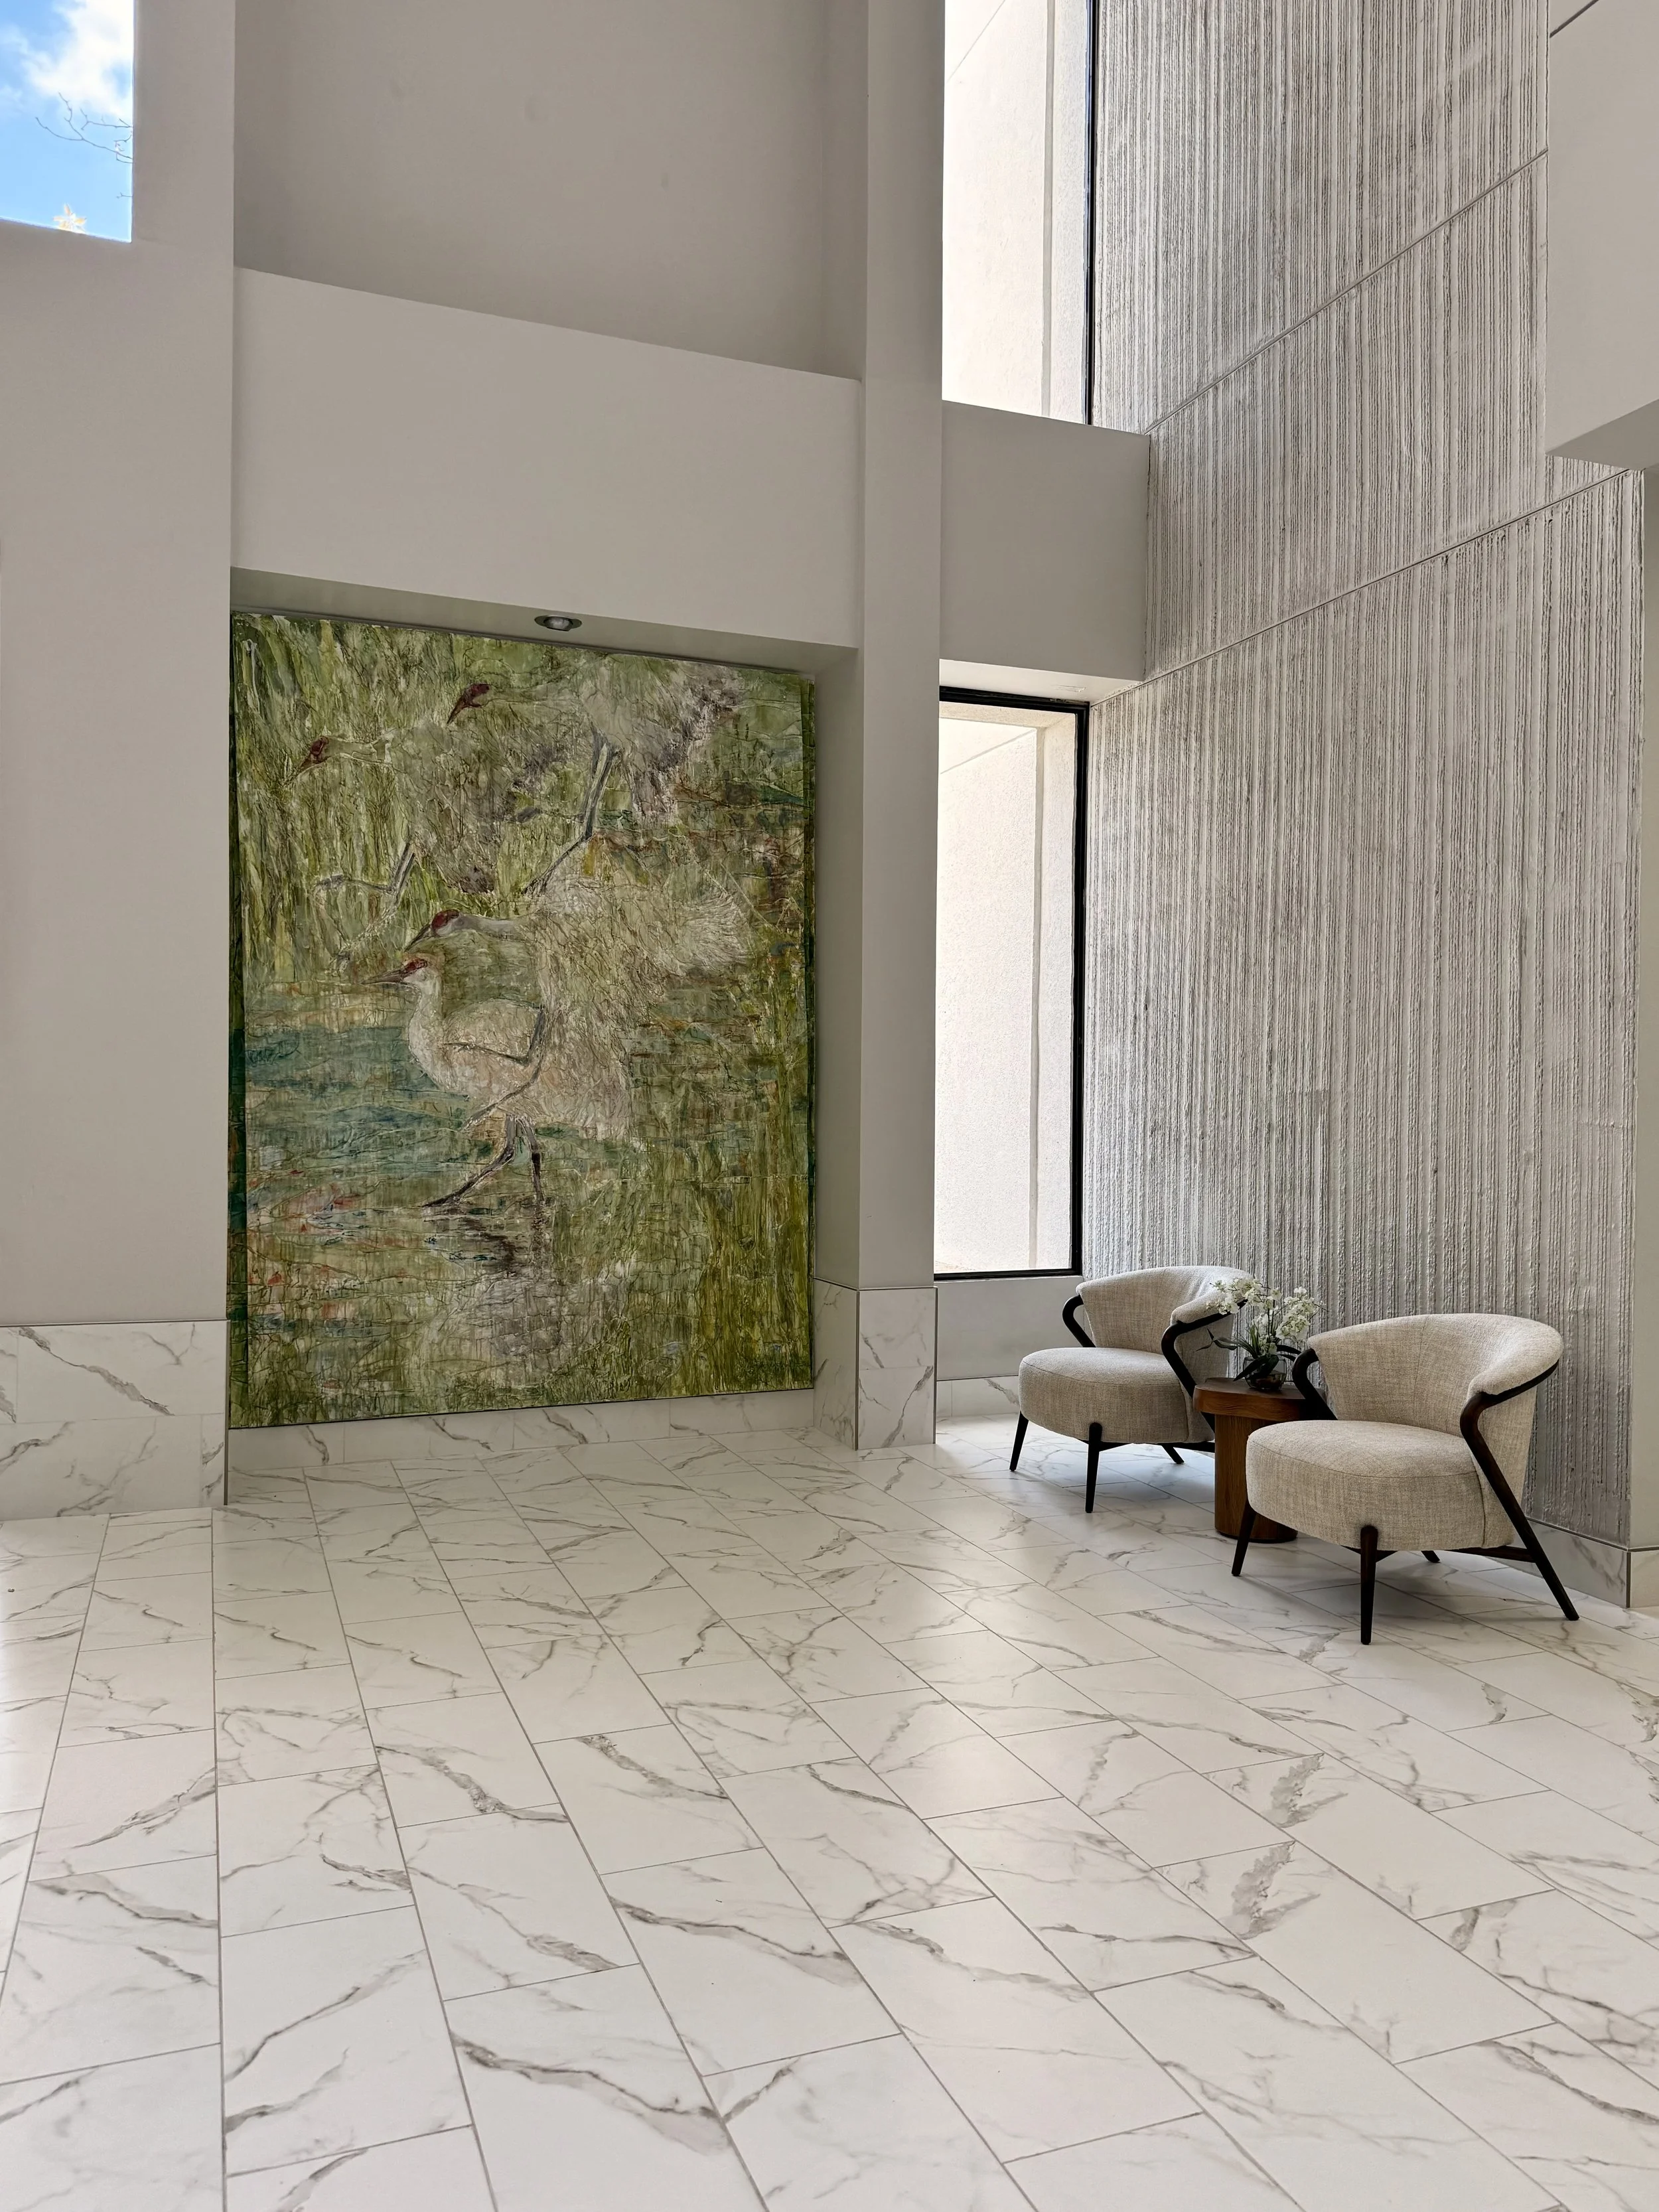
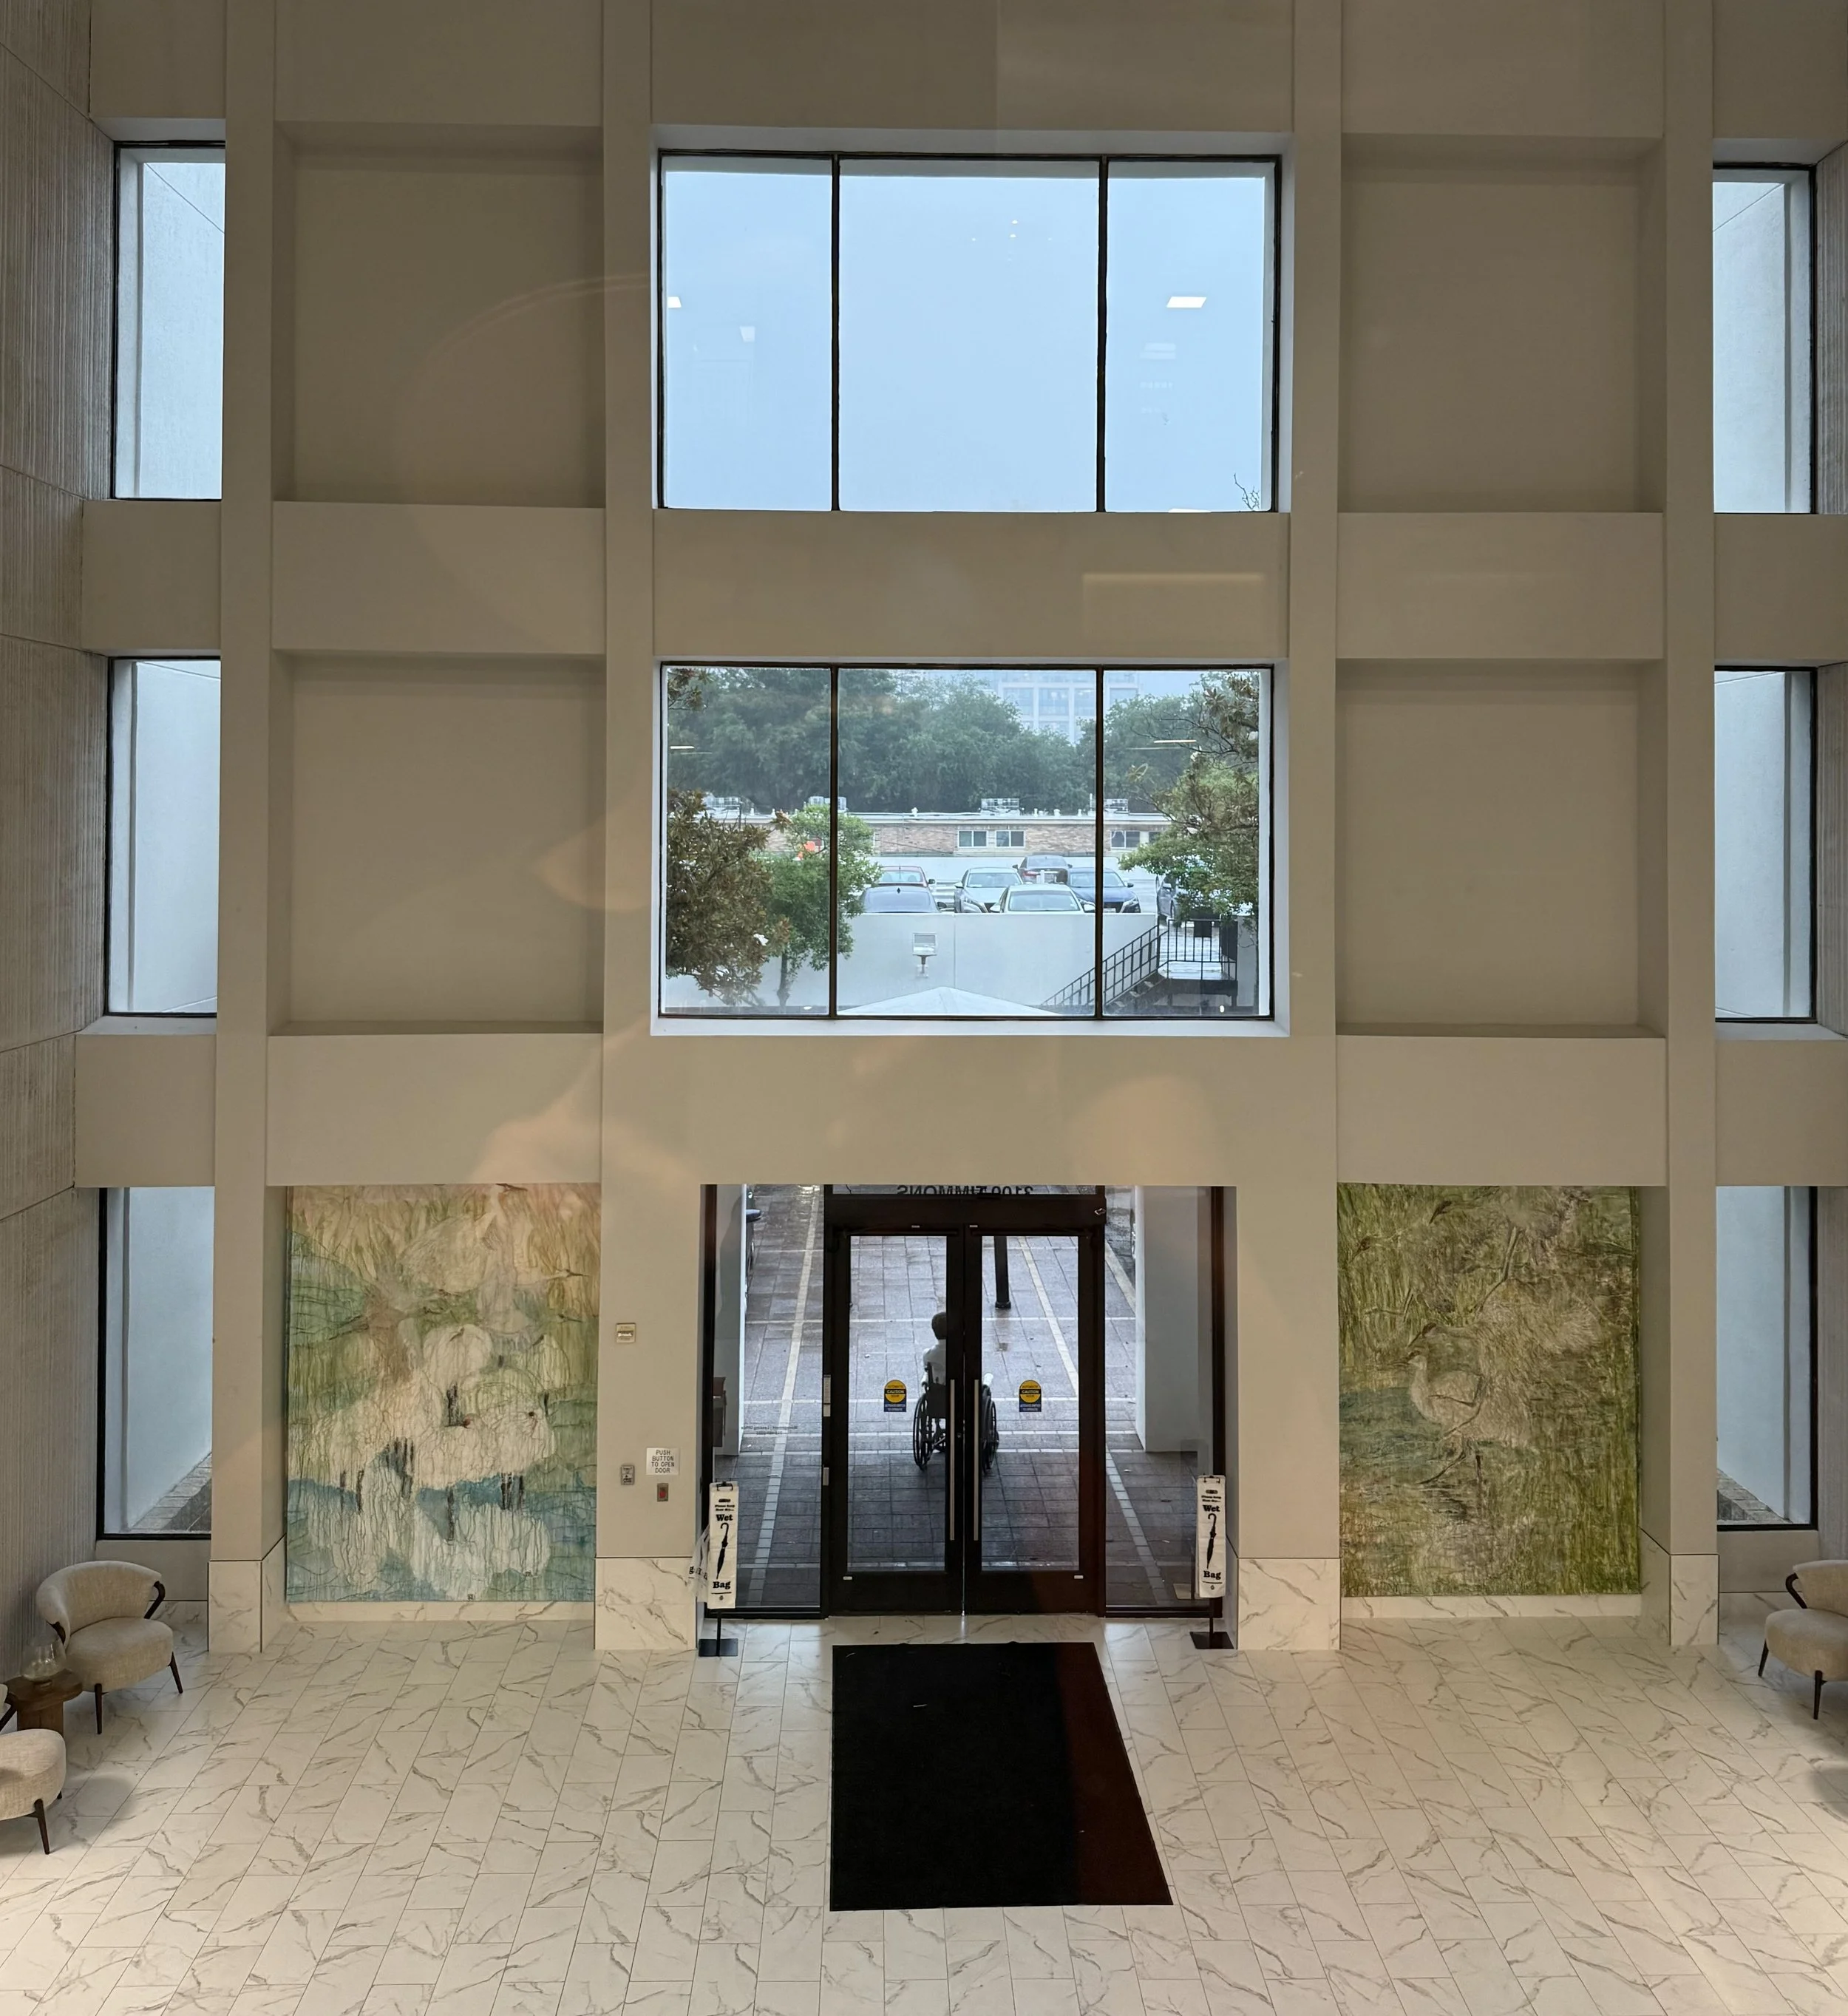
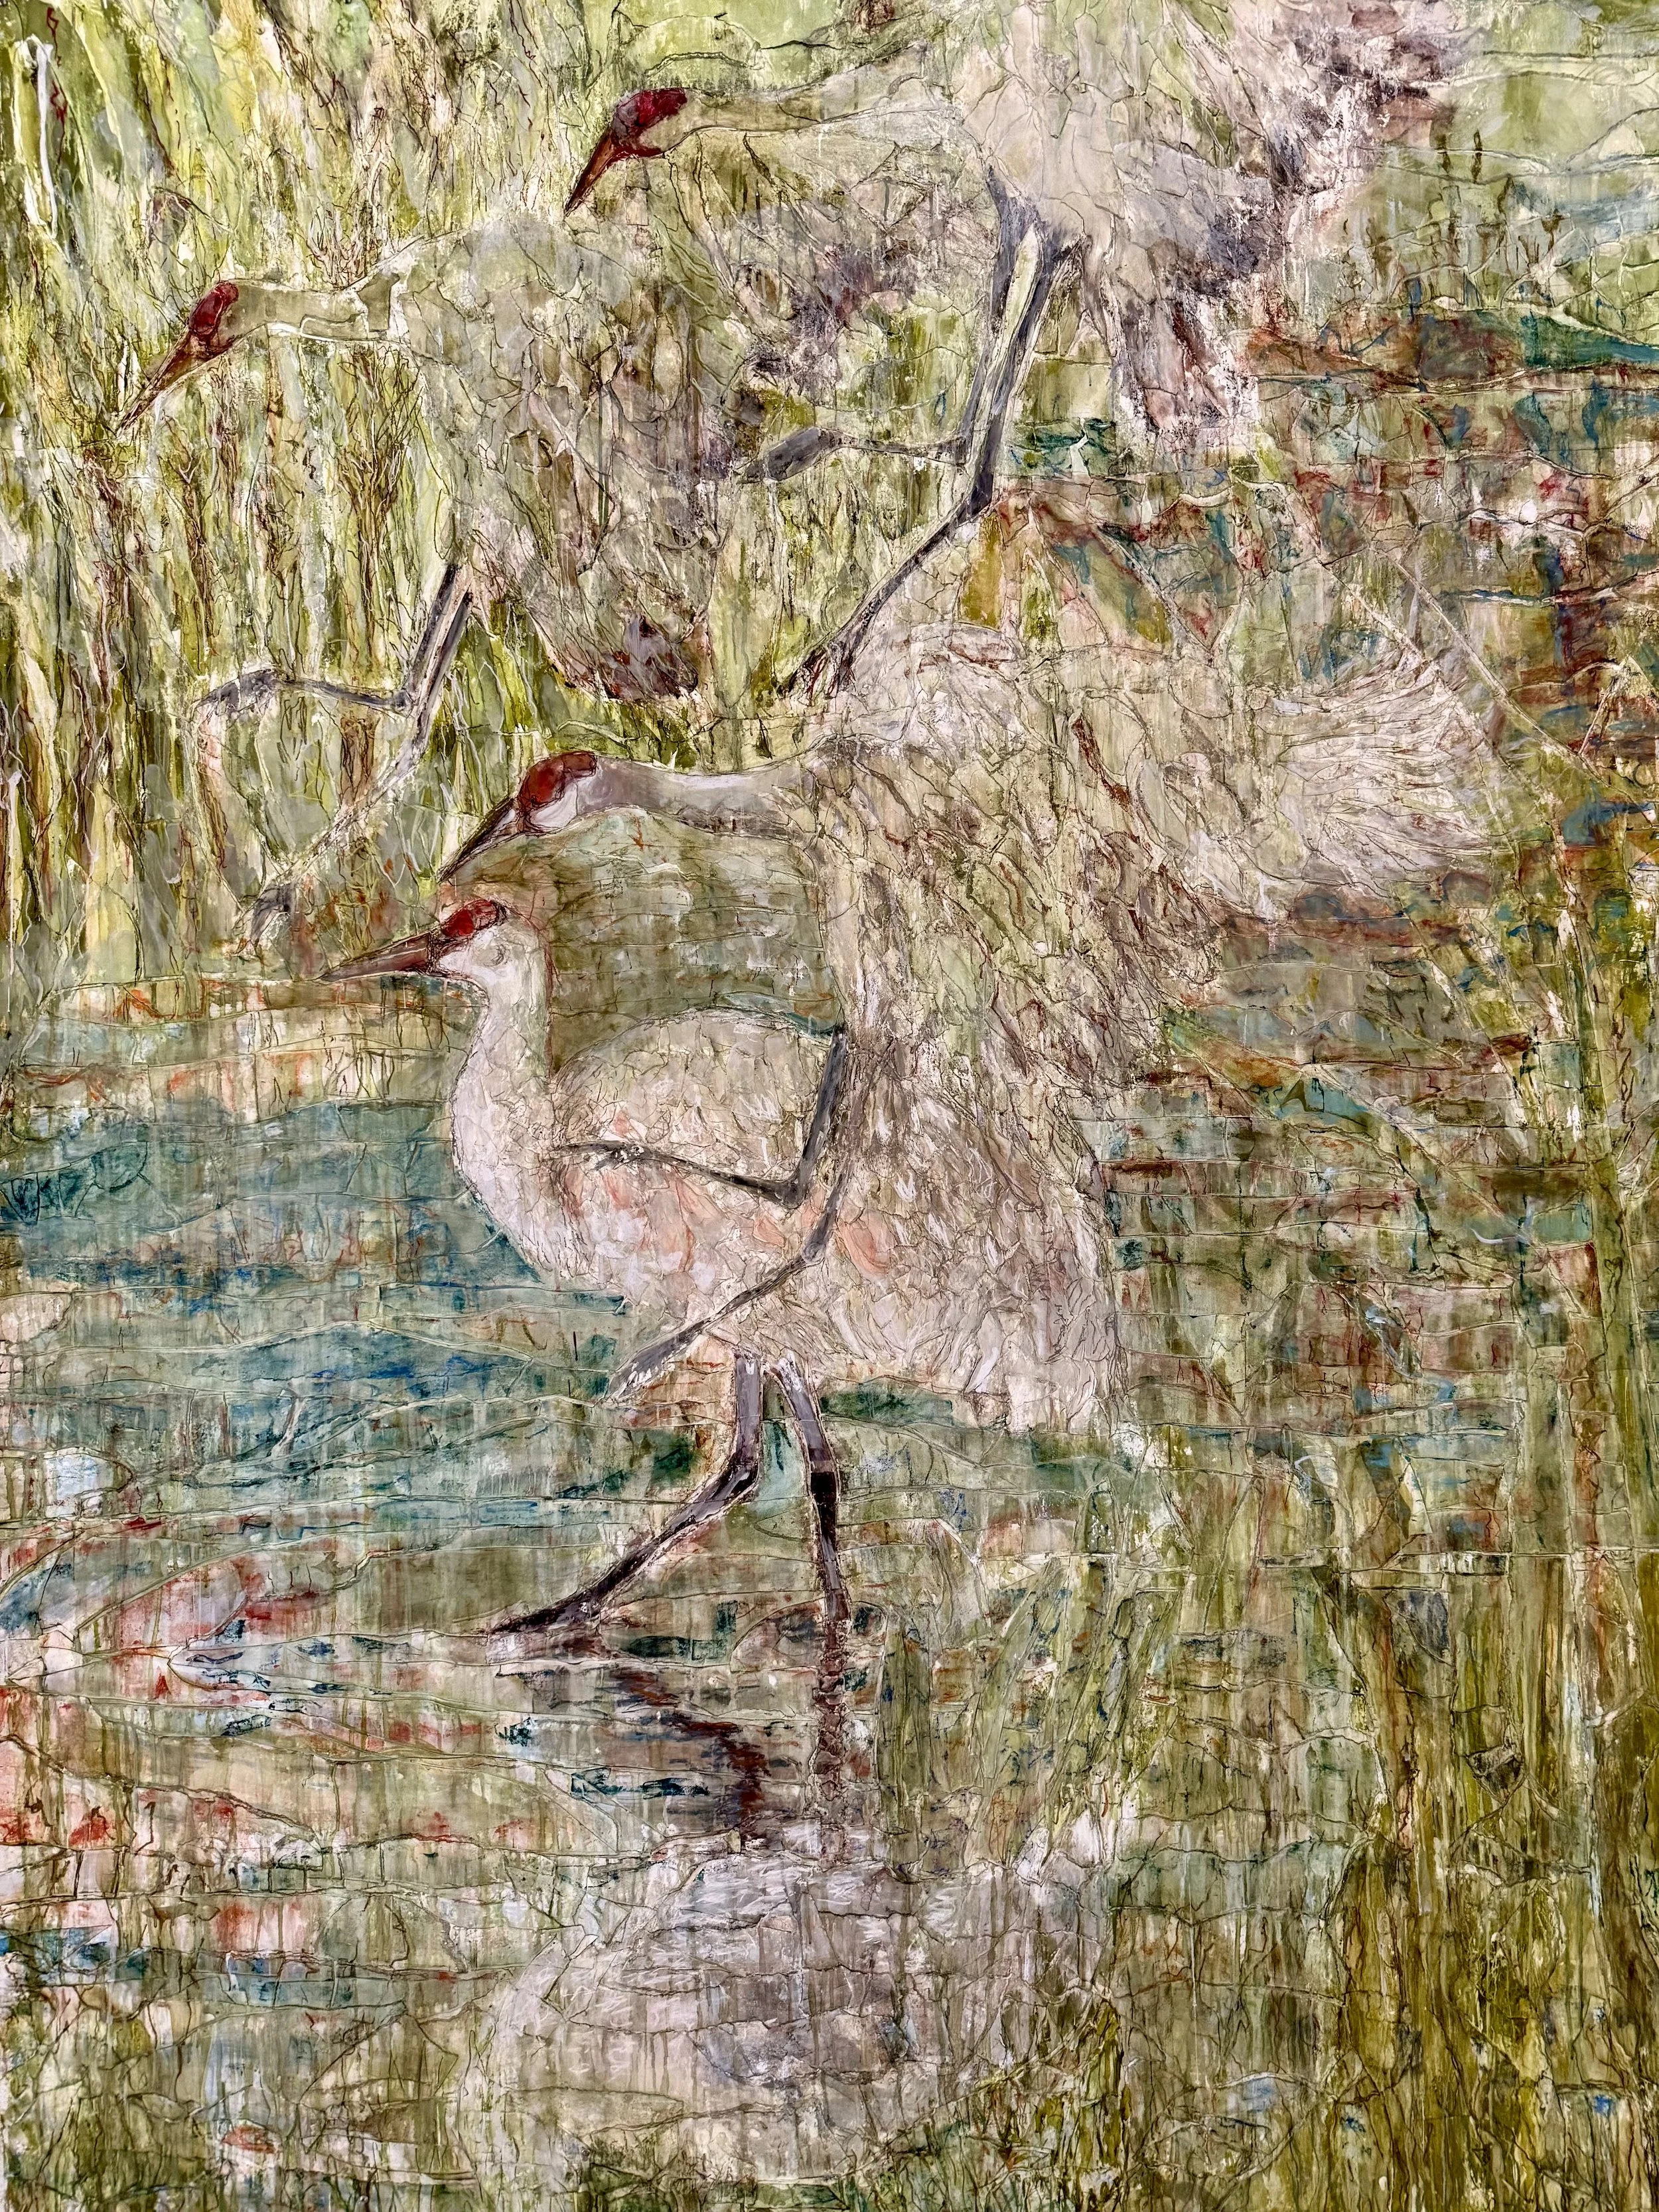
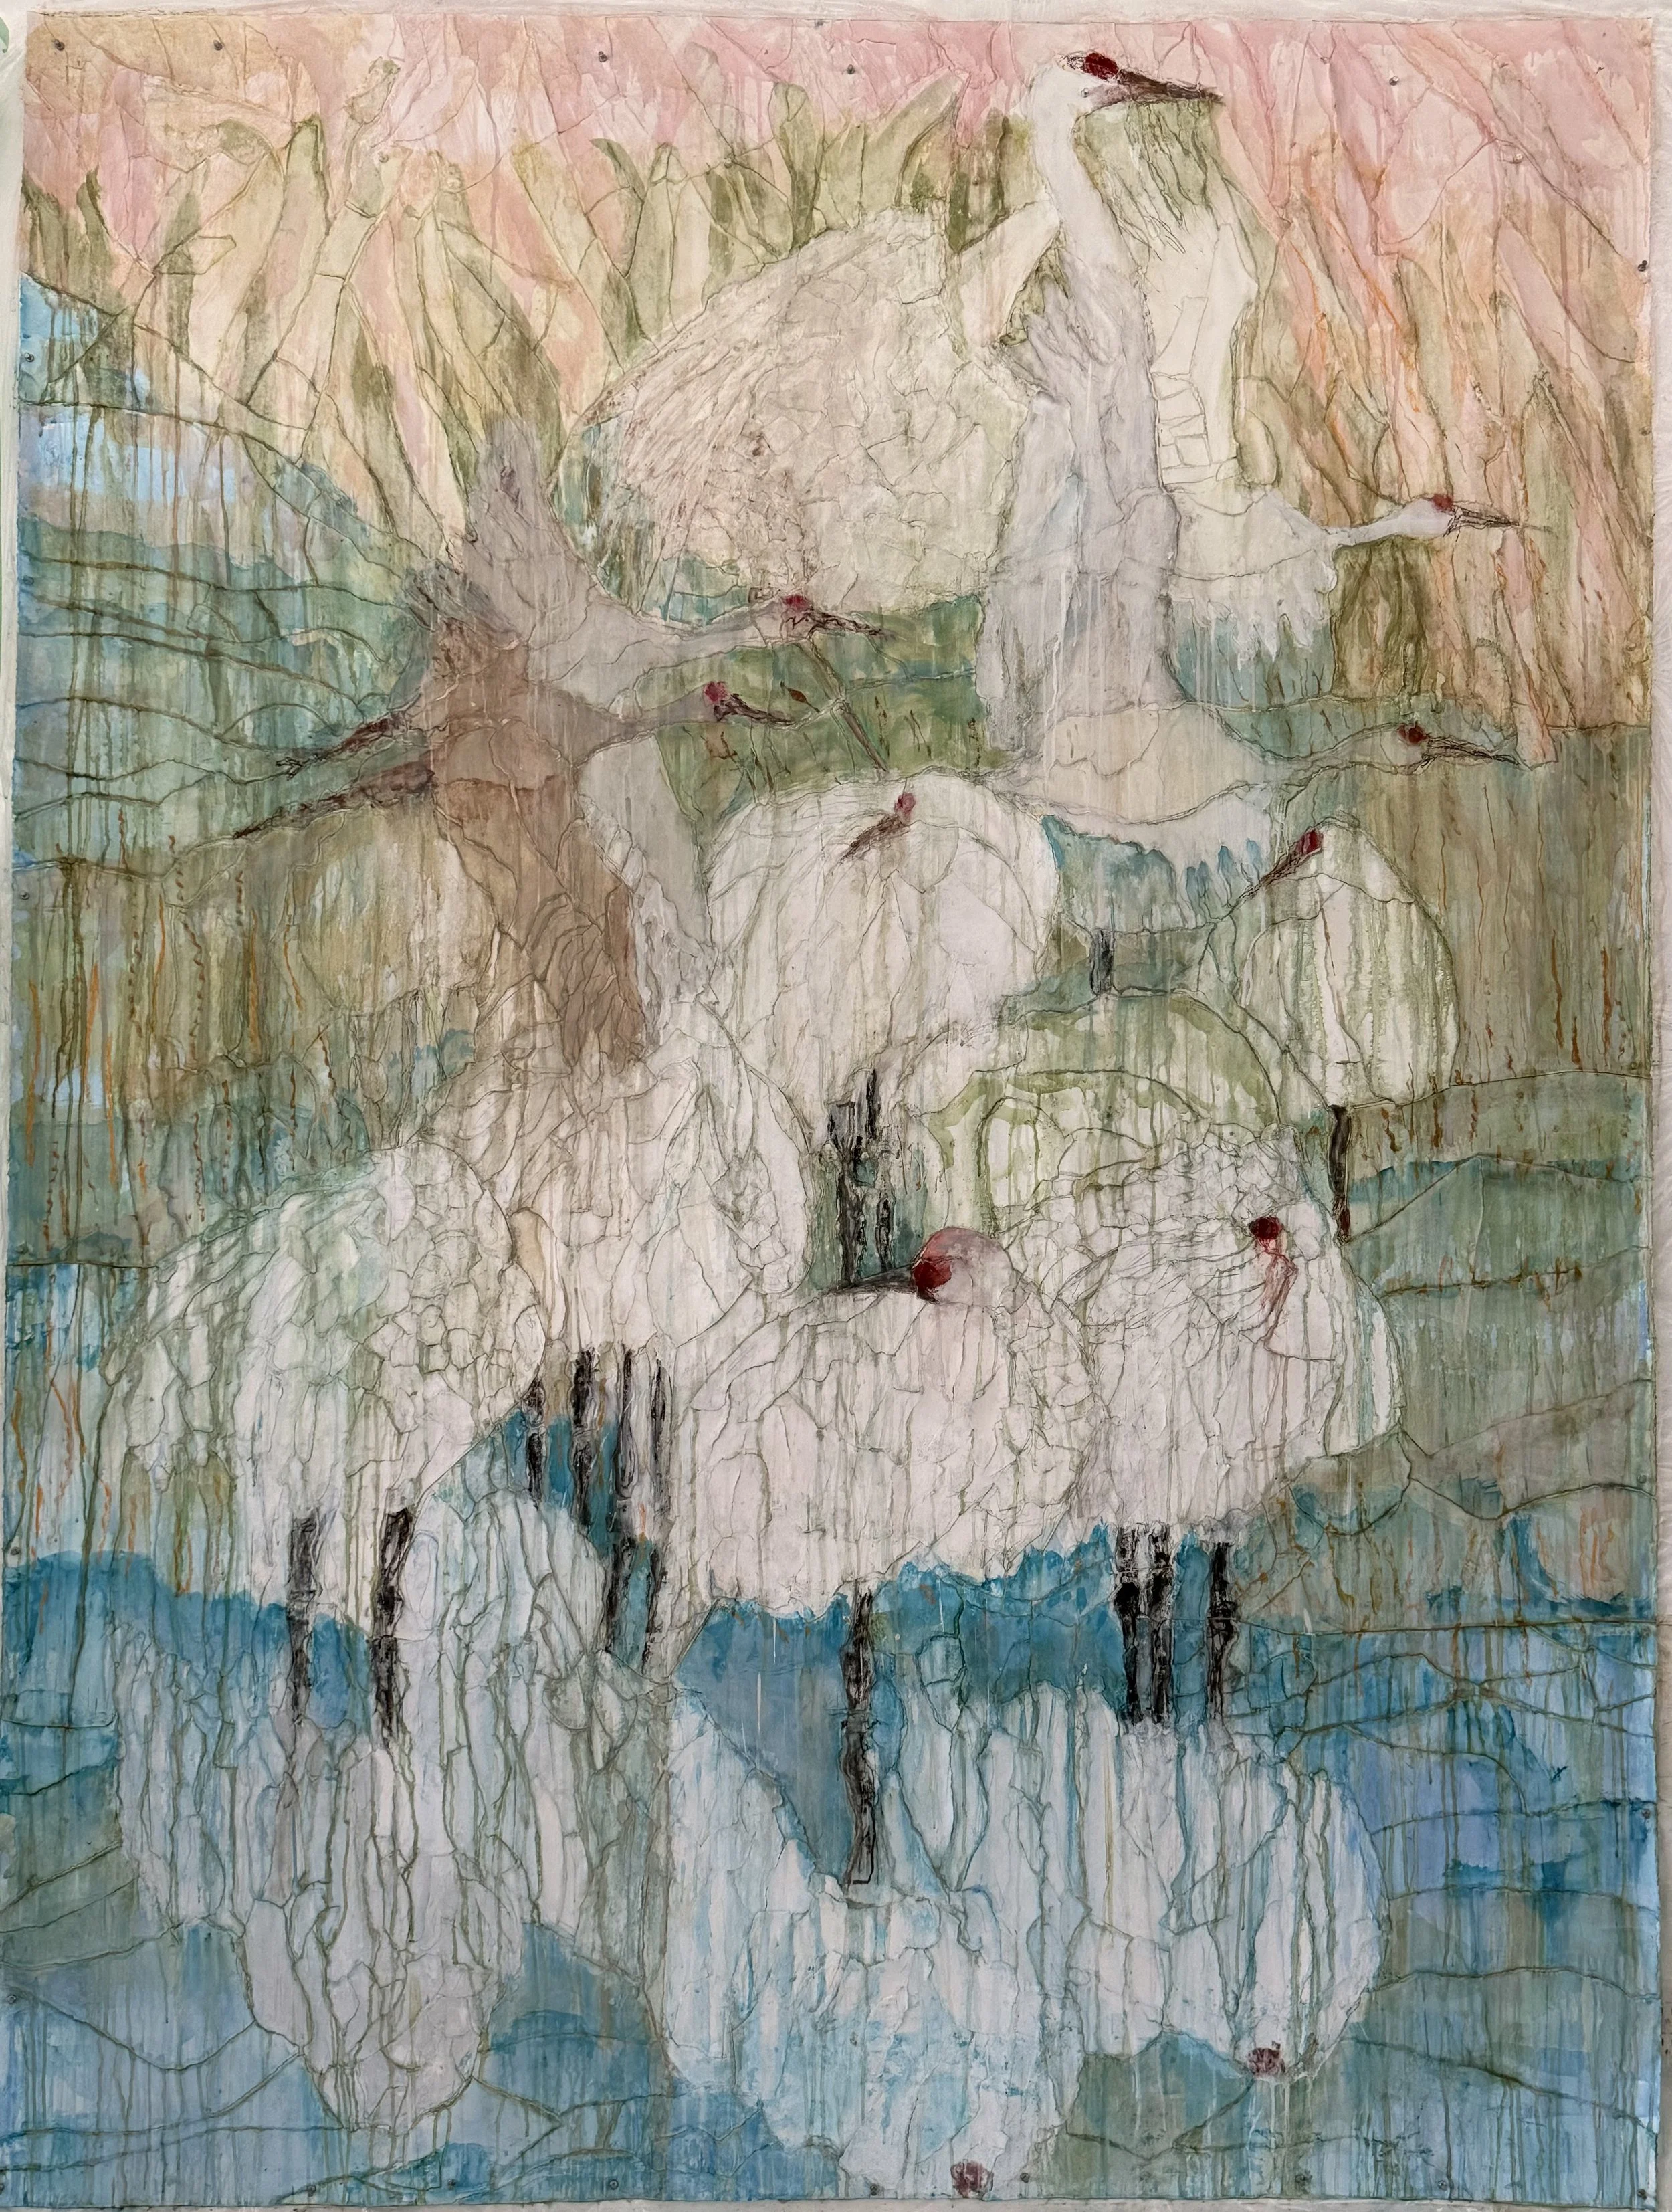
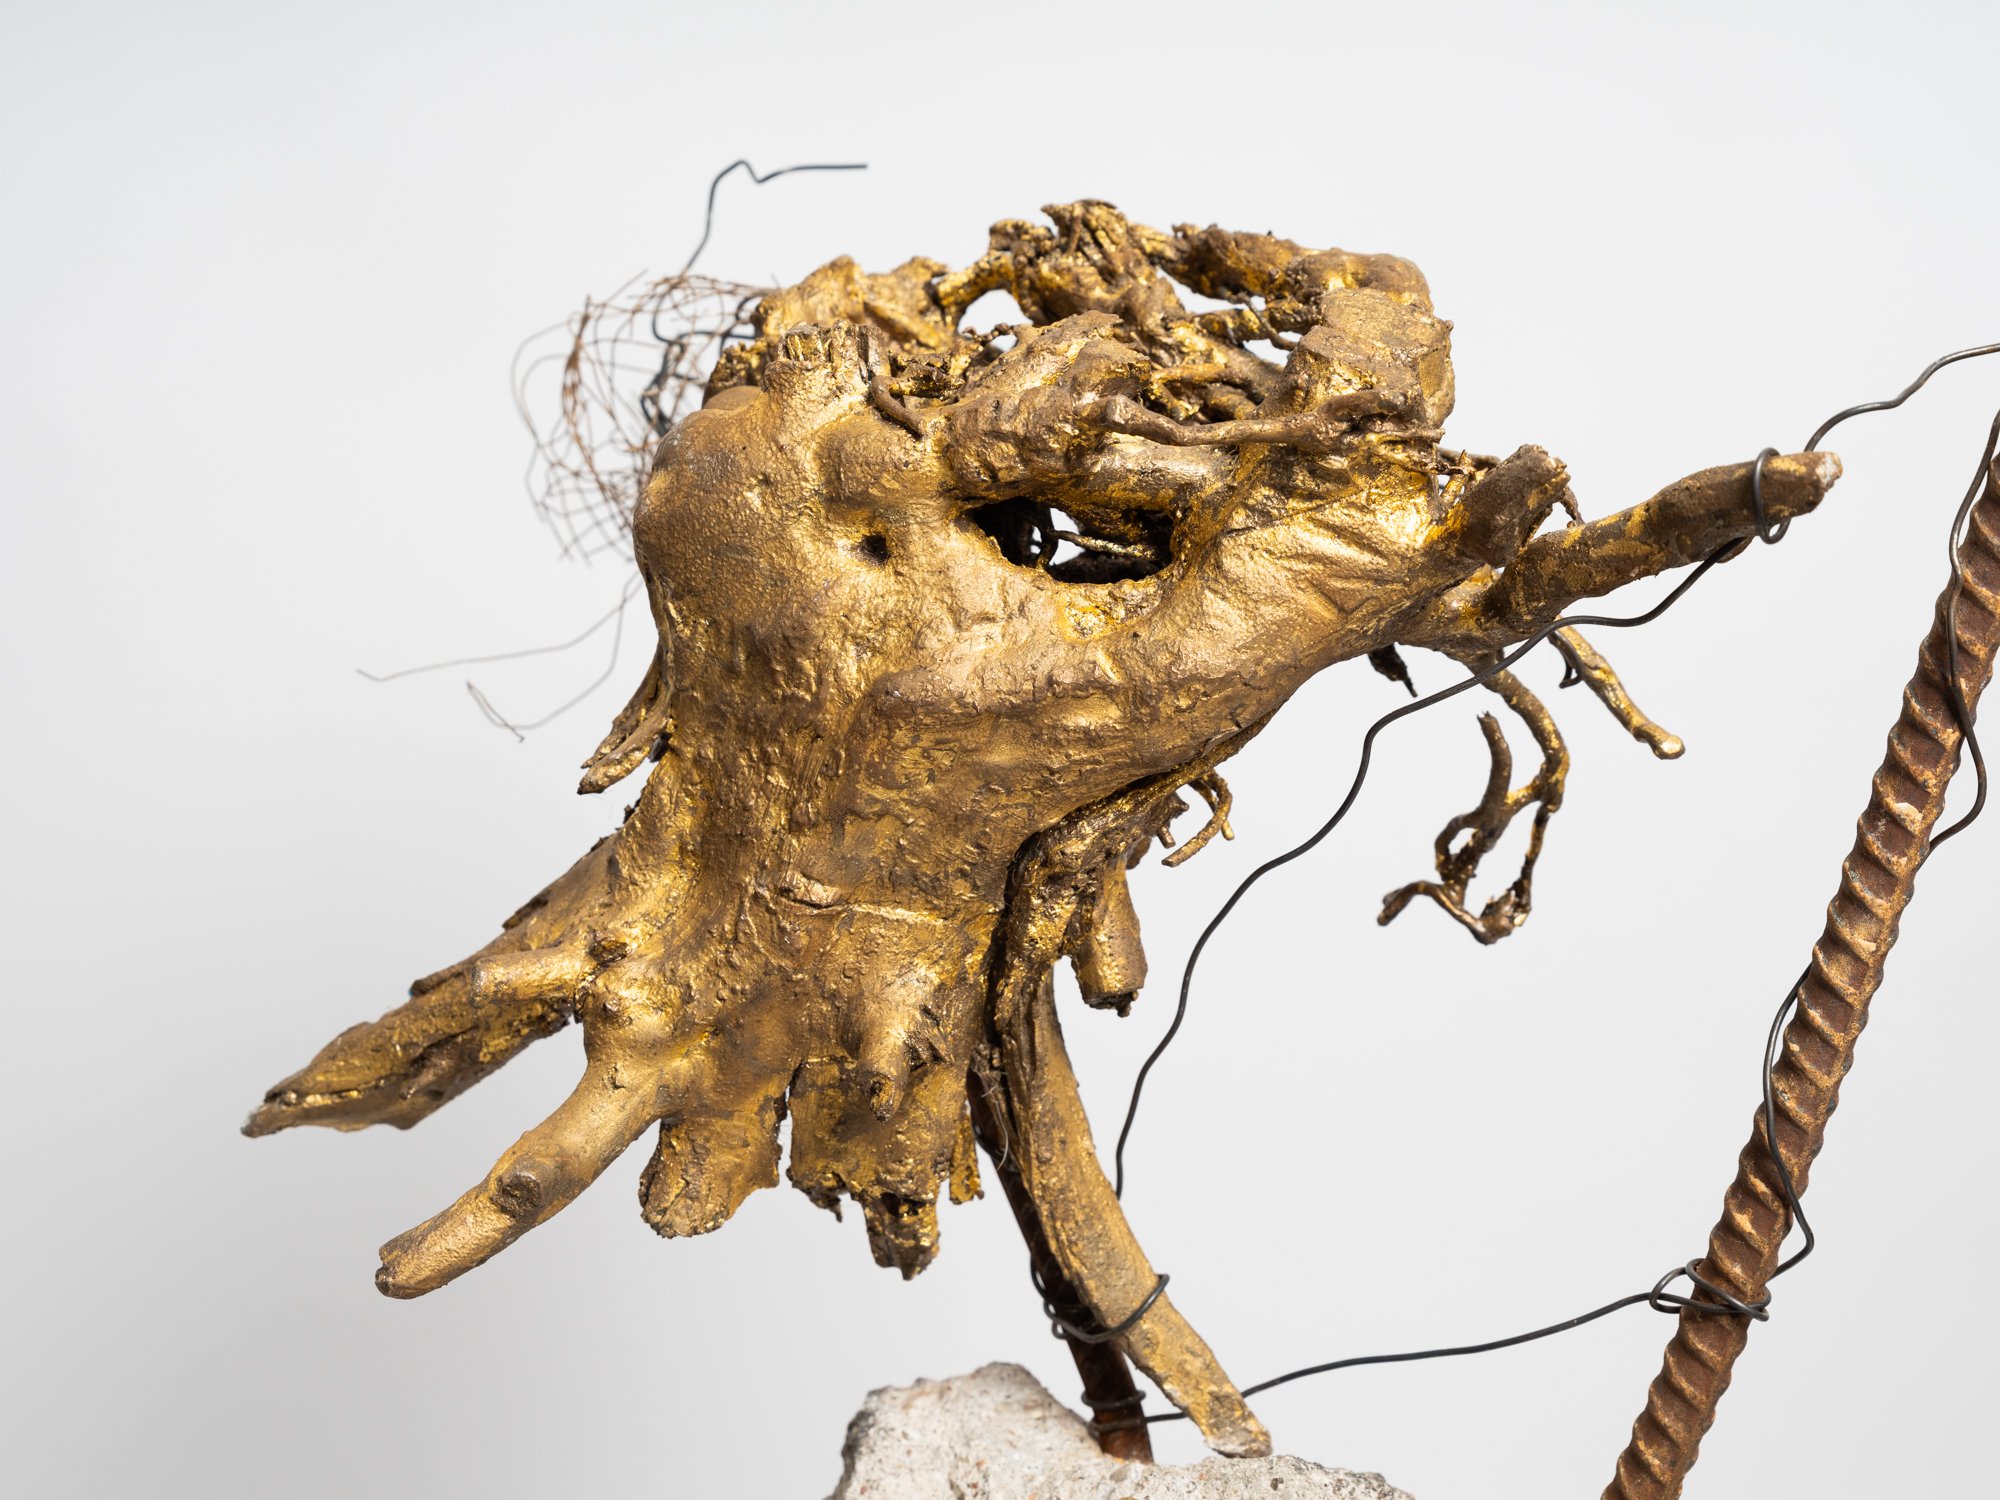
Two shows opening this spring. *circle & the circle*, a collaboration with Sherry Tseng Hill, opens May 15 at Throughline Art Collective. And on May 23 I open a solo show as a recipient of the Houston Endowment Jones Artist Award — work that elevates stories of conservation like this one. This is exactly the territory both shows are working in. The pull between the natural and unnatural. The way life moves back in when we let it. The things we’ve been conditioned not to see.
More to come.
Happy Earth Week
nature is bigger than humankind.
Two shows opening this spring. the circle & the circle, a collaboration with Sherry Tseng Hill, opens May 15 at Throughline Art Collective. And on May 23 I open a solo show as a recipient of the Houston Endowment Jones Artist Award — work that elevates stories of conservation like this one. This is exactly the territory both shows are working in. The pull between the natural and unnatural. The way life moves back in when we let it. The things we’ve been conditioned not to see.
More to come.